Let's say that one day, the hard drive in your computer dies and takes your entire music collection with it.
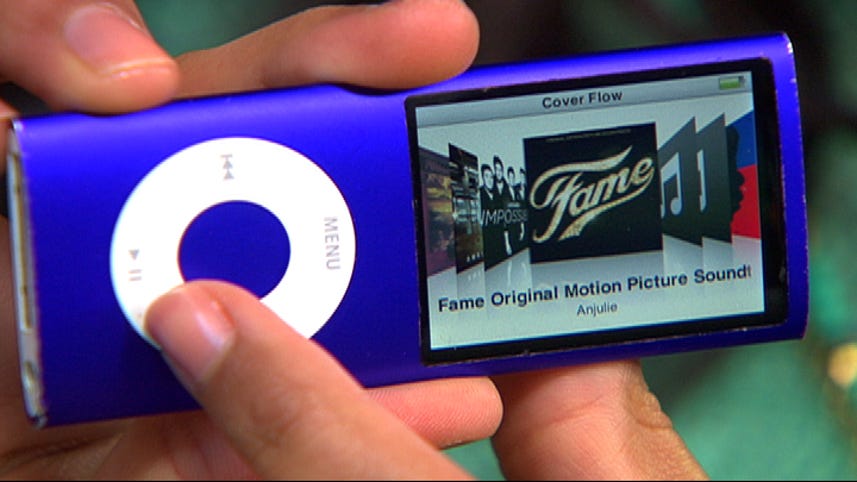
Luckily, you've got it all stored on your iPod, so you start to relax, but maybe you've noticed that Apple has a pretty tight grip on what you can and can't do with your iPod.
I'm Sharon Vaknin and here's what you have to do to get around Apple's crazy iPod restrictions and transfer music from and iPod to any computer.
When your new drive or new computer arrives, you can't just plug in your iPod and upload the music.
iTunes won't let you do that.
For the same reason, you can't just plug your iPod into a friend's computer and let them copy your music.
The keyword here being happy, but there is an answer.
These steps will work for all iPods except the iPod touch.
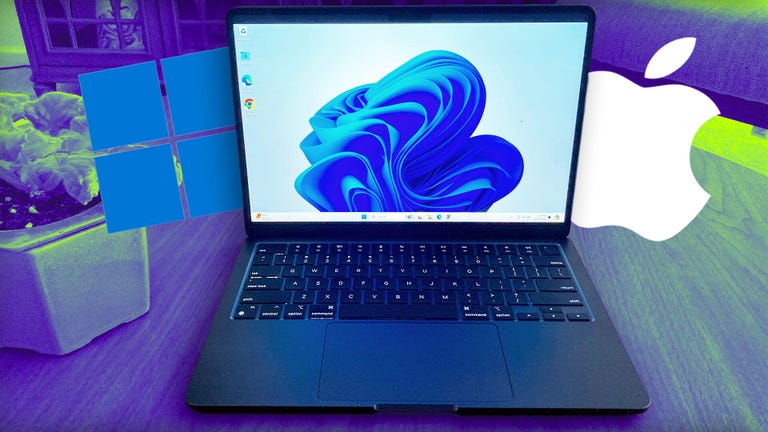
Let's start with the process from us.
First, download and install a program called Houdini.
The Mac OS doesn't let you view
hidden files and folders, so this Apple help us out.
Now, connect your iPod and launch iTunes.
Click on your iPod's name, scroll down to options and click enable this disc cues.
This will put your iPod on the desktop.
Launch Houdini and hit toggle file visibility.
Open your iPod drive, then iPod controls and then music.
Now, highlight all the folders and drive them into a new folder on your hard drive.
Take out the songs on iTunes, open the folder
and do a search for DOT MP3.
Then, highlight all the songs and drag them into iTunes.
Apple will decode the songs and give them the original titles.
Transferring music to a Windows machine is also pretty simple, but be careful.
Windows might want to erase all your music.
So connect your iPad.
If you get and air message asking you to reformat your iPod, it's because it was originally set up on Mac.
You can reformat to make it work with Windows, but you'll lose all of your music and videos.
The only way to get around this is to get a program like MacDrive, which cost 50 bucks, but you can get a 5-day trial from them, which is more than enough time to transfer your music.
If you didn't get an air message, you're good to go.
Now, open iTunes and click on your iPod's name.
Scroll down to options and check enable disk use.
Open my computer and you'll see your iPod now shows up as an external drive.
Double click it.
Go to tools on the top menu and hit options.
Click view and check show hidden files and folders.
Close that out and now you'll see several new folders in your iPod drive.
Open iPod controls and then music.
Here's where all your songs are stored.
They will be scattered throughout lots of files and folders and have new names like FCHG.MP3, but don't worry because the song names are embedded within the files and can be read by most media players.
Highlight all the folders within music and right click.
Select properties and un-check hidden.
Press okay and now drag all those folders directly into iTunes.
All the songs will be transferred and their original names will be restored, but if your OCD about this kind of stuff, feel free to manually change the file names of all 7000 songs in your library.
I'll pass on that one.
If you're confused, you can follow along with these steps on my blog or you can also purchase a program that makes doing this more user friendly.
[unk] for Mac or copy transfer Windows.
If you have any questions, ideas, or comments, email us at howto.cnet.com or leave me a comment on my Facebook page and of course can find more useful how to videos at cnet.tv.com.
For CNET, I'm Sharon Vaknin and I'll see you on inter apps.