Hi, I'm Molly Wood from CNET and I'm here to show you how to install iTunes on Windows without the bloat.
Many thanks to our ZDNet colleague Ed Bott for posting this lifesaving how-to.
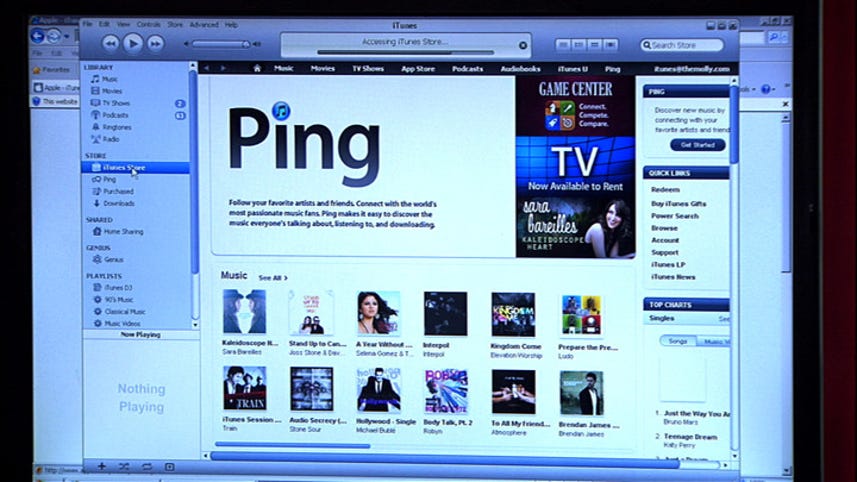
If you've used iTunes on Windows, you know it's big, slow, and filled with features and components that you do not need.
I mean, think about it.
Every iTunes installation has the necessary elements to control several different iPods, an iPhone or an iPad or an iPod Touch, it syncs with Apple TV, it has that whole store element, it has networking features you may or may not need, and then there's QuickTime.
It's huge.
Well, Ed has helpfully created a step-by-step list for installing only the features of iTunes that you need.
Now, I suggest you start by uninstalling any previous versions of iTunes and downloading the installer all over again.
You probably wanna uninstall Bonjour, too, if that's in there.
Next, download the iTunes installer but do not run it.
Now, navigate to wherever you downloaded the file called iTunessetup.exe.
Right click on iTunessetup.exe.
Now, you may have to have WinZip installed because you want to "Extract the File to Folder" called whatever, whatever, iTunessetup.
Now you can see all the individual installation components.
Check out Ed's article for a full list of all the things contained in the installer.
For our purposes, suffice to say, you don't need all of them.
Okay, here's where we customize.
If you only wanna use iTunes with an iPod that's not an iPod Touch, so a Mini, a Classic, a Nano, or a Shuffle, then move these three files into a new folder.
You'll need appleapplicationsupport.msi, quicktime.msi, and itunes.msi, or iTunes64.msi on a 64-bit Windows system.
Now press the Windows key and then hit R for run and then drag the first file into that window.
This will put the folder path and the full file name into the Run dialog.
That's actually a cool trick all on its own.
And then after the last quotation mark, type "/passive" and hit Enter or click OK.
Now, this will actually install that component so do the same with the other two packages in your folder and once you complete the installation, you'll have an iTunes that lets you manage music on any iPod that's not a Touch,
you can rip and burn CDs, play music, you can shop at the iTunes store.
It's kind of like an iTunes Classic, if you will.
Okay, but what if you wanna connect an Apple TV or browse iTunes libraries on your home network?
You'll need the same three packages plus the bonjour.msi package which you also install using the "/passive" command.
You'll need Bonjour installed on any computer whose library you plan to share.
Now, what if you're managing an iPhone, an iPad, or an iPod Touch?
Well, you'll need those original three applications,
appleapplicationsupport.msi, quicktime.msi, and itunes.msi, and you'll also need applemobiledevicesupport.msi or the 64-bit version if you have 64-bit Windows.
Finally, there's the tricky issue of Apple software update.
You really don't want that to come along and undo all your hard work.
Now, if you do enable automatic updates, just make sure you download them and then manually install updates following that same process.
Now, Bott also recommends disabling two of iTunes startup files which can really slow down your boot times
and they don't seem to help you in anyway.
To do that, click Start or hit the Windows key, Run, and then type "msconfig.exe." Now click the startup tab and find iTunesHelper.exe and qttask.exe and uncheck the boxes next to each one.
Then click Apply.
Now, you'll probably need to restart your system but after that, you're off to the races, and you will be riding a much slimmer, much faster horse.
Winner.
For CNET How-To, I'm Molly Wood and you're welcome.