The iPhone 5S has several important hardware upgrades, but Apple didn't change the phone's overall design, and although it isn't the easiest phone to repair, with the right tools and a little patience it is possible.
I'm Bill Detwiler and this is Cracking Open.
If it wasn't for the redesigned fingerprint scanning home button and larger flash, you'd be hard-pressed to tell the difference between the iPhone
5 and the new 5S, unless of course you got one with the new gold finish or the Goldfinger edition as I decided to call it.
And like the iPhone 5, cracking open the phone begins by using a special pentalobe screwdriver to remove the screws along the bottom edge.
Then using a suction cup lift up on the front panel and display assembly from the bottom.
Now you may also need to use a few thin tools to pop loose the panel.
I did.
Also be extremely
careful when removing the panel not to damage the thin ribbon cable that connects the home button to the lower connector assembly.
You'll need to disconnect it before detaching the connectors located along the top edge and finally removing the panel.
The overall hardware layout is the same as on the iPhone 5. There's a speaker and docking connector assembly at the bottom.
Battery along the left side, motherboard along the right, and the rear camera and flash at the top.
Now attached to the front panel are the display,
the front camera and sensors, earpiece speaker, and the home button.
Now despite the new home button being able to scan finger and toe prints, if that's really necessary, it can still be removed and replaced.
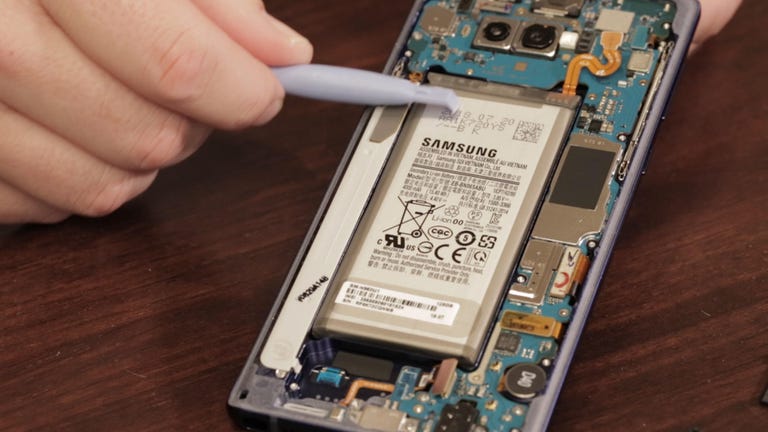
While I would usually begin our tear-down by removing the battery, I'm going to do something a little different this time.
As it's glued to the frame, I'm going to leave it in place as I remove the other components.
The first component to come out is the new rear-facing camera which has a new
5-element lens, larger pixels, larger sensor, and an f2.2 aperture.
After removing a few screws and standoffs and detaching the remaining connectors, we can lift out the motherboard.
Now unfortunately the EMI/RFI shields that cover the iPhone 5S' motherboard are sauntered in place obscuring our view of the new A7 processor and the M7 motion-tracking chip.
As I want to put this phone back together in working order, I'm going to
leave the shields in place.
The last component to come out is the speaker assembly.
Turning our attention back to the case we find the battery along the side, the vibration motor at the top, the headphone and lightning connector assembly at the bottom, front panel clips along the sides and connector wires just running all over the place.
Most of these components are held to the case with both screws and adhesive.
If any of these components were damaged, removing them and replacing them wouldn't be that difficult, but I don't
want to risk damaging them during removal so I'm going to leave them alone.
With its new 64-bit processor, improved camera, and fingerprint reading home button, the iPhone 5S is a solid upgrade to the line, and I'm glad Apple didn't make the phone any more difficult to crack open than its predecessor.
I only wished they would settle on at least one-size screw inside and stop gluing everything in place.
Those 2 simple changes would make repairs much easier.
Now for a complete list of
specs, pricing, and real-world performance tests, check out Scott Stein's full CNET review.
To see more tear-down photos and read my full hardware analysis, go to techrepublic.com/crackingopen.
I'm Bill Detwiler.
Thanks for watching.