[ music ]
^M00:00:12
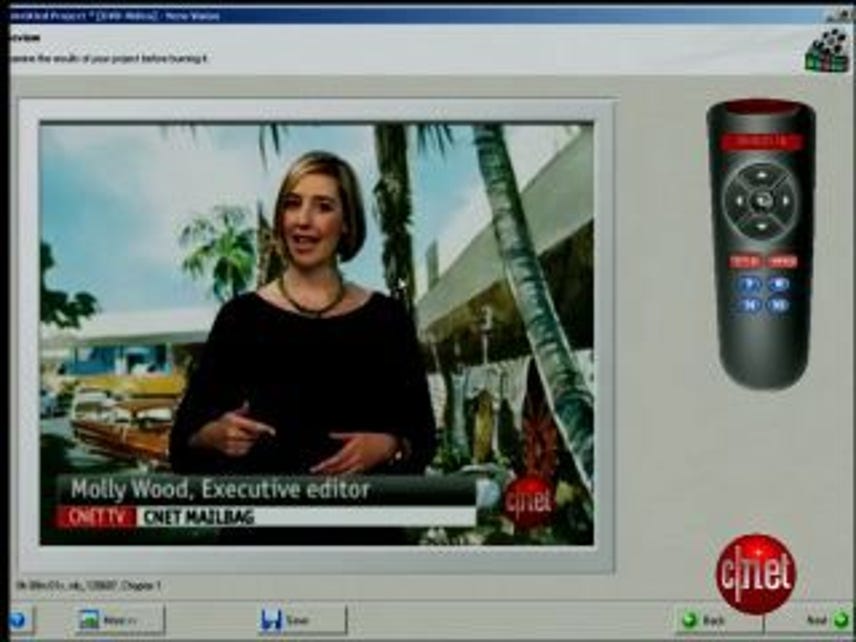
>> Okay I'm not gonna lie to you people, Nero 8 Ultra is a complex piece of digital media software, and complex sometimes means confusing. Even with something as basic as burning a DVD it's easy to get lost. I'm Molly Wood from CNET.com, and in this edition of Insiders Secrets I'm gonna show you how to create and burn a video DVD using the Nero Vision App. Okay first things first, there are different kinds of DVD's. Just like there are music CD's and MP3 CD's and they're not the same thing, DVD videos are DVD's that are formatted to play on any DVD player in the world. They also support the menu structure, so you can add titles and chapters. Now this is the format you want to use, basically, if you're making a movie style DVD. If you're just burning video to DVD for backup or you don't need any editing, you can just make a data DVD. Those are fine for storage and simple playback on newer players, but they probably won't play on, like, Uncle David's first ever DVD player. Okay now let's get started. First you need to gather your video or your video clips. If you haven't already created a video you can, of course, use Nero to capture a video from an external device like a video camera. In the Start Smart Interface tab over to Create and Edit then pick Author, Edit, and Capture Video. Or click the flame icon here and select the Nero Vision App. Just make sure that when you get to Nero Vision's Start screen you choose Make DVD, and select DVD Video from this pop out menu here. In the new project window find the Capture Video option to get started. If you already have clips you can edit them into a movie with Nero Vision adding transitions and audio before burning it to DVD Video. Now again, when you get to the New Project window, mouse over to the right side bar and select Make Movie. Click the Browse button with the folder and magnifying glass on it to add clips, or drop them into the Story Board. That's this gray filmstrip below the Player and Effects menu. When you're done click Next to create your menu. You can choose from 2D, 2D animated, or 3D images. You can click the Preview box to edit titles and menu positions, and then Customize Options for the animated and 3D templates in the Customization tab here. When your menu's set click Next again. The preview window is equipped with a remote control so you can interact with your movie, and you can see where you might need to iron out any bumps. Click Next again and you're ready to burn the DVD. Now there are a lot of options here, but in most cases you'll want to set your mouse over Burn Two and select the Recorder, which is your writable DVD drive then click Burn. Now converting a video format, like that AVI Home Video without any editing is even easier. Open Nero Vision and choose to make a DVD video, as usual, then browse or drag the file into the content window; that's this big white space that we've been ignoring this whole time, and click Next until you make your menu and burn the DVD or an image of the DVD. All right, that concludes this portion of Nero Video Burning 101. Get to movie making.
^E00:03:01