Spring cleaning: Back up your phone
It's important to keep your backups up-to-date.


It's not exactly cleaning per se, but in the spirit of organization, now is a good time to go through your devices and make sure you're up to date on your backups.
After all, what's the point of diligently backing up your iPhone or Android device, only to find that you're a few months (and several hundred photos and text messages) behind when you need to do an emergency restore?
Back up your iPhone
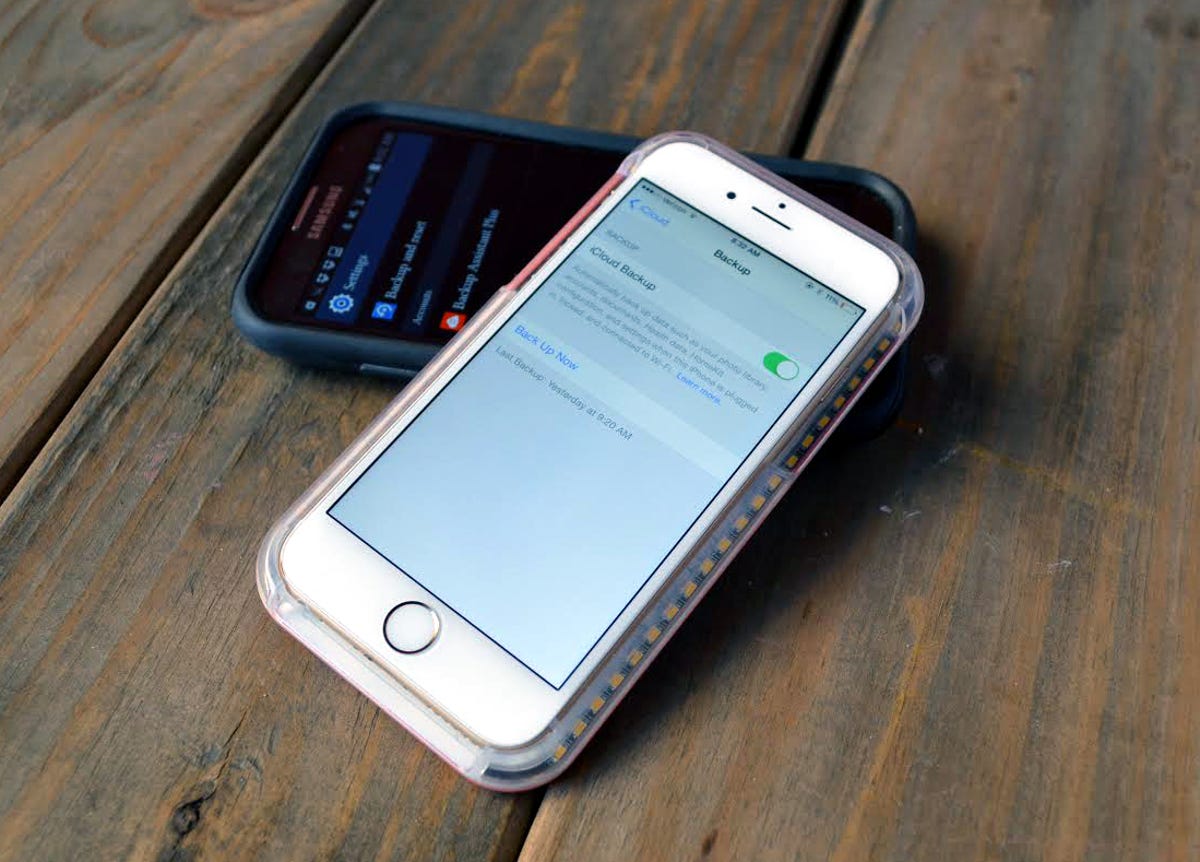
Apple offers two ways for you to back up your iPhone's settings, app data, text messages, ringtones, photos, and videos: You can use iCloud to back up your iPhone to the cloud, or you can use iTunes to back up your iPhone to your computer.
Backing up your iPhone with iCloud will preserve almost all of your important phone content, including contacts, apps, messages, photos, and music and movies purchased from the iTunes Store. An iCloud backup maintains your phone's settings, so you won't have to worry about losing your home screen layout, app data, or saved alarms and notification settings.
There are a couple of caveats to using this method -- mainly that you only get 5GB of free iCloud storage, so if your content (photos and videos, especially) exceed that limit, not all of your stuff will be backed up. Here are some tips for freeing up iCloud storage space. The second caveat is that an iCloud backup only stores content you've purchased from Apple, so music and movies that you didn't buy through Apple won't get backed up.
To back up your iPhone with iCloud:
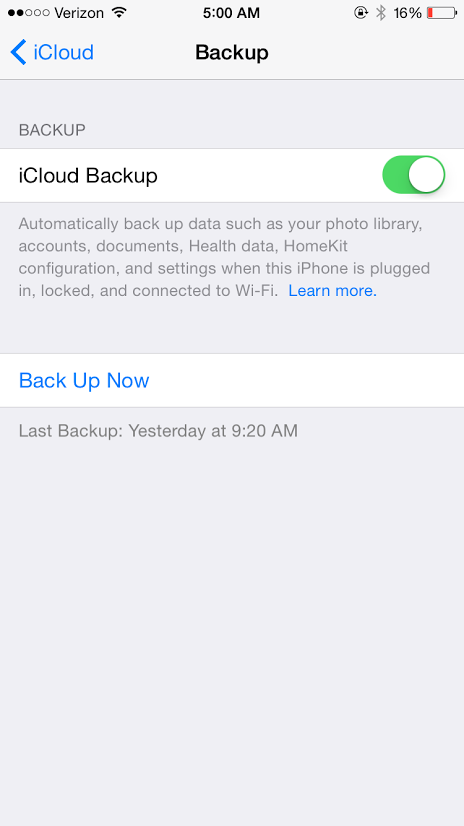
1. Go to Settings > iCloud > Backup and switch iCloud Backup to on.
2. Tap Back Up Now to back your phone up immediately.
3. Once iCloud Backup is turned on, your phone will back up automatically at periodic intervals. However, if you ever want to manually start a backup, just return to this screen and tap Back Up Now. At the bottom of this screen, you can also see when the last backup was performed.
To back up your iPhone with iTunes on your PC or Mac -- a better choice than iCloud if you have more than 5GB of content on your phone -- or if you have content not purchased through iTunes:
1. Plug your iPhone into your computer using its cable.
2. iTunes should automatically open when you connect your phone. If it doesn't, open iTunes and go to File > Devices and click Back Up. This may take several minutes to complete.
Back up your Android phone
Android's backup system is practically automatic -- after all, Google uses your sign-in to sync device settings, app data, contacts, and even Wi-Fi passwords to the cloud. But Android's backup isn't quite as robust as Apple's, and it doesn't back up your photos, text messages, or call logs.
To turn on your Android device's backup:
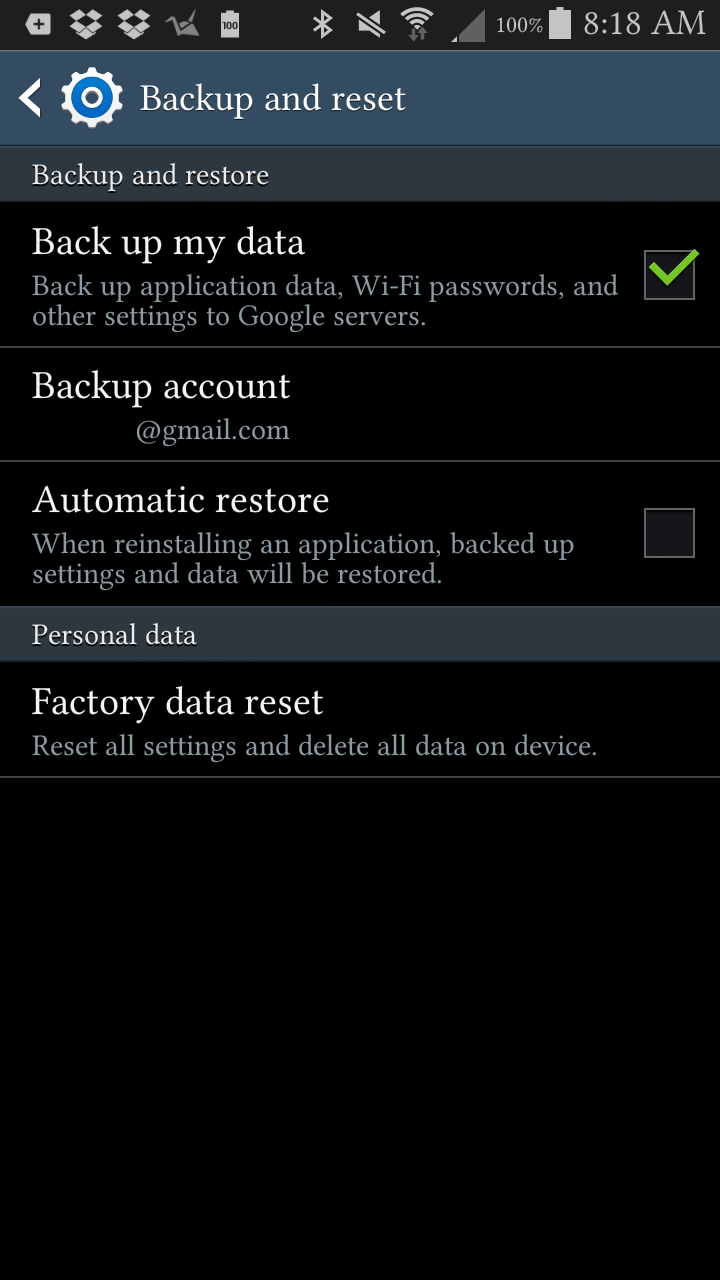
1. Open the Settings menu and under Personal, tap Backup and reset.
2. Check the box next to Back up my data, which will back up your device's settings. Also check the box next to Automatic restore, which will restore app settings if you delete and then reinstall an app on your device (this won't work with all apps).
3. To choose which types of data to backup/sync, go to Settings > Accounts > Google and tap your Google account to open up its sync settings. Here, you can choose to sync different types of data, such as app data, calendar data, contacts, Gmail, Google+, Google+ Photos, and Picasa Web albums.
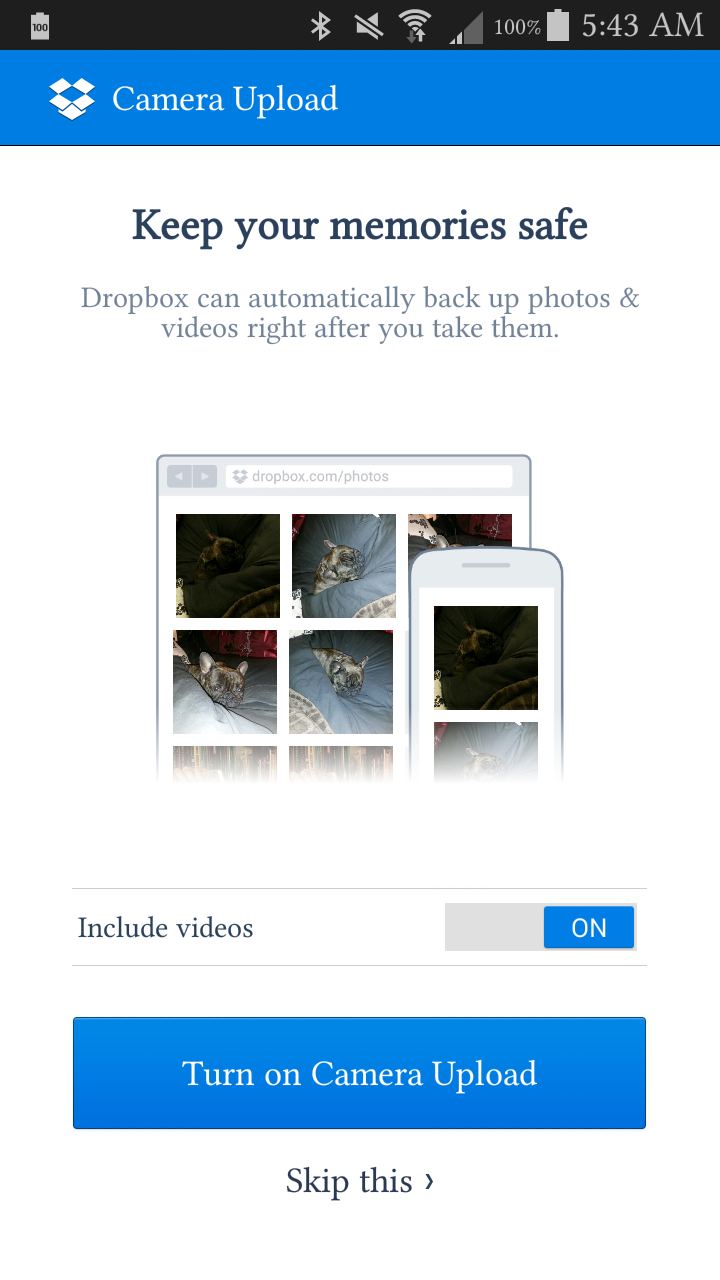
For photo backup, I like to use Dropbox's Camera Upload. This service automatically backs up photos, videos, and screenshots taken with/on your phone to your Dropbox account. To back up photos with Dropbox:
1. Install the Dropbox app on your Android device. Sign into (or create) your Dropbox account - you get 2GB of free storage space, and you can earn more by inviting people. If it's your first time opening Dropbox on this device, you'll be automatically prompted to turn on Camera Upload: Just click Turn on Camera Upload on the splash screen.
2. Otherwise, open the Settings menu and tap Turn on Camera Upload.
3. Tap How to upload to choose how your phone will upload photos -- Wi-Fi only or Wi-Fi or data plan. Tap What to upload to choose what types of files to upload -- Photos and videos or Photos only.
To back up your text messages, use the handy free app SMS Backup+, which will not only send a copy of texts to your Gmail account (incredibly handy), but can also restore texts and call log entries back to your phone:
1. Install SMS Backup+ and open the app.
2. Tap Connect to connect the app to your Gmail account. If this is the first time you're opening the app, SMS Backup+ will ask you if you want to create an initial backup with your existing text messages (this will take several minutes, depending on how many texts you have on your device).

3. Tap Auto backup to automatically backup your SMS and MMS messages and your call log entries. You can also tap Auto backup settings to configure how you want your automatic backup to perform: Set a general backup schedule, an incoming text schedule (you can have texts back up a minute after they arrive), and whether you want backups to be performed only when your phone is connected to a Wi-Fi network.
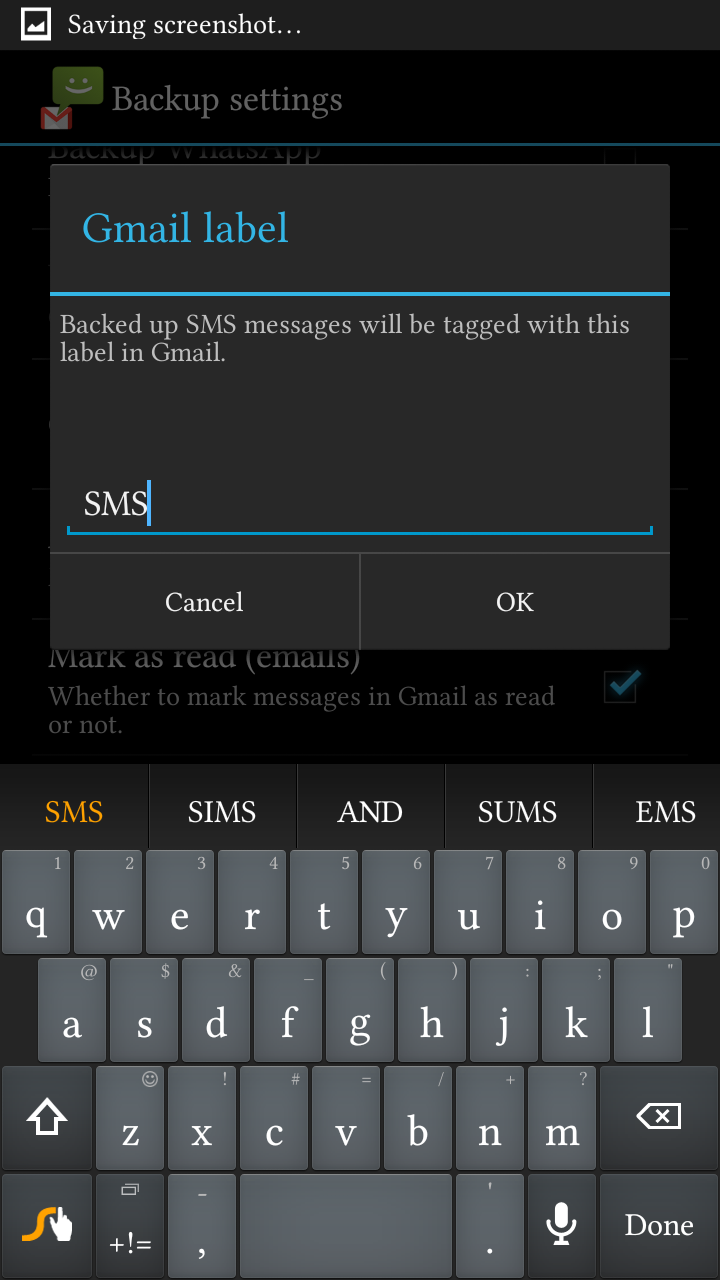
4. Your messages will be filed away in your Gmail account, under the label SMS. To change the name of this label, go to Settings > Advanced settings > Backup settings and tap SMS. You can change the name of the label to anything you want.