How to scan and archive your old printed photos
Whether you're looking to reduce clutter or share fond memories online, here are four methods for digitizing your print photo collection.


- Webby Award ("How To, Explainer, and DIY Video"); Folio Changemaker Award, 2020


Chances are you have a stack of photo albums collecting dust in a closet somewhere. Maybe they make for a fun coffee-table chat, but if you want to share your memories with friends and family online, or create a backup of your photos, where do you start?
There are several ways to go about digitizing your printed photo collection. Depending on how many photos you have and how DIY-eager you are, your choice will vary.
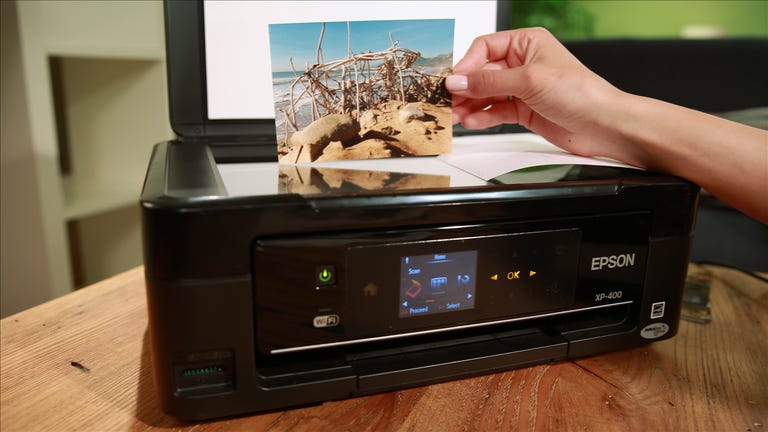
For the highest quality, use a scanner
In a dust-free environment, set up your scanning station. First, remove any dust or dirt from your prints with a microfiber cloth or alcohol-based cleaning wipe. Then, clean your scanner's glass with these simple instructions.
It's important that you thoroughly clean both the photos and scanner, as the scanner's sensitive sensor will pick up even a speck of dust on the glass or on the photo.
Before you scan the photos, consider the way in which you'll organize them. By date? By event? How will the files be named? The options are endless, but no matter which method you choose, choose a system before you scan, and organize your printed photos into stacks accordingly.
If you need some guidance, check out this guide to organizing your photos.
With that out of the way, you can begin scanning your photos. Because each printer manufacturer's scanning software is different, I can't offer step-by-step instructions, but here are some tips:
- Scan multiple photos at once. On an average-size scanner bed, you should be able to scan four 4x6-inch photos at once, and crop them later. Some scanners even come with software that do this automatically for you. Use this method to cut down scanning time.
- Select a resolution of at least 300 dots per inch, and up to 600 dpi if you plan to order enlargements.
- Take advantage of editing options. Most scanning software will allow you to crop, adjust color, adjust brightness and remove red-eye.
If you want to store those photos in the cloud for anywhere access, here's our guide to choosing an online storage service for photos.
Use your phone to scan photos
Google recently released PhotoScan for Android and iOS devices built specifically for this task. Naturally, you'll want to use a phone with a high-quality camera such as the Pixel, Galaxy S7 or iPhone 7 to ensure you capture the best possible scan.
The PhotoScan app takes more than one photos of a physical picture, then uses fancy computing techniques to remove glare from overhead lighting. For complete instructions detailing how to use PhotoScan, be sure to read through Matt Elliot's post.
Another option for using your phone is to download and install Shoebox from Ancestry.com, a free app for iPhone and Android. Once you sign up, you can begin scanning your photos. But, before you do, here are some tips for prepping your assembly line:
- Dust off your photos with a microfiber cloth, or an alcohol-based cleaning wipe for really dirty prints.
- Find a well-lit area with lots of natural light and few shadows.
- Clean your phone's camera lens with a microfiber cloth, or a cotton swab and a drop of isopropyl alcohol.
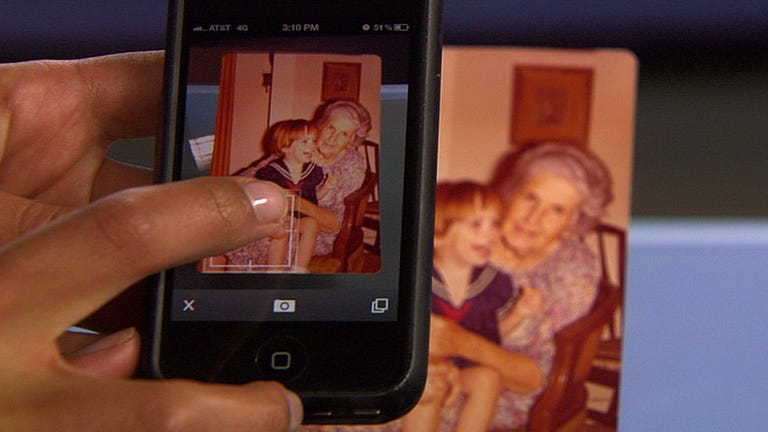
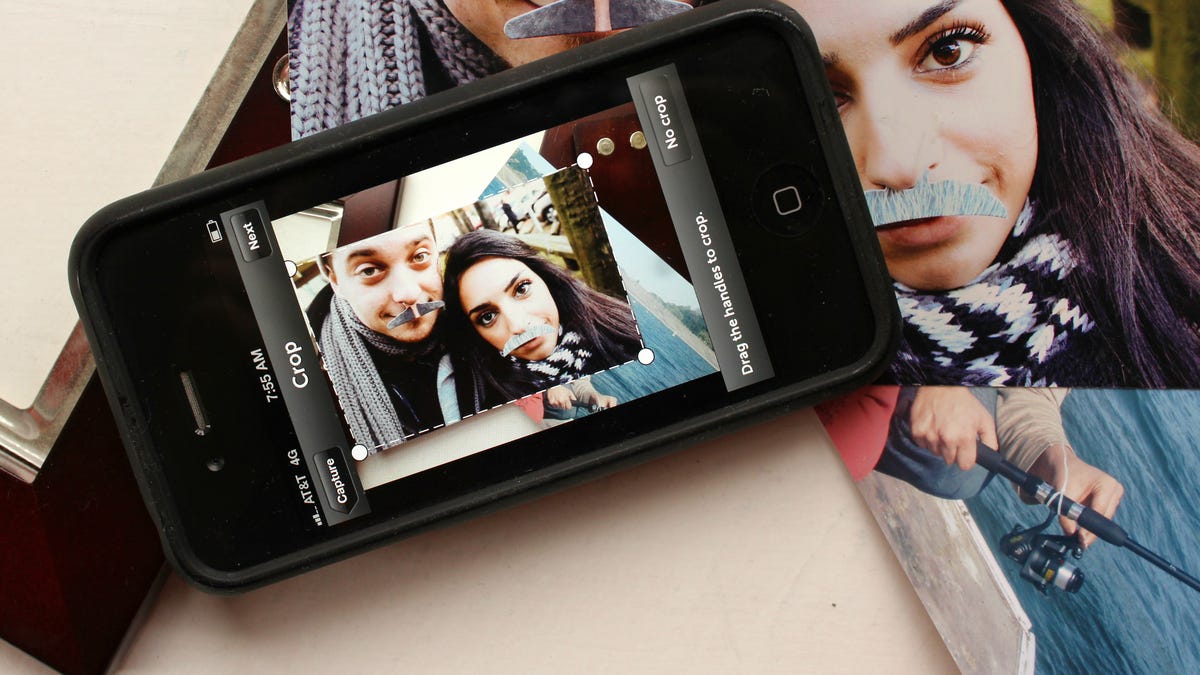
Now you're ready to "scan" your photos with your phone. Launch Shoebox and hit the green camera button. Then, with the photo laying down, position your phone so that it's parallel to the photo. Finally, tap to focus and hit the shutter button.
From there, crop the photo by dragging the crop lines. Then add extra information, like when the photo was taken, who's in it, and a brief description. Finally, you can upload the photo to your account.
Repeat the process for the additional photos. All scanned photos will be saved to your camera roll and be made available online via your media gallery on Ancestry.com.
Now you can post the photos on Facebook or store them in your preferred photo storage site, such as Flickr or Dropbox.
This won't replicate the quality of the first method, but it's good if you want to scan photos in a pinch or don't own a scanner.
Use a macro lens for film
According to an old (but still applicable) post on PetaPixel, you can do it at home using a dSLR camera outfitted with a macro lens. The process requires you to take a series of photos of the film, focusing on different sections of the film for each shot. After taking the proper number of shots, you then use software to combine the photos, creating a digital version of the film.
Now, we realize the number of readers who readily have access to such a setup is likely low, but this tip is still worth mentioning. The reason? Smartphone camera lenses from the likes of Olloclip and Photojojo. Each company offers a macro lens attachment for iOS or Android, which should be more than sufficient to duplicate this process. Granted, the photo quality of a smartphone isn't going to be anywhere near that of a dSLR camera, but for most, it will suffice.
Let someone else scan your photos
If all of this sounds like one giant headache, consider outsourcing your photo scanning to a professional, paid service. For example, Scanmyphotos.com scans, crops, edits and archives your photos starting at $0.16 apiece, depending on the scan quality you choose. Alternatively, the company can send you a box that you fill up and it scans for a flat rate of $145. According to ScanMyPhotos, it typically holds 1,800 photos.
DigMyPics.com and ScanCafe.com are two other options worth comparing.
Editors' note: This post was originally published on June 12, 2012, and has been updated to include new information.