iOS 5: How to use home sharing
Watch our video to master iTunes' Home Sharing feature, which lets you access your entire music collection over your home network, giving your iPhone unlimited capacity.


Even the largest iPhone is unlikely to have enough room to store your whole iTunes collection. This means you'll have to pick and choose what you want to take with you when you're away from home, but not when you're back at base.
Hit play on the video above to learn how iTunes' Home Sharing feature will let you access your entire music collection over your home network. It effectively gives you unlimited capacity and the kind of choice that could otherwise only be rivalled by a paid subscription to Spotify. Watch the full video for our guide on how to use the feature, or refer to the article below.
Setting up Home Sharing
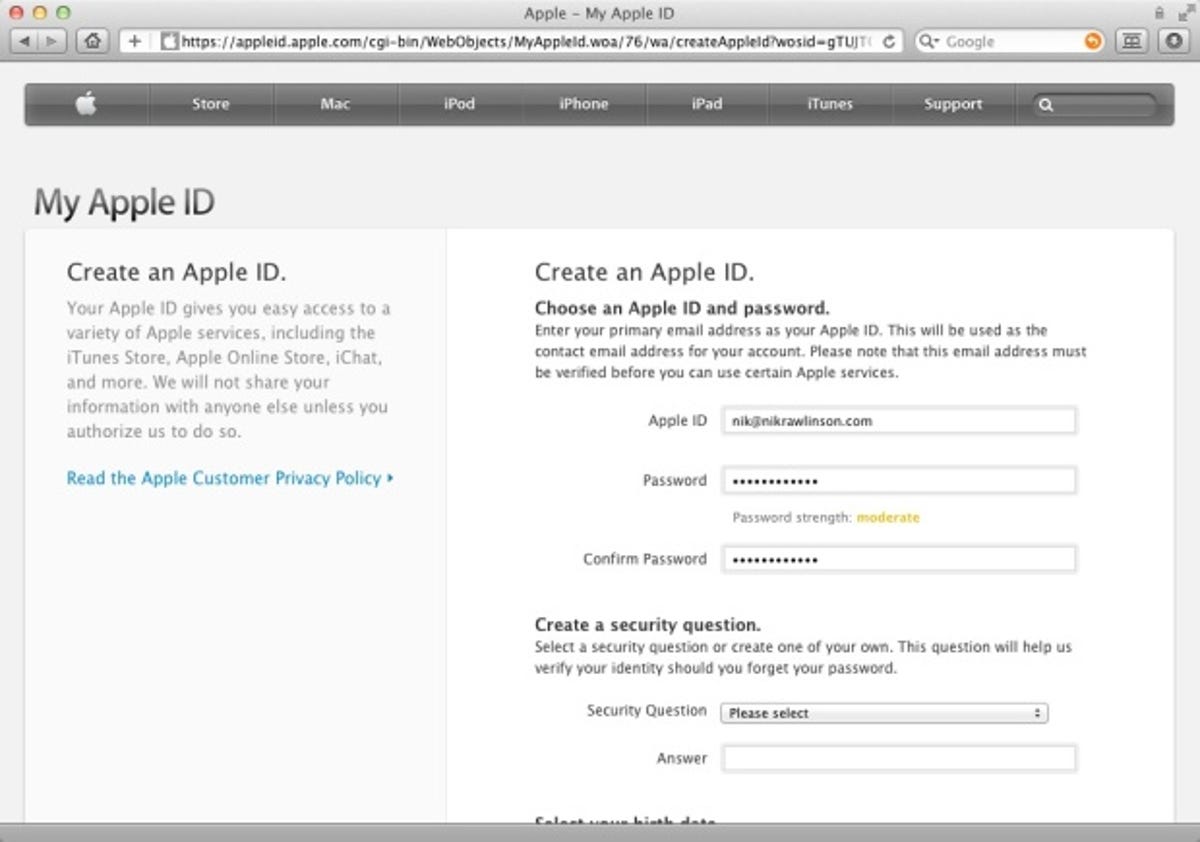
Home Sharing requires an Apple ID. If you've ever bought a track from the iTunes Store, downloaded an iOS app or read a book from the iBookstore, then you already have one, but if not you can bag a free ID from Apple's website. Click Create an Apple ID and fill in the required details, remembering to pay attention to the subscription options, unchecking the communications and newsletters boxes if you don't want to receive any promotional material.
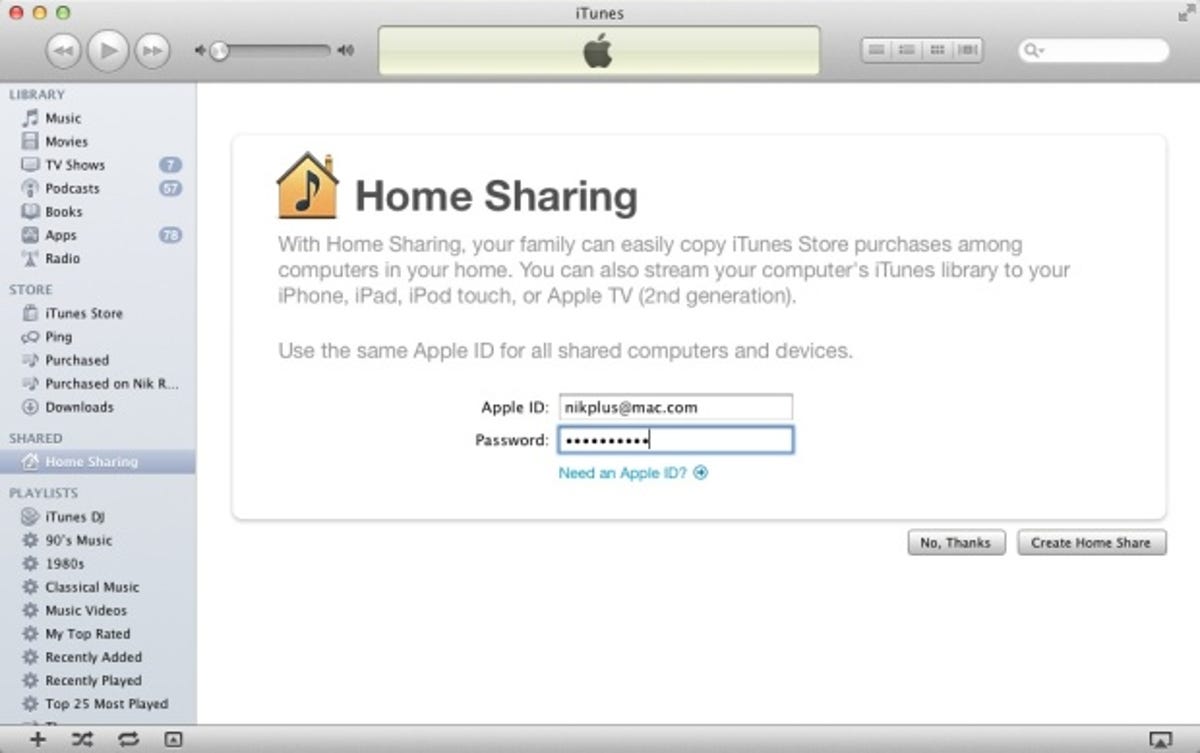
Start iTunes on your PC or Mac and pick Advanced > Turn on Home Sharing. A new Home Sharing entry will appear in the sidebar and you'll be prompted for your Apple ID and password. Enter them and click Create Home Share.
Now turn to your iPhone and tap Settings > Music. Scroll down to the Home Sharing section and enter the same details, then tap Done to finish (below left).
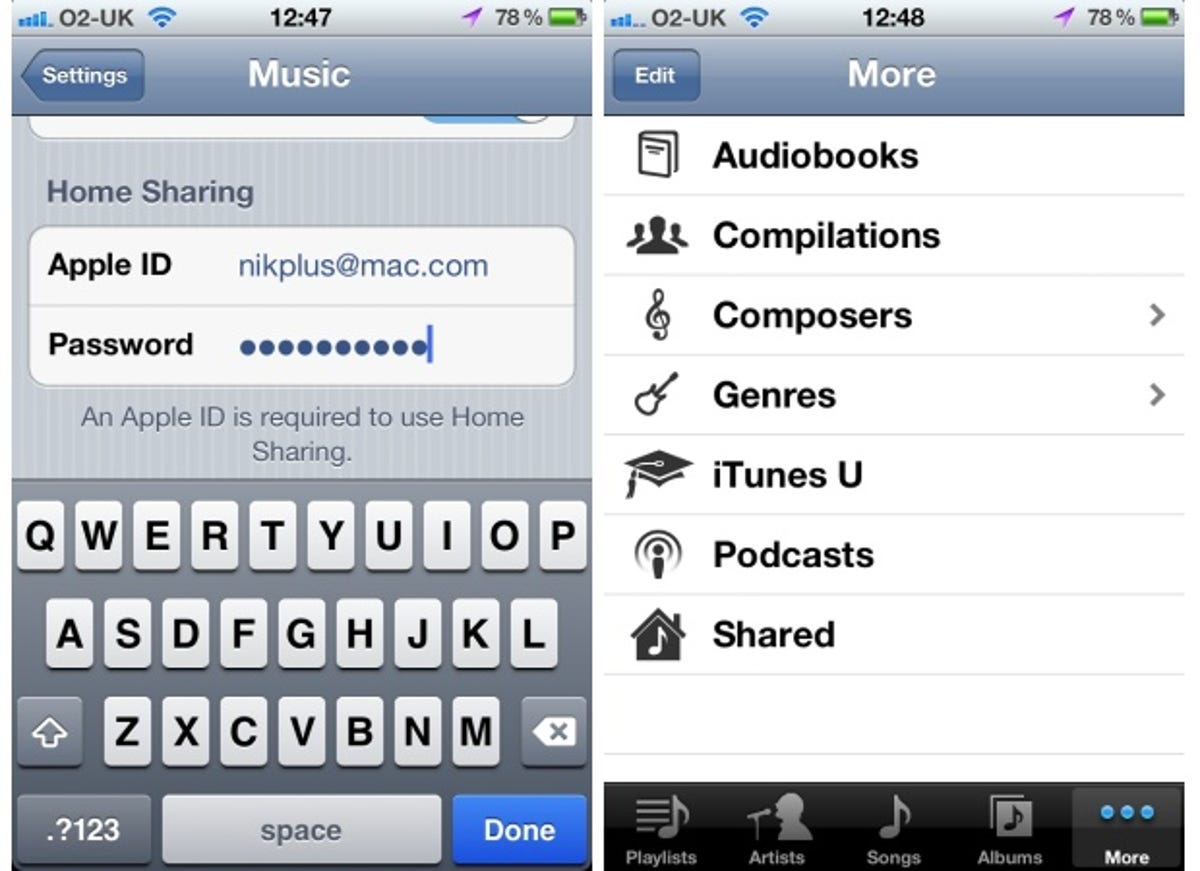
Exit Settings and start the Music app, which is new in iOS 5 and replaces the old iPod application. If you're looking for your videos these have been hived off into their own app called Videos. Tap More > Shared (above right) to access all of the shared libraries on your network, including those that are sharing in the regular manner (see below) and any using Home Sharing.
Select the library you've just shared (below left) and wait while your iPhone imports the metadata that defines its album and song structure. This will take a few seconds on large libraries.
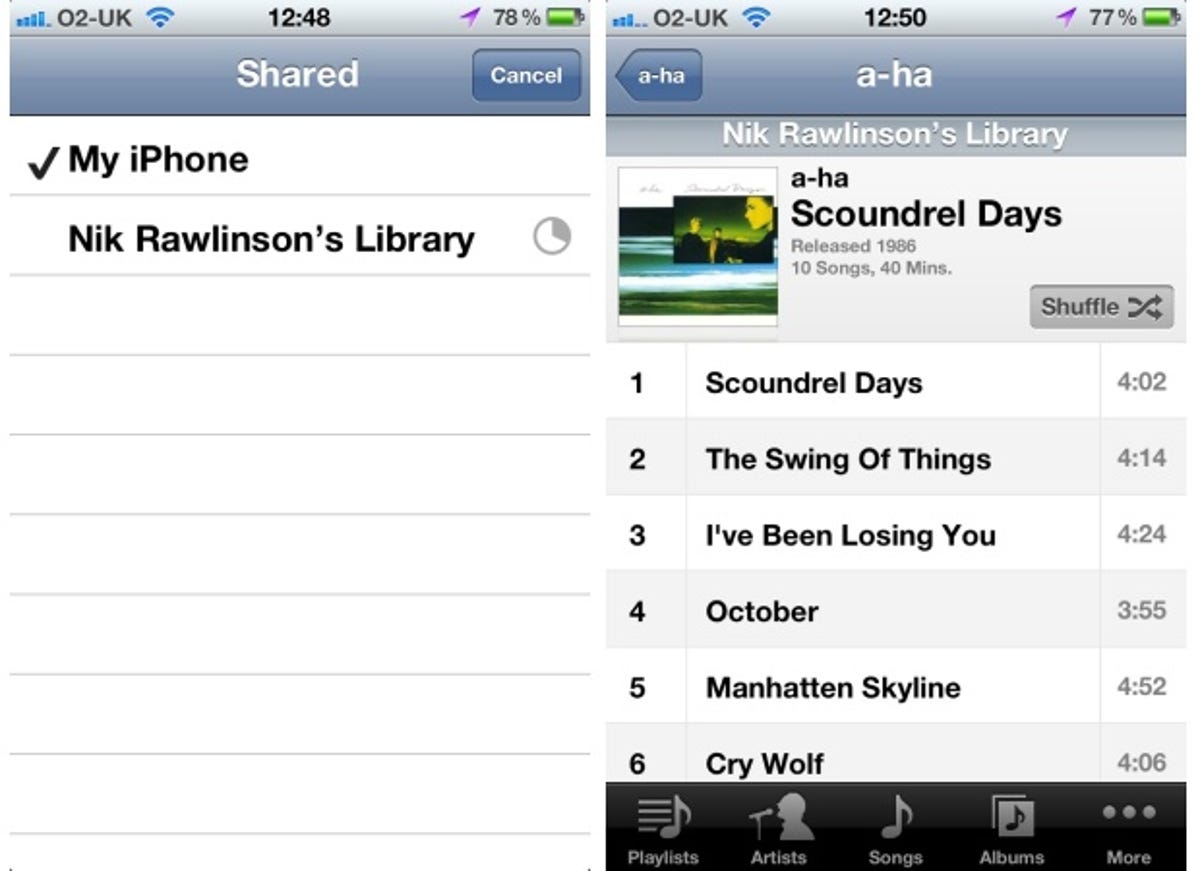
When it has completed, though, you'll be presented with a rundown of the playlists set up in your shared library (above right). Tapping Artists, Songs or Albums on the toolbar lets you navigate individual portions of your collection to find specific tracks or shuffle your complete library.
Why use Home Sharing?
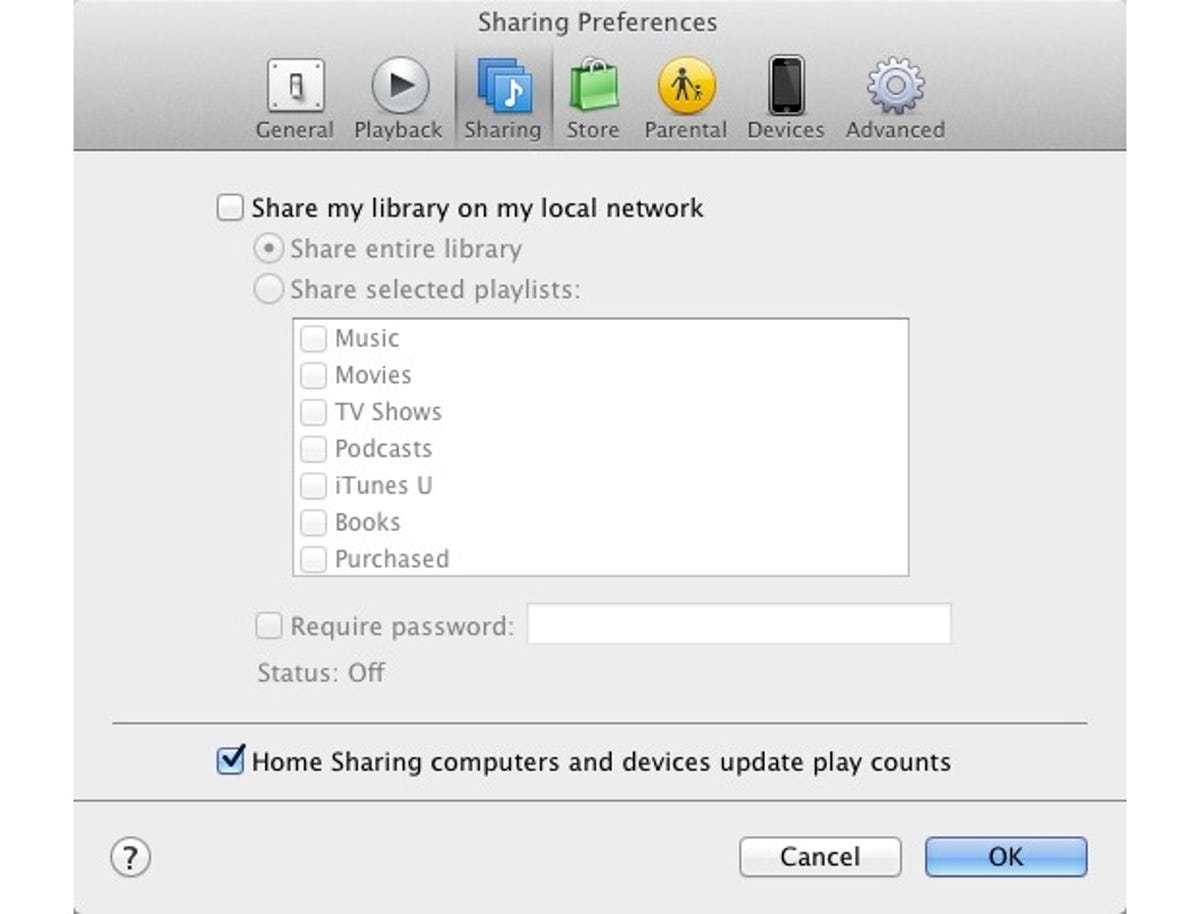
iTunes has long boasted an integrated sharing feature that allows you to share either your complete library or individual playlists with other users on your current subnet. It was a very blunt instrument that lacked the flexibility of Home Sharing, however, which lets you restrict who can share your library to only those who share your Apple ID.
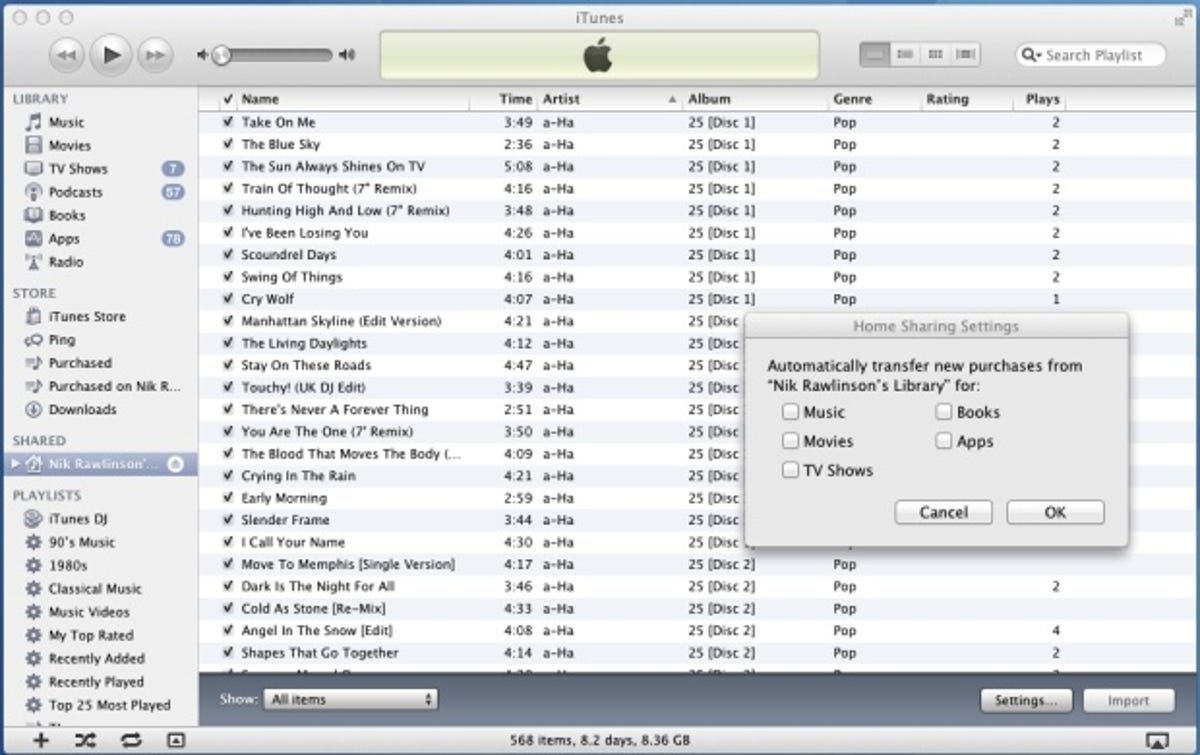
It can therefore also be used as a conduit through which multiple libraries are kept in sync. As you'll likely be the only person sharing tracks this way you can permit remote devices to update the play count on your master library by checking the update play counts box on your Mac or PC through the menus at Preferences > Sharing.
Selecting a shared library in the iTunes sidebar and clicking Settings also lets you use it to automatically copy all newly-added material from one library to another. This only works between full iTunes libraries, not iTunes and the iOS Music app.