6 Hidden Features on Instagram's In-App Photo Editor
When you're editing your photos in the Instagram app, these quick tricks can make all the difference.


When you upload photos to Instagram , the app lets you do much more with them than slapping on a filter and hitting Post. If you're in search of a way to give your feed an aesthetic boost without having to deal with third-party apps and software, it's worth checking out Instagram's built-in photo editing tools. Sure, they're nowhere near as advanced as the tools you'd find in professional photo editing software like Adobe Lightroom -- but for a basic edit, they'll get the job done.
Check out these six simple ways to up your Instagram game without ever leaving the app.
1. Tap to compare filter to original
Better or worse? Think eye tests where Doc keeps flipping lenses over your face to see if the letters are clearer or blurrier. Like that, quickly compare a filter's effects to your original photo by tapping on the preview. Hold your finger down to see the original; release to see what the filter does to it.
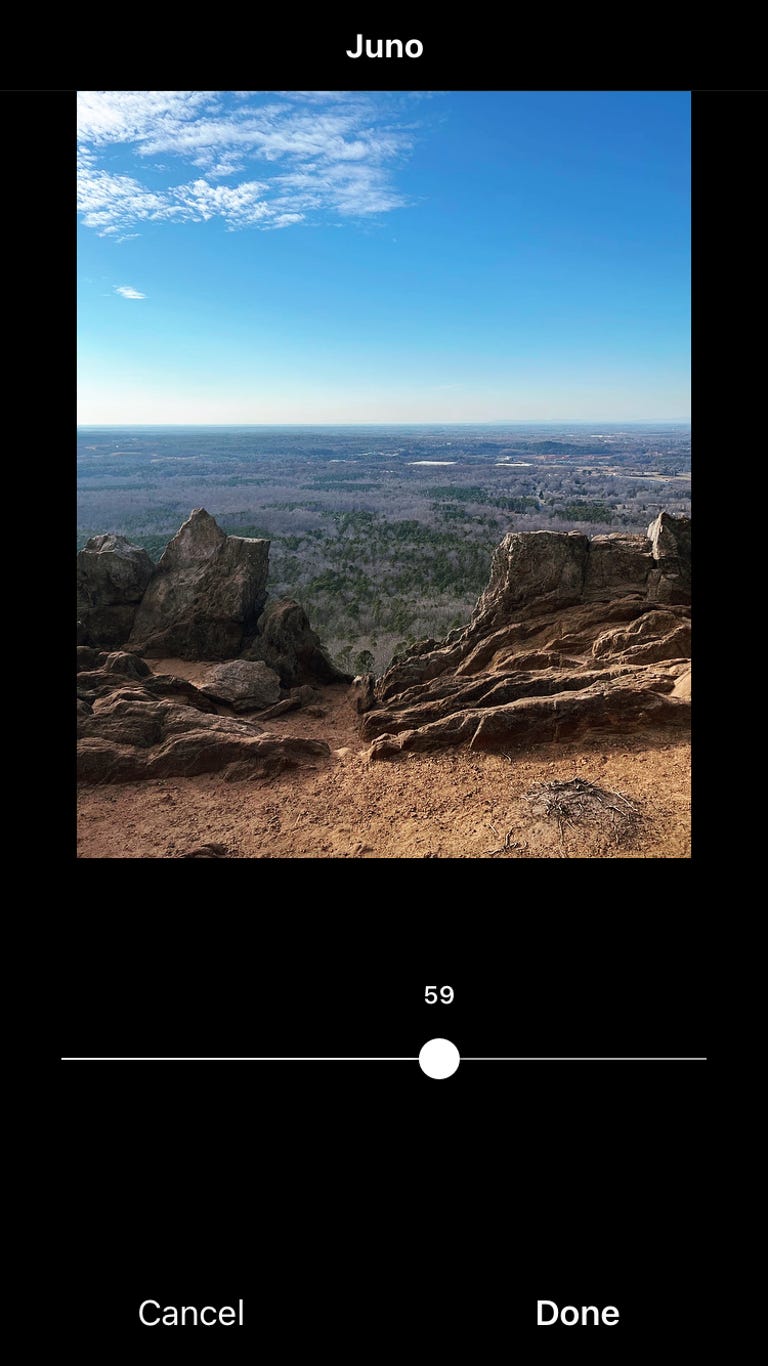
2. Tone down a filter effect
Filters don't have to be all or nothing affairs. If you find a filter you like but find its effect too strong, you can dial it back. With a filter selected, tap its little thumbnail below the preview and you'll be able to use a slider to adjust the intensity of its effect.
3. Apply filters to individual photos in an album
If you're uploading multiple photos in an Instagram album, tap to choose a filter below your selected photos and it will apply to all of them. If you want to choose a different filter for each photo (and make other edits), you need to tap on each photo to bring up the filters and edit tools for applying to that photo only.
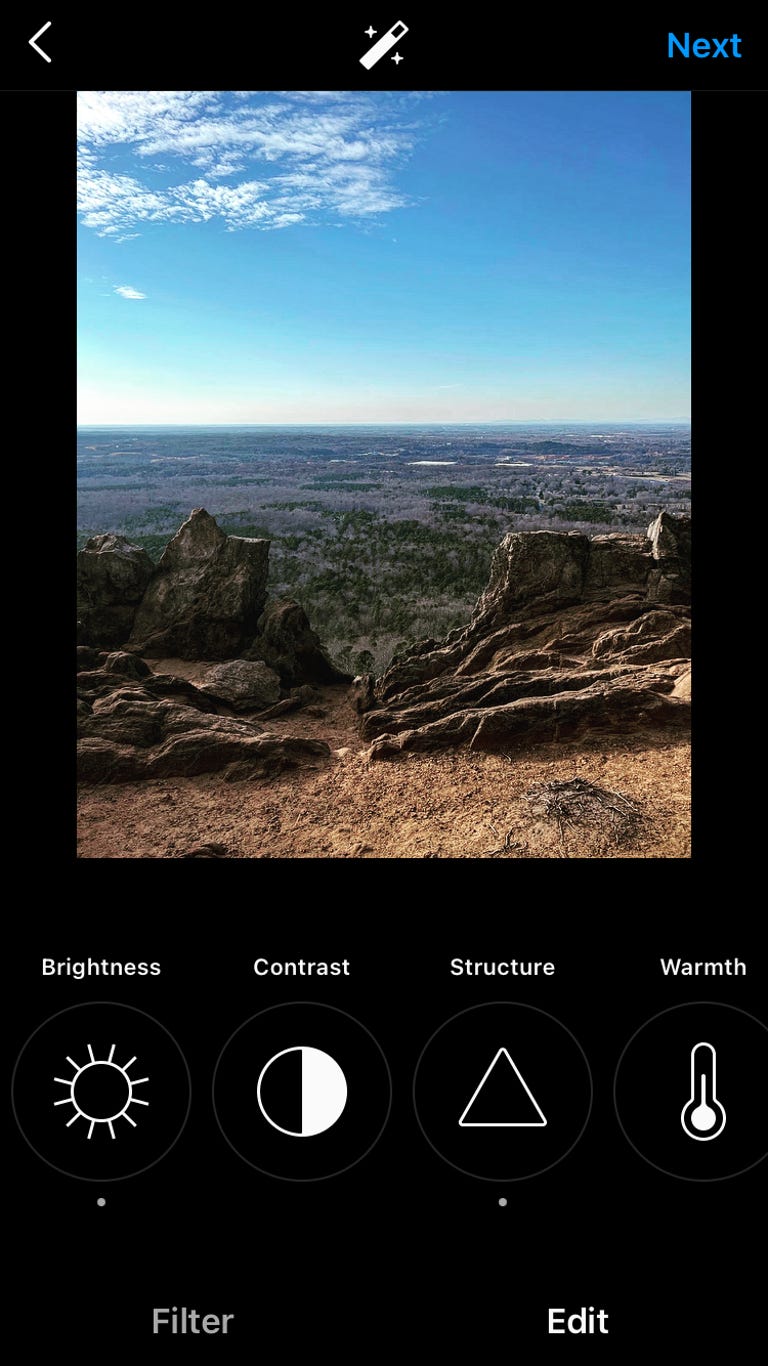
4. Tap for minor edits
After choosing a filter, I like to jump over to the Edit screen and adjust Brightness, Contrast, Highlights and Shadows. Those are the go-to edits, with perhaps the occasional Vignette or Tilt Shift effect. You can drag the slider for any of the edit tools to tweak its effect. For finer edits, just tap to the left or right of the circle on the slider -- each tap moves it one number.
5. Keep track of your edits
If you get deep into editing a photo and can't remember which of the editing tools you've already used, there's an easy way to keep track. Instagram puts a gray dot below any edit effect you've applied to your photo.
6. Don't forget the Lux
In addition to Instagram's filters and editing tools, there's another tool you might be overlooking. It's located not in the Filter or Edit sections at the bottom of your phone but above your photo preview. Tap the sun icon to call up a slider for Lux. It can help balance out an uneven exposure, adding back details in areas that are too dark or too light.
If you're open to downloading third-party apps to edit your photos, here's our list of the best free and paid photo editing apps for iPhone and Android. Plus, Instagram now lets you tag products in posts.