Build your own home media center: Customising Kodi
Want to build one PC to rule all your living room media needs? In part two of our guide, we go hands-on with media software Kodi, taking you through Blu-ray functionality, media management and customisation.


Last time, we introduced the open-source media player software Kodi and went through the install process and hardware setup. Now that your media center PC is up and running, here's how to get everything just the way you like.
Adding files to Kodi
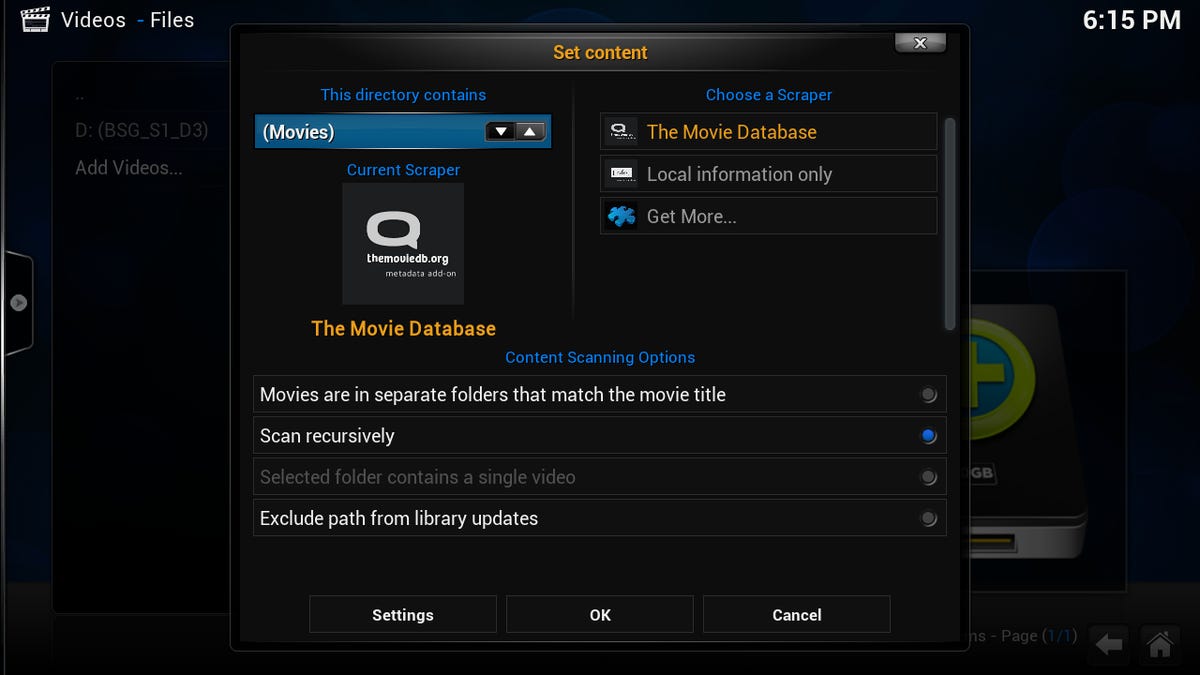
To add your video files to Kodi, it's as simple as selecting the appropriate section (say, Videos), then selecting Files, Add Videos.... Browse to where your videos are stored, hit OK, then change the up and down buttons to select what type of media is in that folder.
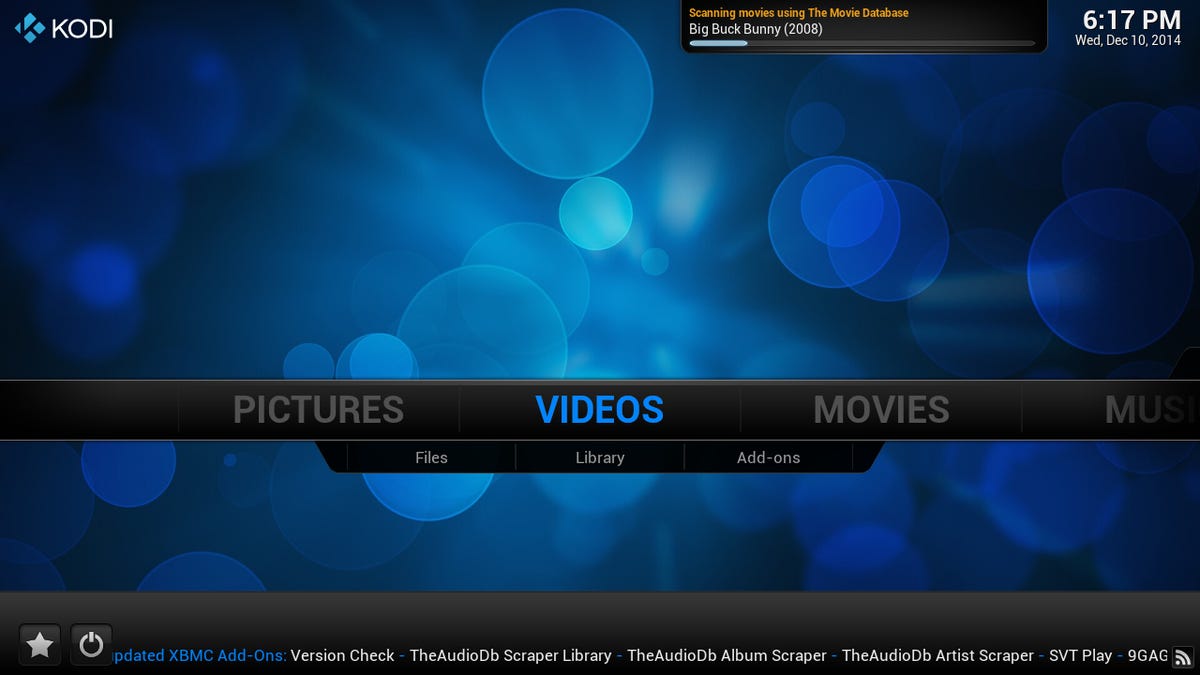
For instance, if it's movies, Kodi can scrape information from The Internet Movie Database, automatically pulling down art, synopses, ratings, genres, actor details and more based on the file name.
To change an existing media source, head back to Files under the appropriate section (let's use the Videos section again), and you'll see that you have an existing source depending on the media type you selected earlier. In the example above, we set it to movies, so we'll see a "Movies" entry here. Highlight it, press c on the keyboard, and you'll be able to edit or remove the source.
Take in mind that scraping is done based on the file name. If it picks up the wrong title, you can either change the file name to match the scraping database entry (full title and year can help), or select the offending title, hit i on the keyboard, choose Refresh and then hit the Manual button. Type the name you wish to search, then click Done, and you'll be given a list of options to choose from.
These steps may change slightly depending on what skin you have installed.
Manage your media
Kodi generally only respects three types of media sources, which can make things difficult: Movies, Music Videos or TV Shows. If you want to subcategorise, say, into TV Shows and Anime, and use different scrapers for each, you're going to need to learn how to wield Smart Playlists.
Check out the skins
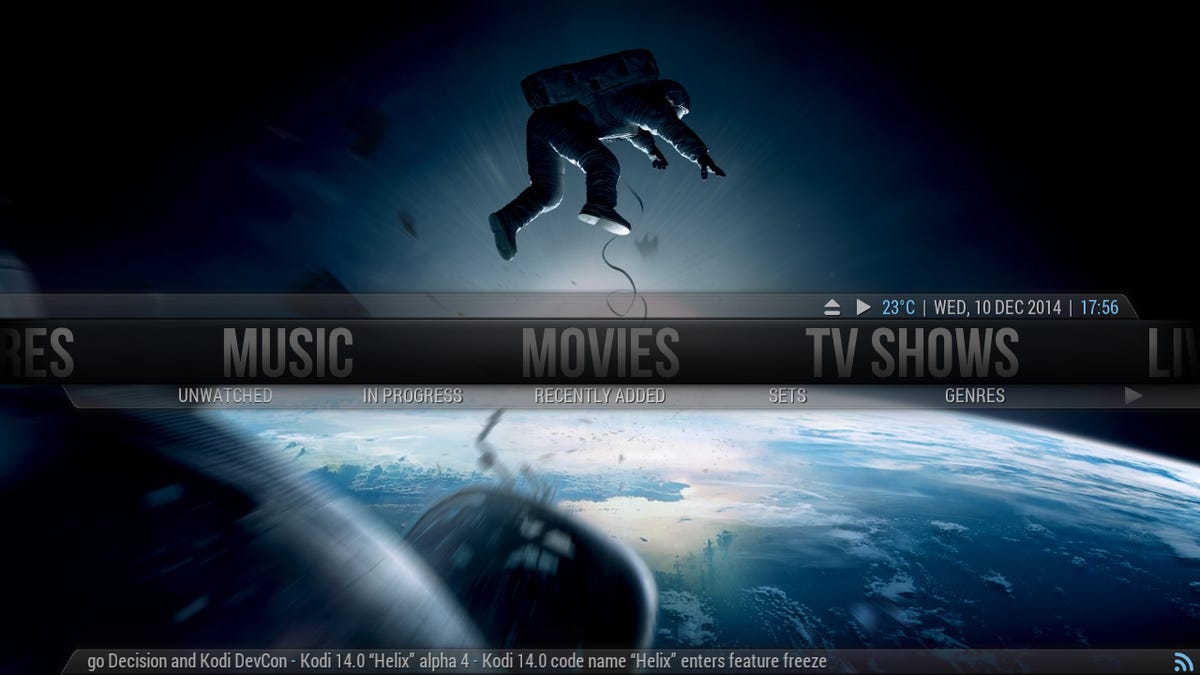
The default theme for Kodi is, well, not very appealing. But then, it's designed to be as flexible as possible, working on systems of extremely low power and touch-enabled platforms.
Thankfully there's a legion of skin creators out there providing much more visually appealing alternatives. Head to System>Appearance>Skin, and hit the Get More button. If you don't find something you like, there's significantly more available in the Kodi forums -- just take in mind some fan favorites, like Ace, haven't been updated to work on Kodi yet.
The Blu-ray conundrum
If you must have Blu-ray support, you're best off running Kodi on Windows and pointing it to an external software player.
While Kodi will play Blu-ray discs with no copy protection, for the most part it doesn't understand menus, at best offering a simplified index to choose from. Apple never embraced Blu-ray, and the Linux workaround essentially strips the copy protection and rips the disc to the hard drive. This isn't always optimal depending on disk capacity, and legalities can change on this depending on where you live.
The best, if imperfect, solution is to point your optical discs to an external player, although these tend to be commercial, like PowerDVD or TotalMedia Theatre. I prefer the latter, as it provides an executable that will immediately jump to fullscreen playback, helping to hide the fact that there are two software players in use. Sadly new customers will now find it difficult to locate, as it is no longer supported by creators ArcSoft.
An external player comes with some fairly significant caveats: the Kodi interface won't be available until you stop playback/exit the player, and it won't understand the same control system as Kodi (although most are compatible with RC6 remotes). It's not ideal, but it's making the best of a bad situation until Kodi disc playback improves.
To point Kodi towards an installed external player, download this file and extract to your %appdata%\kodi\userdata folder. In playercorefactory.xml you will need to change the file name variable to the proper path that contains the playdisc.bat file, while in playdisc.bat you'll need to change the folder and file location to match your external player, including any arguments you may need.
As an added bonus, this will also resolve another issue with Kodi -- poor handling of forced subtitles. A forced subtitle is what appears when the movie is predominantly in one language, and a character speaks in another, requiring subtitles to appear for only that scene. Think Jabba the Hutt in "Star Wars," or some of the Japanese scenes in "The Wolverine". This should be automatic, but Kodi's just not built to cope with it. You can often select these manually, if you're willing to bury through a subtitle menu, but it's not optimal, especially if you're unaware that there are foreign language scenes in a film.
What's next?
Obviously this is only a cursory introduction to what is a large topic - you could integrate Kodi with Steam Big Picture, set up your music playlist, watch live TV and so much more. The Kodi forums and wiki have leagues of information, and the level of customization is entirely up to you. While it may take a bit of tinkering, one thing is certain - it'll be a hell of a lot smarter than any smart TV.