Photo how-to: Basic car stereo installation
Installing a car stereo can be a scary thing, but with a little preparation and patience it doesn't have to be difficult at all.


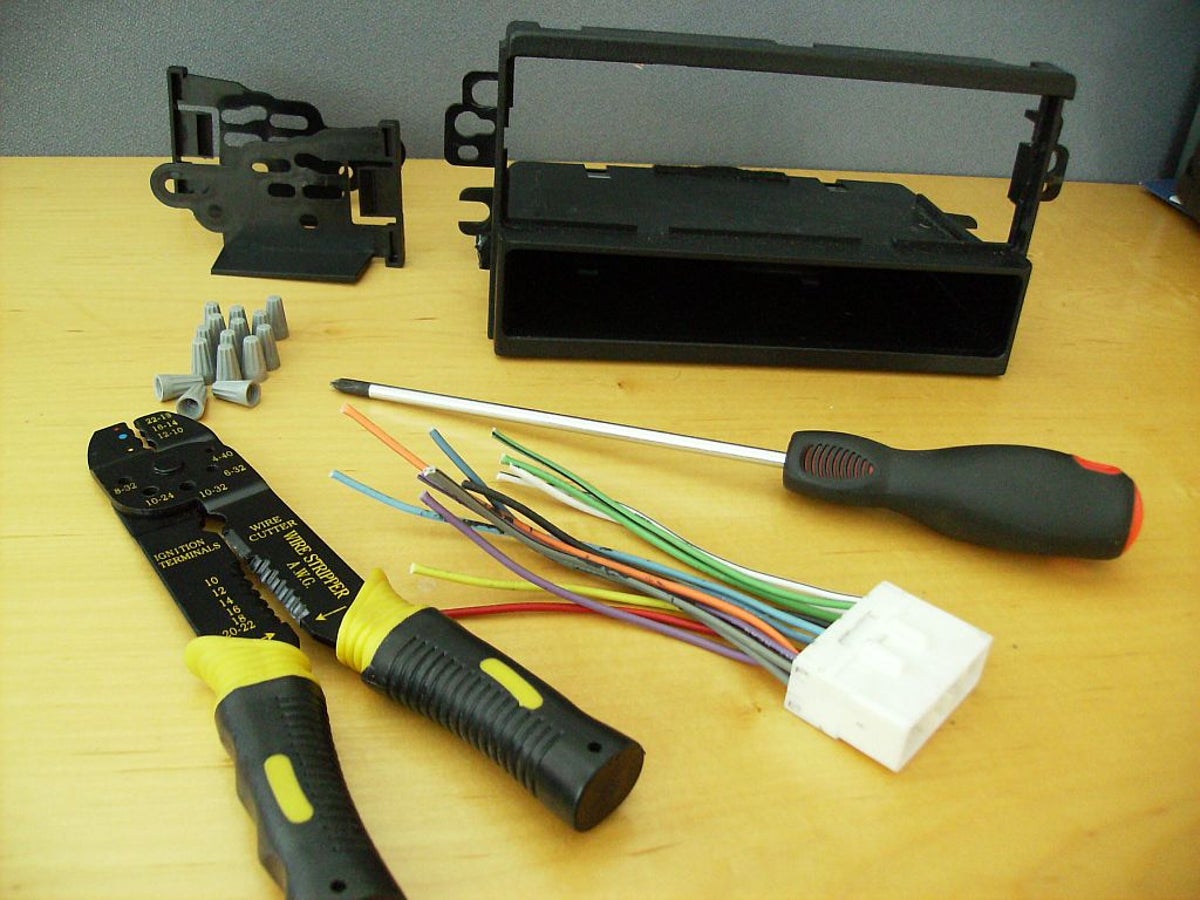
Bare necessities
While the details of car stereo installation may vary from vehicle to vehicle and among different receiver models, the basics are typically the same.
For your average receiver installation, you'll need these tools as a bare minimum: a mounting kit for your vehicle's make, a wiring harness for your vehicle's model, a wire crimper/stripper, and a screwdriver (Phillips tipped).
You'll also need some way to join bare wires, because our installation is a temporary one, so we're using twist caps, but for a more permanent install, you'll want to solder your connections.
Not pictured here is the wiring harness that will come with your new receiver.
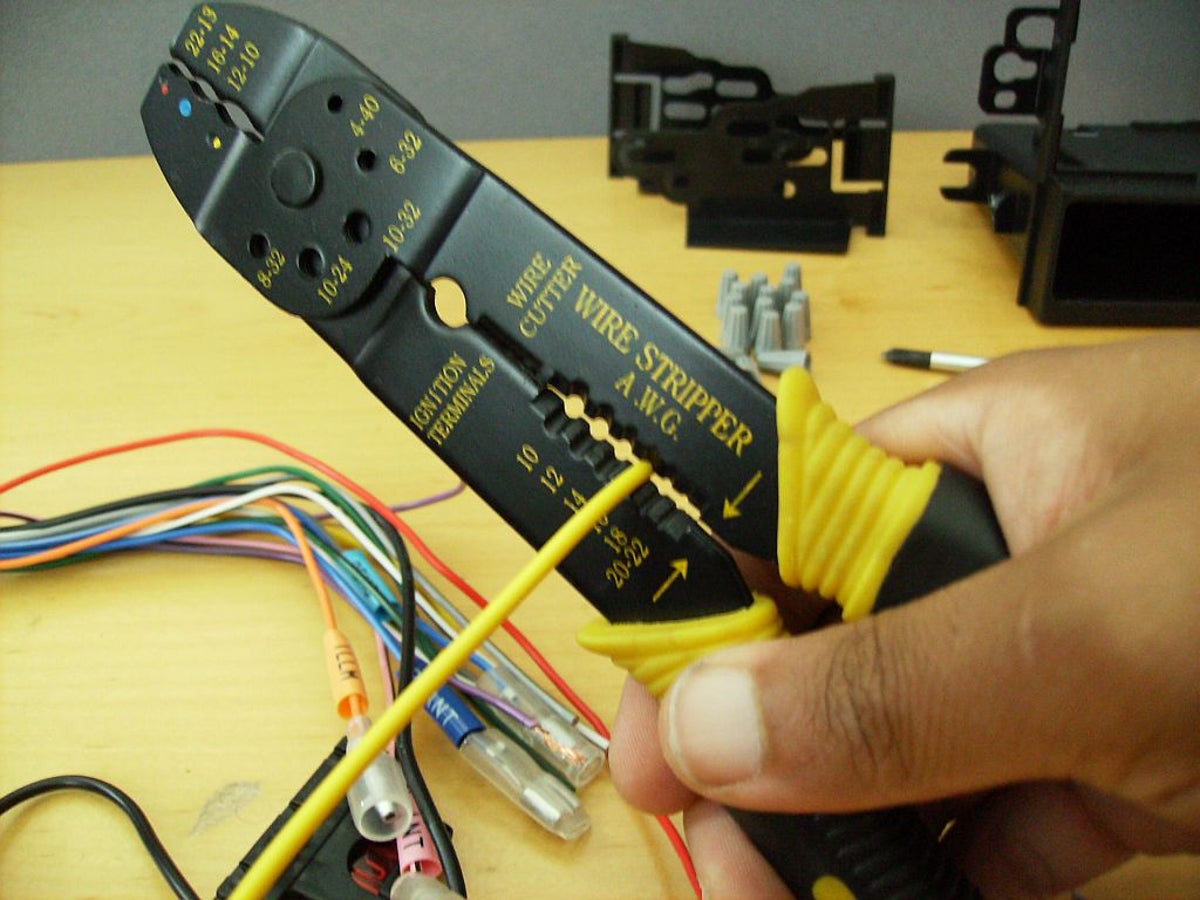
Stripping
The first part of the installation, connecting your wiring harnesses, ideally takes place outside of the vehicle.
You'll want to start by stripping the ends of the wires on your vehicle's wiring harness, leaving about one-quarter to one-half inch of exposed wire. This is done by inserting the wire into the stripper at the appropriate gauge, twisting the stripper to bite into the insulating jacket, and then pulling to expose the copper wire.
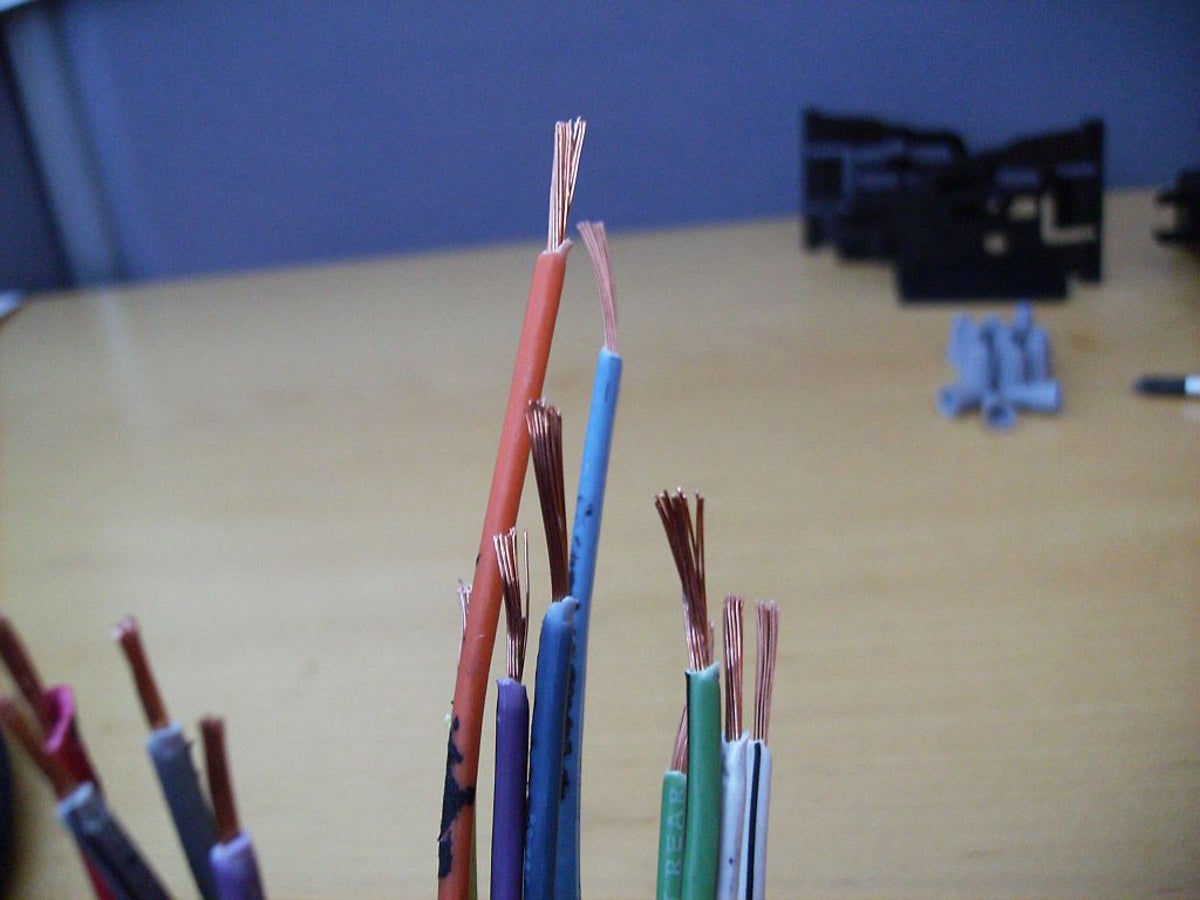
Ready for connection
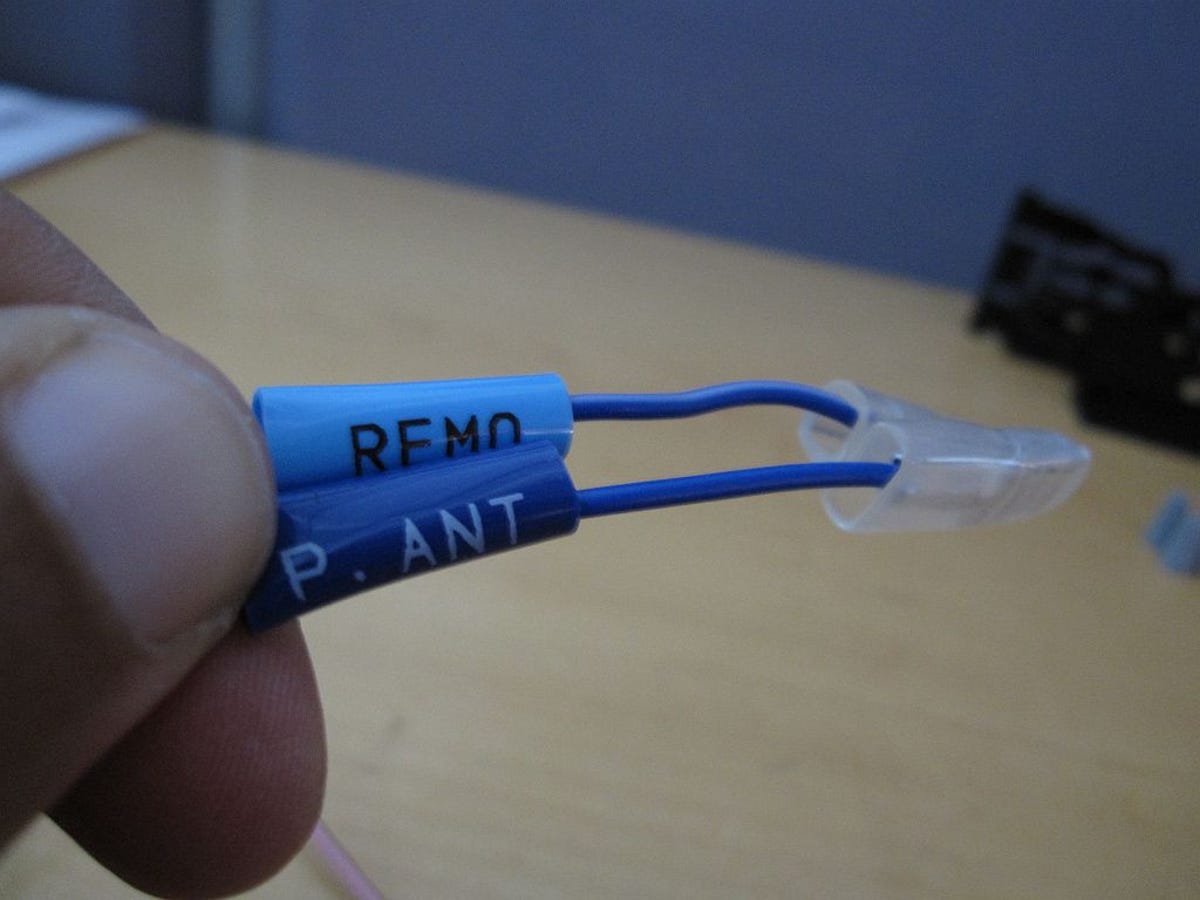
The blues
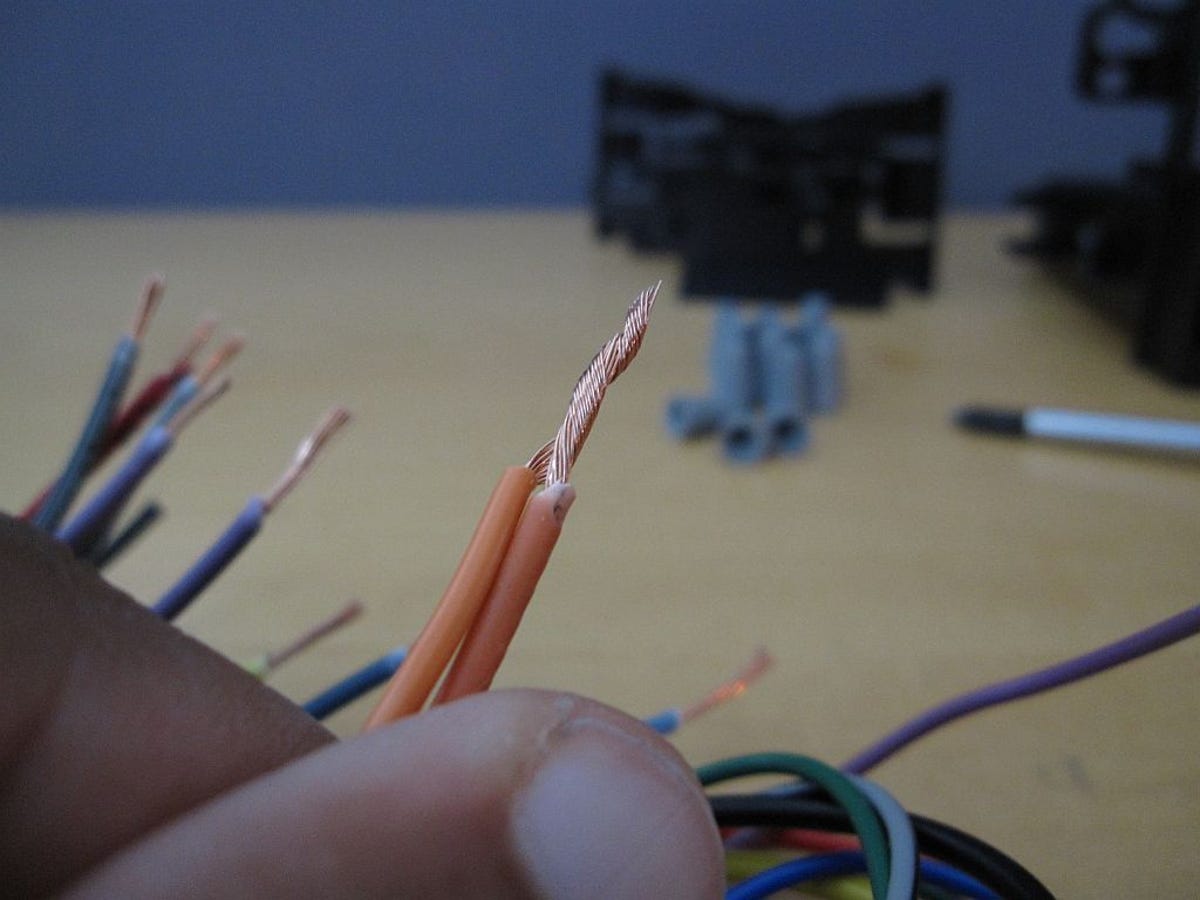
Twisted
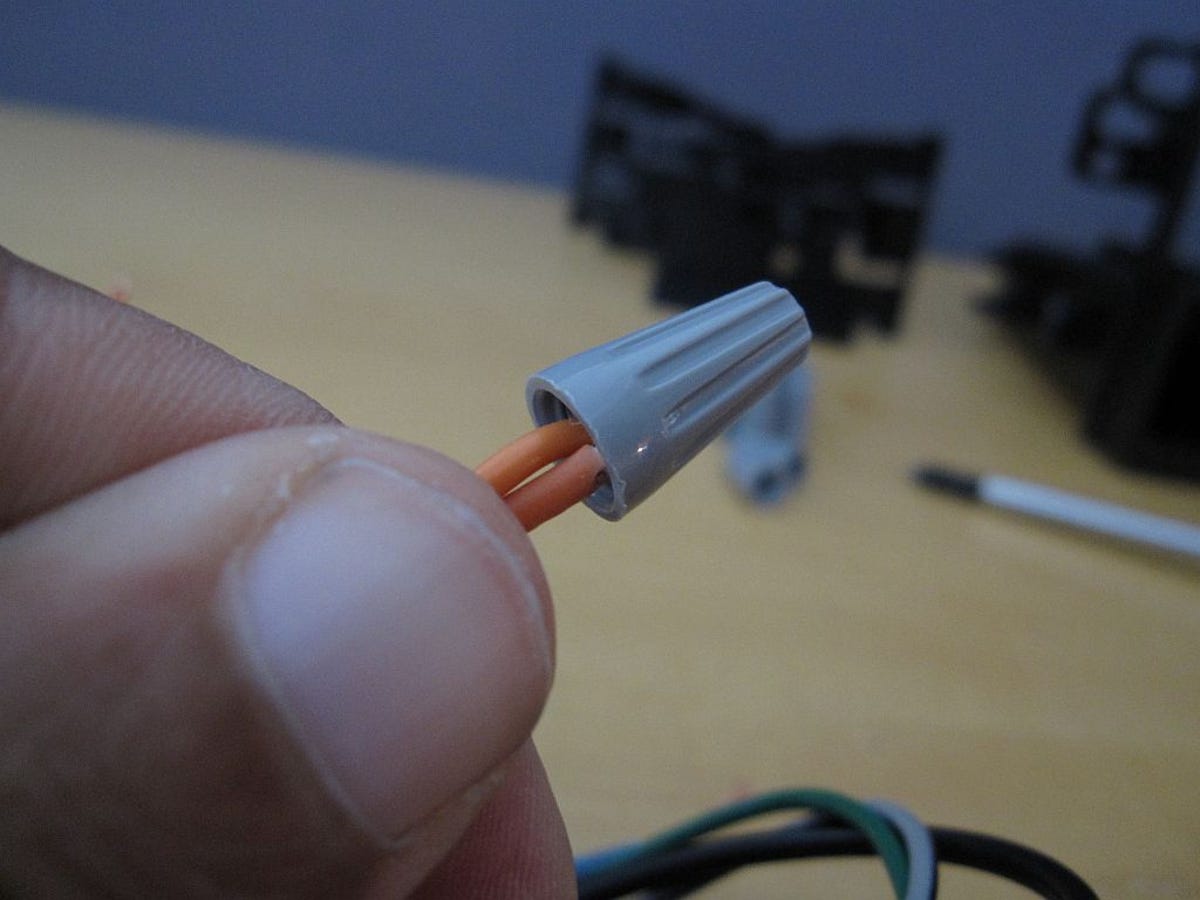
Capped
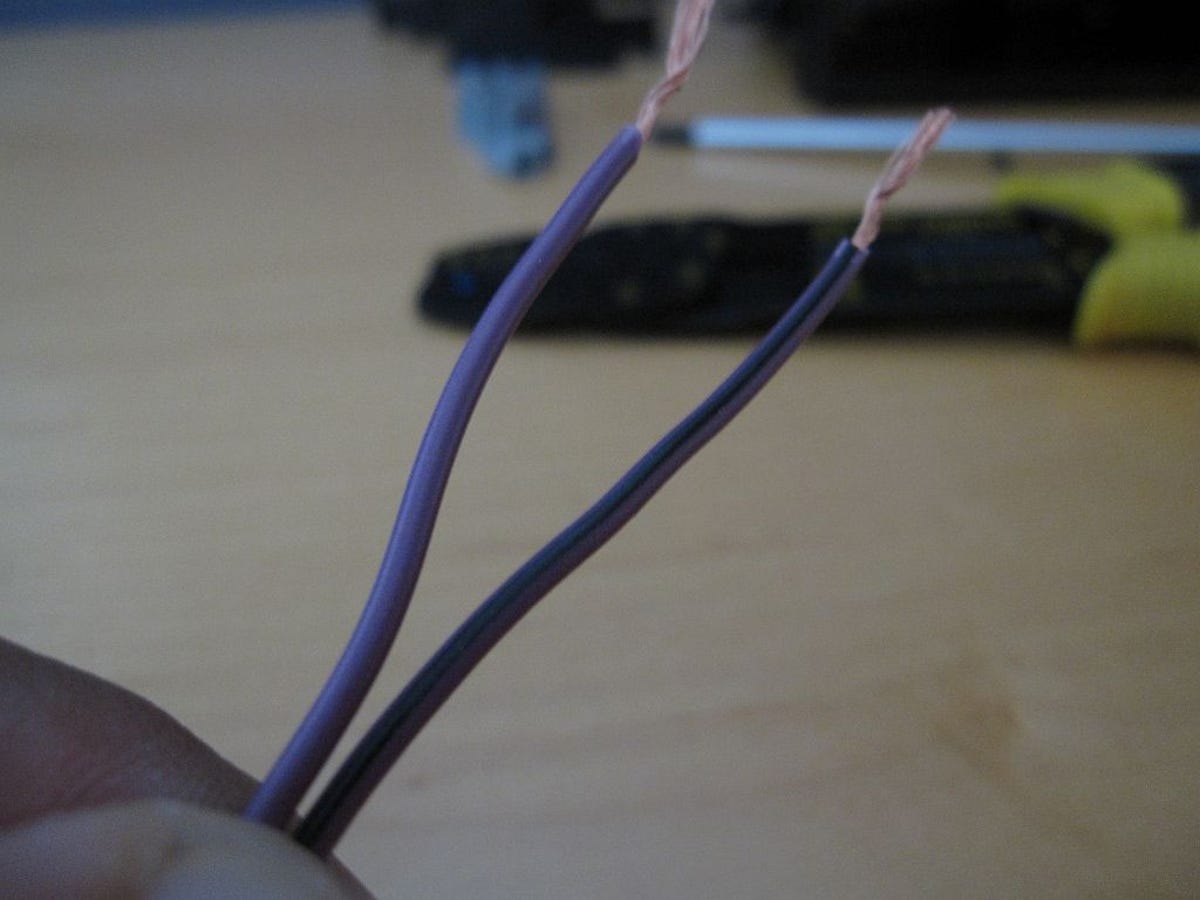
Polarity
When it's time to connect the speaker cables, pay close attention to the markings on the insulating jacket. Each speaker has two wires with two poles, a positive and a negative. The negative pole is usually marked with a black stripe. Make sure that you connect the positive to the positive on the harnesses, and the same for the negative.
Connecting a speaker backwards puts it "out of phase" with the rest of the speakers in the set, causing it to pull air while the others are pushing. This essentially cancels out the sound and results in lower sound quality and volume. So, double-check your poles before you make your connections.
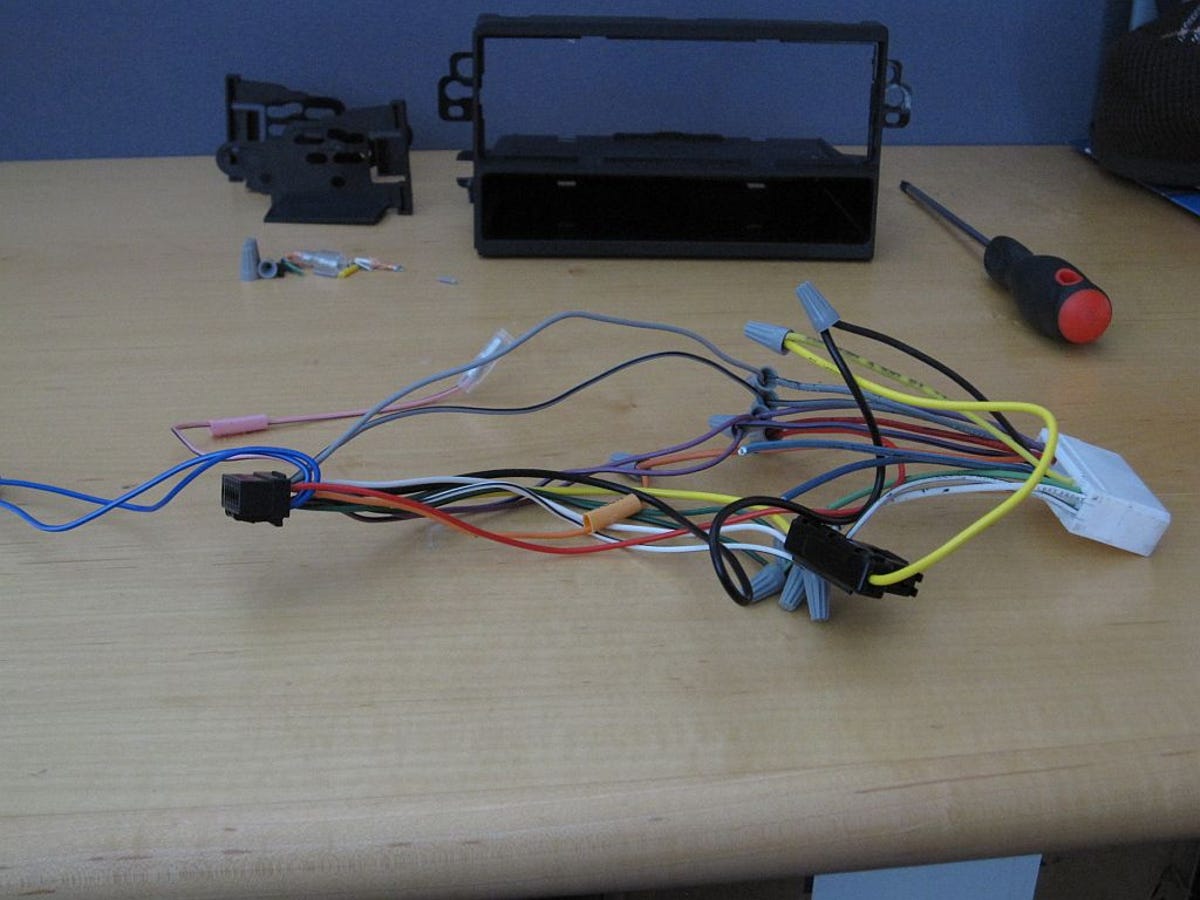
Completed wiring harness
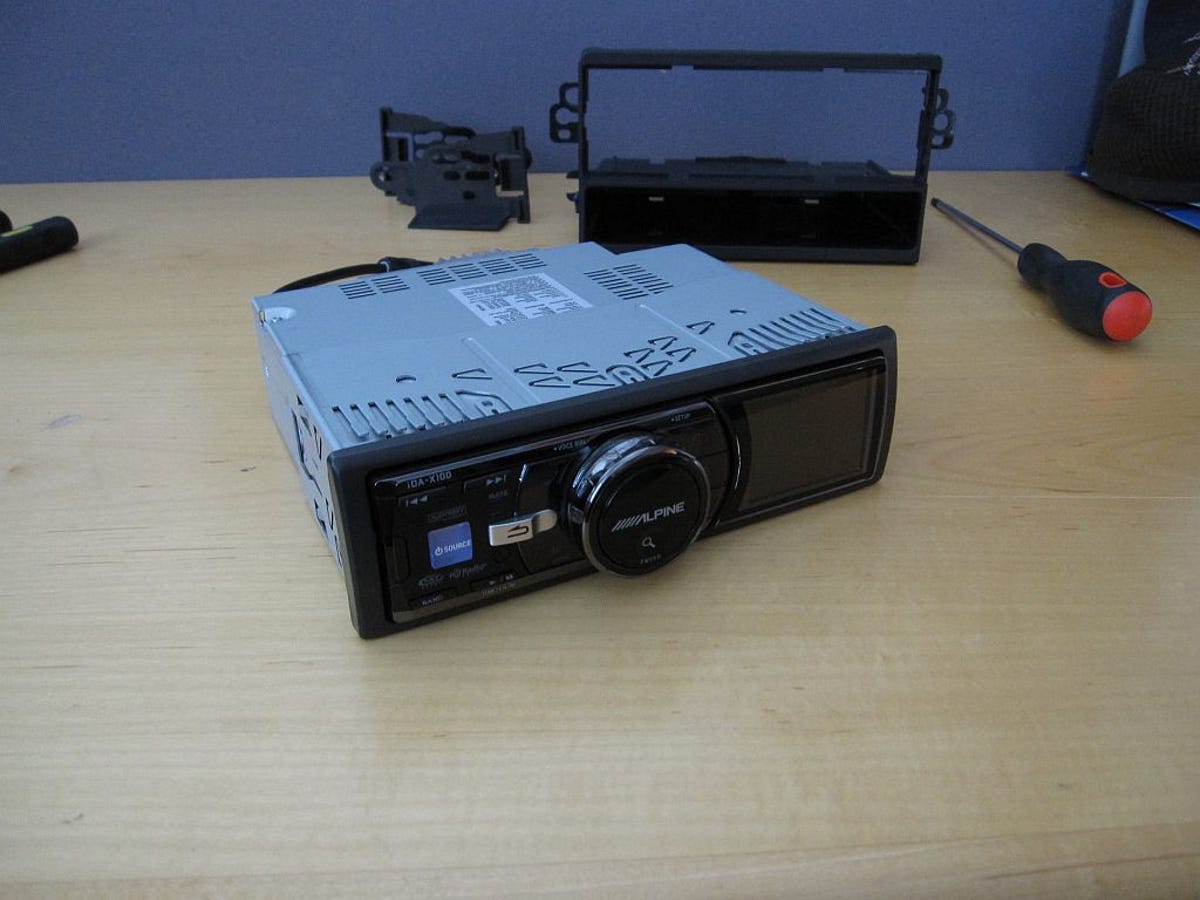
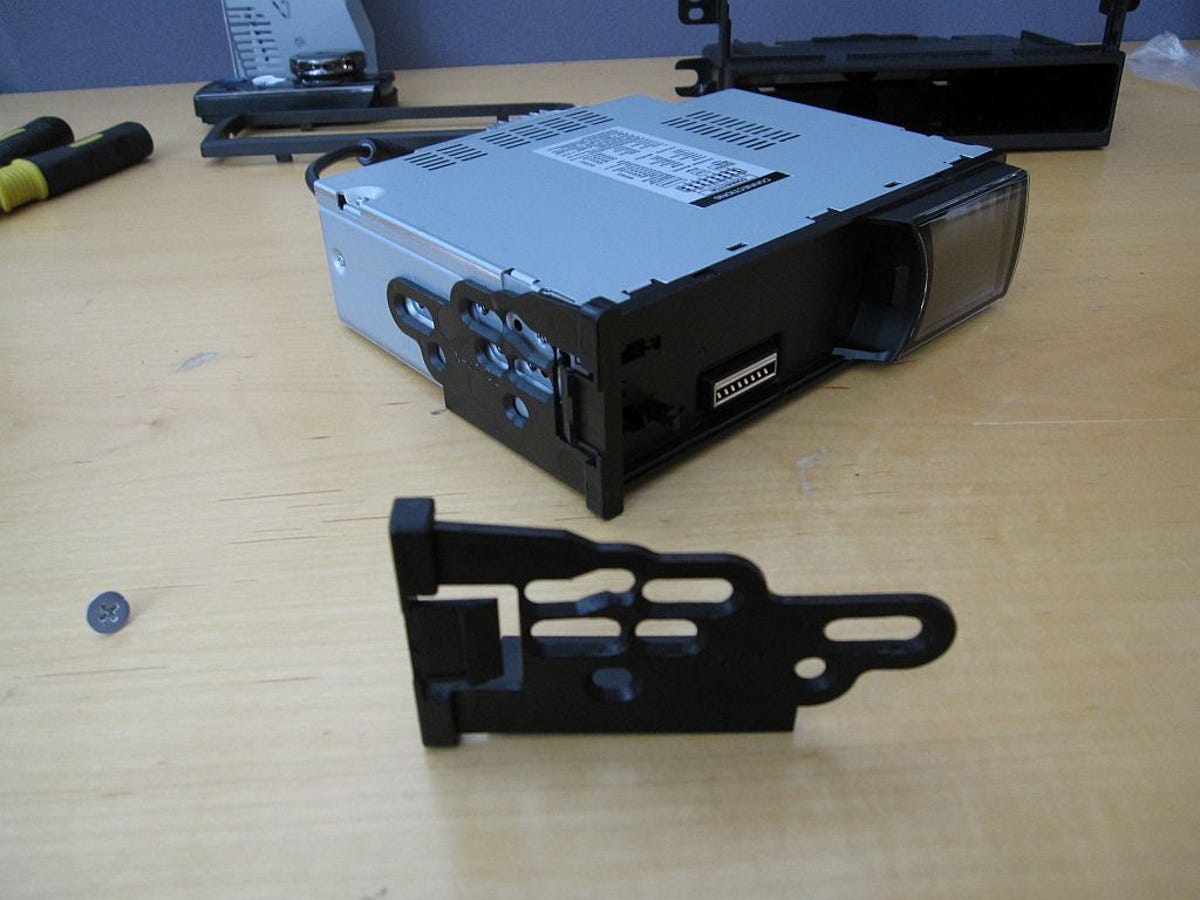
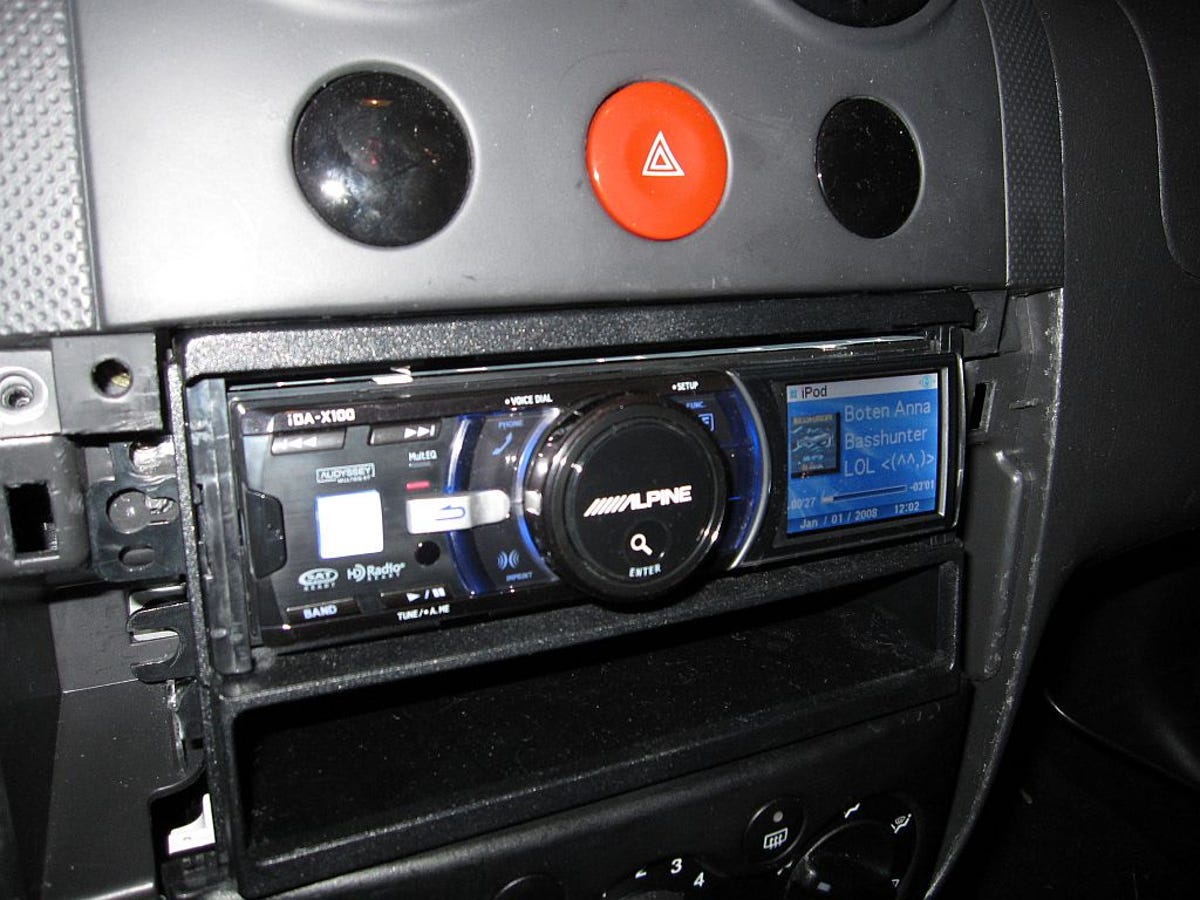
Alpine iDA-X100
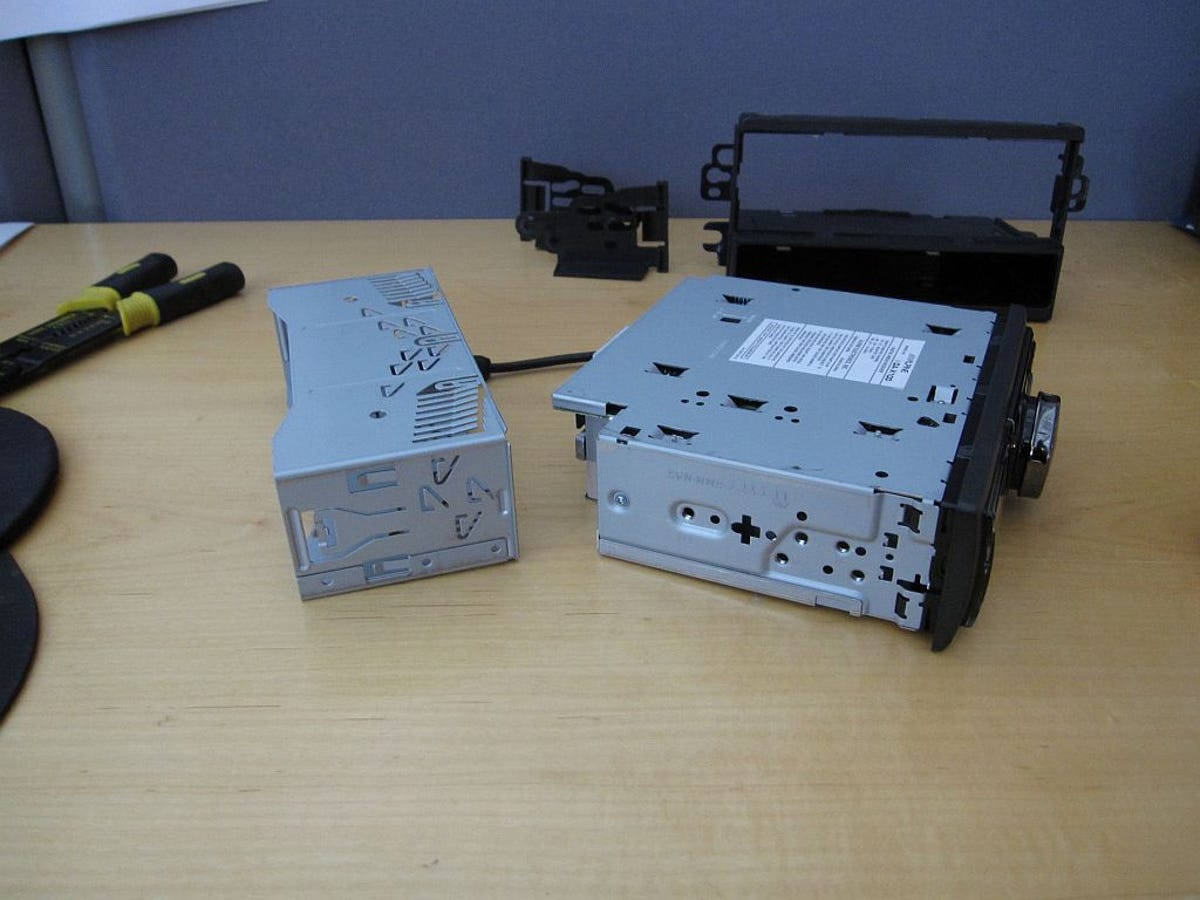
Sleeve
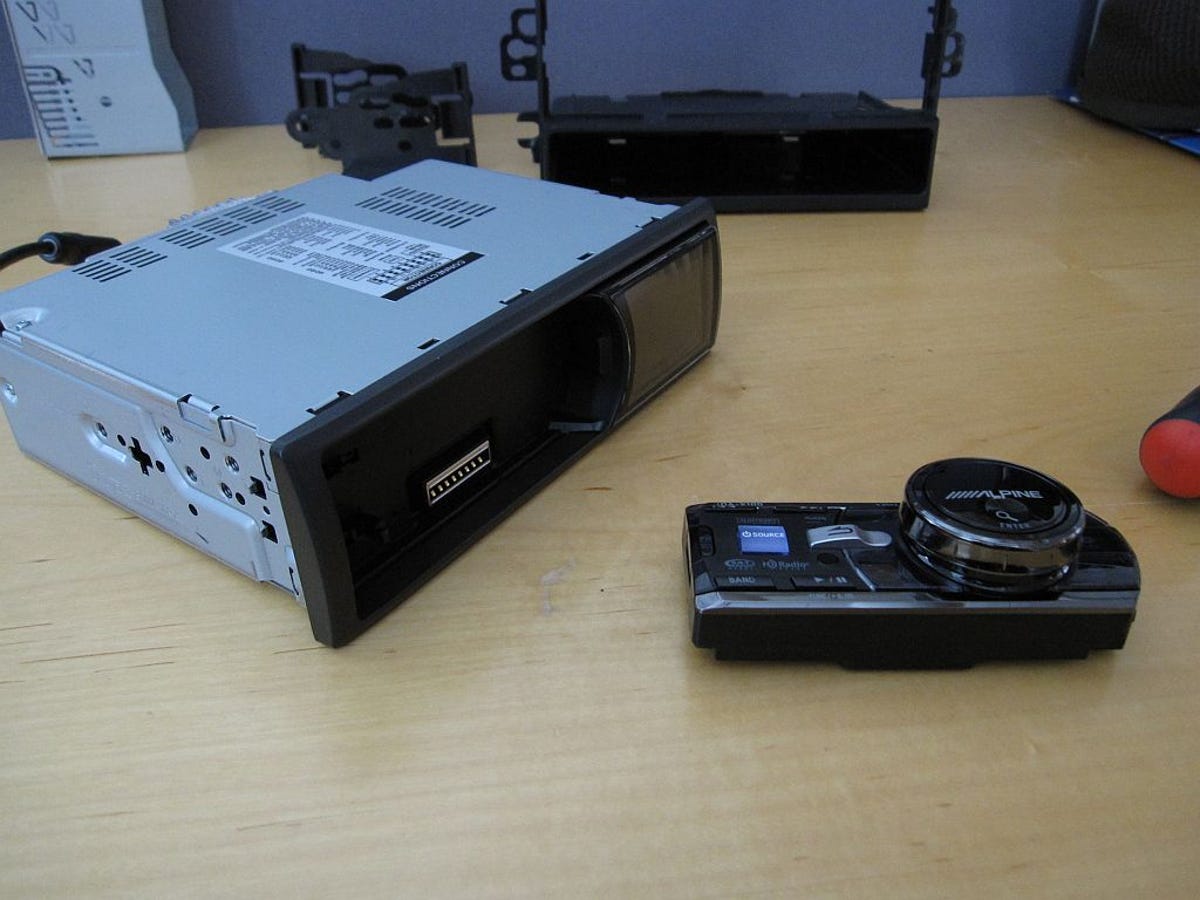
Detach the face
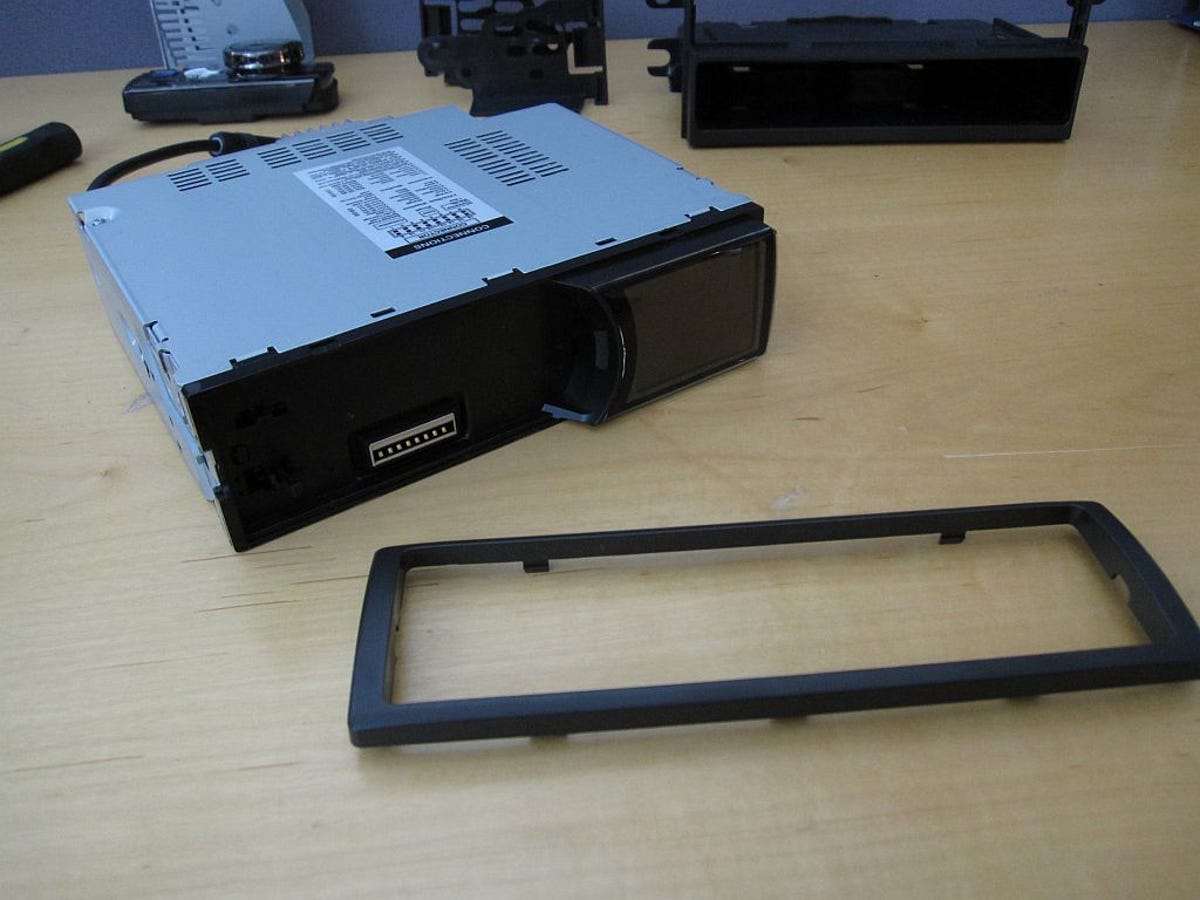
Bezel
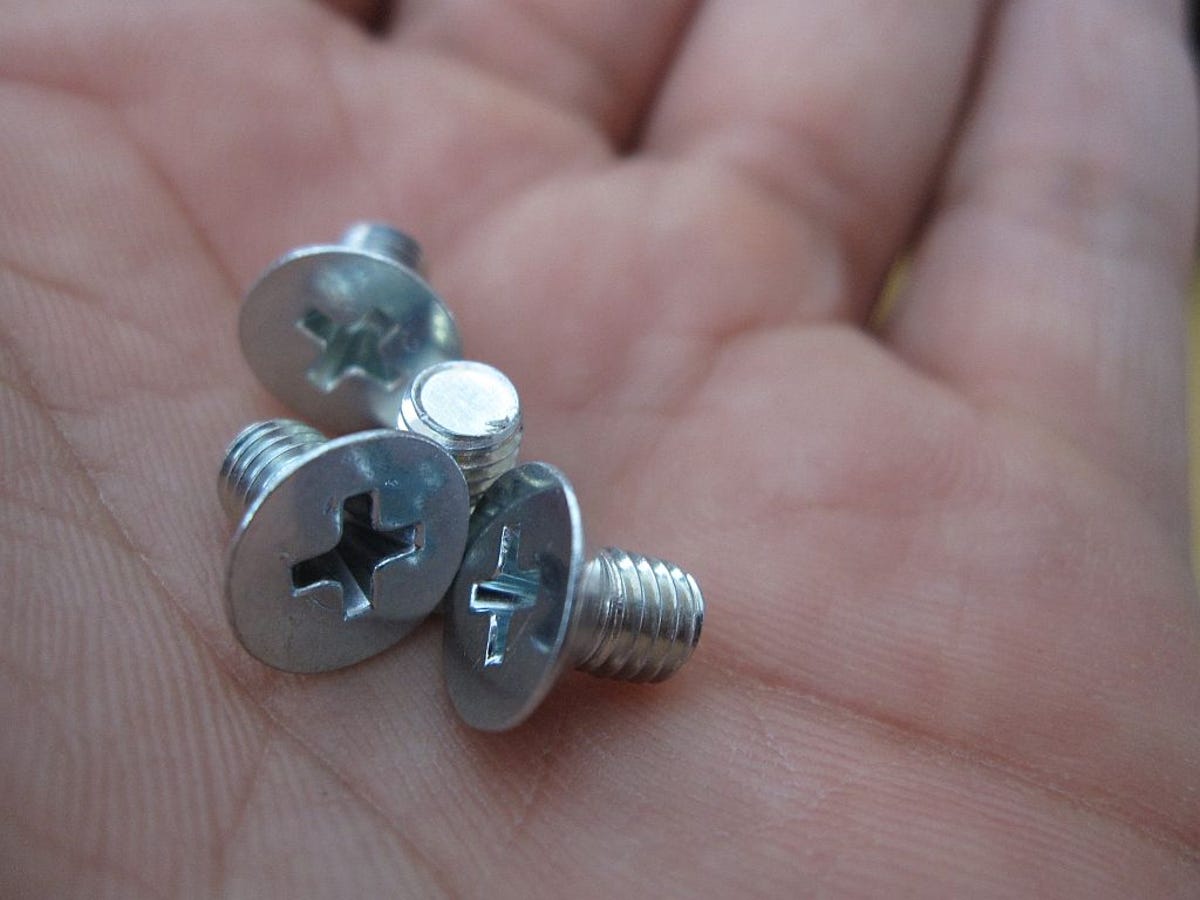
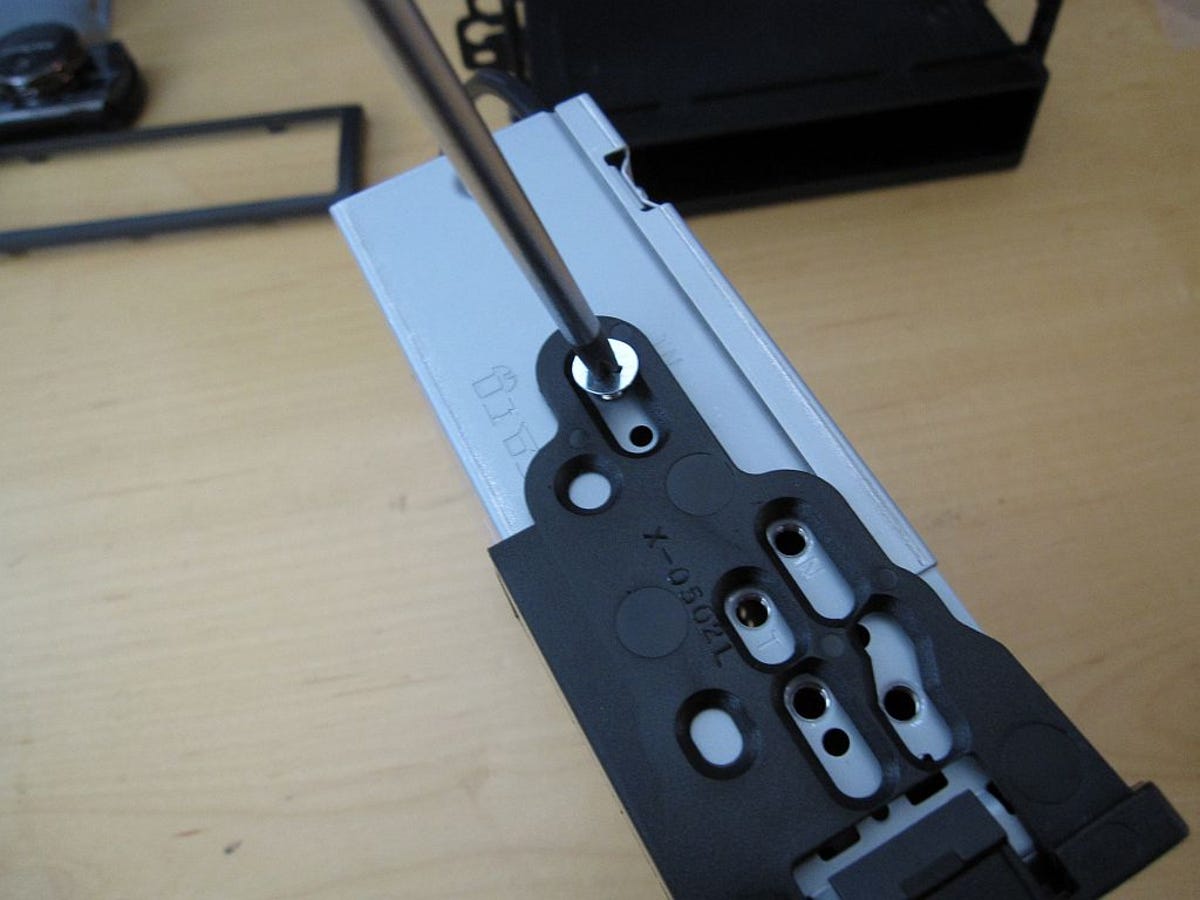
Use the right screws
Mounting brackets
Stability
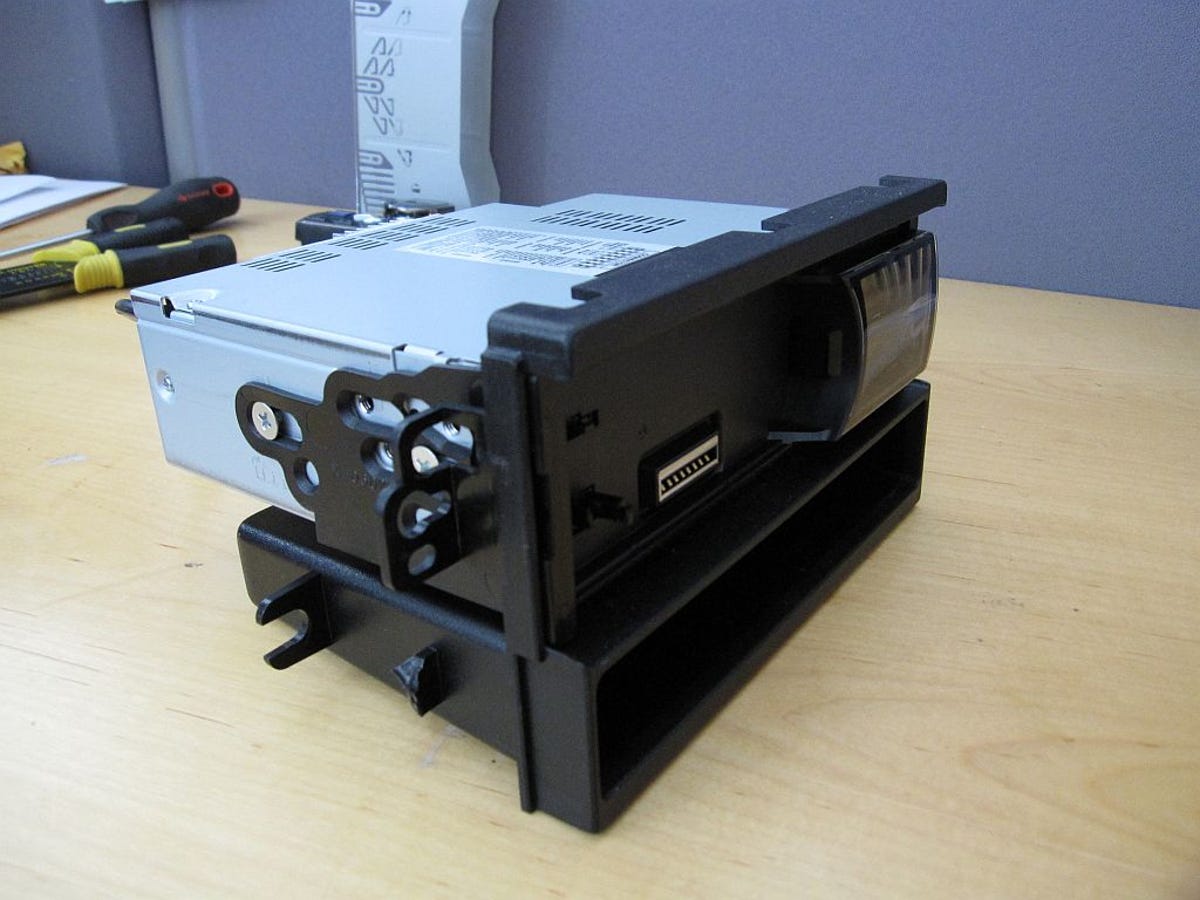
Fits like a glove
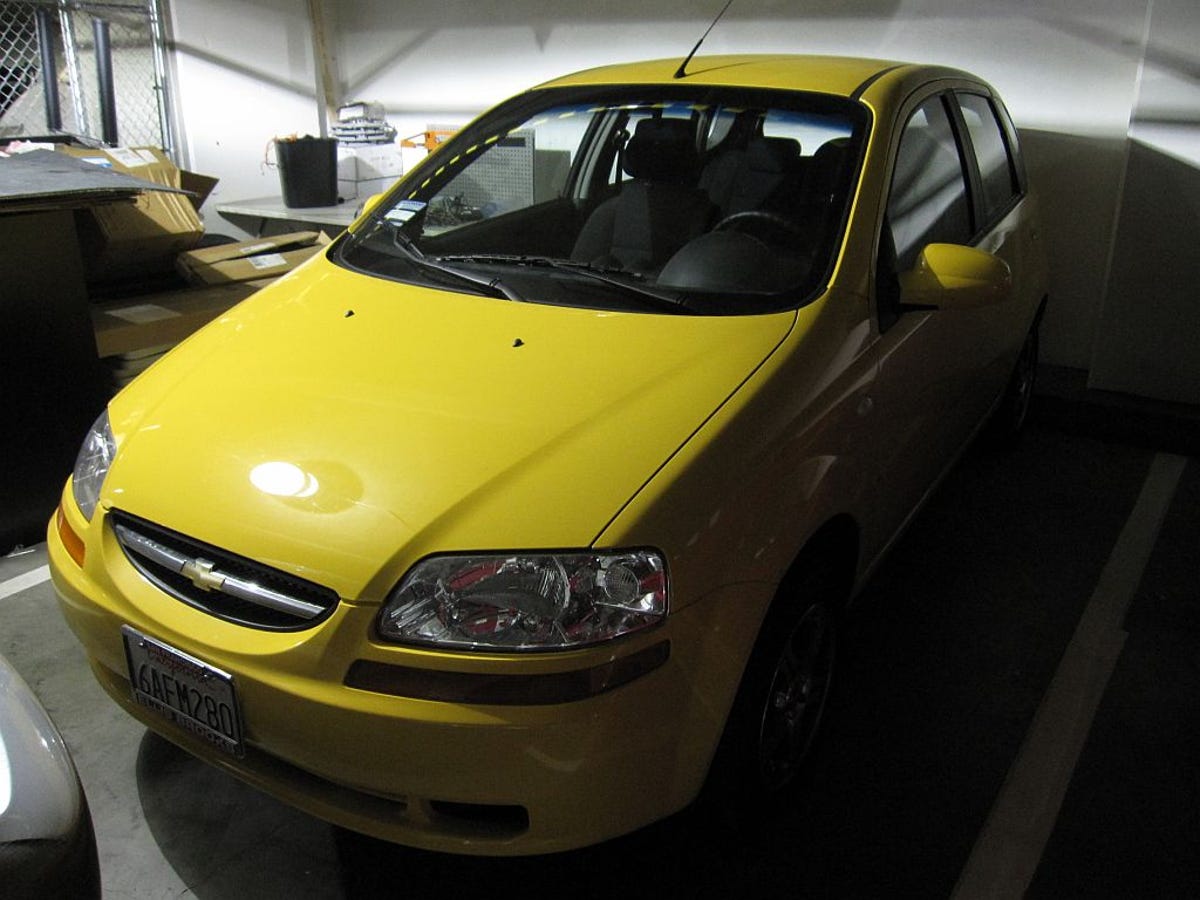
Locate your vehicle
Locate your vehicle. If your can't complete this step, you've got bigger problems than this how-to can solve!
Our test car, a Chevrolet Aveo, awaits in a dark corner of the CNET garage. You'll want to find someplace better illuminated. It gets pretty dark in the recesses of a vehicle's interior.
Disconnect
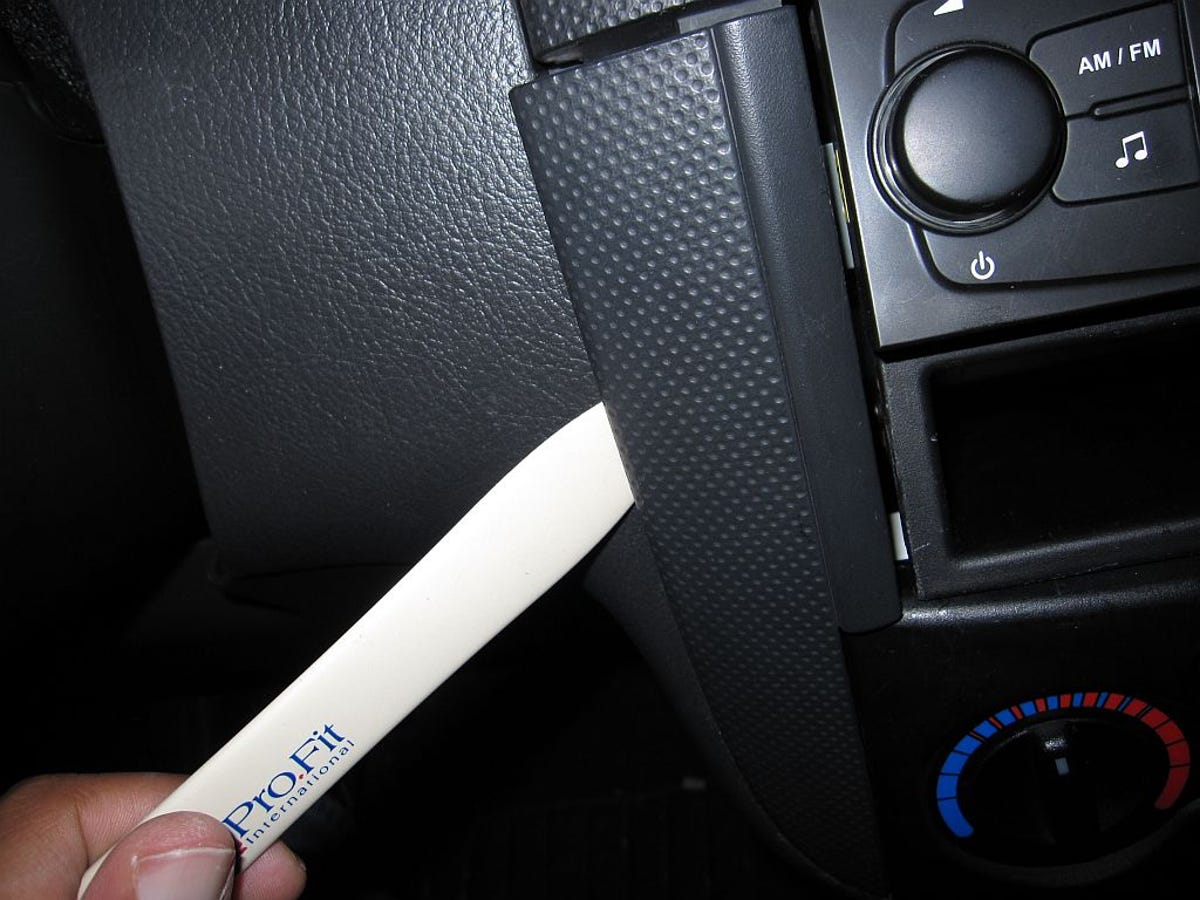
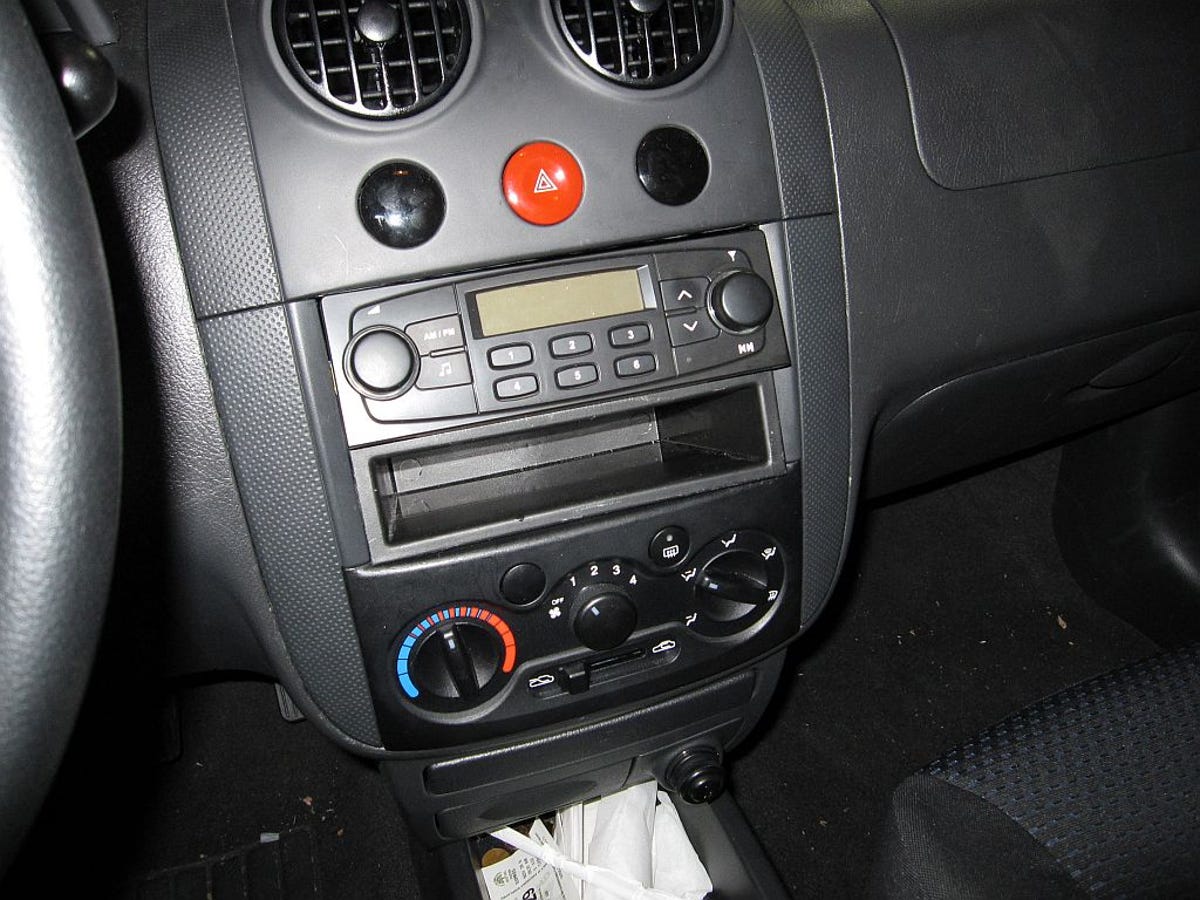
Remove headunit
Depending on your vehicle, removing the stock stereo could be very easy or very hard. For the Aveo, we use a plastic spatula to pry the plastic covers away and access the bolts and screws holding the radio in place.
If you don't have a plastic spatula, try wrapping a flat-tipped screwdriver or butter knife in tape, to protect the interior plastic.
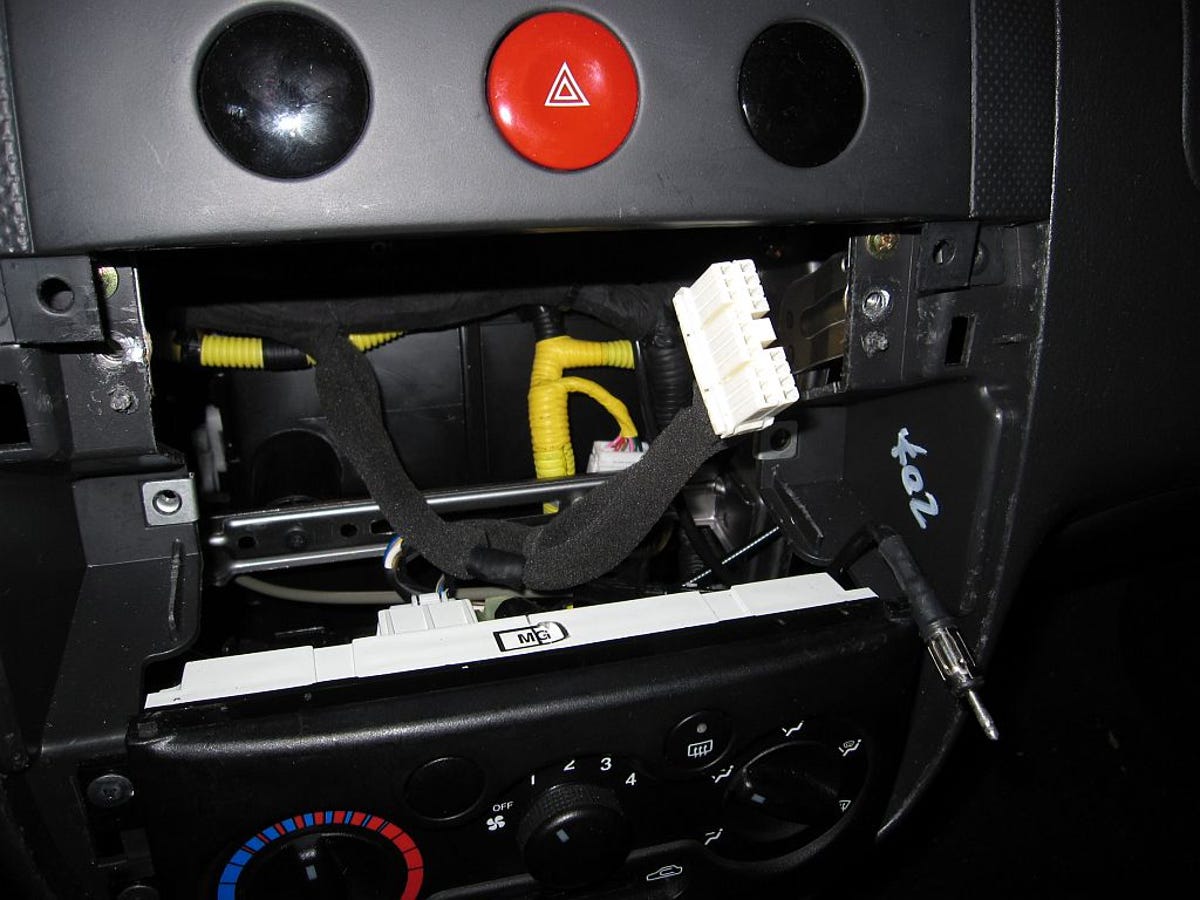
Empty dashboard
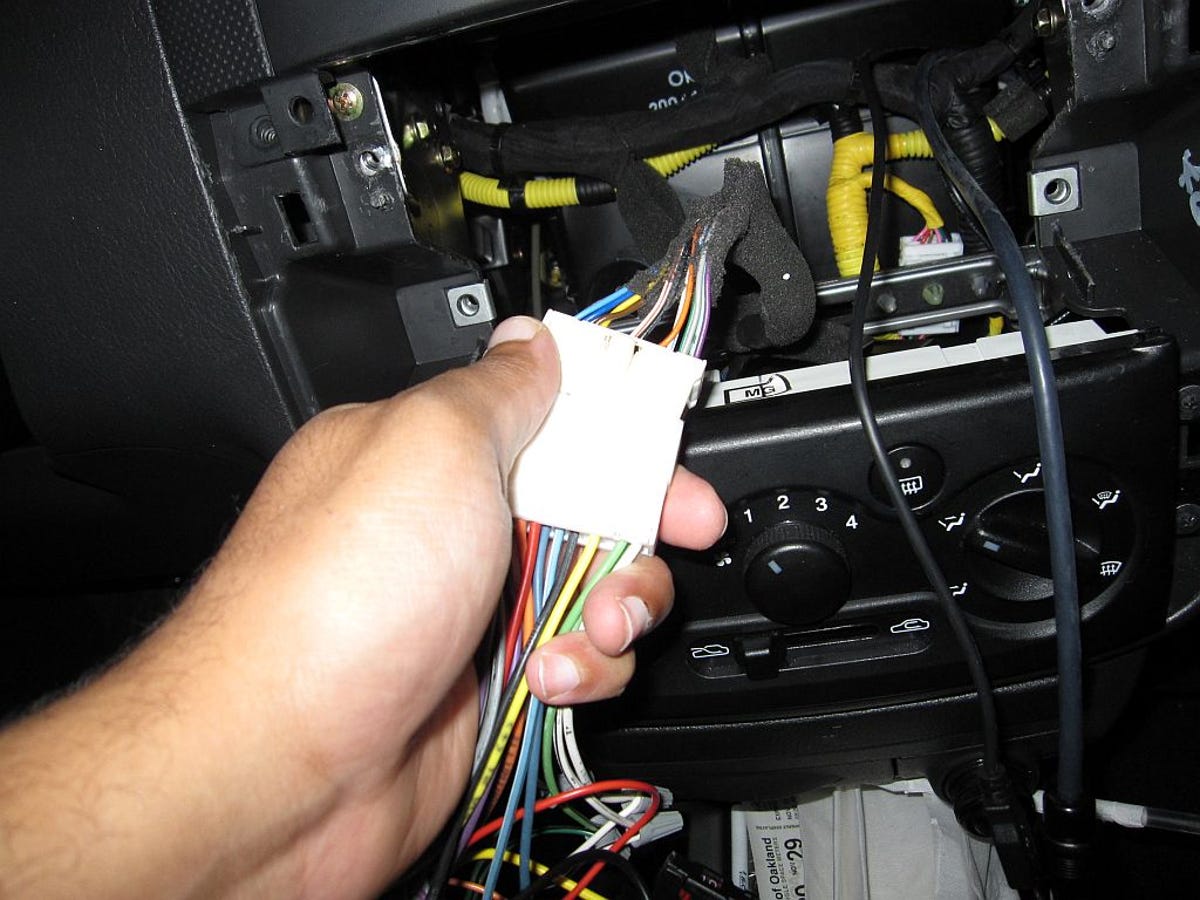
Connect the harness
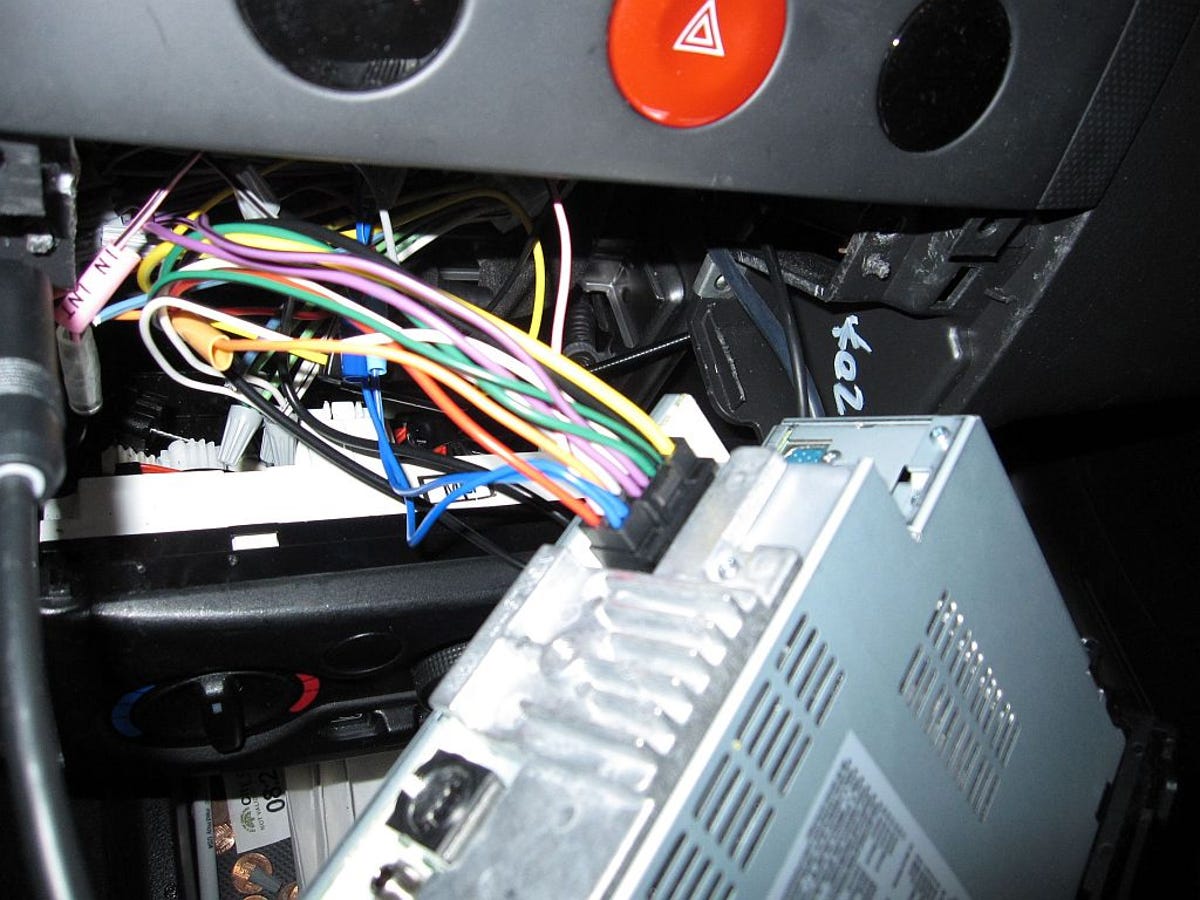
Final connections
Testing

All done!
More Galleries

My Favorite Shots From the Galaxy S24 Ultra's Camera
20 Photos
Honor's Magic V2 Foldable Is Lighter Than Samsung's Galaxy S24 Ultra
10 Photos
The Samsung Galaxy S24 and S24 Plus Looks Sweet in Aluminum
23 Photos
Samsung's Galaxy S24 Ultra Now Has a Titanium Design
23 Photos
I Took 600+ Photos With the iPhone 15 Pro and Pro Max. Look at My Favorites
34 Photos
