Installing the Magellan Wireless Back-Up Camera (photos)
This rearview camera system is an upgrade for Magellan's seven-inch GPS navigators. We take you step by step through the simple, 30-minute installation.
Antuan Goodwin
Antuan Goodwin gained his automotive knowledge the old fashioned way, by turning wrenches in a driveway and picking up speeding tickets. From drivetrain tech and electrification to car audio installs and cabin tech, if it's on wheels, Antuan is knowledgeable.
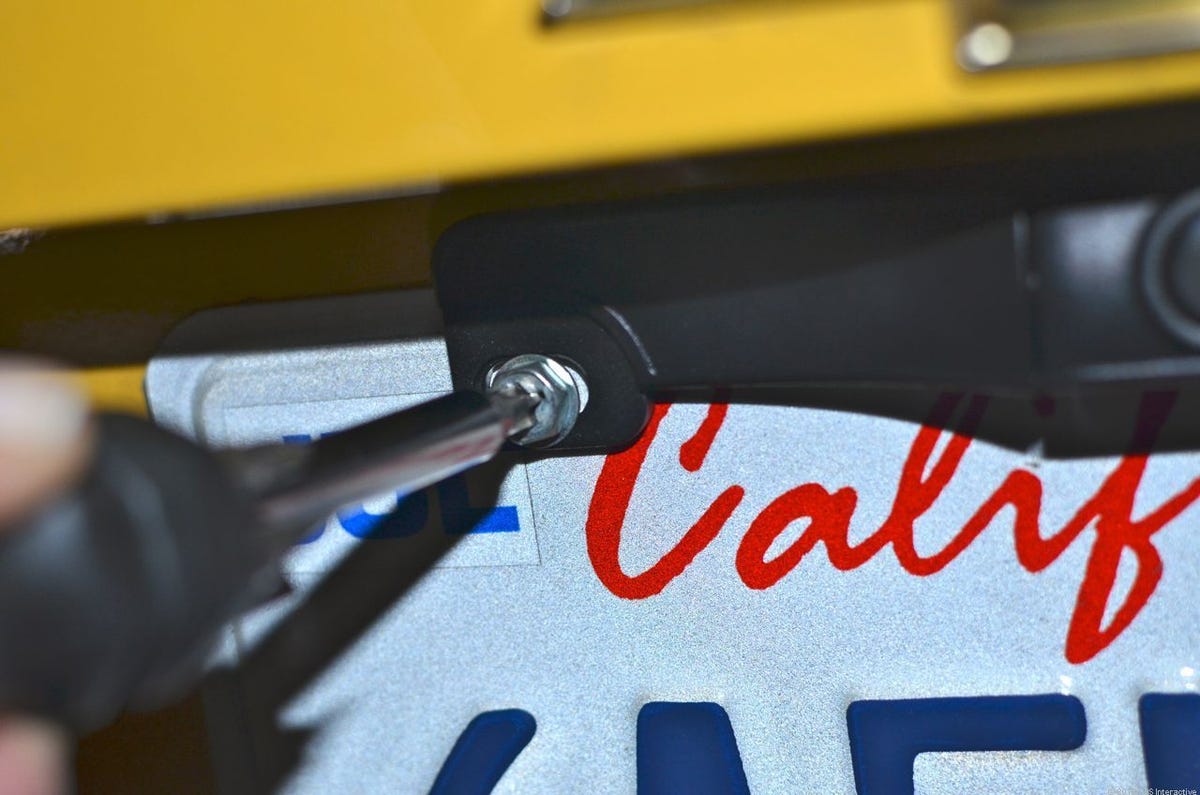
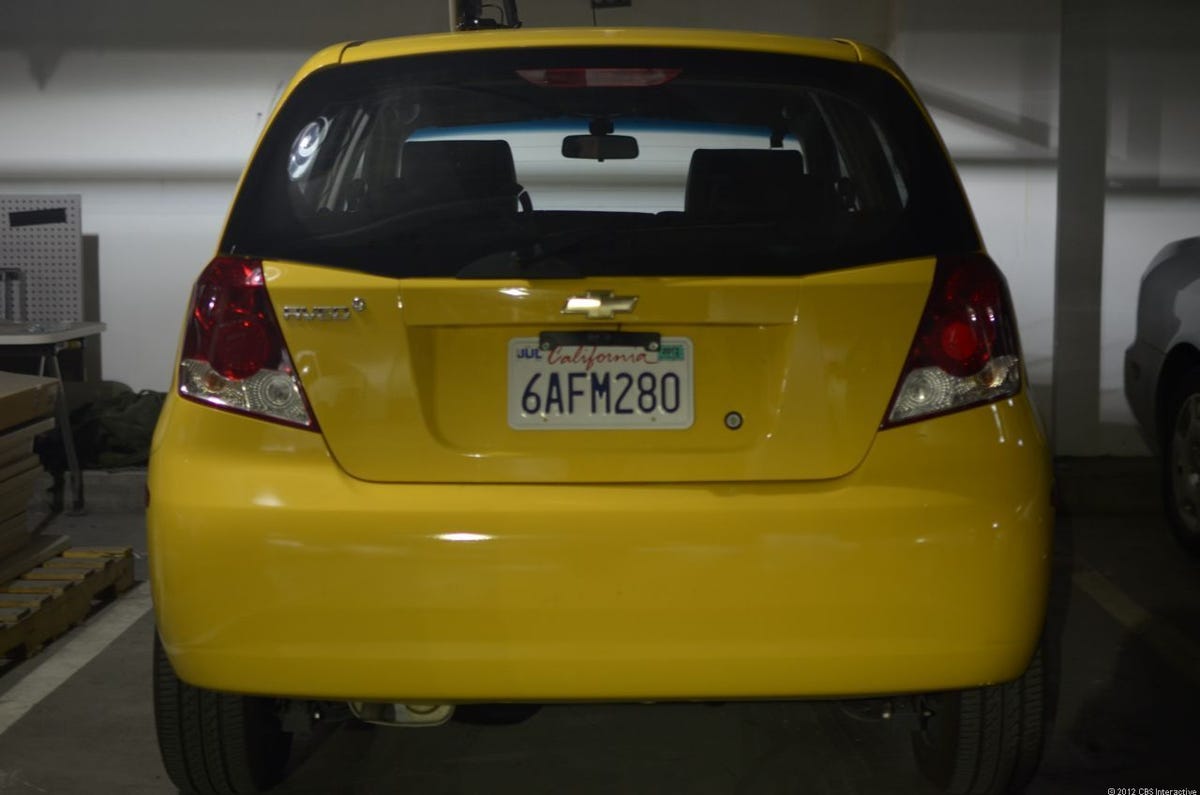
Start by removing the screws that hold your license plate in place, then use those same screws to affix the Magellan camera unit to the top of the plate.
2 of 14 Antuan Goodwin/CNET
Optional: secure the camera
We left the standard Phillips screwdriver compatible screws in place, but cautious owners may want to switch to a screw head that's less accessible to the common thief. I'd recommend checking your local hardware store for pin-in-hex types.
3 of 14 Antuan Goodwin/CNET
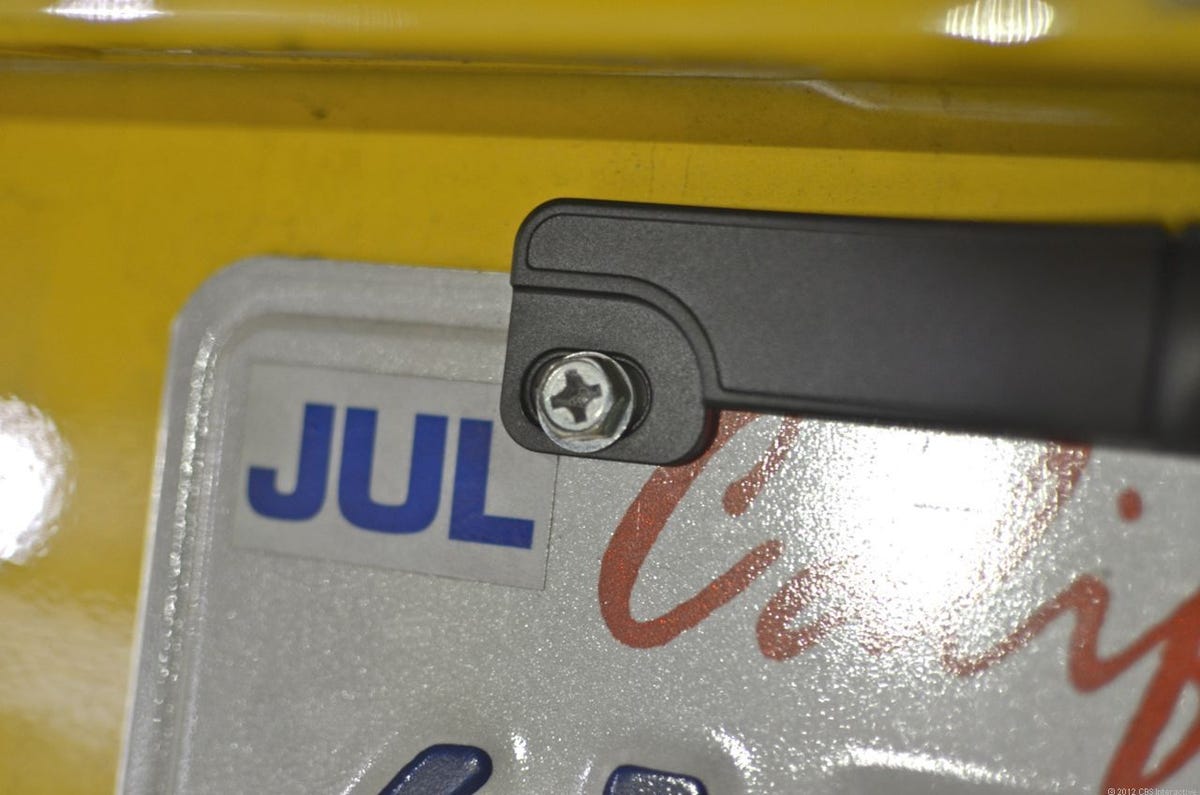
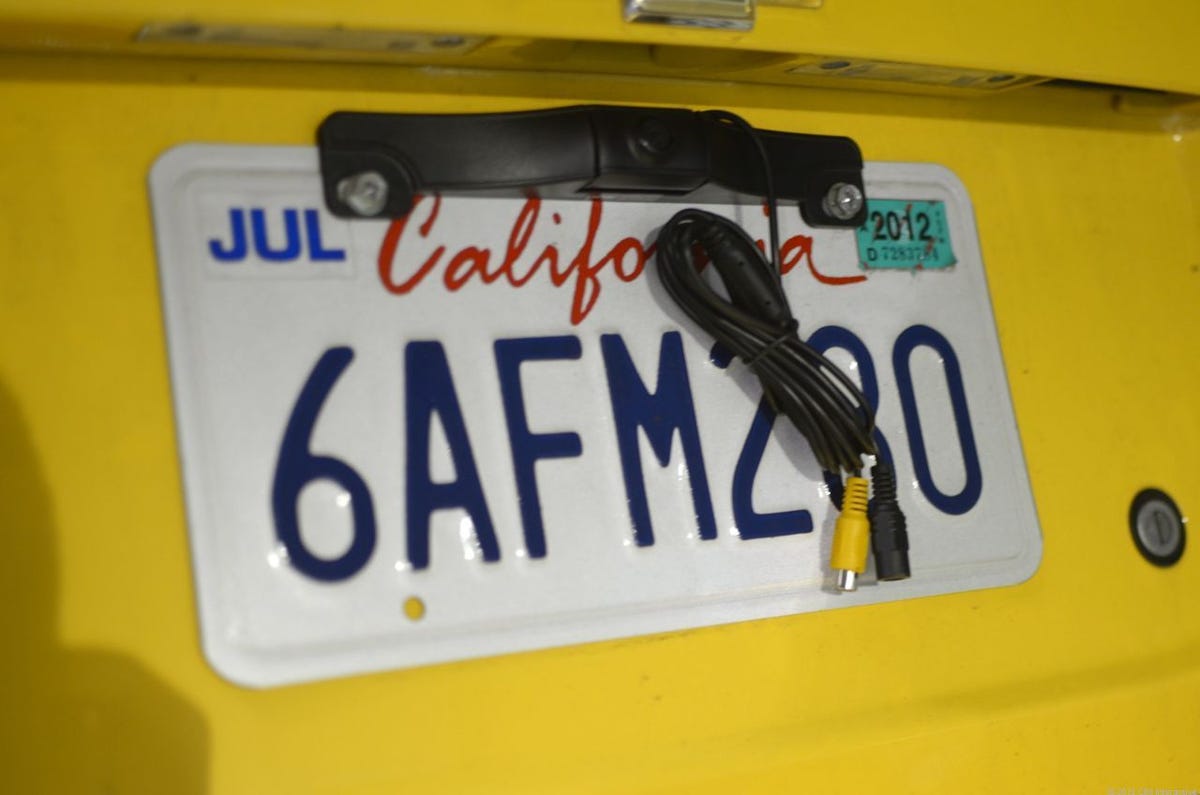
Step 2: route the camera's cables
The camera protrudes slightly from its mounting surface and may cause conflicts with certain license plate frames. Next, we need to route the cables.
4 of 14 Antuan Goodwin/CNET
Every model is different
I was able to squeeze the camera's cable through a tiny opening behind this bit of plastic trim and into the cabin of our test car. Your vehicle will no doubt present its own challenges, so don't be afraid to poke around and get creative.
5 of 14 Antuan Goodwin/CNET
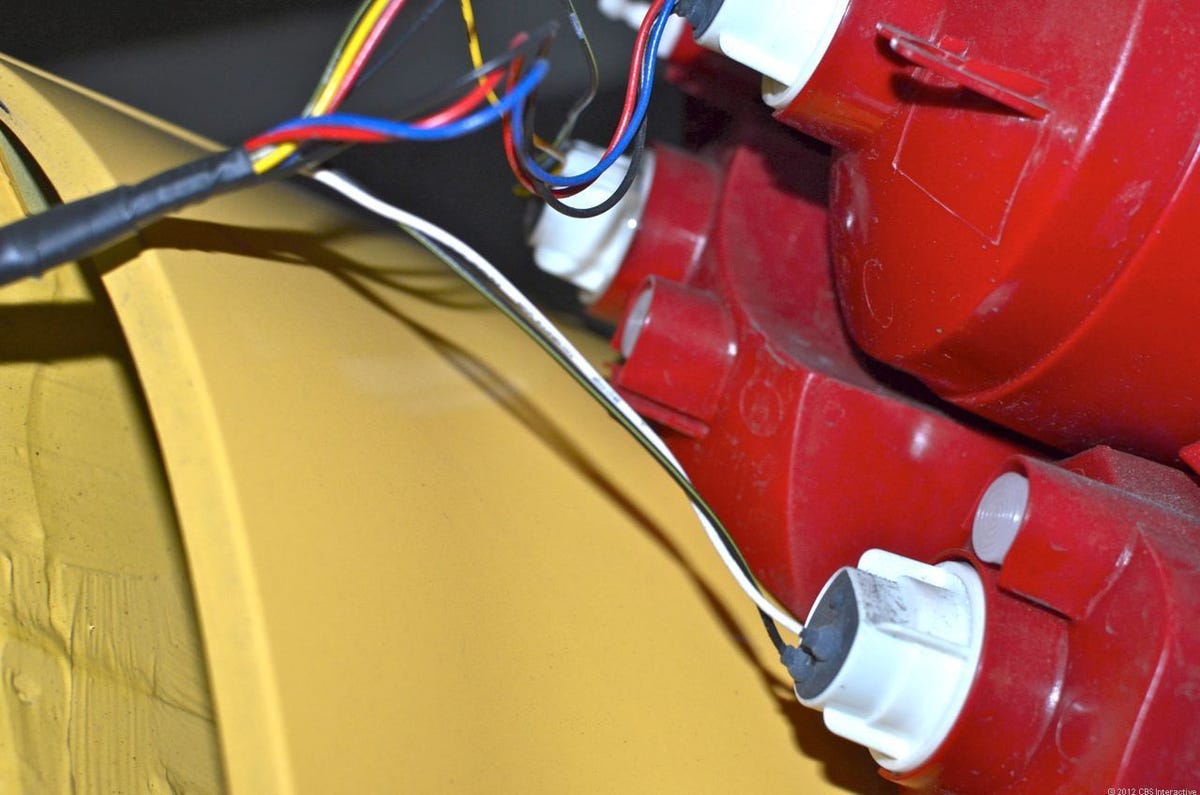
Step 3: locate a reversing light
With the camera in place, we turn our attention to the transmitter box, which needs power. Locate the one of the reverse lights on the back of your vehicle and expose the wires that power it. On our test car, we partially removed the passenger side rear light cluster to find those cables (the long, thin black and white pair near the center of the photo).
6 of 14 Antuan Goodwin/CNET
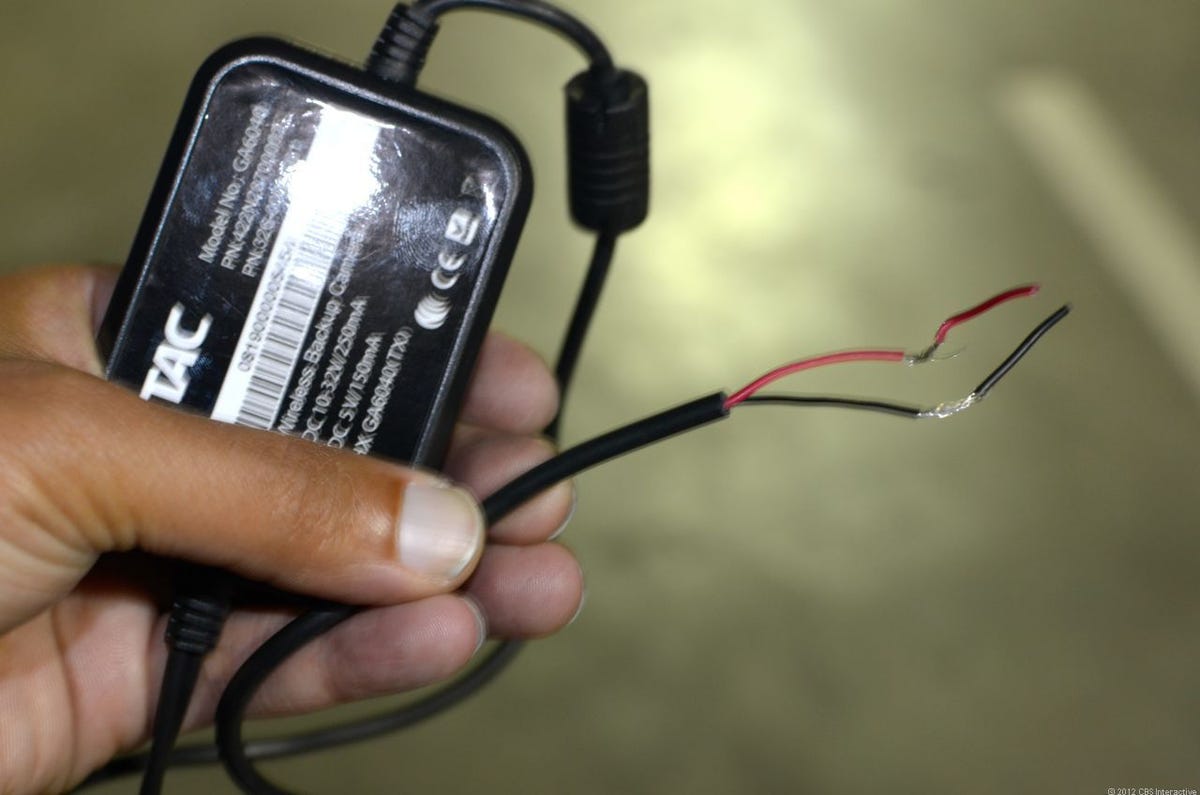
Step 4: prep the transmitter box
Now locate the transmitter box that shipped with your Wireless Back-Up Camera. This unit features two pre-stripped power cables that need to be connected to the reverse light's power.
7 of 14 Antuan Goodwin/CNET
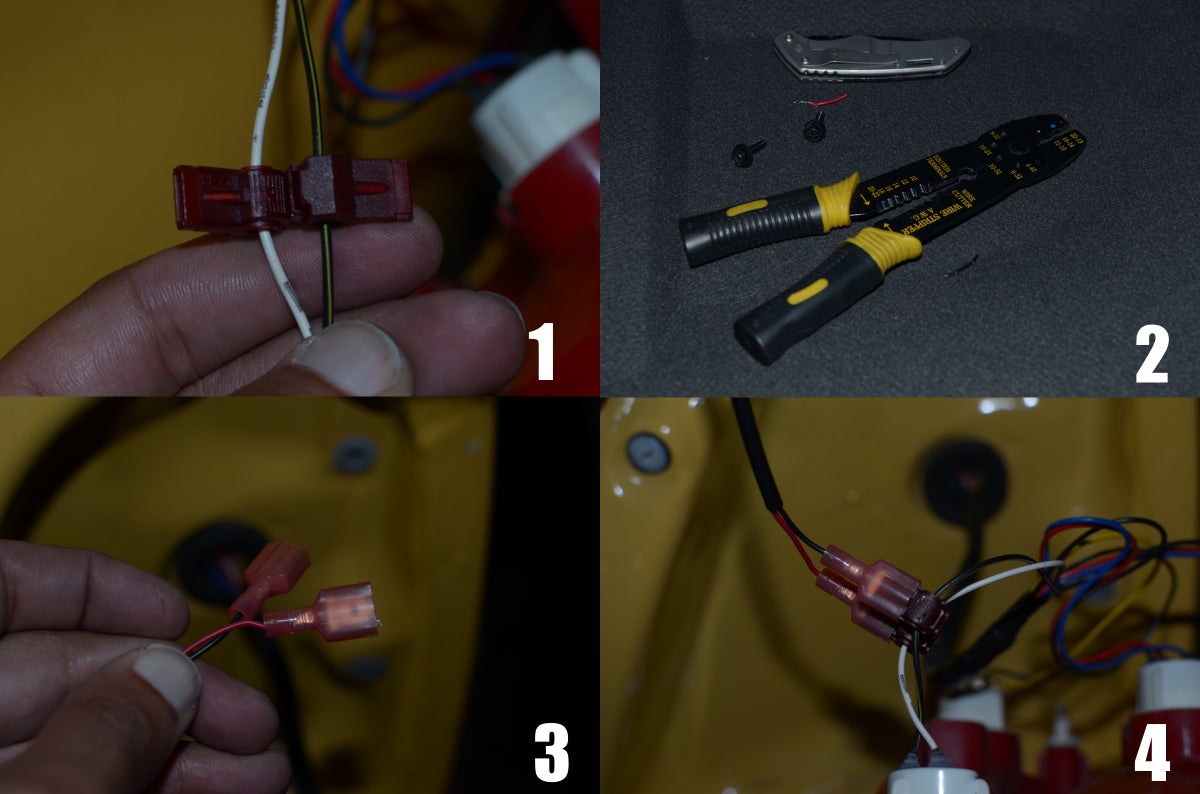
Steps 5 - 7: tap the reverse light's power
Start by locking the supplied wire taps around the positive and negative power cables (1) for the reverse light by squeezing the taps with a pair of pliers. Next, using a wire crimper (2) attach the supplied spade connectors to the exposed ends of the transmitter box's power leads (3). Then simply connect the spade connectors to the wire taps.
8 of 14 Antuan Goodwin/CNET
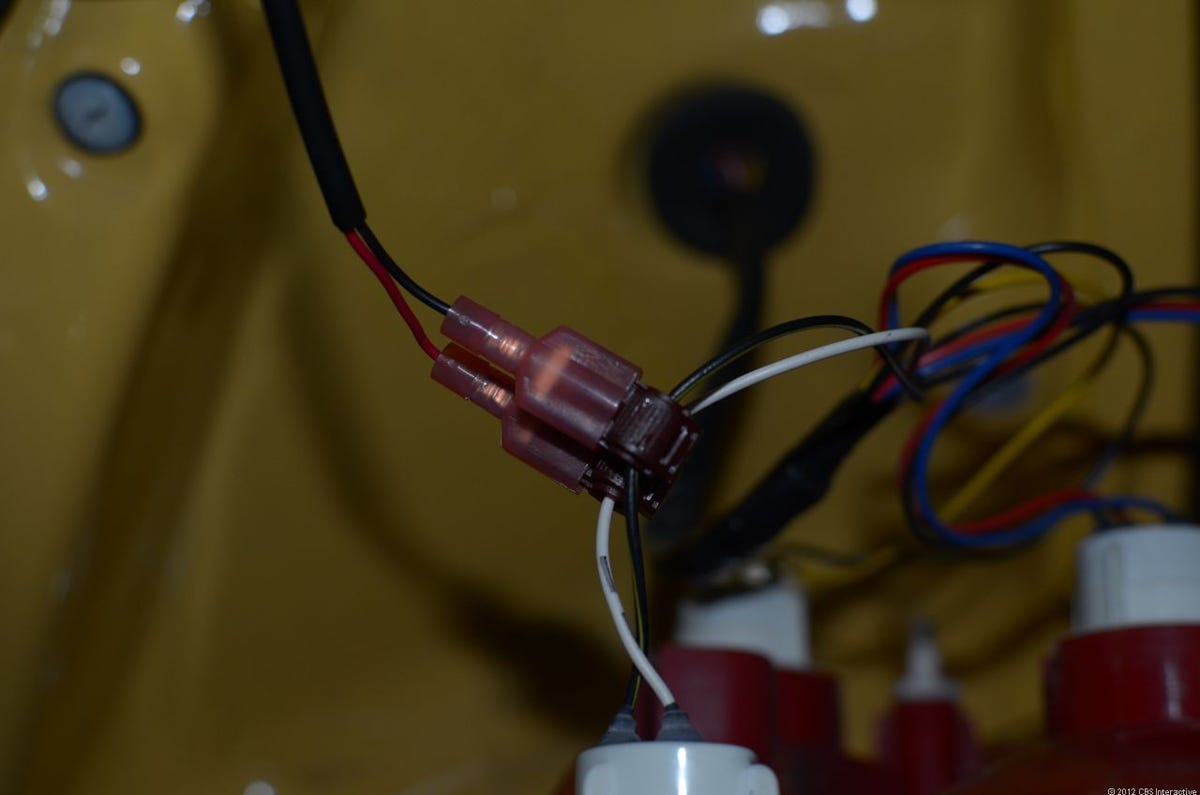
A clean connection
The red (positive) cable connects to the white power wire and the black (ground) connects to the black grounded connection on the vehicle. The result is a clean connection that's easy to reverse if you ever find the need to.
9 of 14 Antuan Goodwin/CNET
Step 8: connect the camera to the transmitter
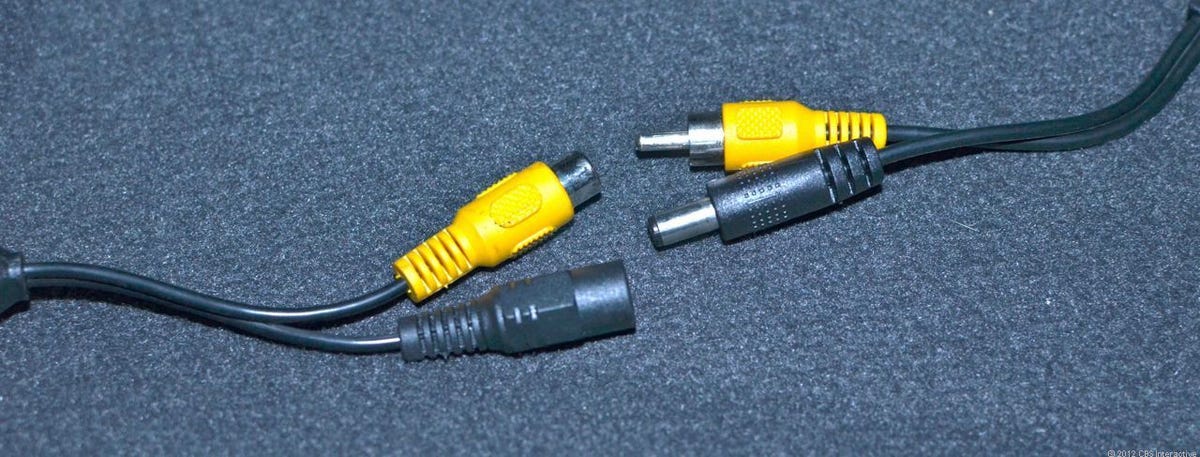
Finally, secure all excess wire using zip ties (not included) and make the connections between the camera and the transmitter. There are only two to make: power and video.
10 of 14 Antuan Goodwin/CNET
Step 9: put your car back together
Put your reverse lights back into place and reattach any body panels that you may have removed during installation.
11 of 14 Antuan Goodwin/CNET
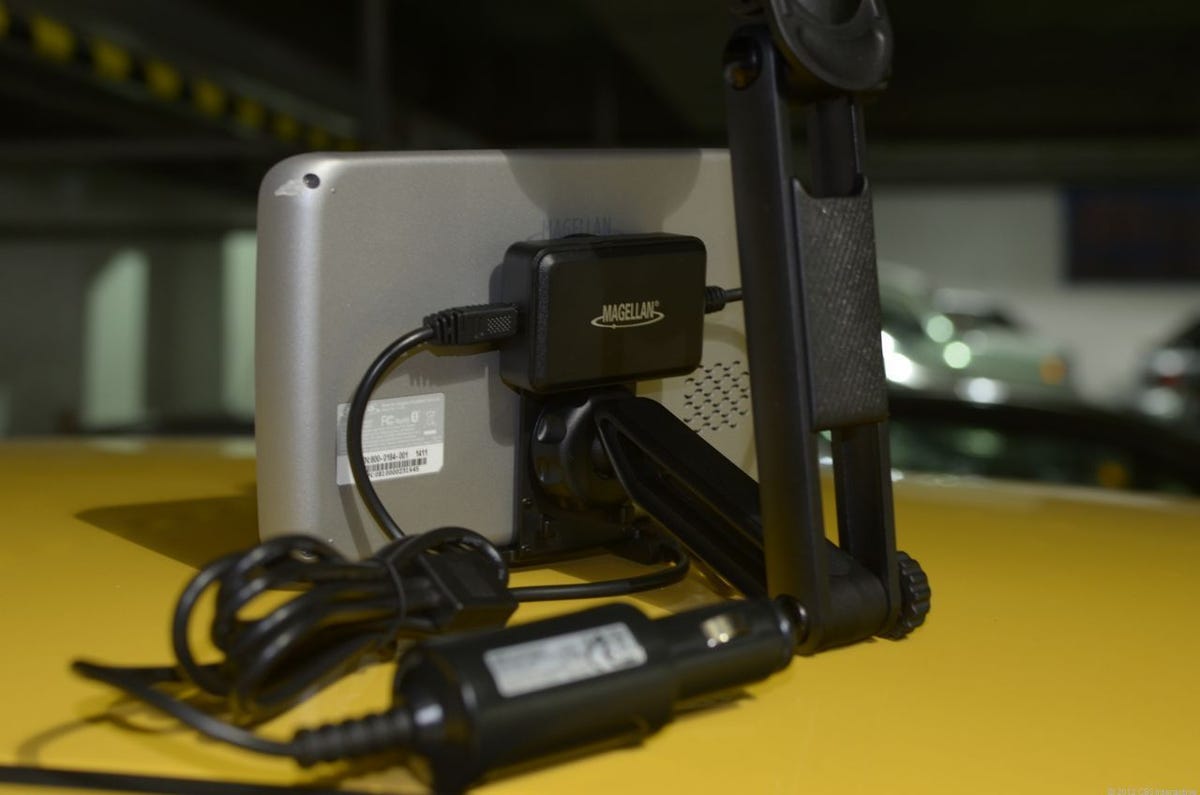
Step 10: Attach the receiver to the Roadmate 9055-LM
Inside the vehicle, the Wireless Back-Up Camera's receiver attaches to the back of the Magellan 9055-LM's cradle with a tongue-in-groove slotted connection. The unit also includes a new two-headed power cable that allows both the camera's receiver and the GPS device to be powered from one outlet.
12 of 14 Antuan Goodwin/CNET
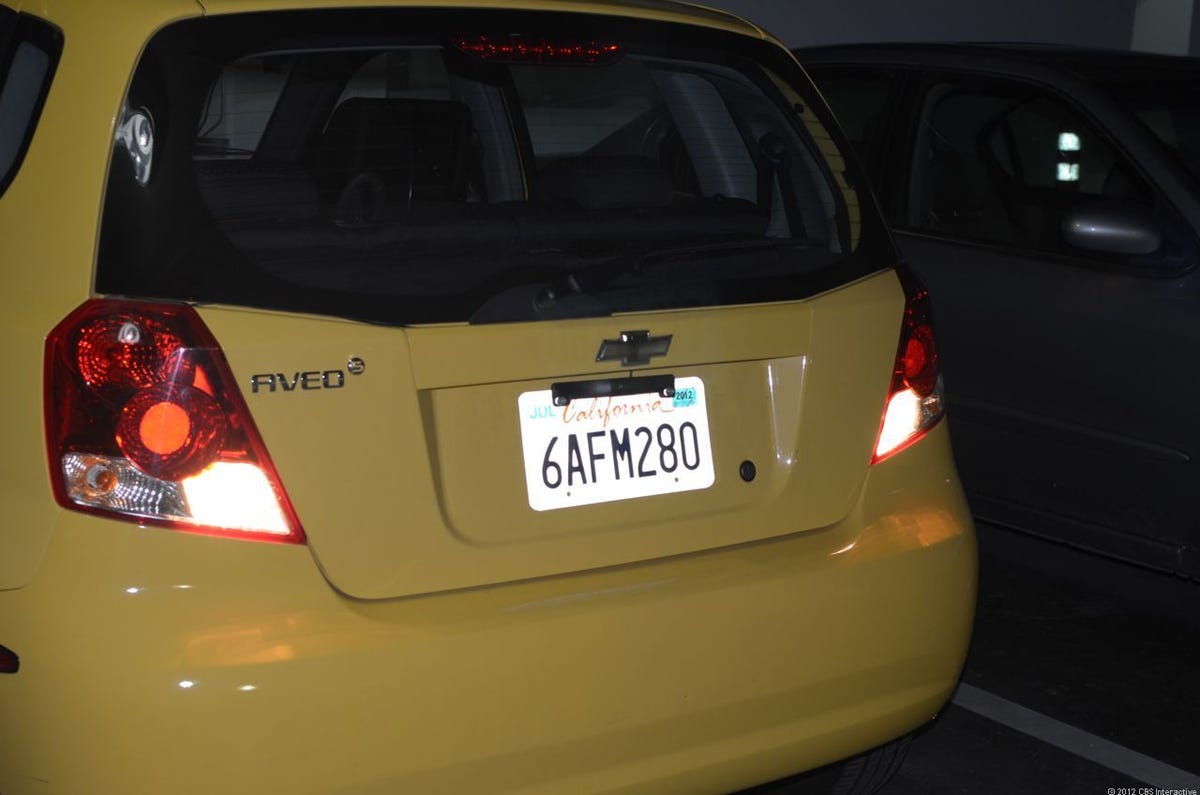
Step 11: double check your work
Place the vehicle into reverse gear and double check that your reverse lights still work. You'll probably want a third party to help here, lest you accidentally back over yourself.
13 of 14 Antuan Goodwin/CNET
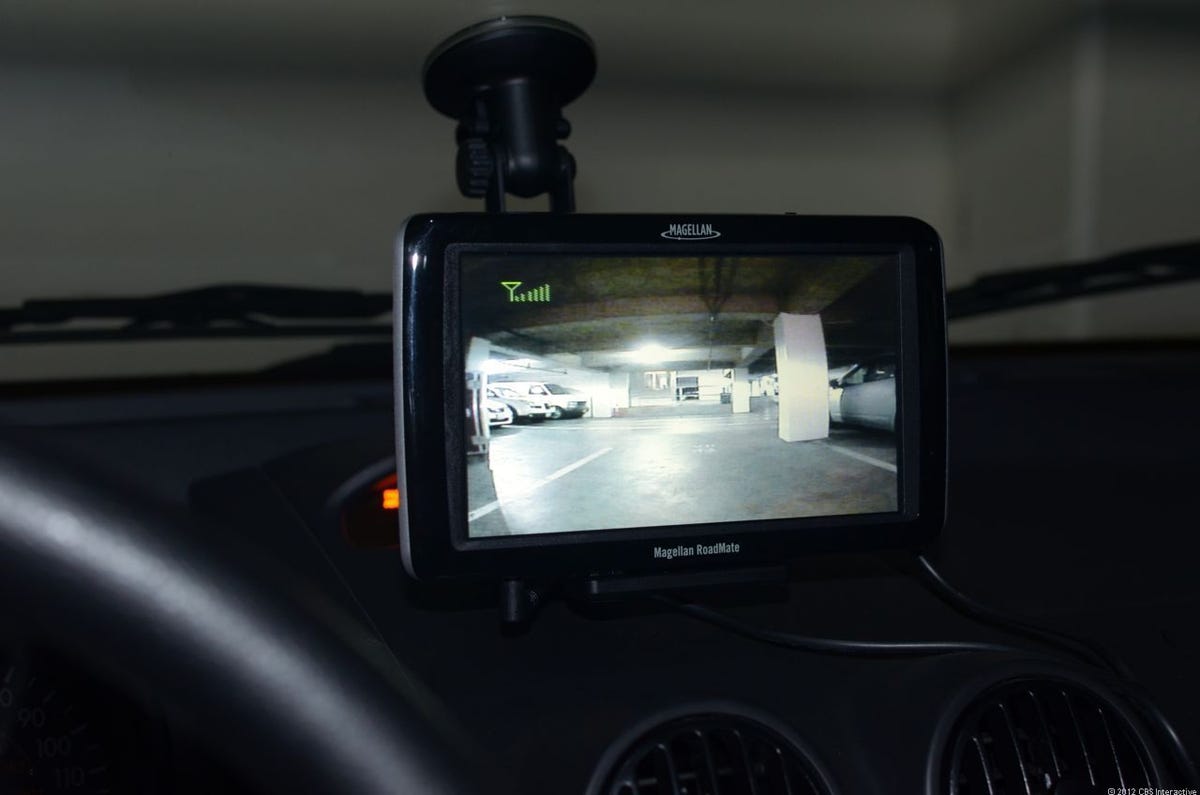
Step 12: test the display
Inside the vehicle, the receiver box should sense that the camera and transmitter are broadcasting and automatically switch the 9055-LM's screen to display the rear view.
14 of 14 Antuan Goodwin/CNET
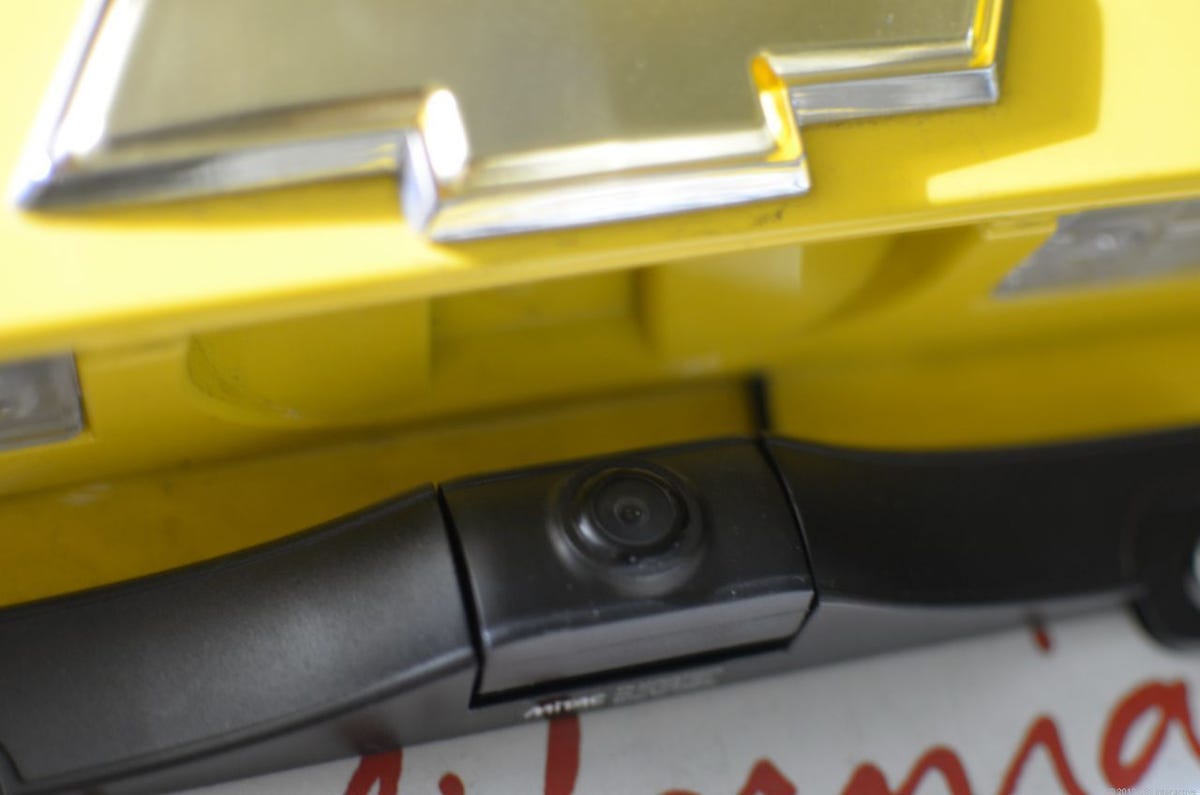
All done!
And like that you're all done. Adjust the camera vertically to your liking by grabbing the lens and twisting. Once installed properly, the system should require no direct interaction on the part of the driver beyond the act of shifting into reverse.