Here's How to Install the Wyze Light Strip and Give Your Home a Colorful Upgrade ASAP
Set up this smart color-changing light strip in no time.


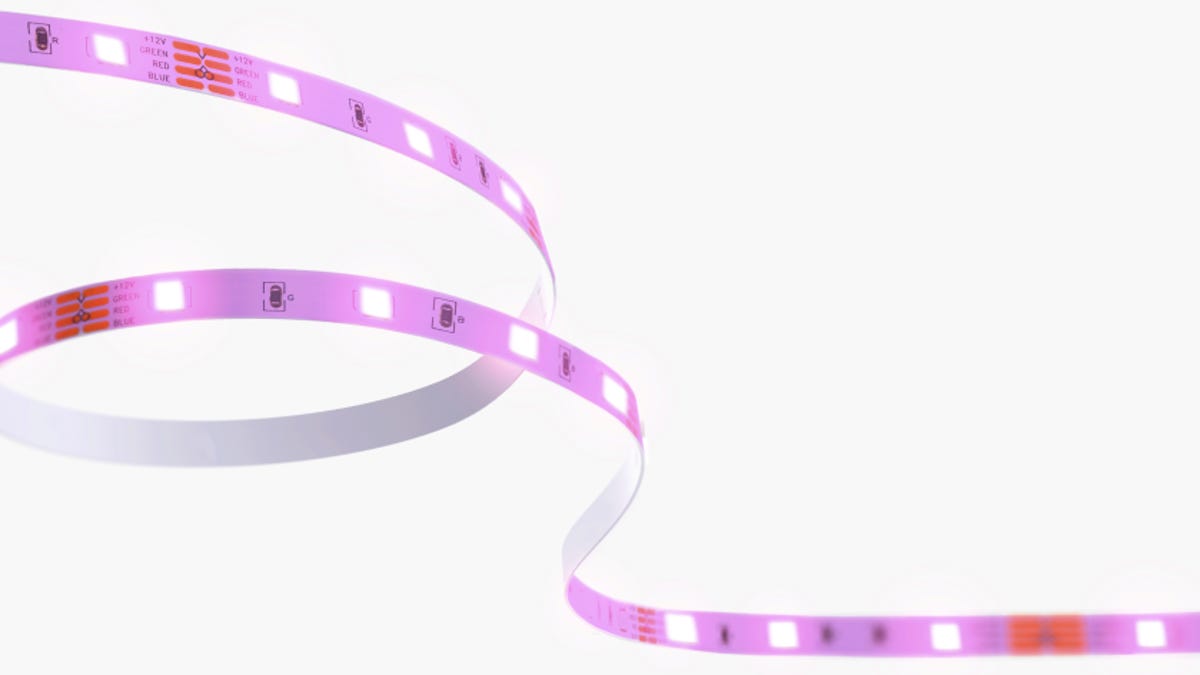
You can install Wyze's Light Strip in about 10 minutes.
Disclaimer: We aren't recommending that consumers purchase Wyze products at this time. Over the past several years, Wyze has suffered from repeated data leaks and security breaches, including a 2019 user data leak, exposed databases in 2022, and exposed video files that same year. More recently, Wyze has seen both 2023 and 2024 security flaws that let at least 13,000 people see through other Wyze security cams owned by unrelated users.
Wyze's forum report on the latest breach includes an update from February 2024: "Our engineering team has added a new layer of verification between users and event videos to prevent this from happening again. We've also removed the client library and will not be using caching until we can find a new client library and stress test it for extreme scenarios like we saw on Friday."
This response is a start, but Wyze has repeatedly struggled to reliably update its approach to security and meaningfully communicate with its users. While we have seen security companies bounce back from security problems in the past, we haven't seen this kind of improvement from Wyze yet. So we are not endorsing their products or any services where you need to create a Wyze account with your personal info.
We'll keep you updated on Wyze's security and privacy if our recommendations change. If you're looking for security brands that have made notable security improvements or have good privacy track records, we can recommend products from Ring, Google's Nest, Blink, and Arlo.
LED light strips give your home a dose of color with minimal effort. The Wyze Light Strip in particular has a simple installation, costs just $20 and works with the Wyze app, Alexa and Google Assistant. It has a ton of options, including color-changing capabilities, vacation mode, sleep timers, automations and more. But before you can try out its various features, you have to set it up. Here's how to install the Wyze Light Strip quickly and easily.
Read more: How Much Money Can You Actually Save by Turning Off Lights Around Your House?
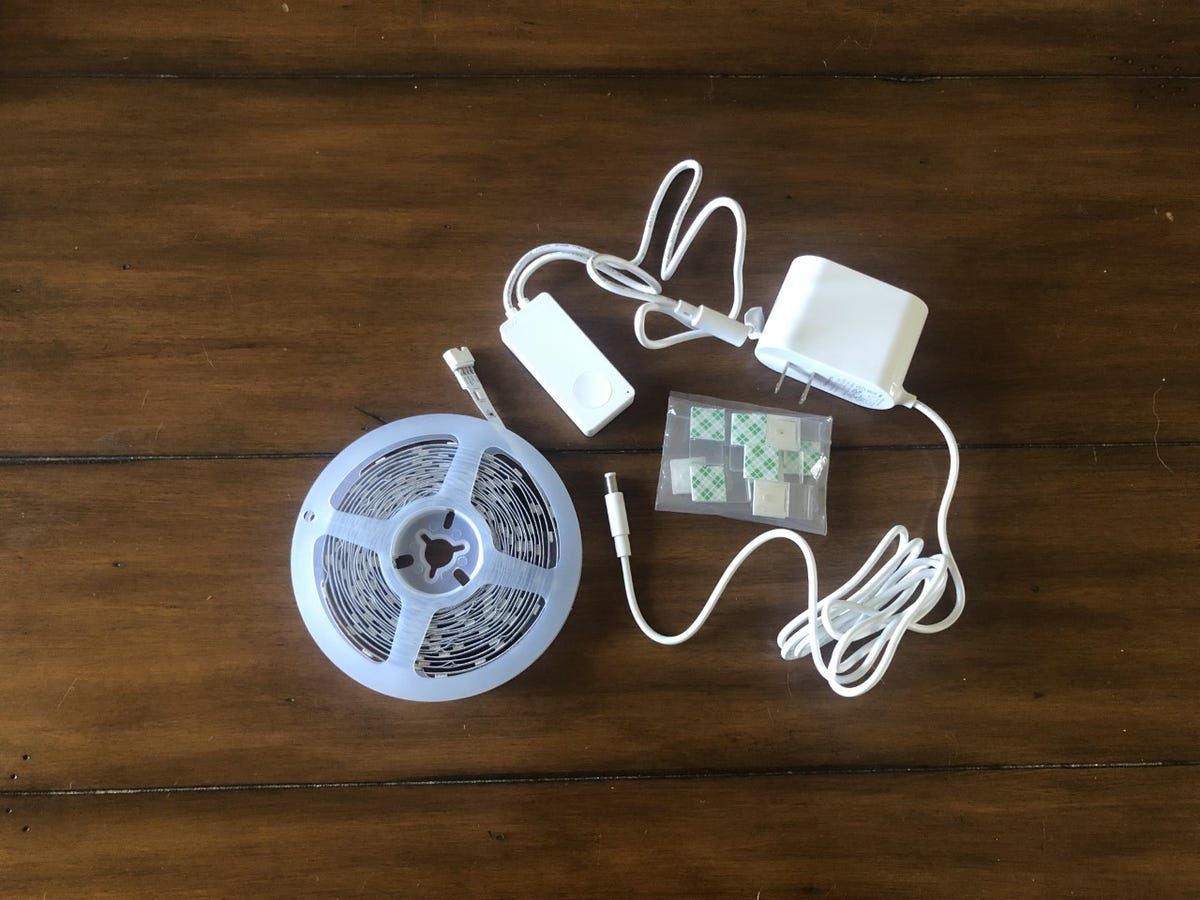
Your purchase includes a light strip, a controller, a power adapter and adhesive clips.
Installing the Wyze Light Strip
Before we get into the details, please note that the Wyze Light Strip comes in two sizes -- 16.4 feet (for $20) and 32.8 feet (for $36). I have the 16-foot LED strip, but the installation is very similar. Wyze also sells two types of light strips: the more basic model I'm detailing here and the Wyze Light Strip Pro, which offers additional features and costs a bit more.
- 1. Download the Wyze app
If you don't already have a Wyze account, download the app and create one. Open the app to the home screen.
- 2. Click the plus sign on the home screen
From the home screen, click the plus sign in the top left corner and select: Add Device > Power & Lighting > Wyze Light Strip.
- 3. Pick the location
Now you're ready to begin the physical installation. Identify the place you'd like to install your light strip. Some common locations include the back of the TV or dresser, or under a table or cabinets.
- 4. Mount the controller
The controller connects to the light strip and the power adapter, so you'll need to make sure to put it somewhere that allows the power adapter to reach an outlet and allows the light strip to reach the right location. Remove the adhesive backing from the controller and attach it somewhere convenient, but out of the way. Clean off and dry the area before you attach the controller to ensure an optimal connection.
- 5. Connect the controller to the light strip and install the strip
Attach the controller cable to the light strip. Next, remove the adhesive backing from the light strip, line it up where you'd like to install it and press down to make sure it's properly attached. Similarly to mounting the controller, make sure to clean off and dry the area before you attach the light strip to ensure a good connection.
Note: If you aren't installing your LED strip in a straight line, check out this Wyze support video (skip ahead two minutes) to see how to do it correctly.
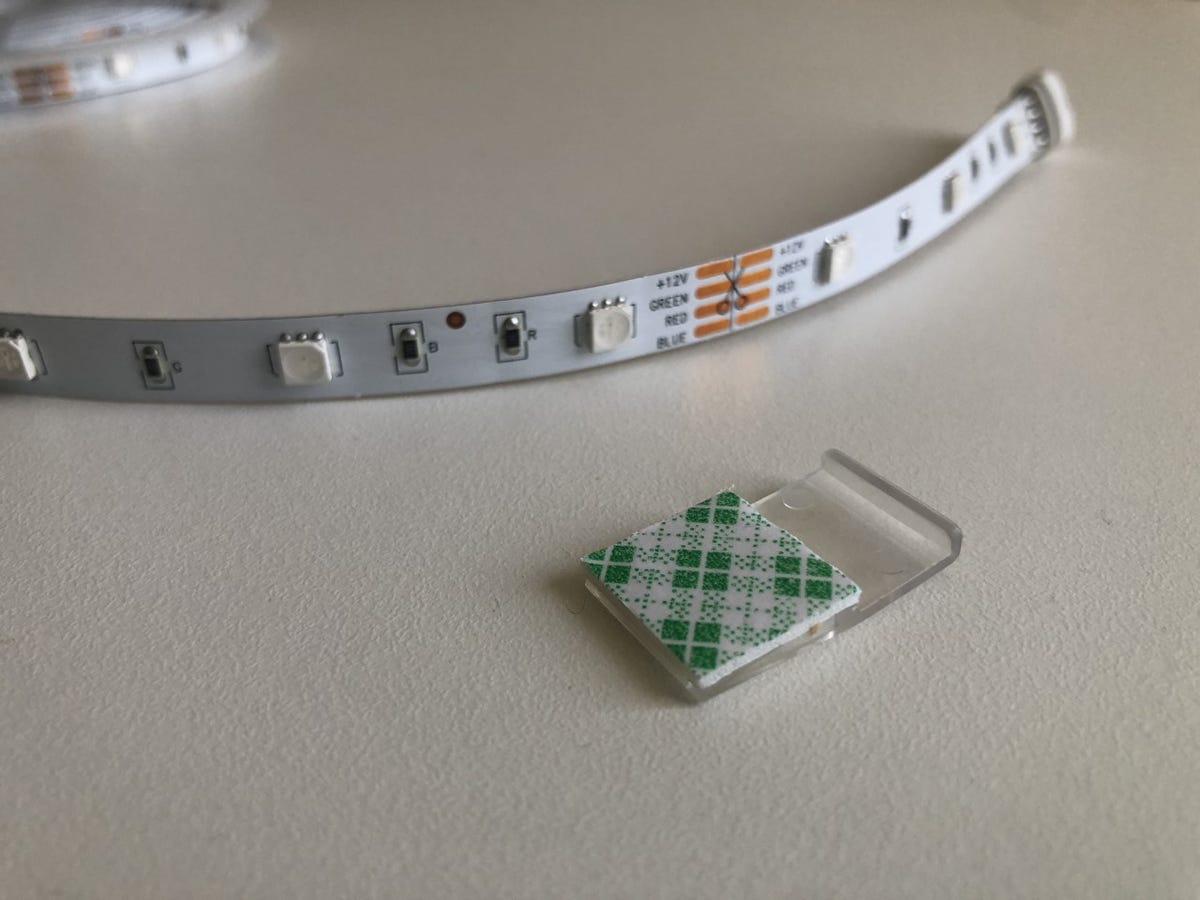
Remove the backing and use the adhesive clips to hold the light strip in place.
- 6. Secure your light strip with adhesive clips
In addition to the adhesive backing on the strip itself, Wyze includes 10 adhesive clips to further secure the light strip in place.
- 7 (optional). Cut the strip to fit
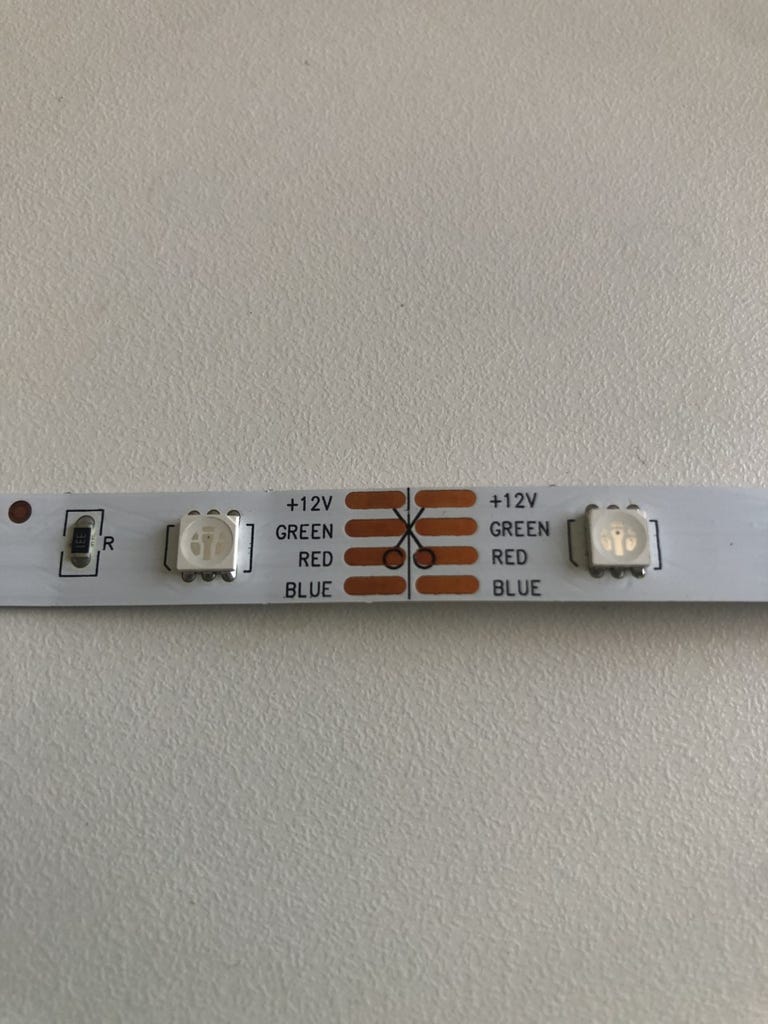
Only cut along this section where you see the scissors icon and make sure the light strip isn't plugged in.
If the light strip is too long for your preferred installation spot, you can cut it to the correct size in the designated areas noted on the strip with a scissors icon. Just make sure the strip isn't plugged into the wall outlet when you complete this optional step.
- 8. Plug it in
Now you're ready to power on your light strip. Connect the controller to the power adapter and plug the adapter into a nearby outlet. The strip should automatically begin pulsing blue.
- 9: Connect to Wi-Fi
If the light strip is pulsing blue, return to the app and enter your Wi-Fi information. The app should quickly locate the light strip -- and that's it. You're done.
All together, this installation and app configuration process should take about 10 minutes from start to finish. Now you're ready to actually use your Wyze Light Strip in the Wyze app and set up voice control if you have an Alexa or Google Assistant speaker.