Upgrading the hard drive and memory in an aluminum Mac Mini (pictures)
Interested in adding more storage or memory to your Mac Mini? Here's what you need to know.


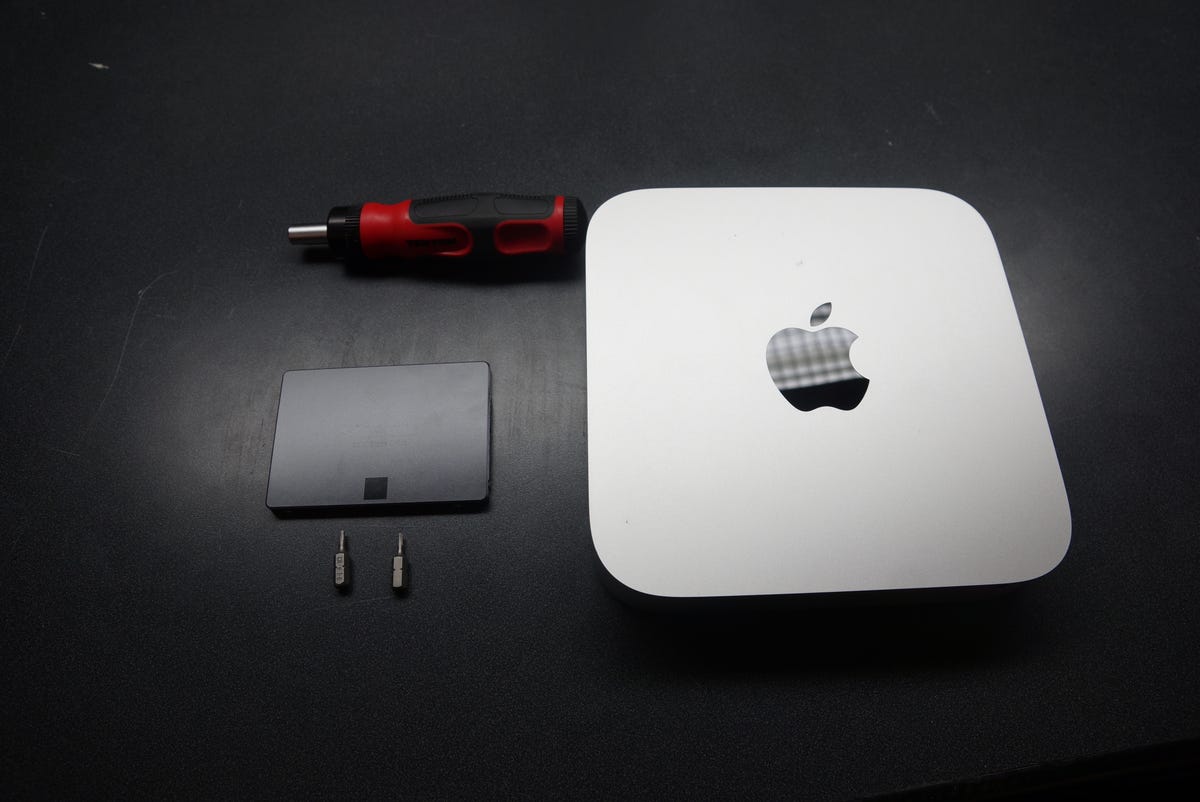
To upgrade the hard drive in the Mac Mini you will need T6 and T8 screwdrivers, and a replacement 2.5-inch hard drive or solid-state drive with a height of no more than 9.5mm.

Flip the computer over and remove the black cover by twisting it counterclockwise.
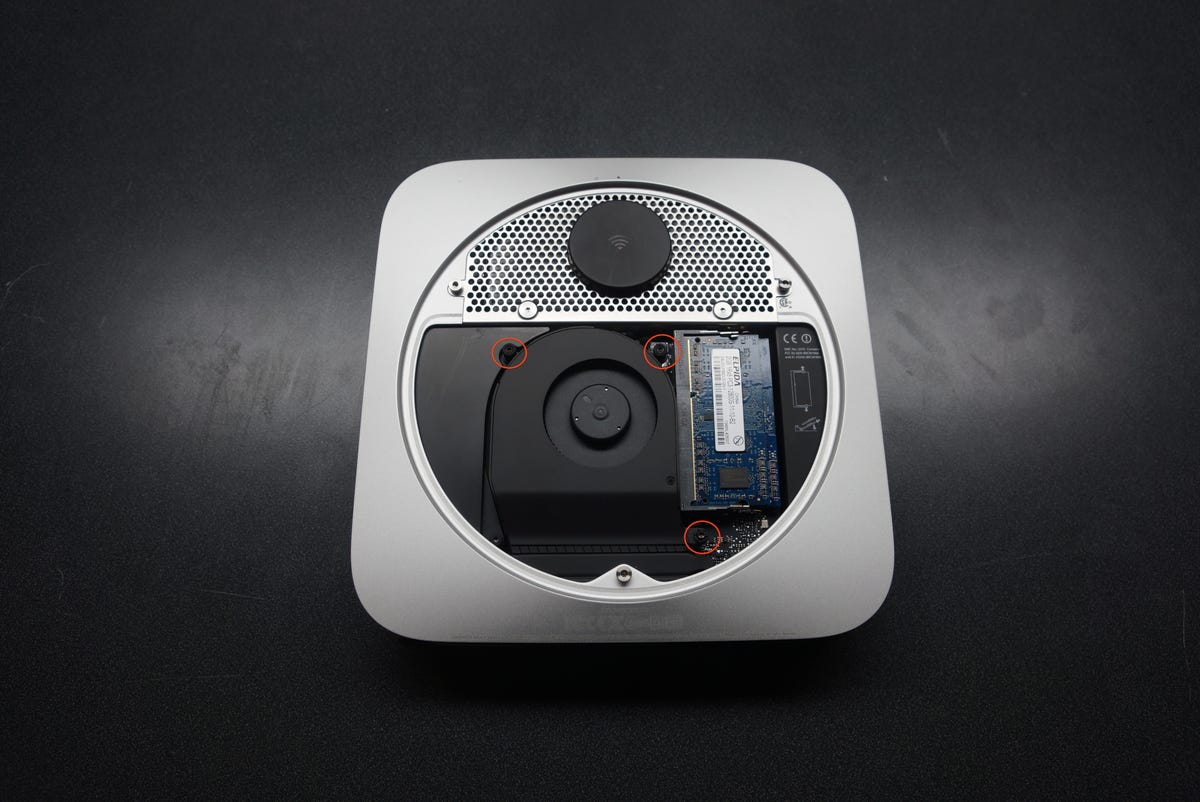
Use the T6 screwdriver to remove the three screws that keep the fan in place.
Gently lift the fan up and disconnect the cable that is attached to the motherboard.
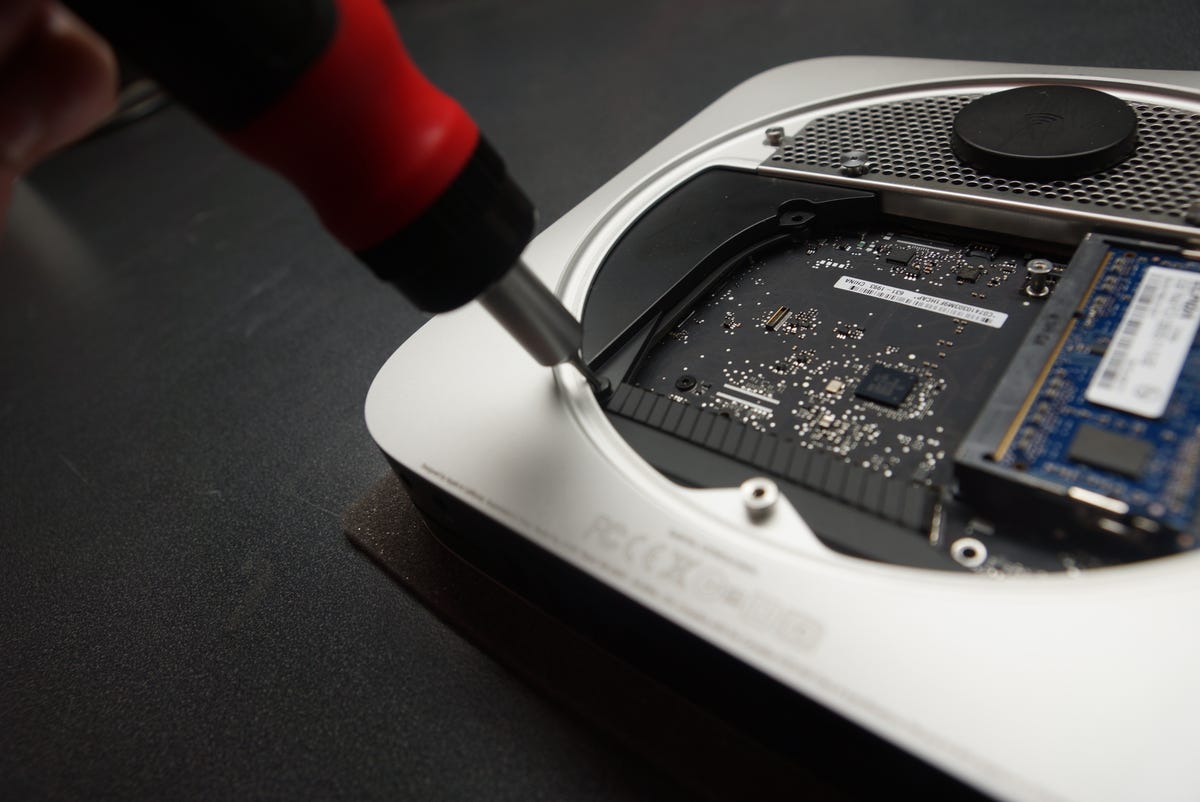
Remove the T6 screw at the bottom of the plastic guard.
Shimmy the plastic component out of the case and place it aside.
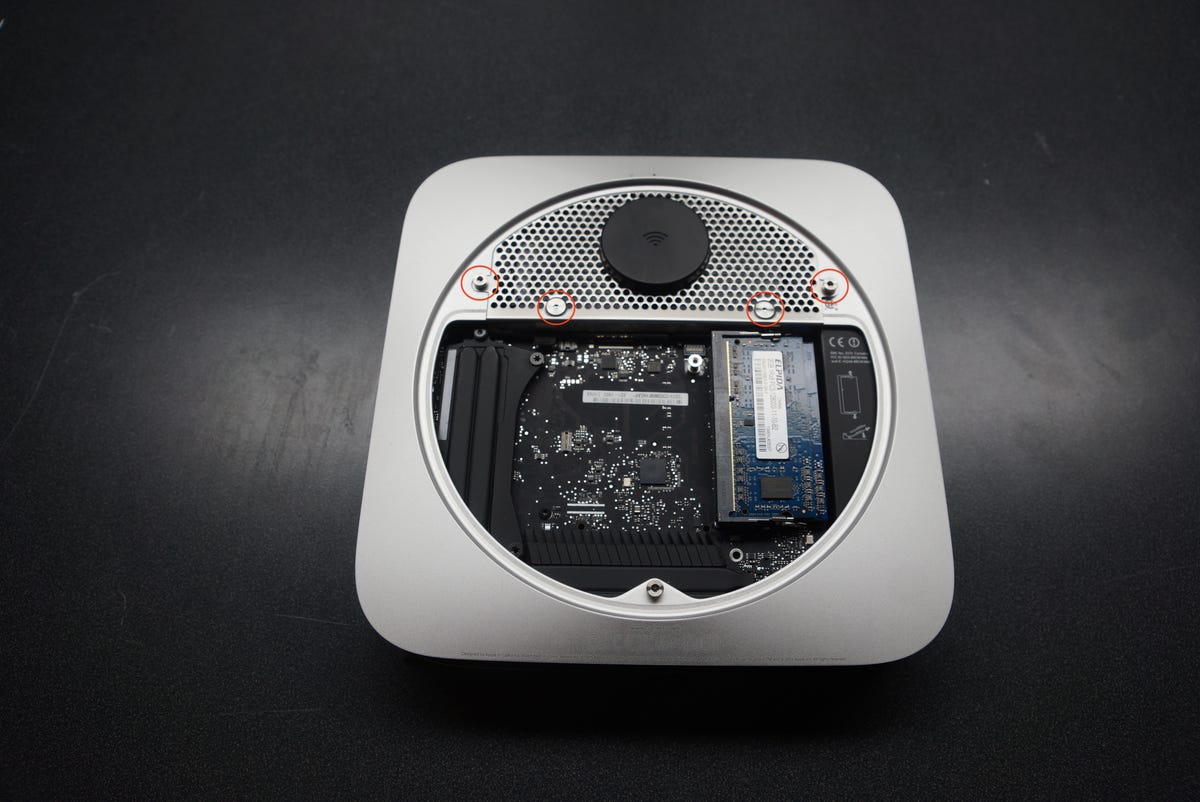
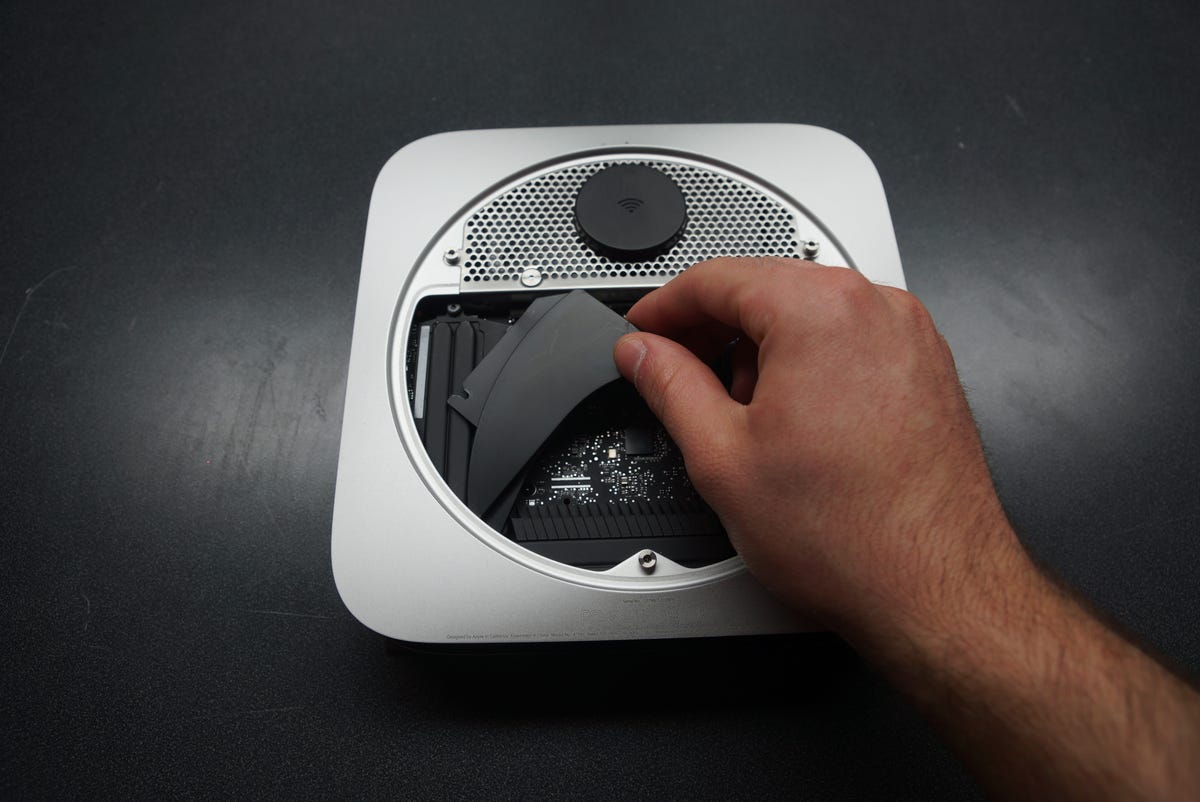
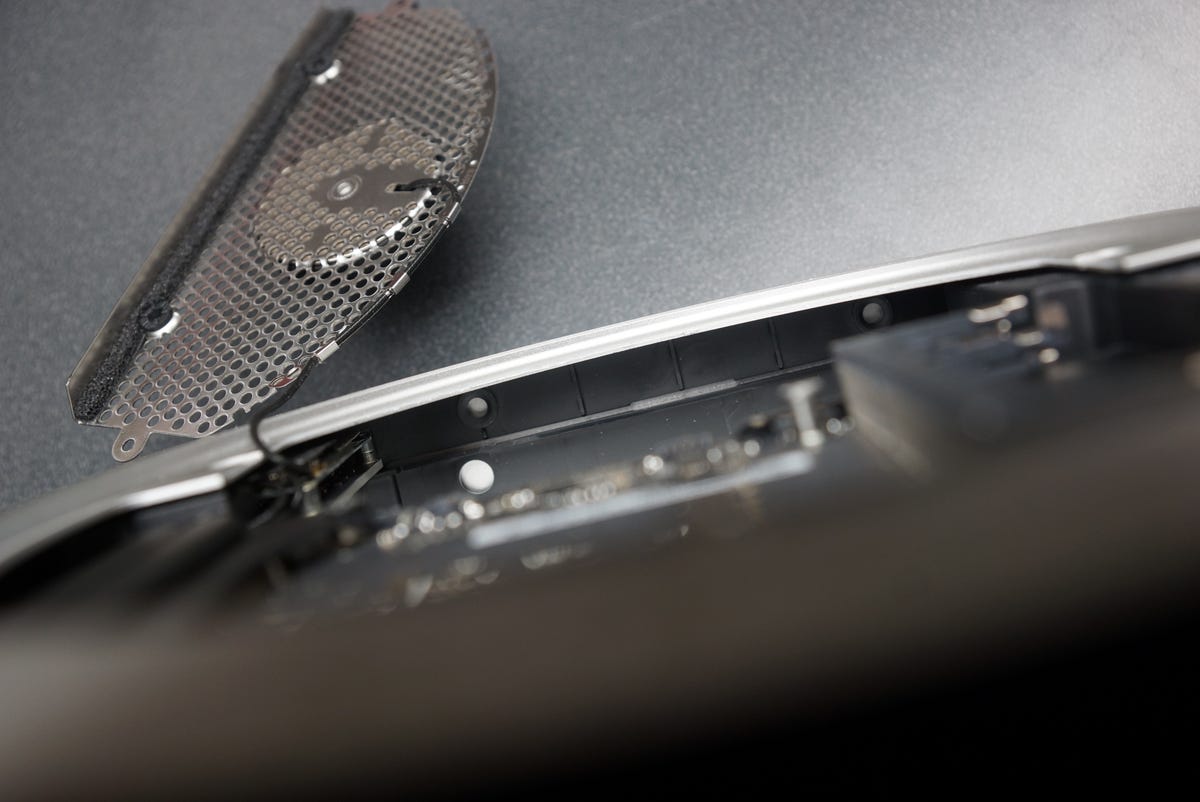
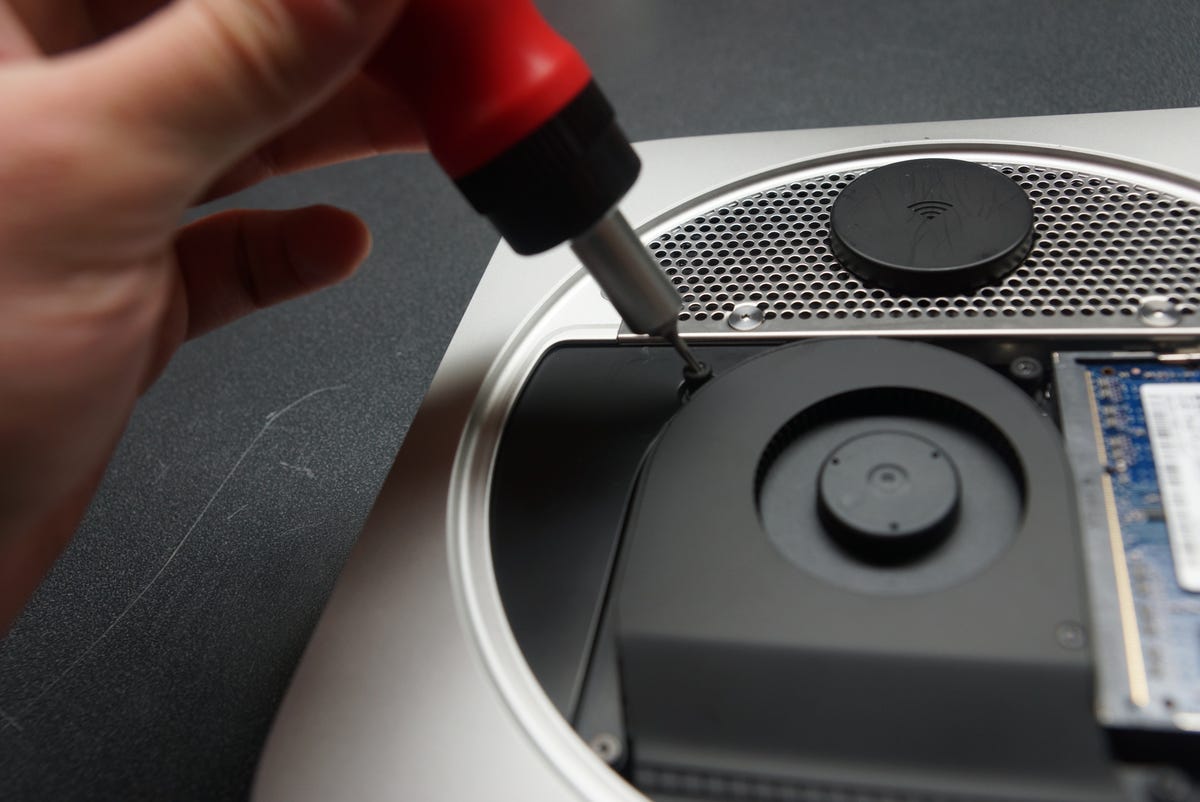
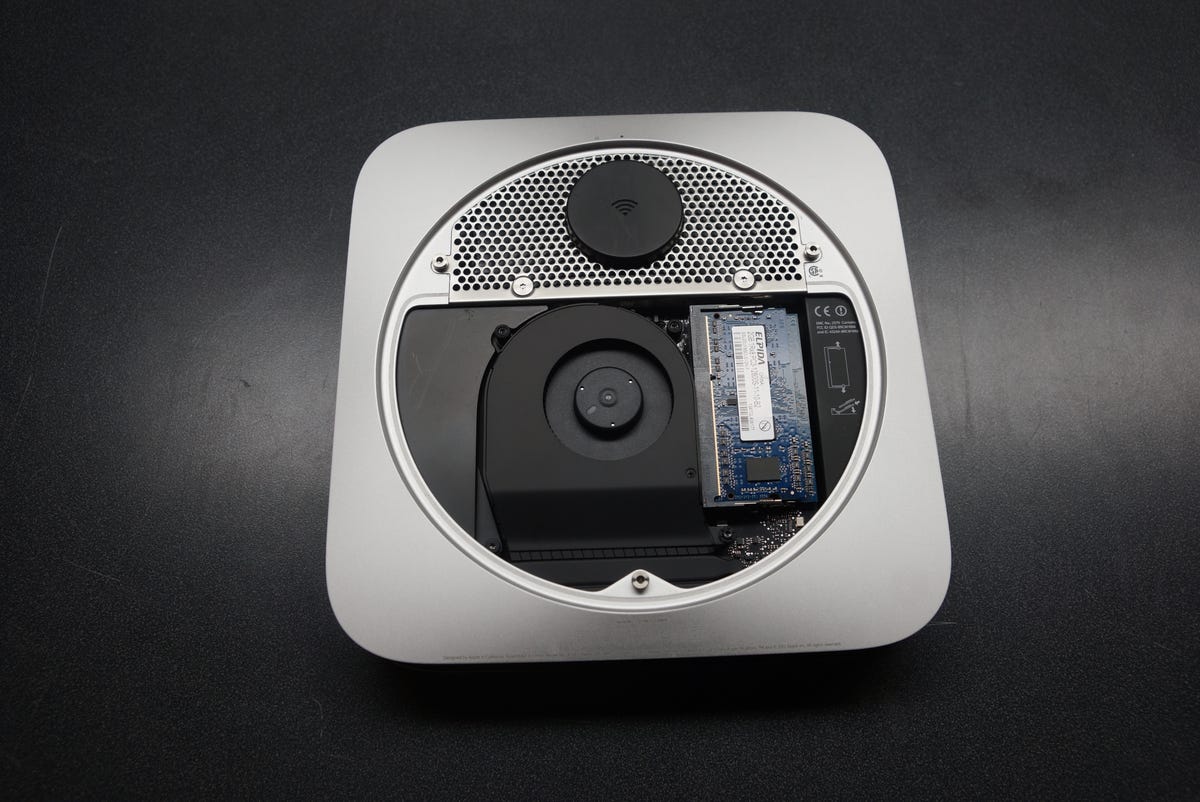
The antenna grill is held in place with four T8 screws.
Remove the screws and lift the grill away from the case.
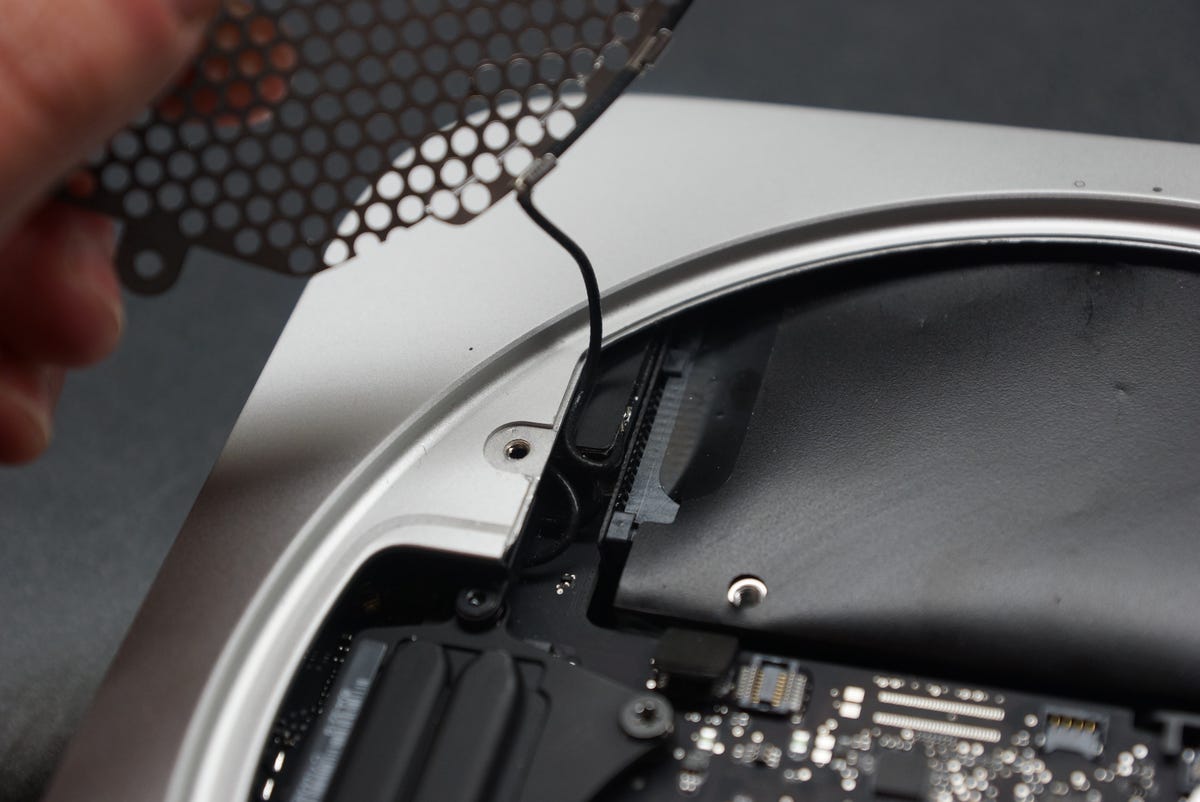
Be careful, though; it's attached.
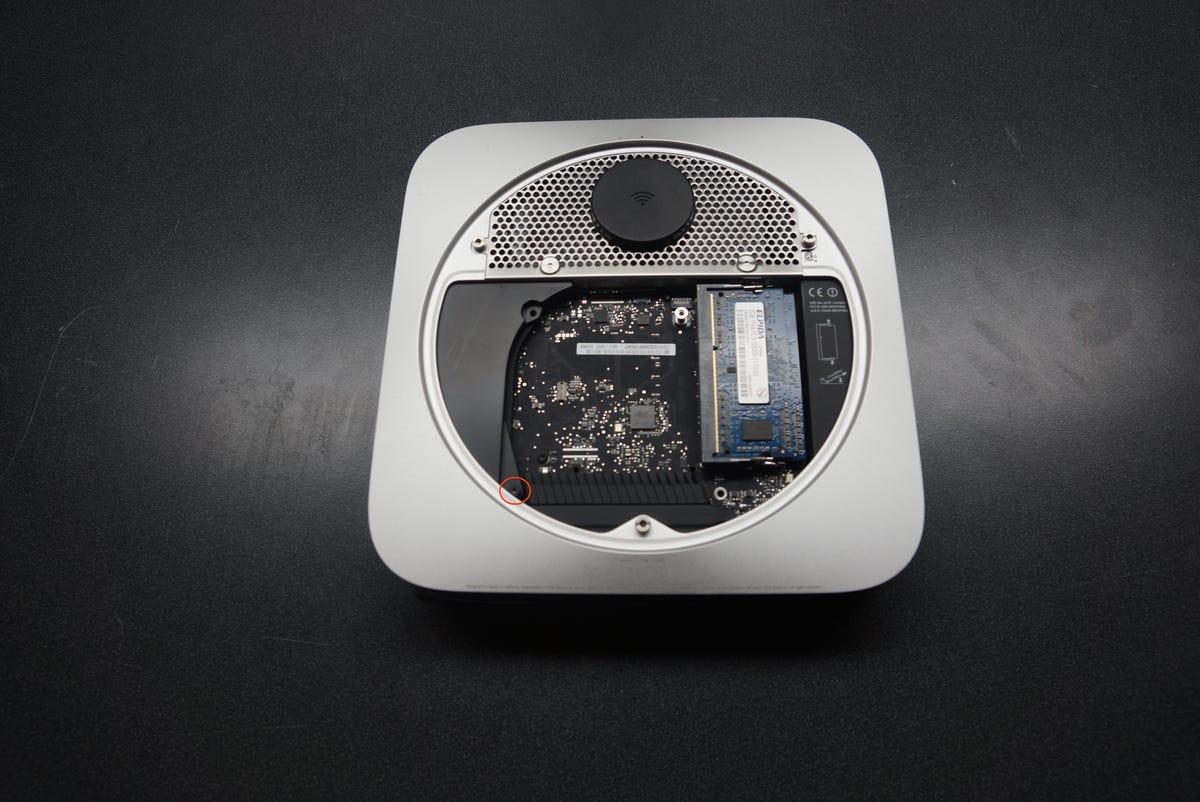
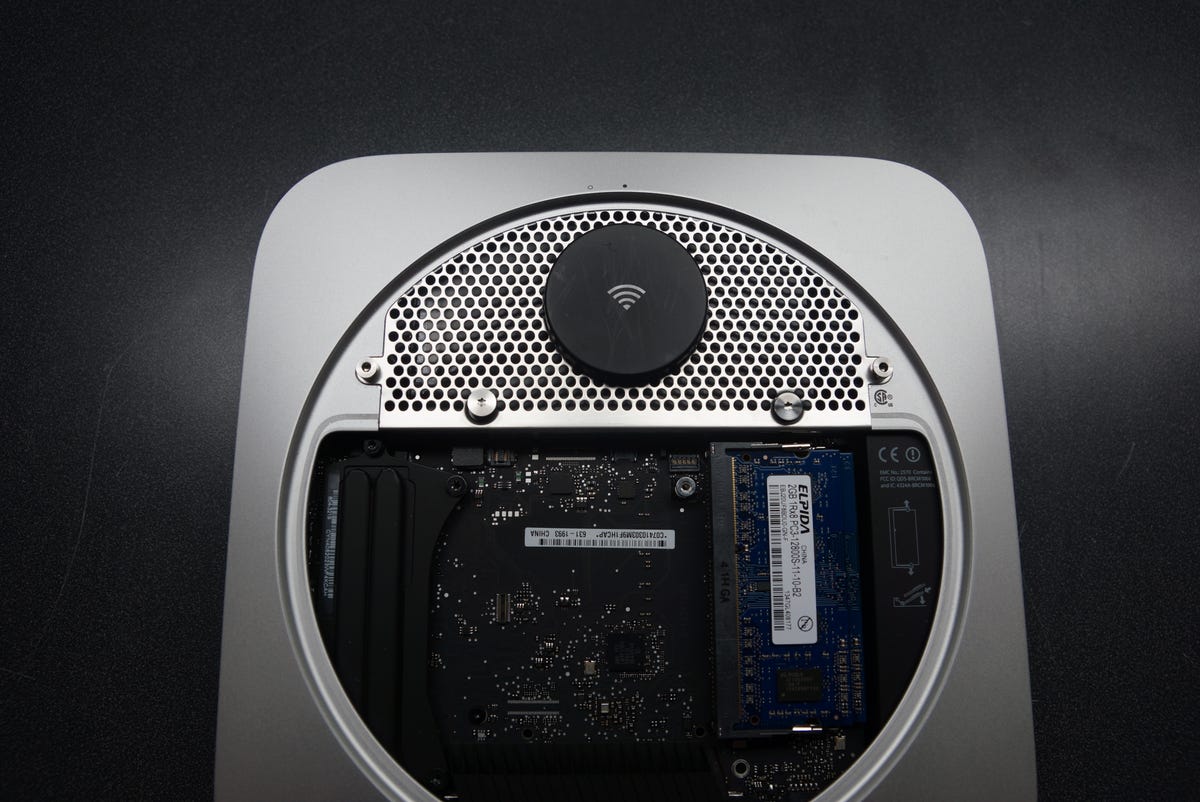
If you are replacing just the Mac Mini's hard drive, the memory doesn't need to be removed. If you are replacing only the RAM, you can do so without removing the fan, the plastic guard, and the antenna grill.
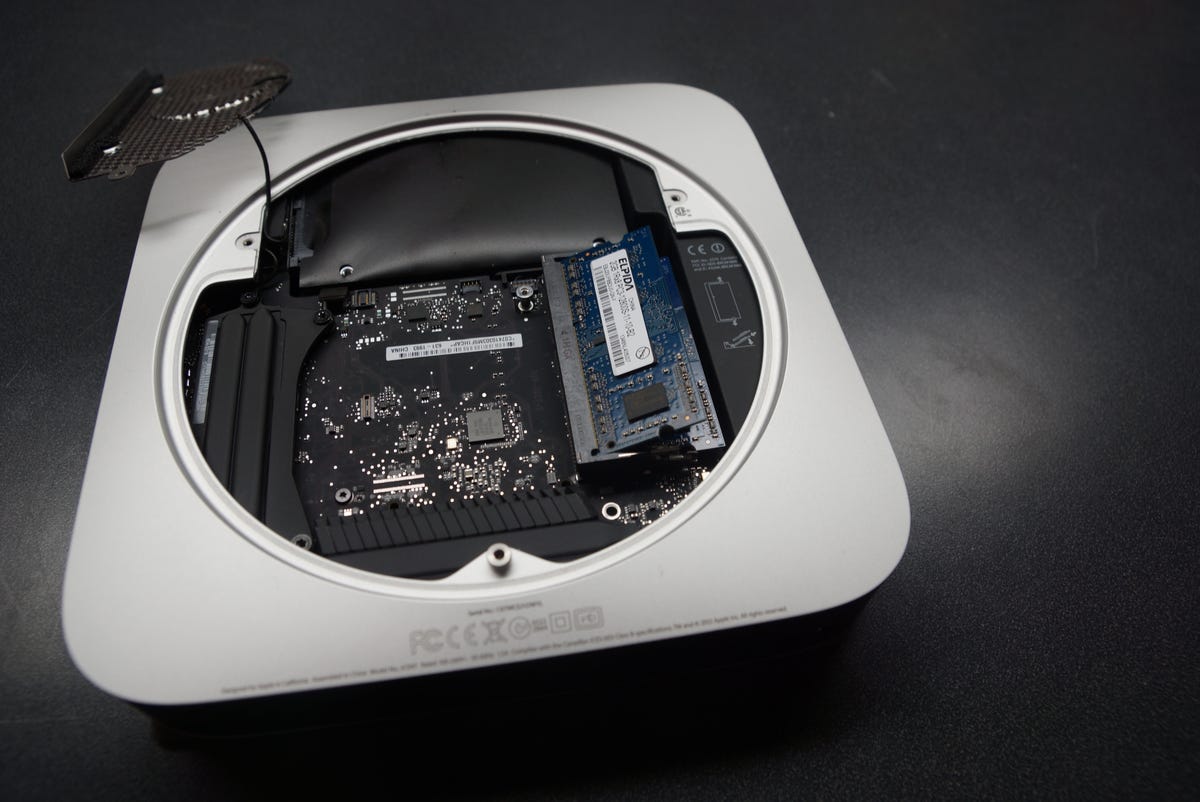
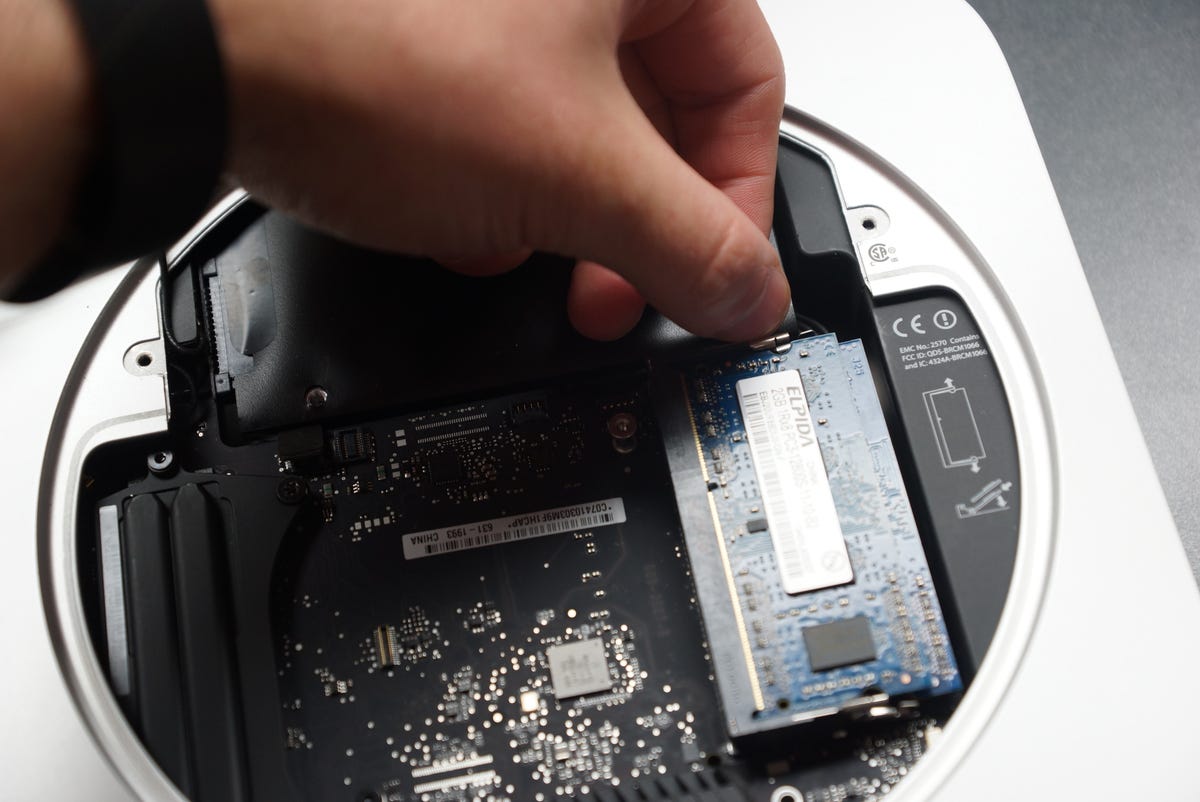
Carefully spread the clips at the top of the memory slot until the memory stick pops up.
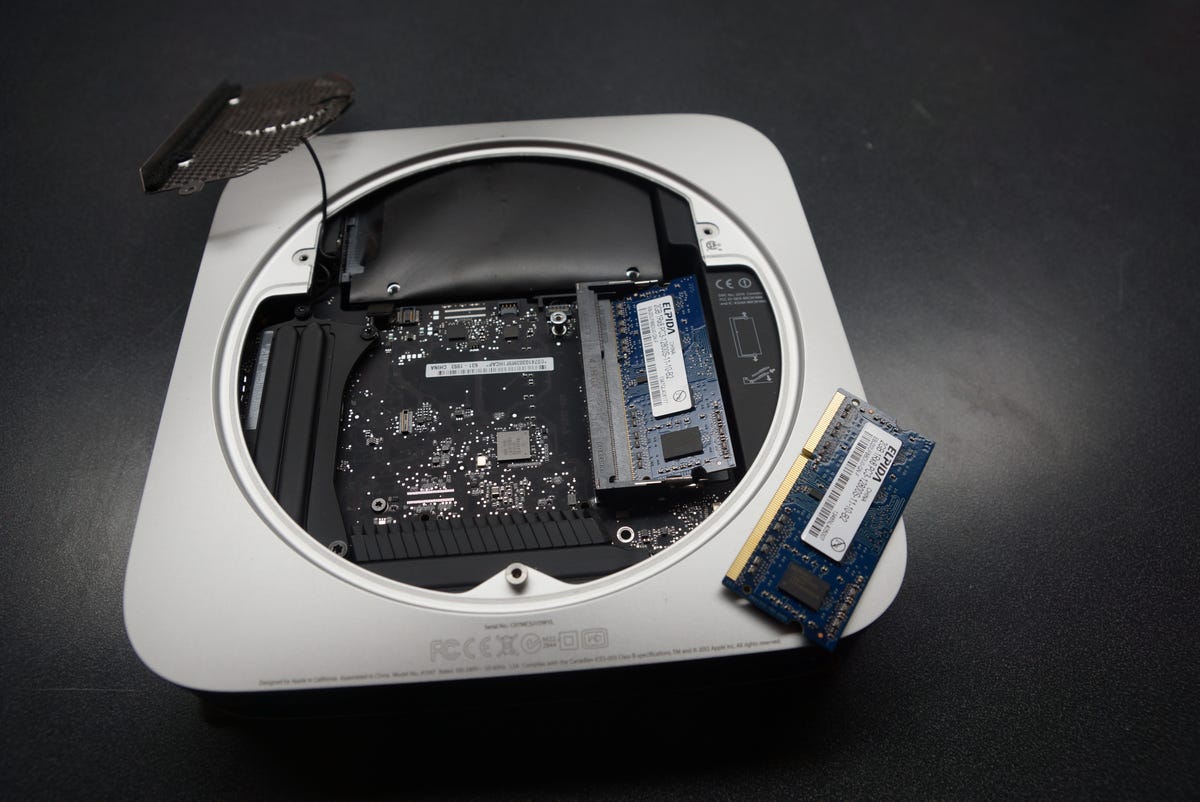
Then, simply remove the memory stick.
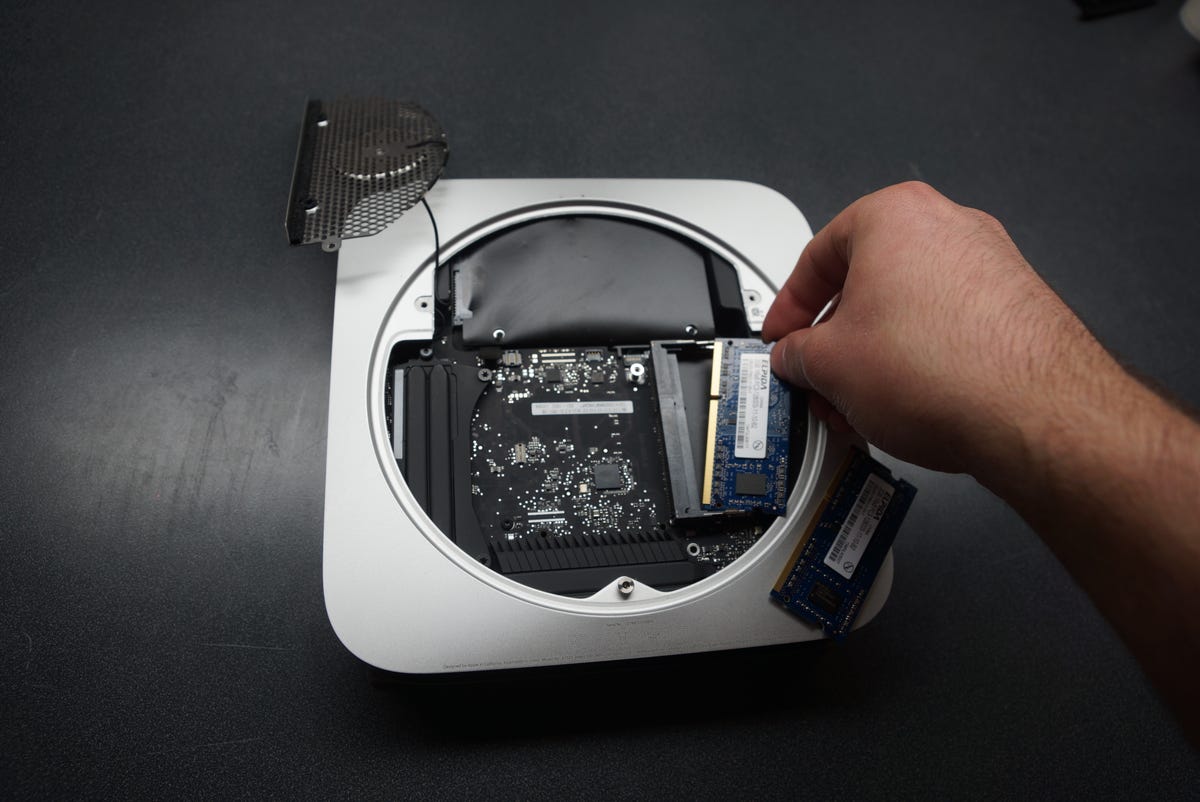
Use the same procedure for the second memory stick.
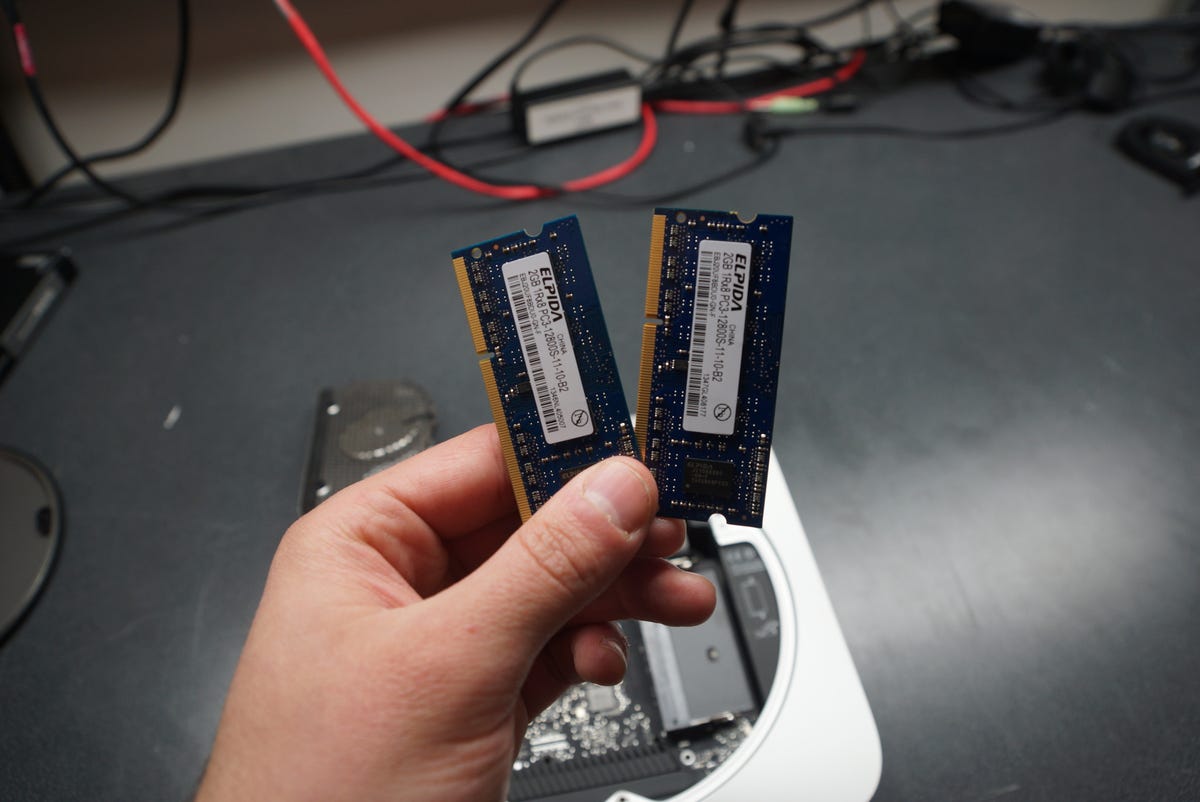
The late-2012 Mac Mini supports up to 16GB of RAM, while the mid-2010 and mid-2011 models support up to 8GB.
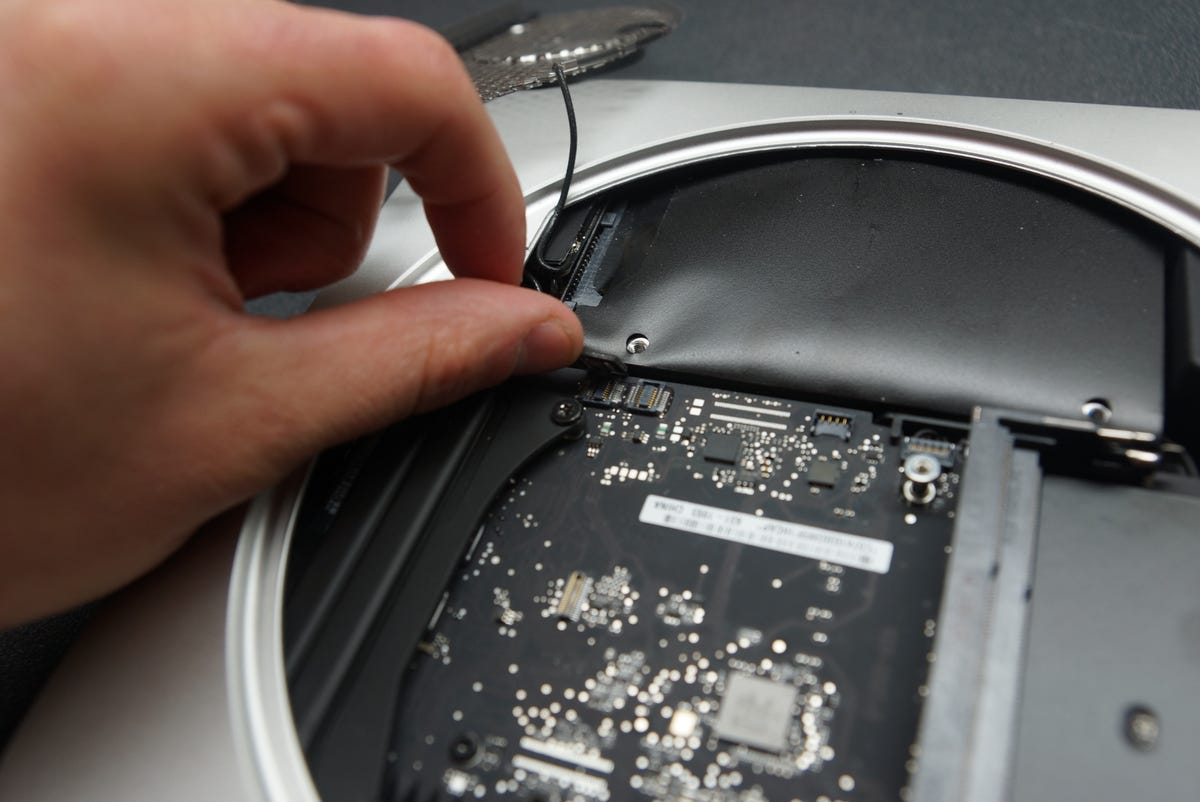
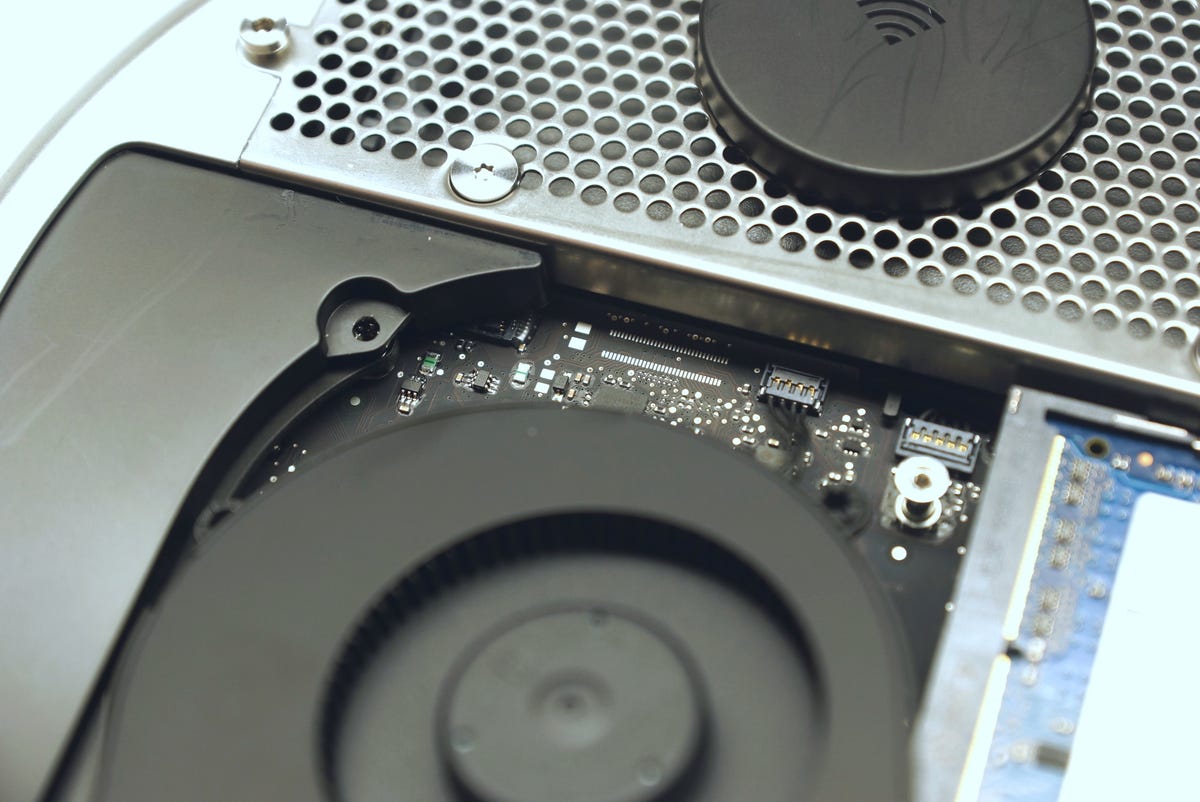
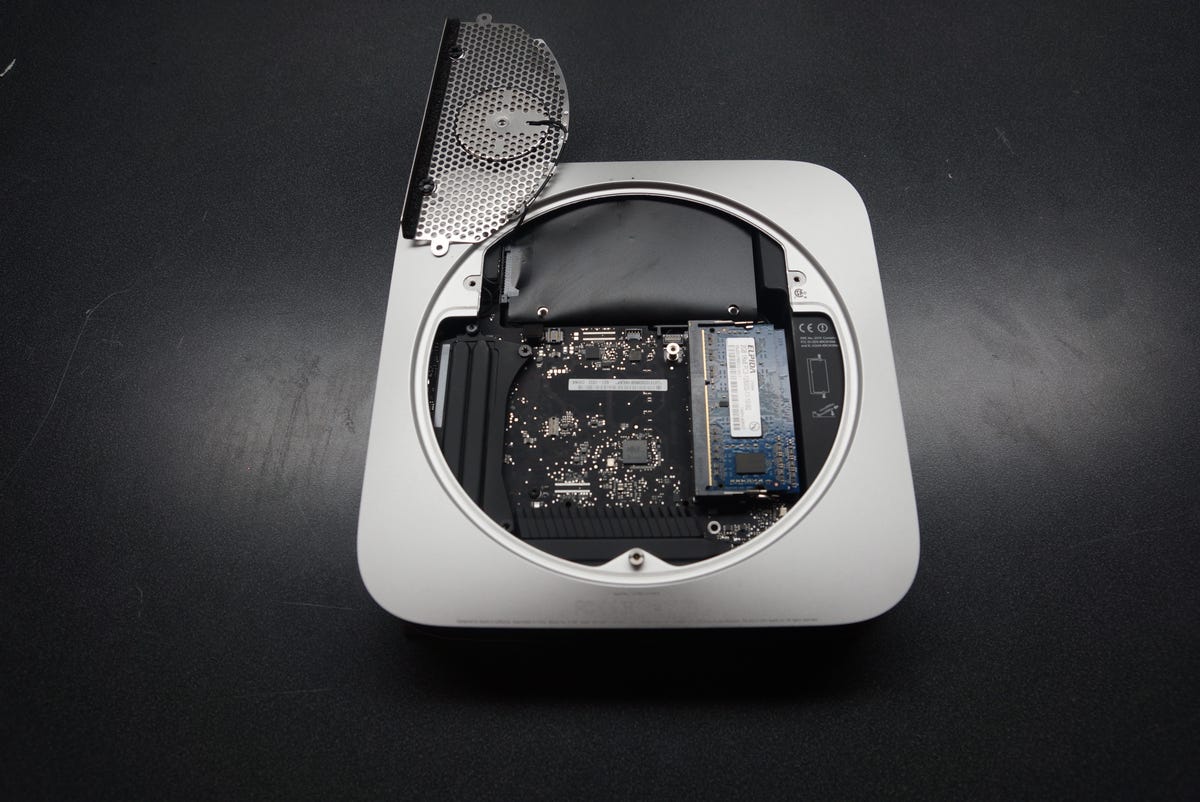
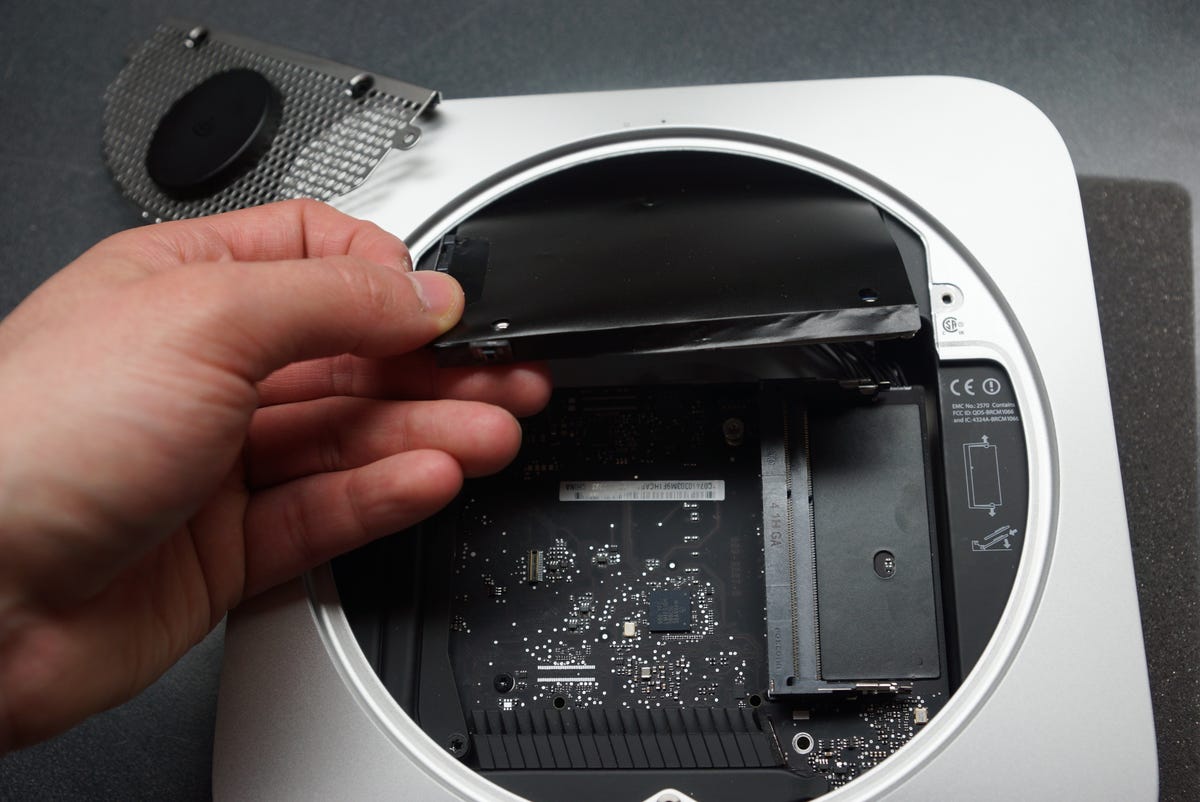
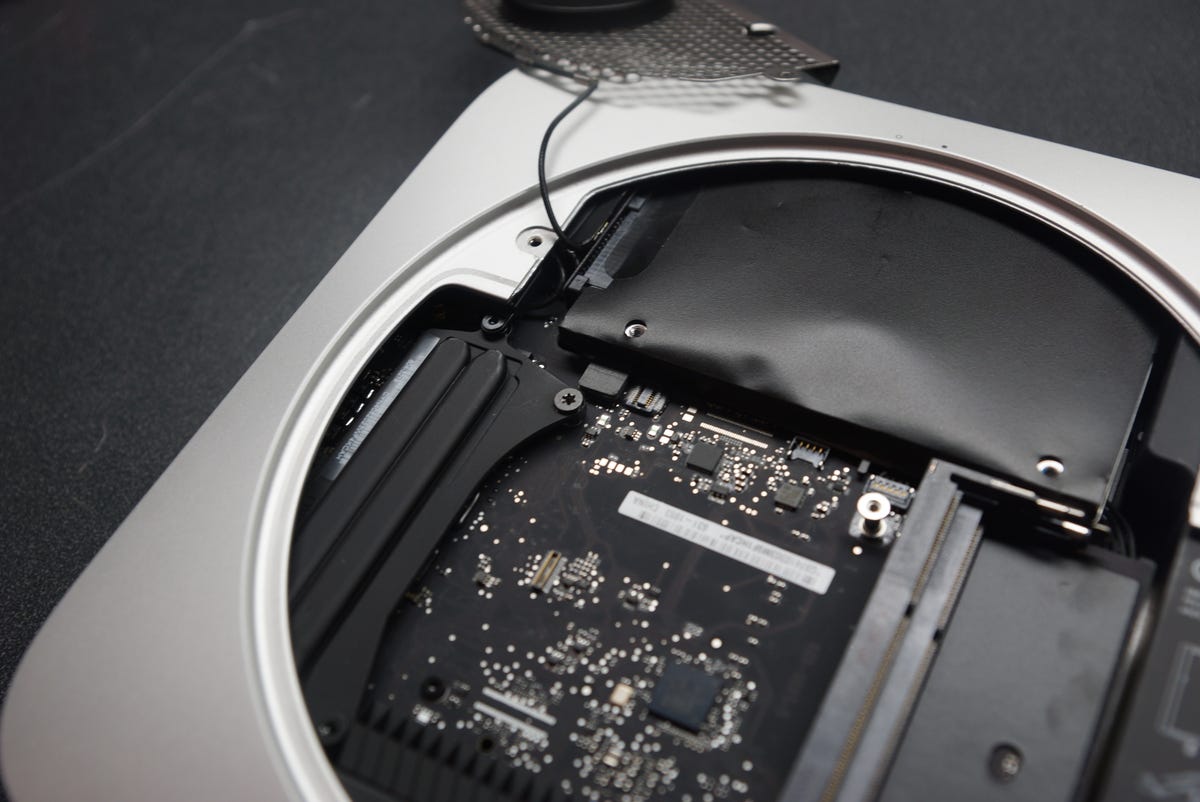
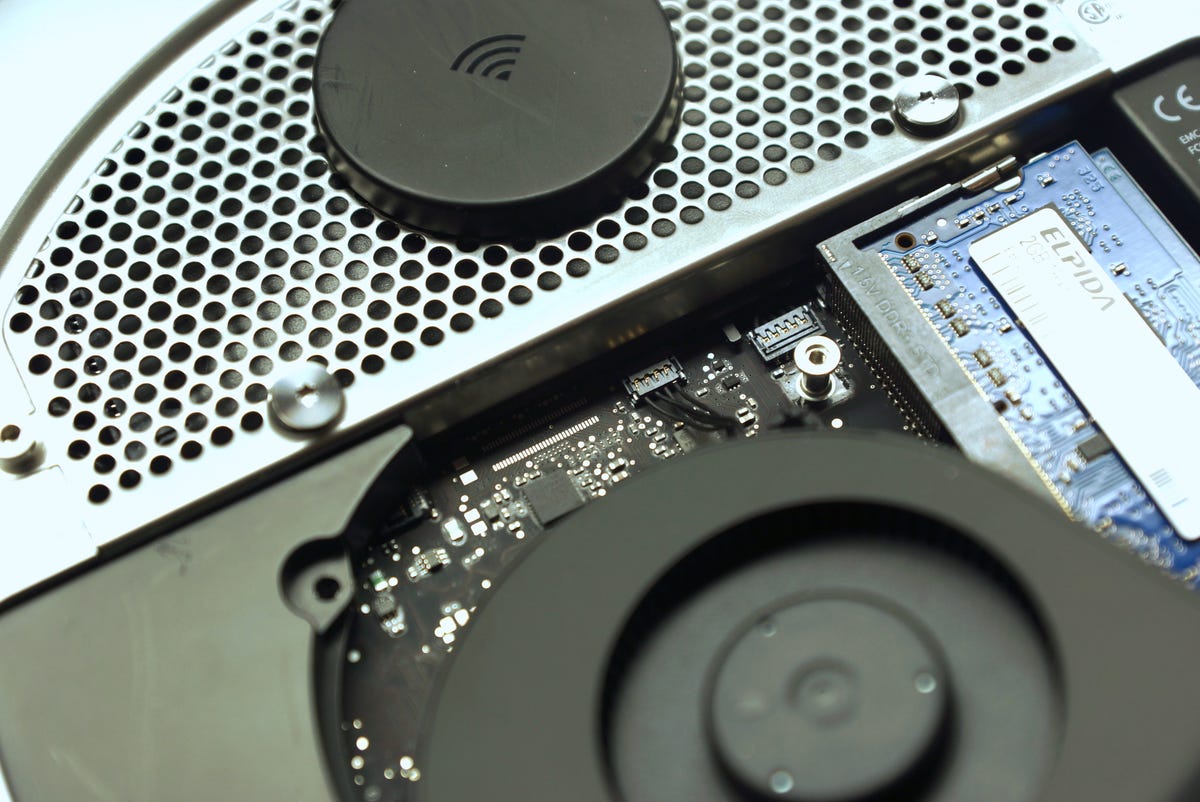
The hard drive is located under the antenna grill. Before removing it, disconnect the drive connector from the motherboard.
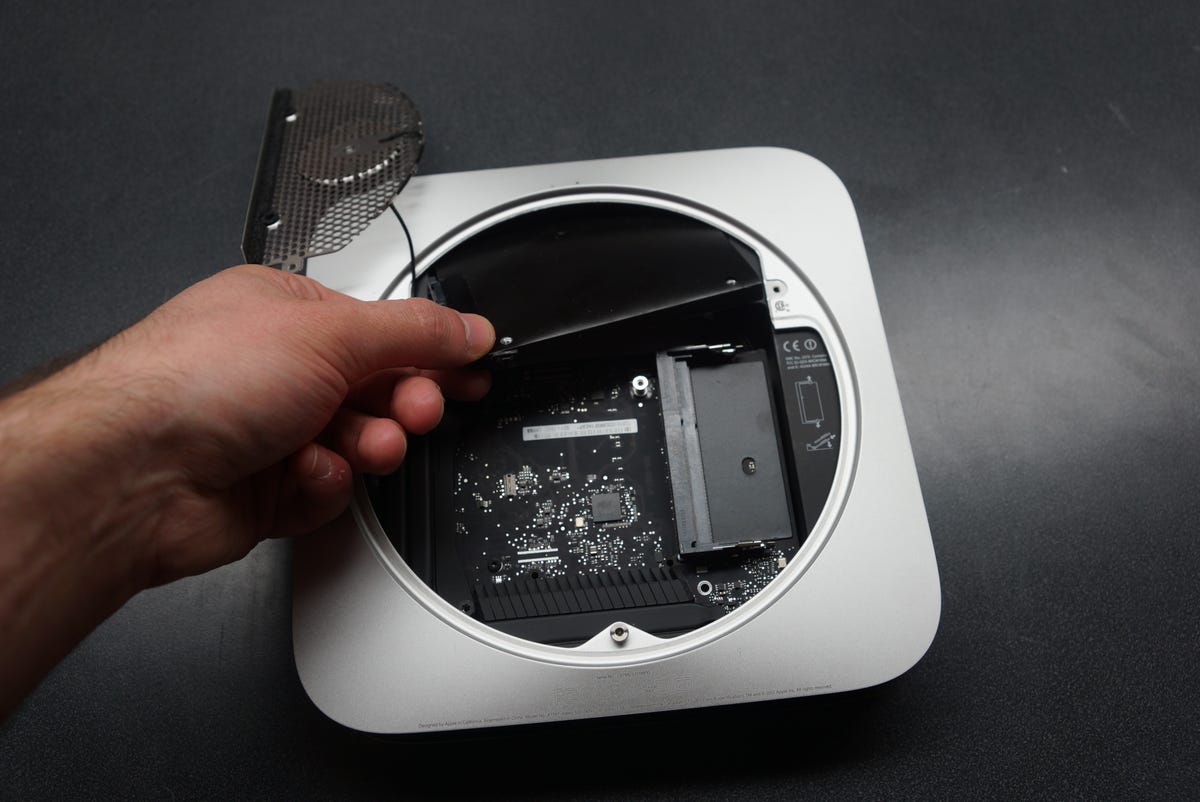
Carefully lift the drive up and out of the Mac Mini.
The drive is protected with a black cover.
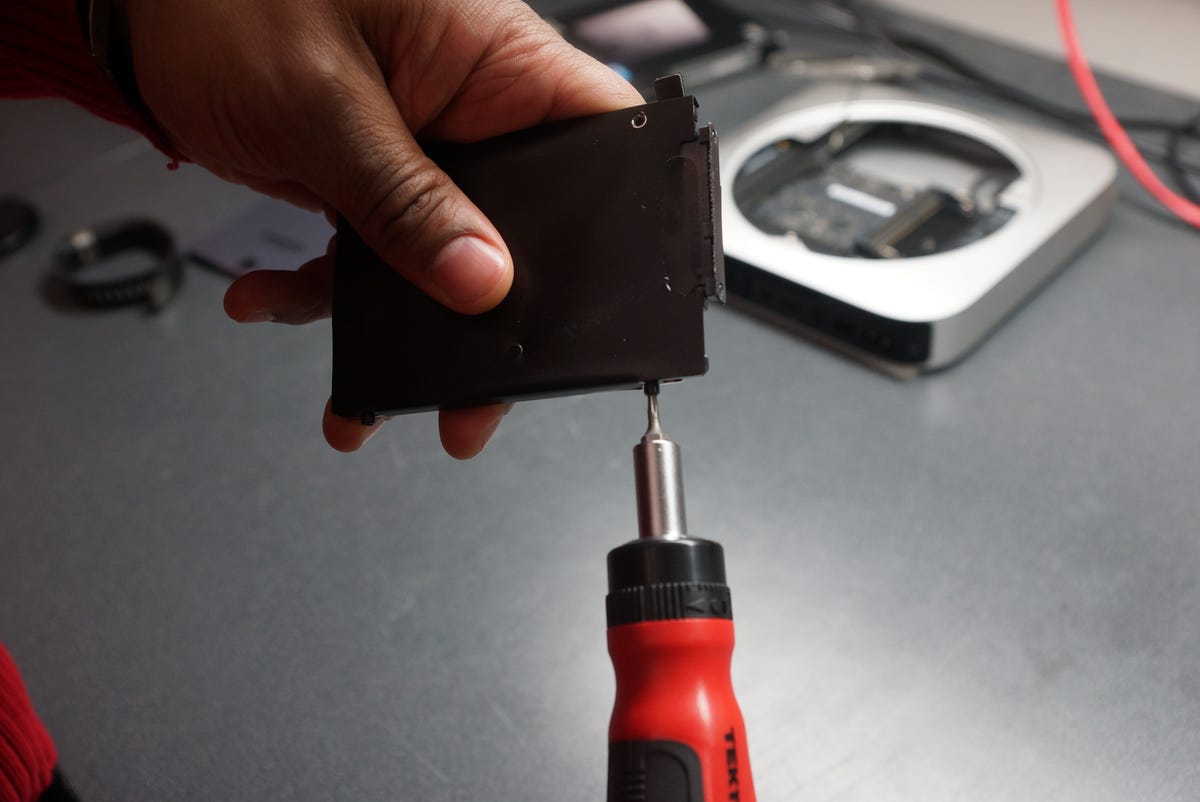
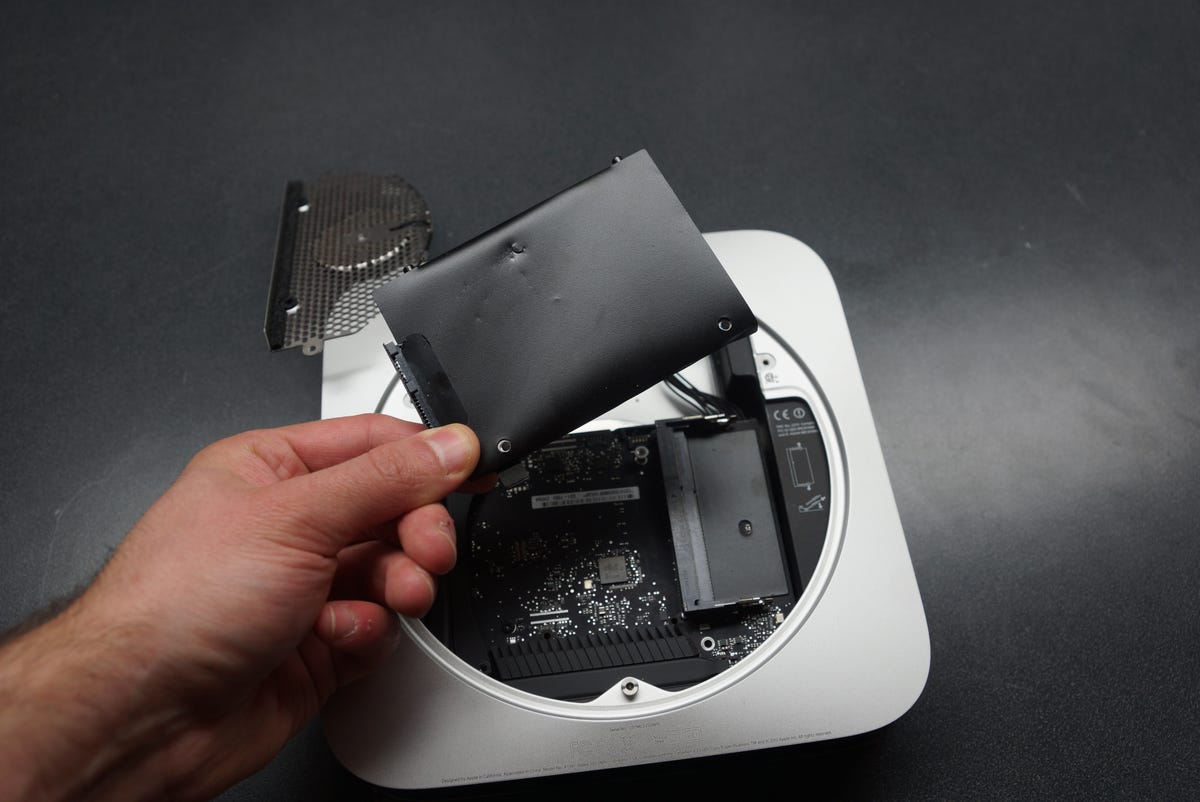
Remove the two T8 screws on the side of the drive and screw them into your new one.
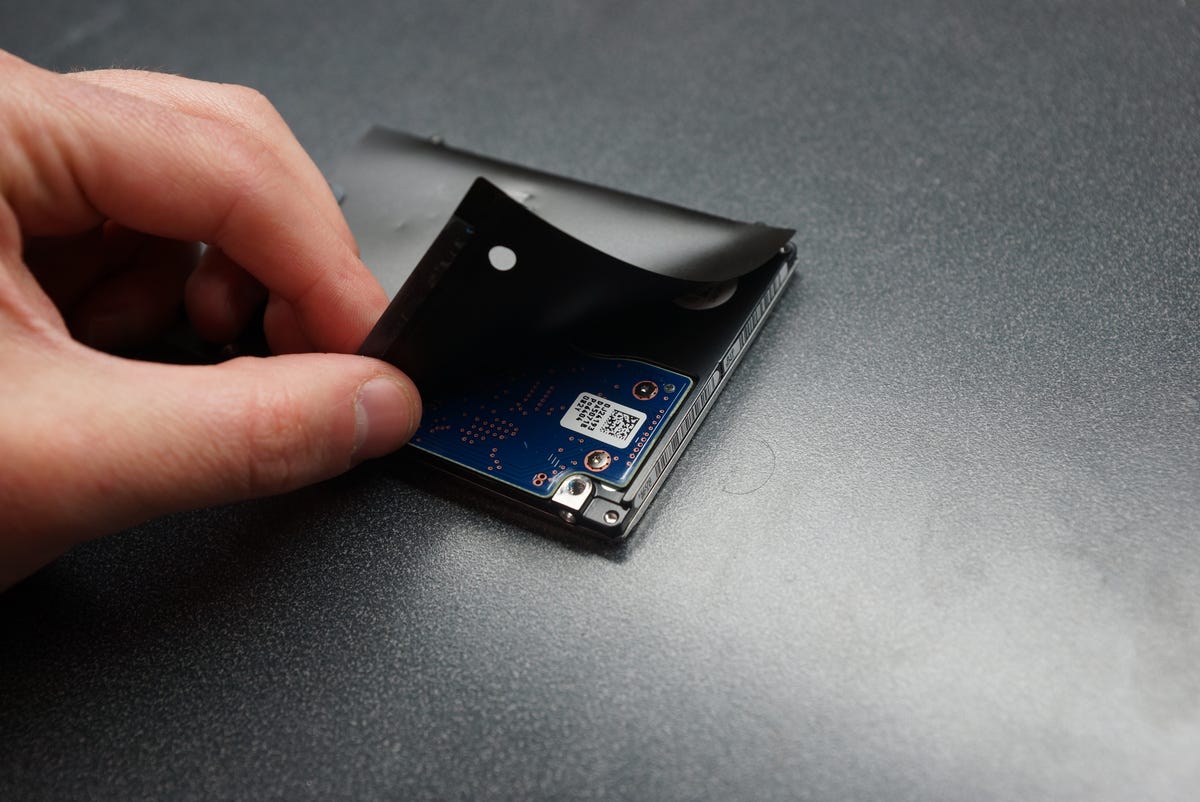
Remove the protective black cover from the original drive.

Disconnect the hard drive connector.
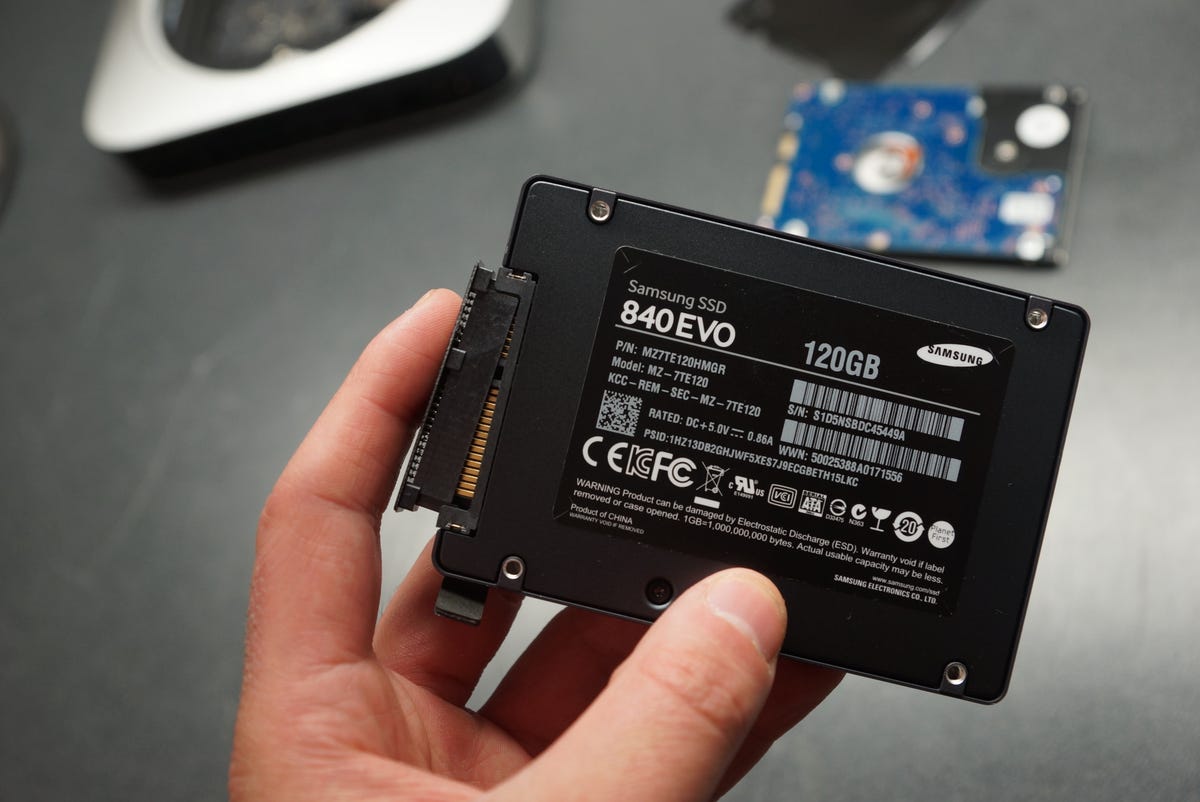
Plug the connector into your new drive.
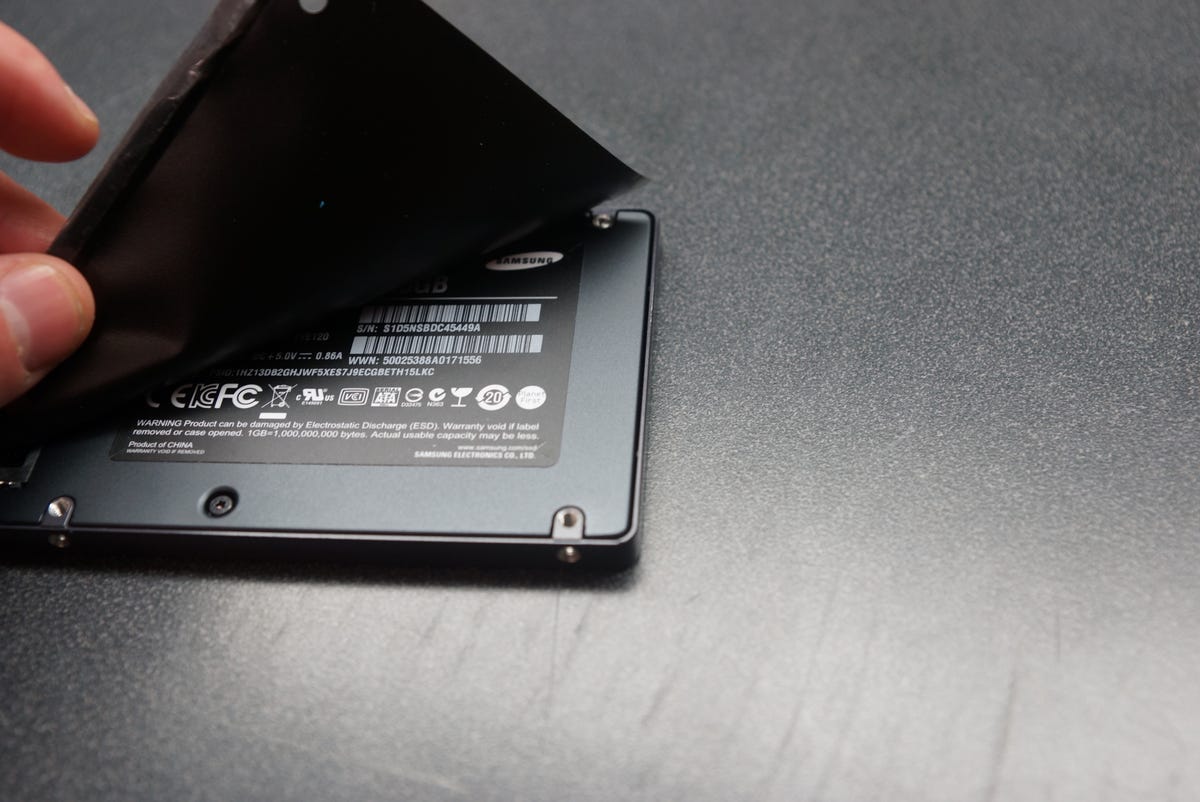
Then, place the black protective cover on your new drive.
The two screws on the side of the drive sit in two slots inside of the case.
Getting the drive back into place can be a bit tricky -- you may have to use a pair of tweezers to help you out.
Once in place, reattach the hard-drive connector to the motherboard.
Replace the antenna grill and secure it with the four T8 screws.

Wiggle the plastic guard back into place.
Don't forget to replace the T6 screw.
Reattach the fan cable to the motherboard.
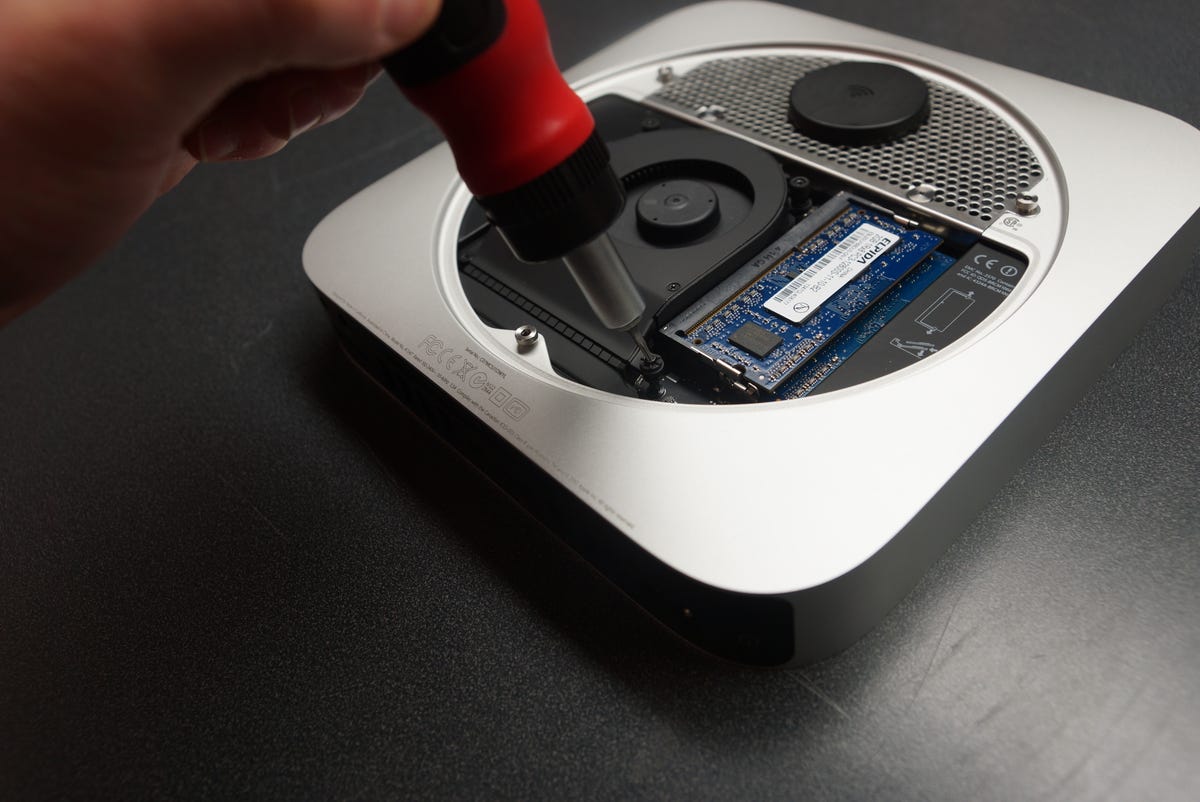
Replace the three T6 screws that keep the fan in place.
And there you have it: You just replaced the hard drive and memory in your Mac Mini.
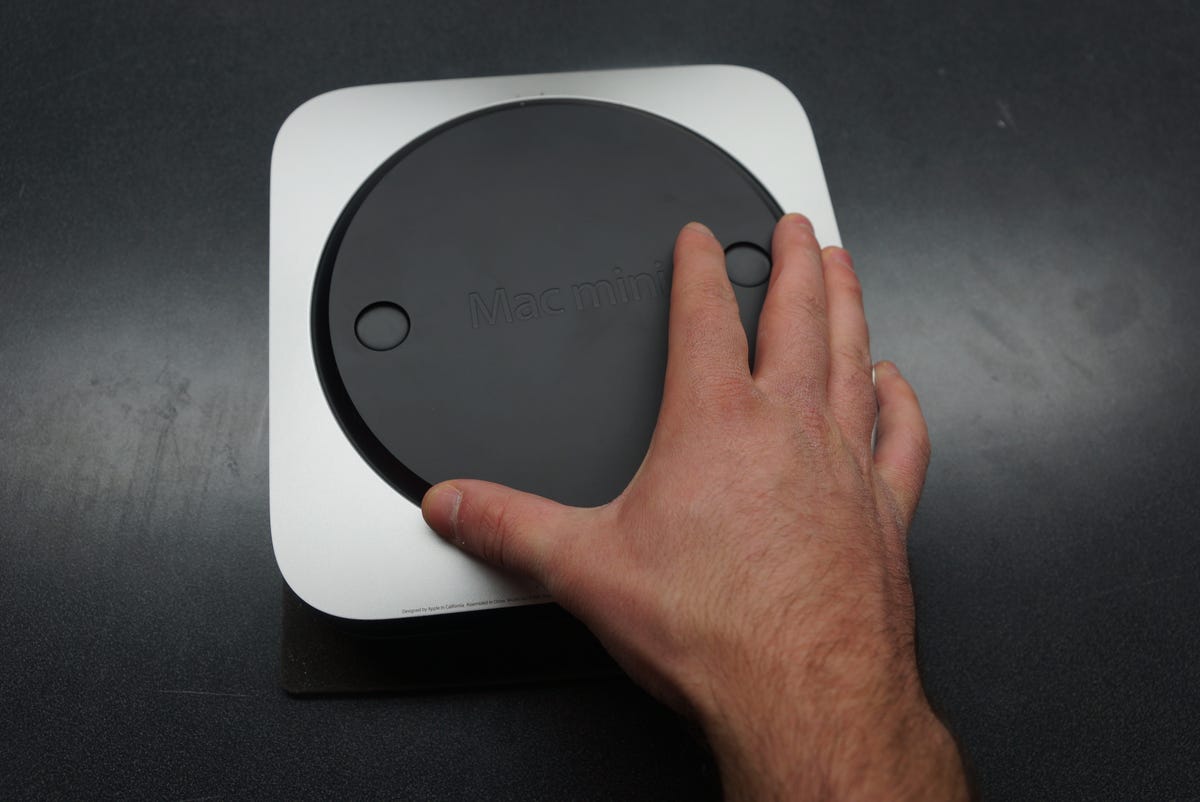
Once everything is back in place, simply place the cover on the Mac Mini and turn it clockwise to lock it in.
More Galleries

My Favorite Shots From the Galaxy S24 Ultra's Camera
20 Photos
Honor's Magic V2 Foldable Is Lighter Than Samsung's Galaxy S24 Ultra
10 Photos
The Samsung Galaxy S24 and S24 Plus Looks Sweet in Aluminum
23 Photos
Samsung's Galaxy S24 Ultra Now Has a Titanium Design
23 Photos
I Took 600+ Photos With the iPhone 15 Pro and Pro Max. Look at My Favorites
34 Photos
