20 tips for your new dSLR
Here are 20 tips to get you acquainted with your new dSLR camera.


If you're not ready to learn all of the intricacies of photography, but want to use your new dSLR camera to make beautiful photos, this guide is for you. We'll go over basic modes, what some of those little buttons on your camera do and a few tricks for making your first photos more successful.
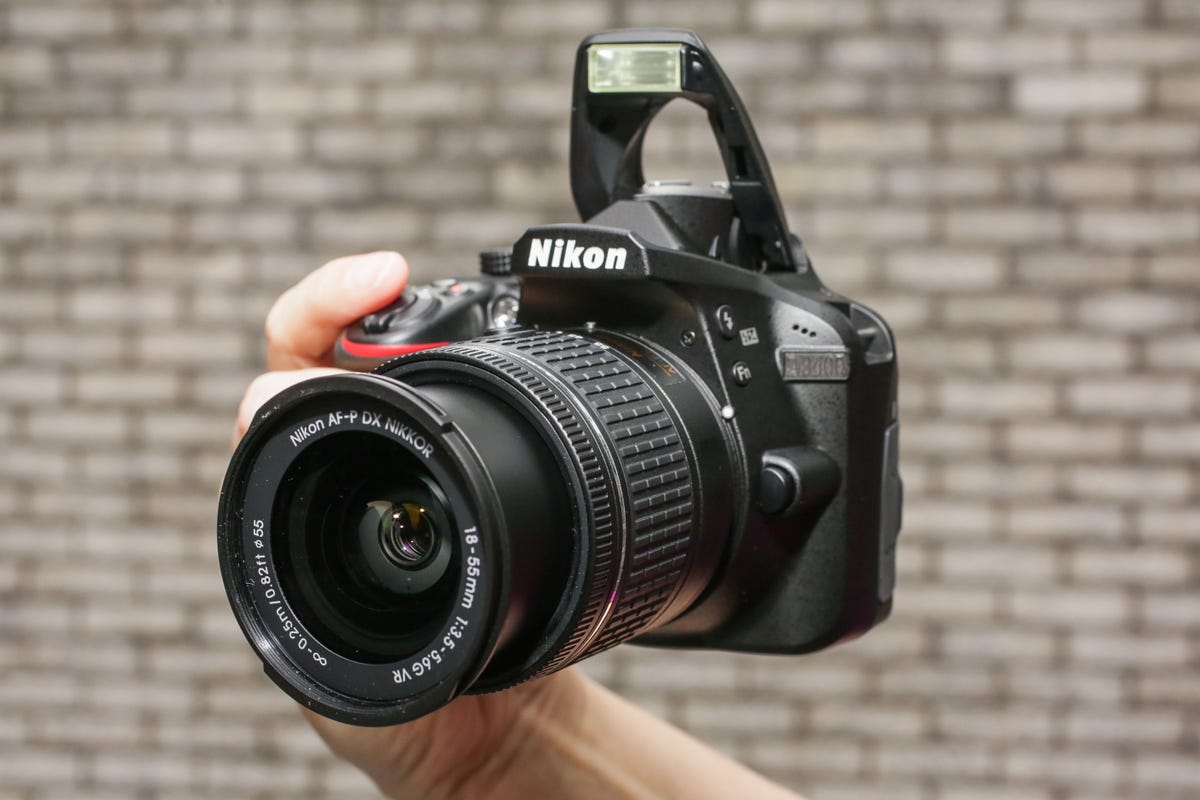
Get your grip right
The key to successful photos is a good grip to prevent shaky images. Wrap one hand around the grip on the body of the camera. The grip will be the textured, protruding area jutting out of the front of the dSLR.
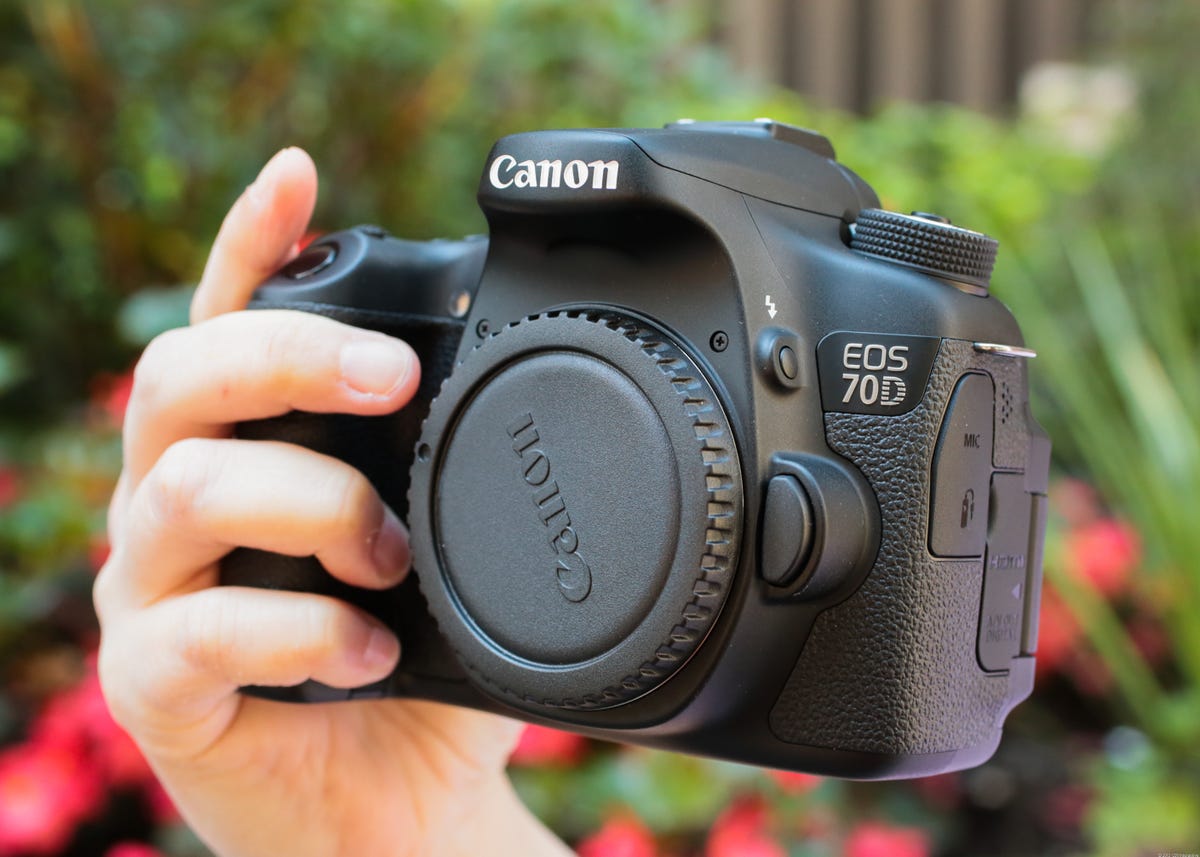
Get your grip right, part 2
Place your other hand around the bottom of the lens. Use your index finger and thumb to hold the lens steady while propping your other fingers against the body.
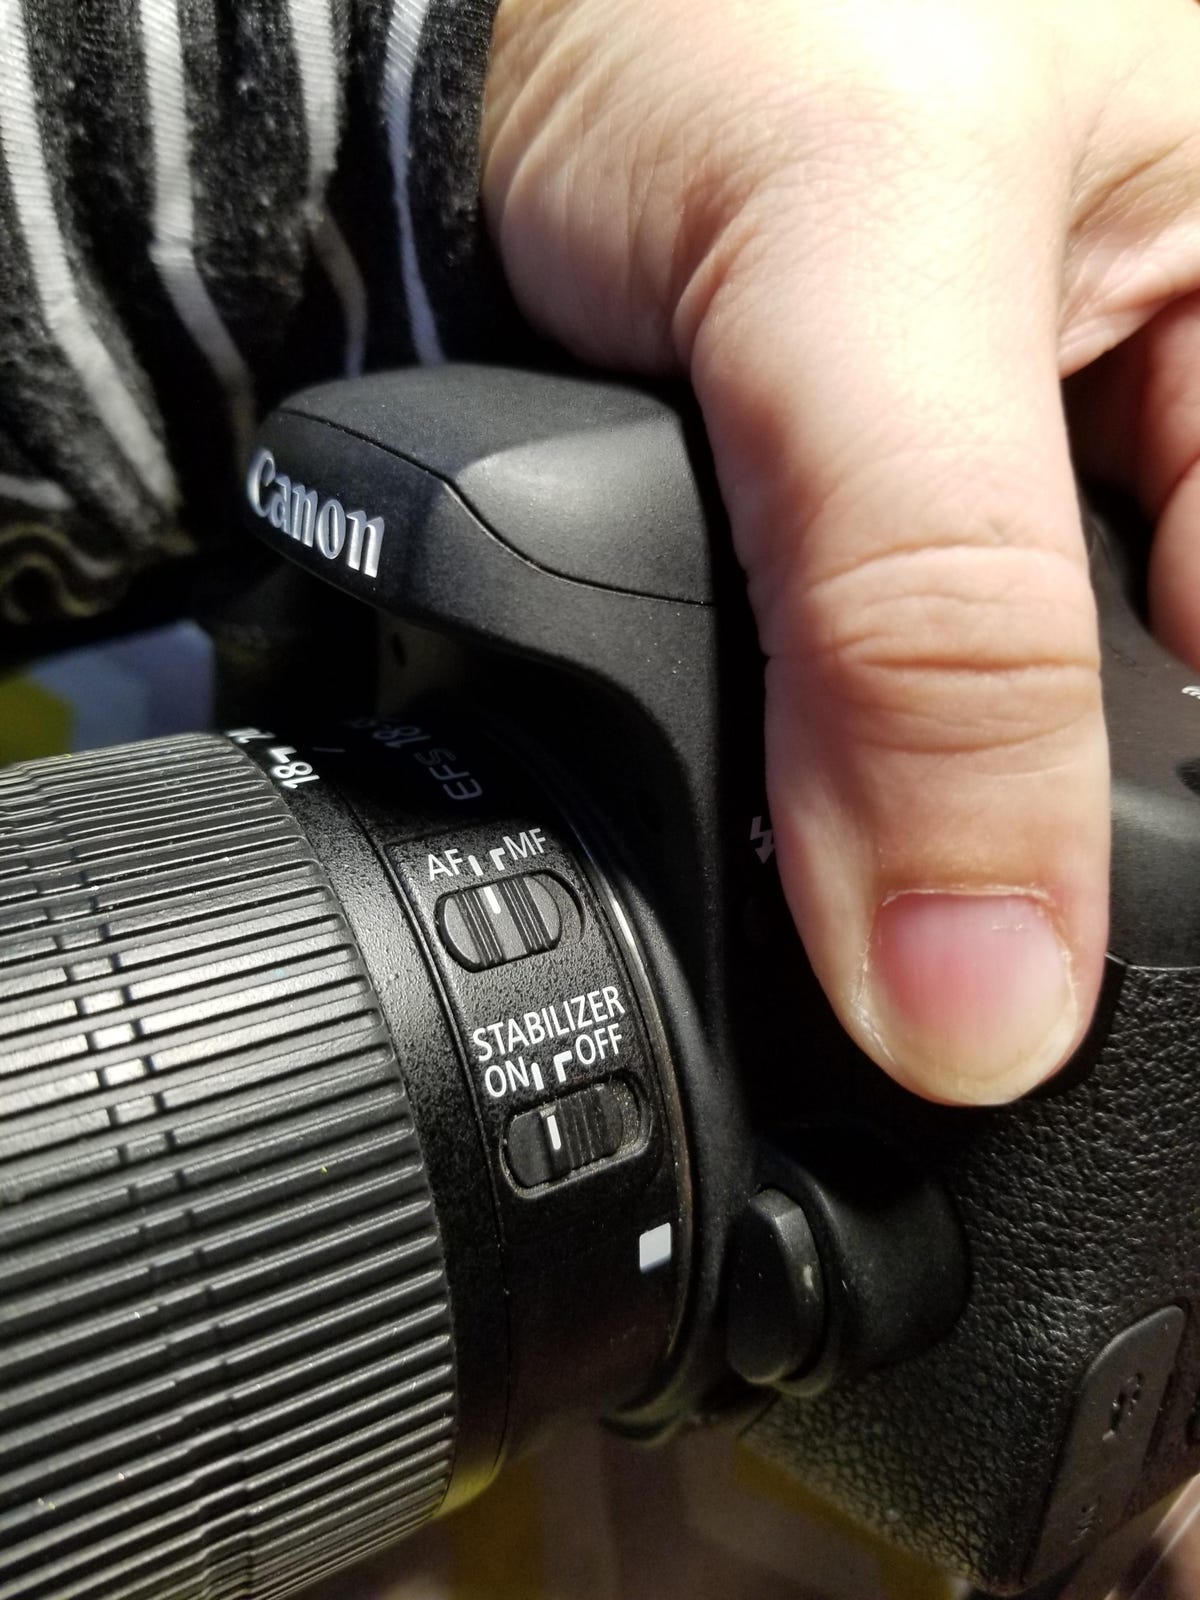
Auto focus and stabilizer
When you're just starting out, you want your auto focus and stabilizer switched on. This will make your photos clearer. The auto focus and stabilizer are usually found on the lens of the camera by the body.
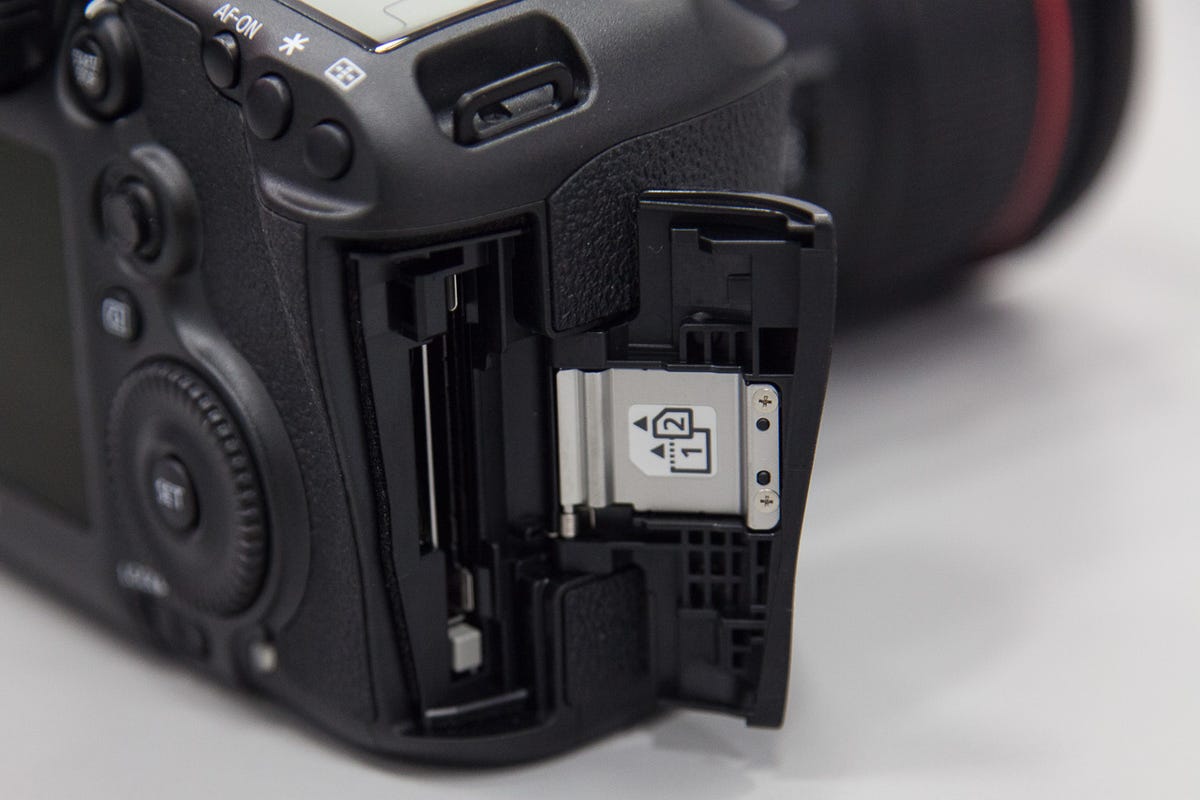
Get a memory card
If your camera didn't come with a memory card, you'll need to purchase one since most dSLR cameras don't have built-in storage for your photos. I recommend a card with at least 32GB of memory. You can store hundreds of photos on a card of this size, no problem. I personally use the SanDisk Extreme 32GB .
Also, be sure to look for a card with a fast read speed of 45 MB/s or more so that your computer can quickly upload your photos.
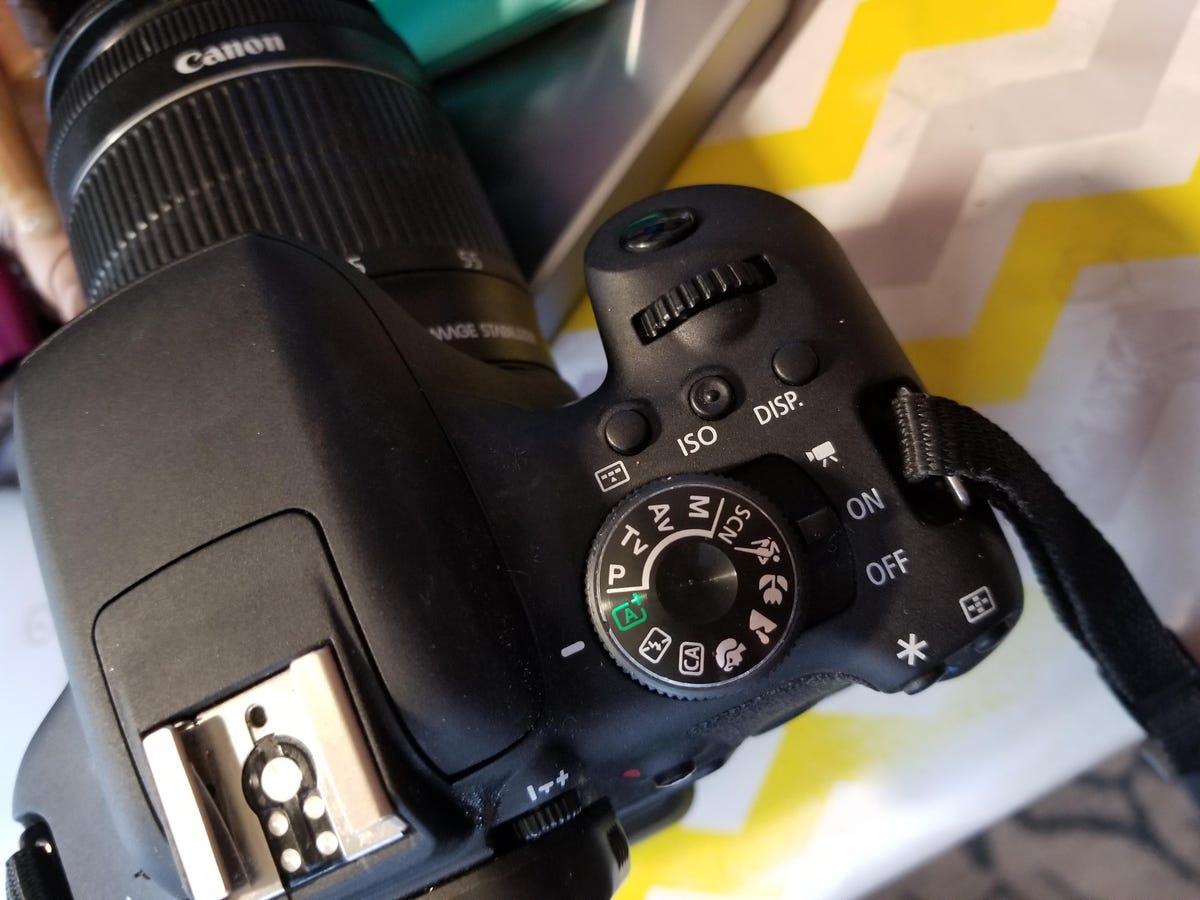
Get know the modes
These cameras come with various modes to make shooting photos easier. These modes set the flash, aperture, shutter speed and more for you, basically taking out a lot of the guesswork until you feel confident enough to learn what those words mean. On some cameras, like in the Canon line, there is a mode dial by the on/off switch. On others, like some Nikon cameras, you'll need to press a mode button to access options. Be sure to check your manual.
Here are some of the most common modes.

Macro mode
Macro means small, so not surprisingly, people often use the macro mode to take photos of small things. This mode simply allows you to take clear images of things close-up, big or small. For example, bugs, jewelry details, the veins in leafs and close-ups of flowers are all good subject matter for macro. This mode is often marked with an icon of a flower.

Night mode
When it's dark outside, the camera needs more light to create a photo. Setting your camera to night mode -- usually marked by an icon of a moon -- enables the camera to take in as much light as possible while snapping the photo.

Sports mode
Sports mode -- illustrated by a running man icon on your camera -- basically freezes action shots so there's no blur.
The mode also gives you the option of taking rapidfire shots. Just hold your finger down on the shutter button and your camera will keep on taking photos. Taking so many photos in rapid succession can ensure you get the perfect action shot.

Sports mode for fireworks
Sports mode is great for taking photos of kids running around, babbling streams, sports and car races. I've also found it handy when taking photos of fireworks. Since fireworks give off large bursts of light, I don't need night mode, but I do need a setting that can quickly capture the explosion.

Landscape mode
This mode marked with an icon of mountains. You can use it to take photos outside of buildings, landscapes and larger scenes.

Landscape mode tip
Landscape mode does more than just help you take photos of the outdoors, though. It can be used any time you are taking photos of multiple objects, or one large object. The mode will ensure that the whole photo is in focus and not blurry.

Portrait mode
Portrait mode does the exact opposite of what landscape mode does. It focuses on one object and makes the rest of the photo a little blurry. This is great for when you want the focus of the image to be just one person or thing.
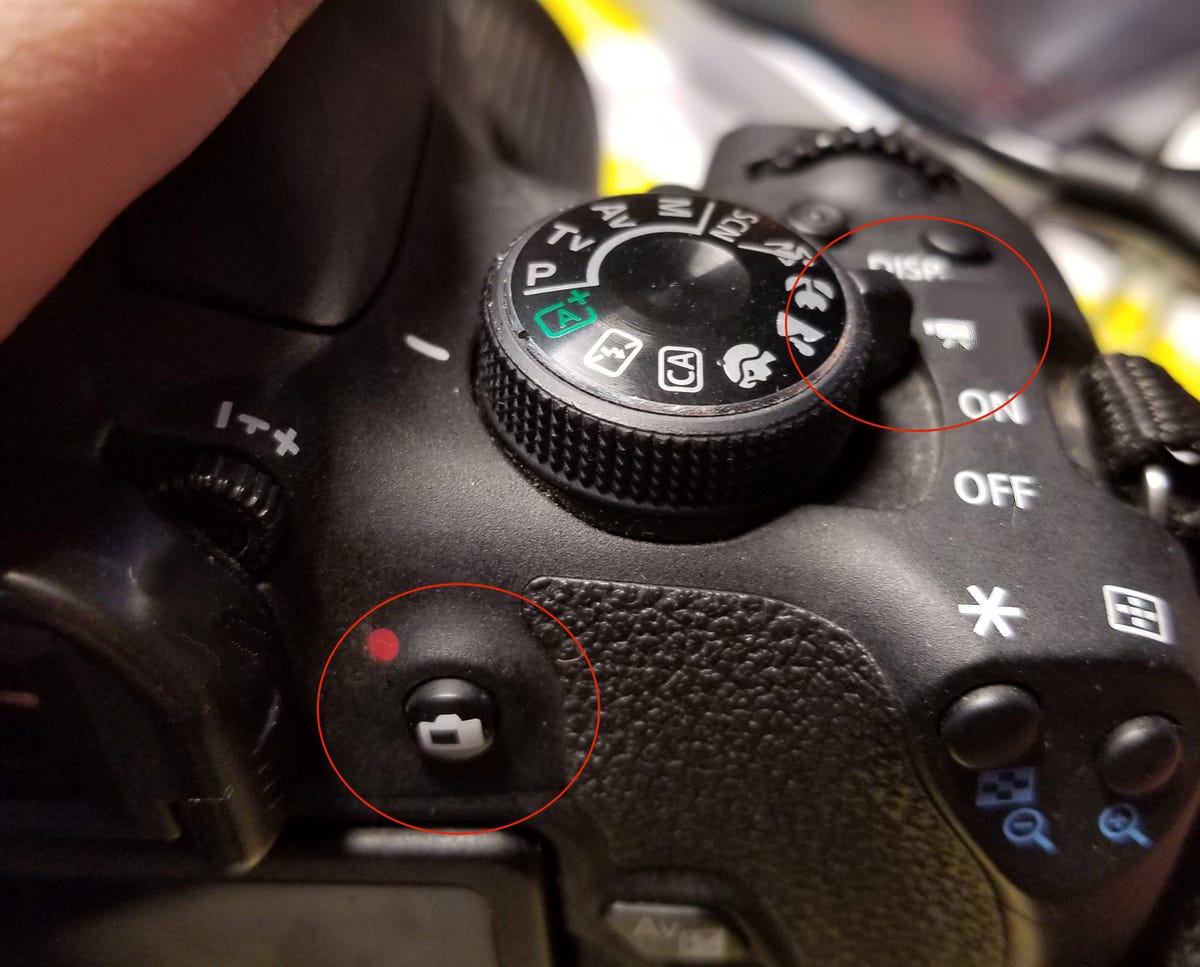
Video mode
If you want to film movies, then you'll need to switch into video mode, which is marked with an icon of a video camera. On some models, you'll also need to press a button by the viewfinder (it'll have a red dot above it) to start filming.

Fix the flash
Be cautious. Micro, landscape and portrait modes can trigger the flash to go off in low light situations, which can cause harsh shadows, glare on shiny objects (like in this photo) or a lack of color saturation.
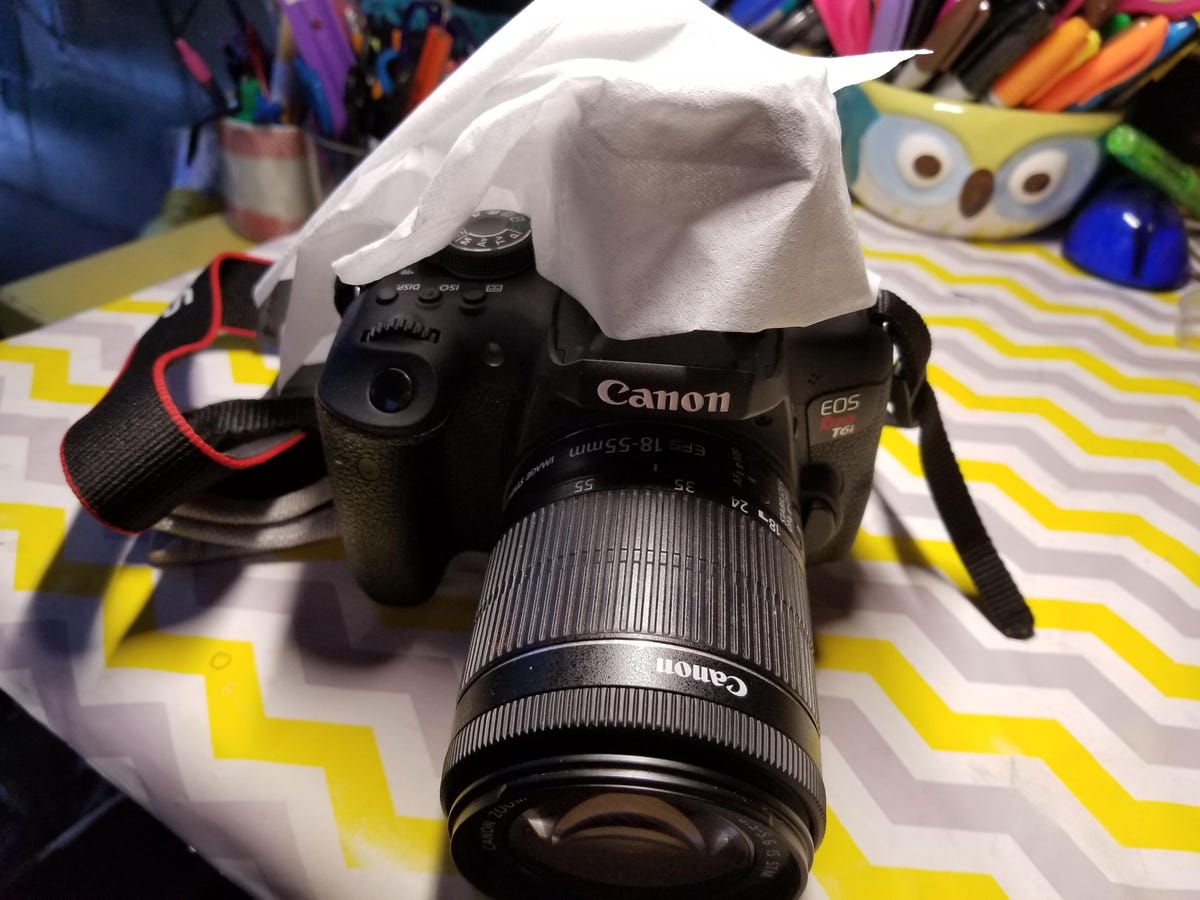
Fix the flash
To dampen the intensity of the flash, throw a thin handkerchief, a piece of wax paper or a napkin over the flash before taking the shot. It may take a little experimentation to find just the right cover to get the prettiest low-light photo.
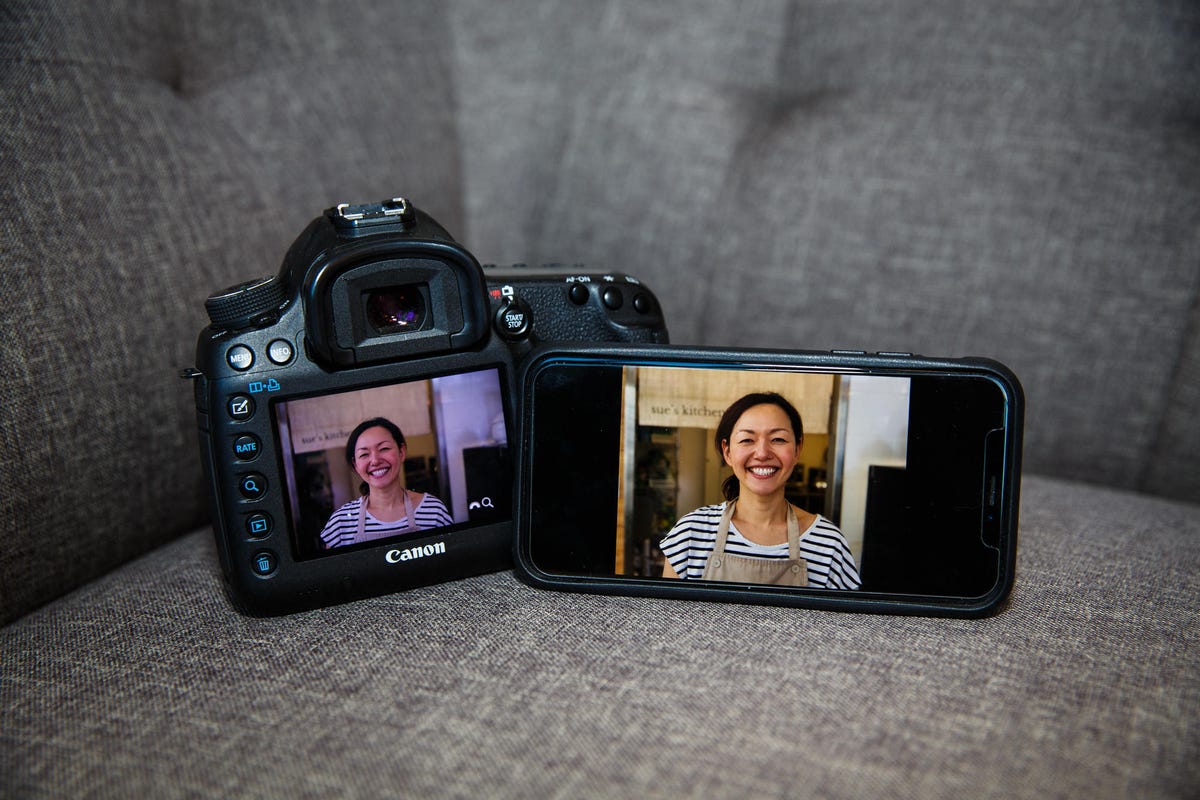
Get to know the Wifi capabilities
Most new dSLRs can use Wi-Fi. This means you can upload photos to social media or other accounts directly from your camera.
Some also have apps that can control your camera through your phone. Think of the app like a shutter button you can set off from anywhere. Be sure to check your manual for details.

Protect your screen
Your camera's screen is very delicate, so be sure to purchase a clear screen protector -- like this one from Nikon or this one from Cannon -- to prevent scratches.
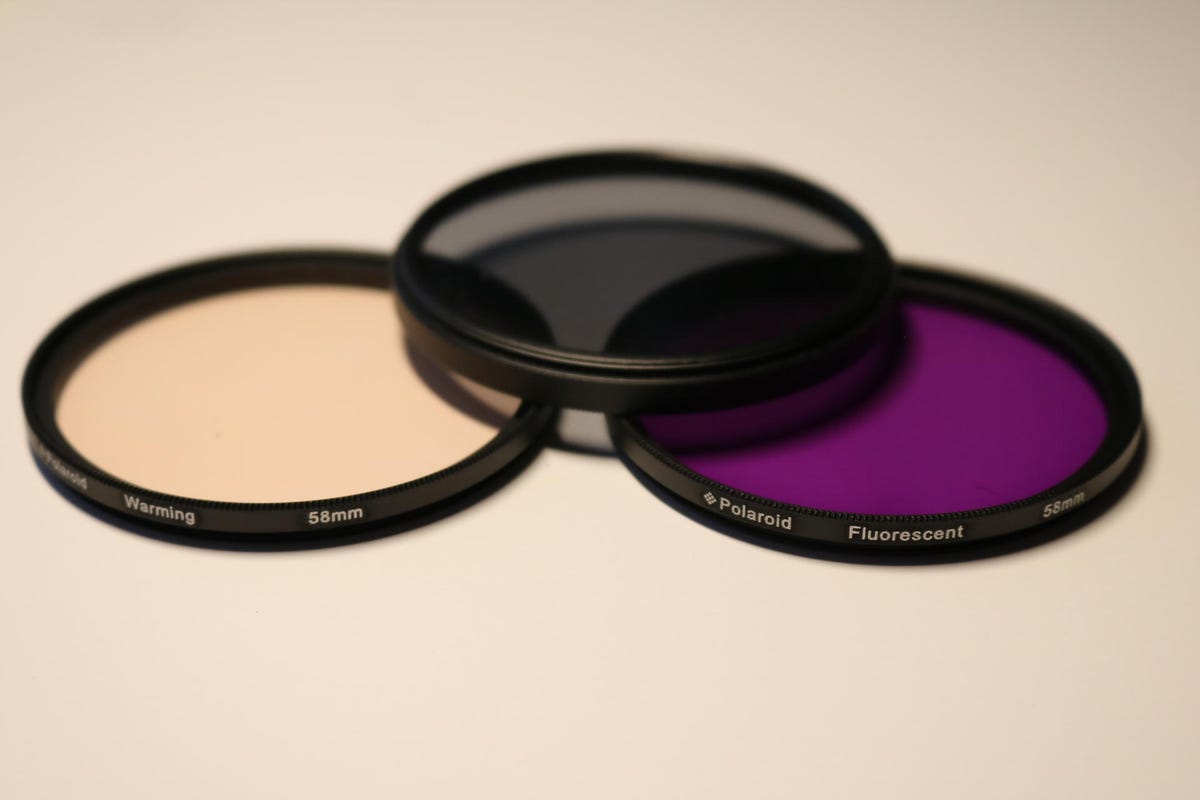
Filters
You can attach all kinds of nifty filters to your lens to get certain effects. Tinted filters, for example, can change the overall hue of a photo. Another example is a polarizing filter. It reduces light reflections on shiny objects, makes colors richer and increases contrast.
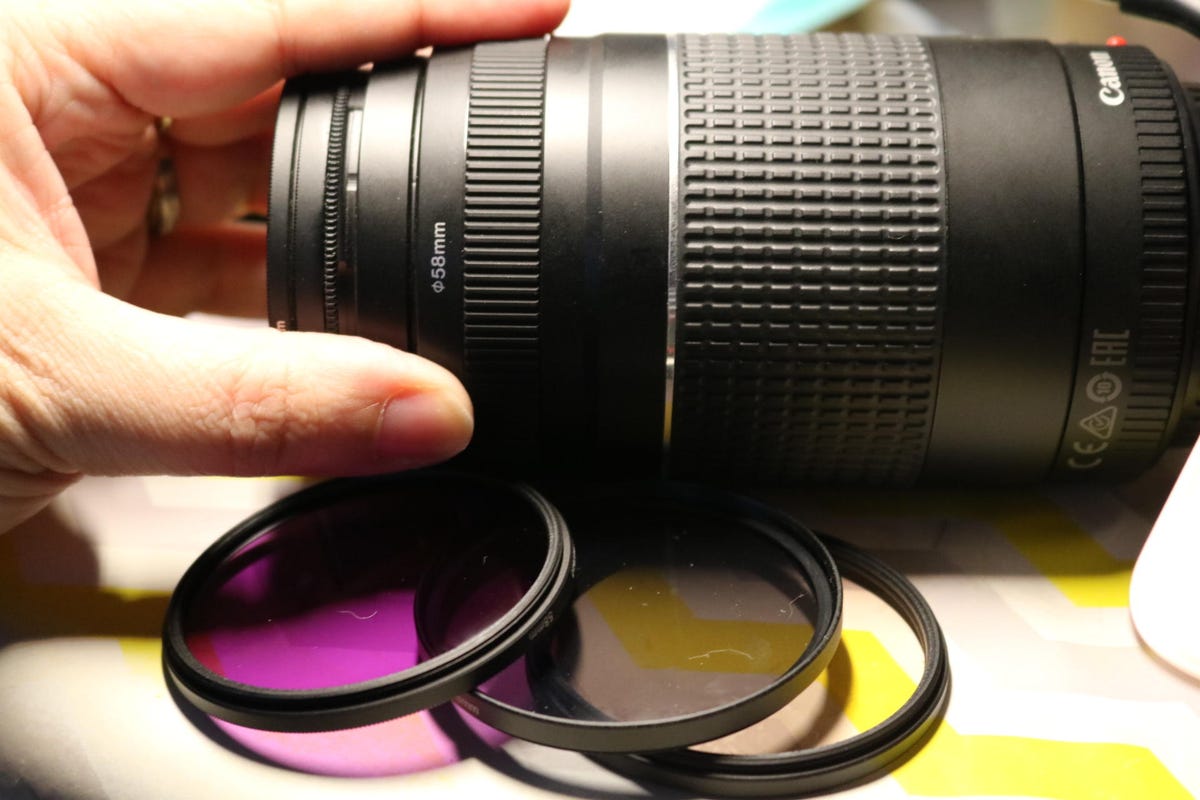
Lens size
Before you rush to order filters online, though, make sure you know what size your lens is. If you buy the wrong size, the filter won't fit.
Typically, your lens will have its size marked on the end in millimeters. This particular lens is a 58 milimeters. A zero with a line through it will come before the size amount.
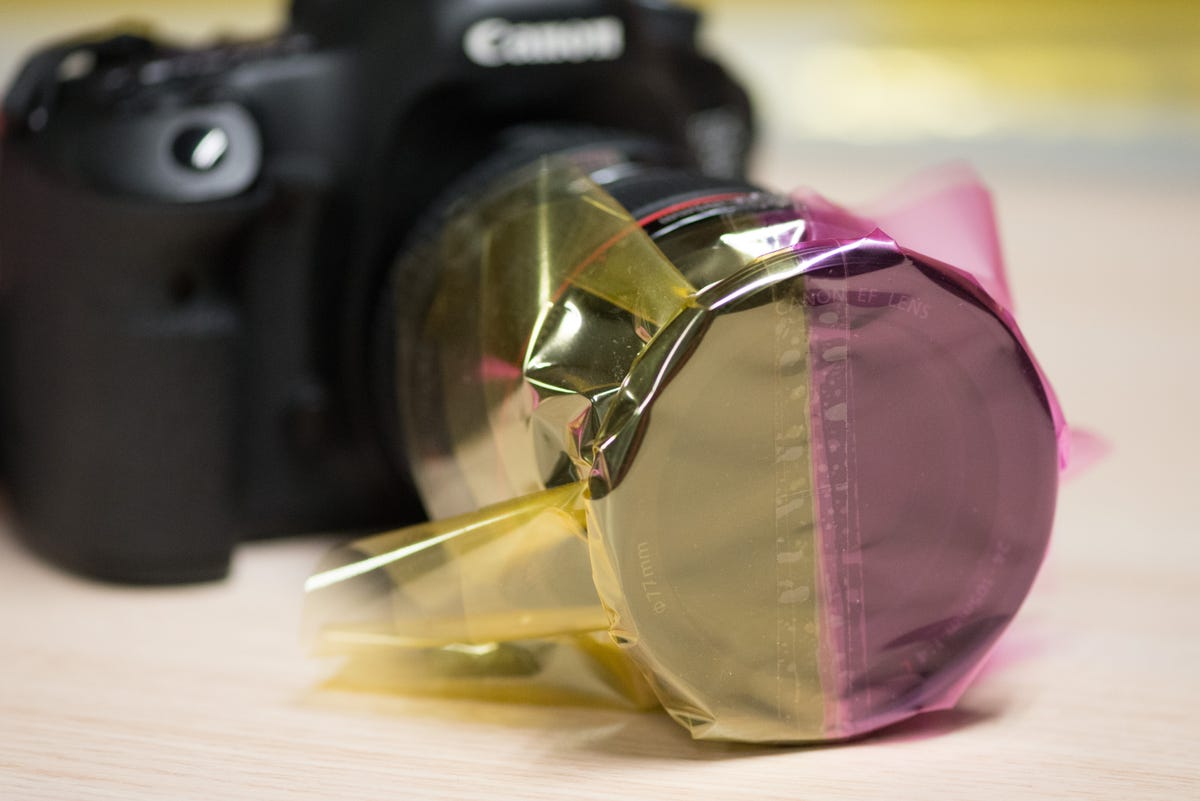
DIY Filters
You can also make your own filters using items from around your home. Here are some DIY filter ideas.
More Galleries

My Favorite Shots From the Galaxy S24 Ultra's Camera
20 Photos
Honor's Magic V2 Foldable Is Lighter Than Samsung's Galaxy S24 Ultra
10 Photos
The Samsung Galaxy S24 and S24 Plus Looks Sweet in Aluminum
23 Photos
Samsung's Galaxy S24 Ultra Now Has a Titanium Design
23 Photos
I Took 600+ Photos With the iPhone 15 Pro and Pro Max. Look at My Favorites
34 Photos
