This 'true' home theater fulfilled a childhood dream for this Illinois man
In this Show Us Yours, we get a look at what one CNET reader did to turn his home-theater dream into reality with not much money.


This is Jim from Illinois. He always wanted to have a true home "theater" in his house since he was a kid. And not just a home entertainment area.
"To me there is a very distinct difference," he says. "A theater is a dedicated room or area with a true theater-like experience. Not simply a 'home entertainment' area where everyone does daily TV watching or game playing on a flat screen TV (no matter how large the screen is!)."
Once he and his wife knew they were in a house they'd be for many years raising kids, he got the bug and the wheels started turning. After he completed the basement build-out, he started planning the theater. This is the finished product, but it took a lot of work to get there. And he did most of it himself...

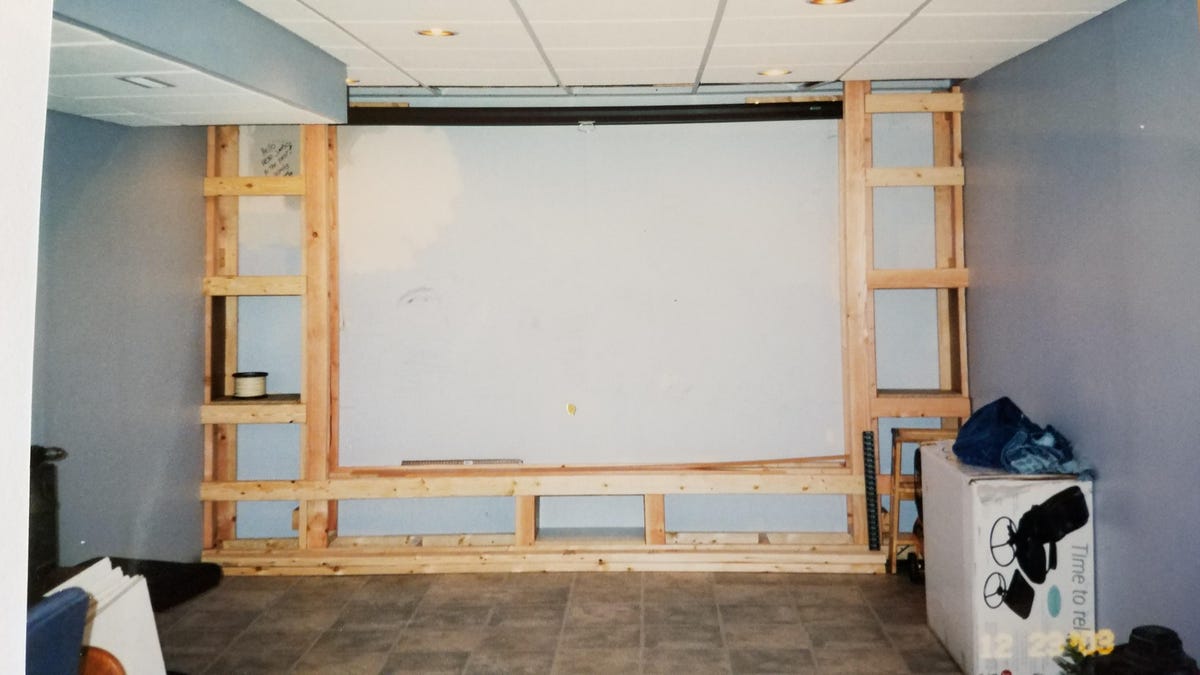
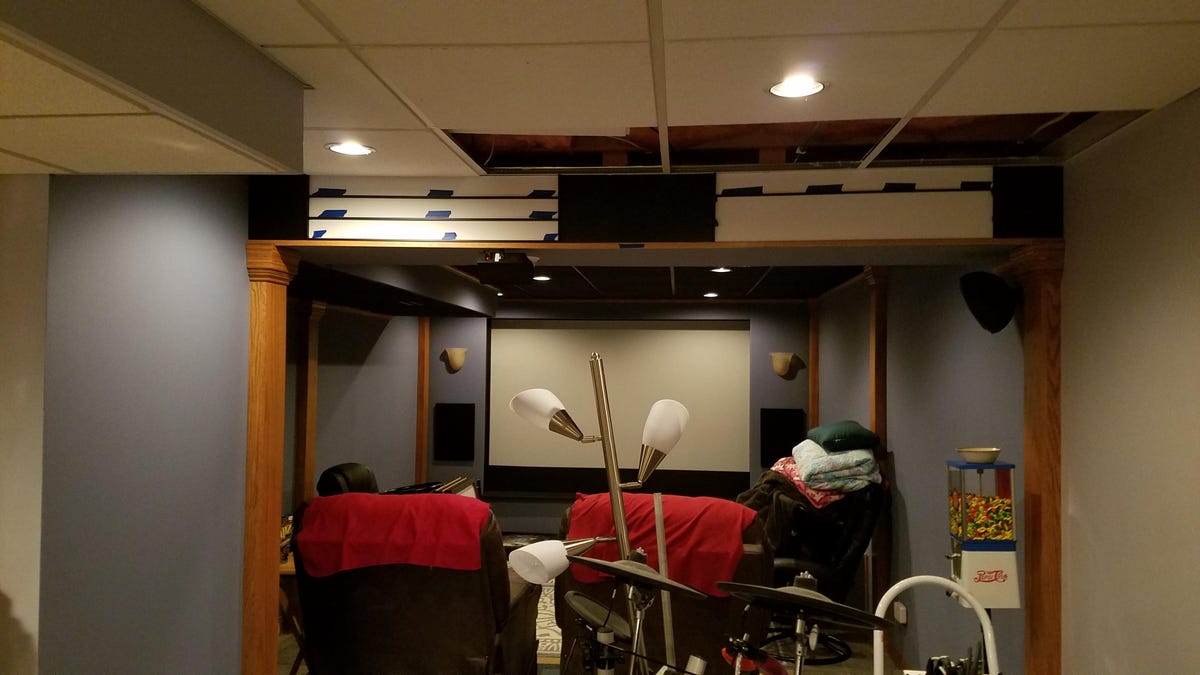
Let's go back several years, to when it all began. In this shot he's started prepping the section of the basement where the theater will go. The space is approximately 12 feet by 14 feet. The framing on top is where the projector will be housed.
Jim says: "I knew I wasn't going to be able to spend tens of thousands of dollars on this so I wanted to prove a point that you can have a true home theater on a relatively low budget and still get an awesome picture and booming sound. Most people overdo it with monster amps, giant floor speakers and tons of equipment. For small areas like this, it isn't necessary, except for showing off!"

Reverse view of the framing for the projector.
Framing out the screen area, as well as spaces for center and two front speakers.
Phase one is complete!
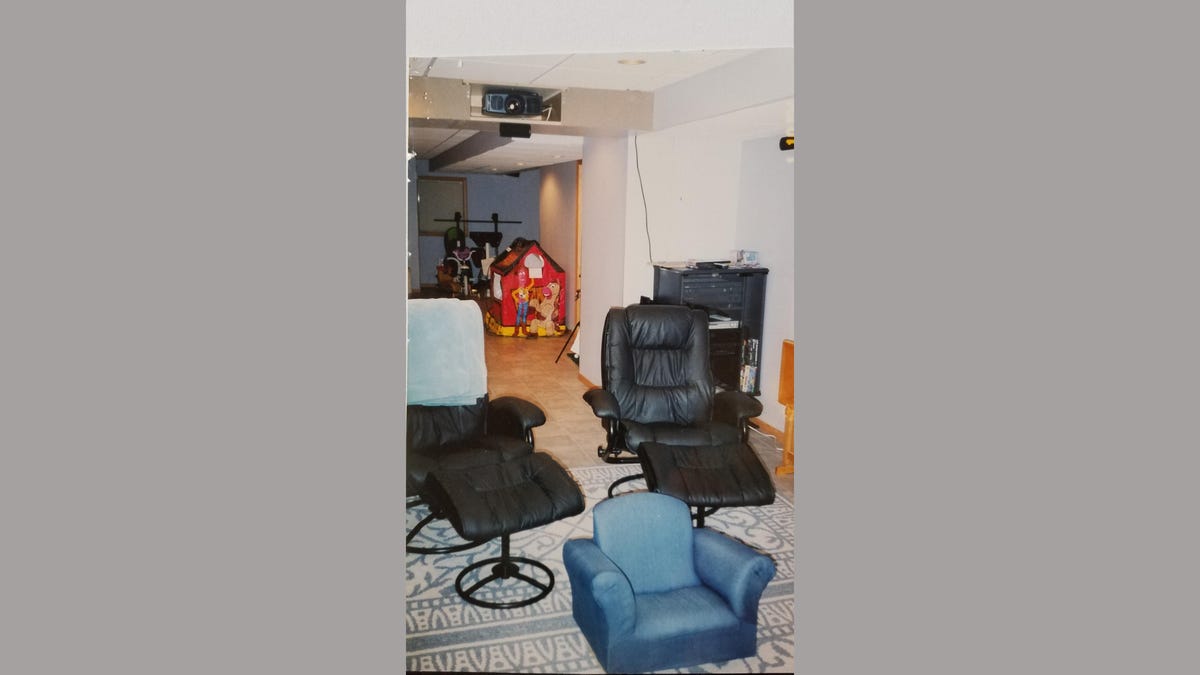
Jim says he knew he initially wanted to keep things simple and kid-proof. So he didn't get fancy leather furniture and made doors to cover the speakers and the projector "to keep them from getting damaged from a flying hockey stick or toy of some kind."
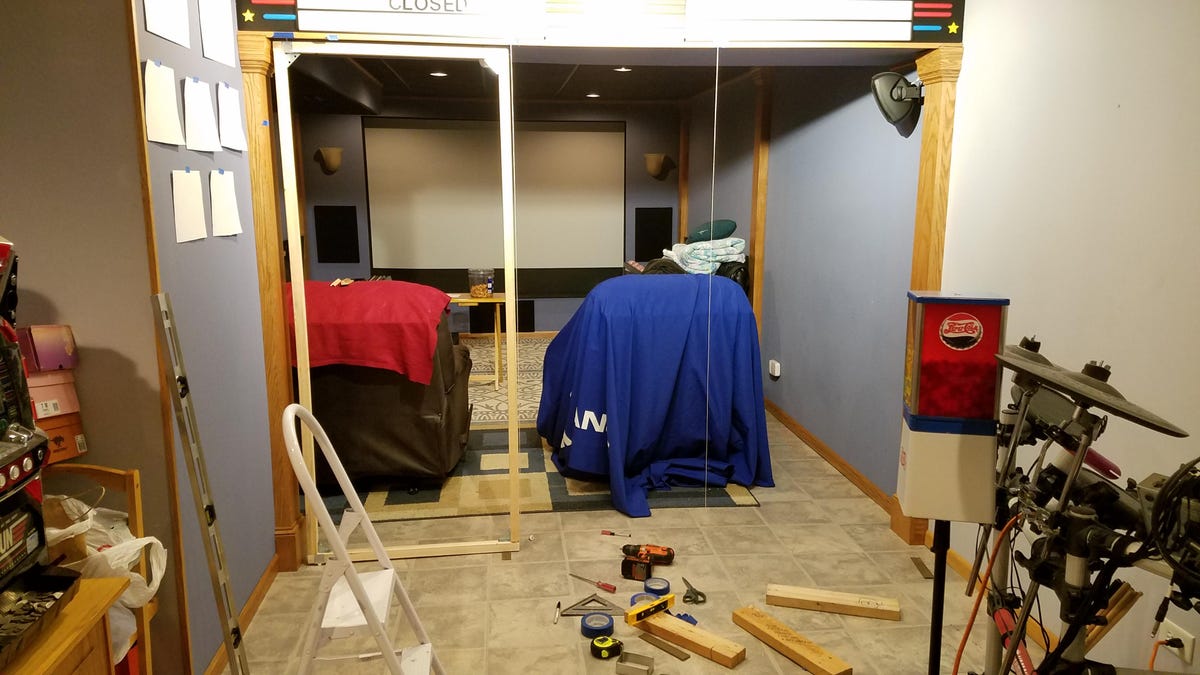
He made a last-minute decision to add walls to the area and had no idea what he was getting himself into. Since he had storage cabinets in the theater area that housed holiday decorations, including a Christmas tree, for much of the year, the walls couldn't be permanent. He says he had to design his own way to pivot the walls without using ugly hinges or damaging the oak columns.
"I used some threaded pins I found at the hardware store, notched out the 2 x 2 wood framing and secured with a steel mending plate," he says. "I had to be sure the doors would not rub against the columns when opening or closing."

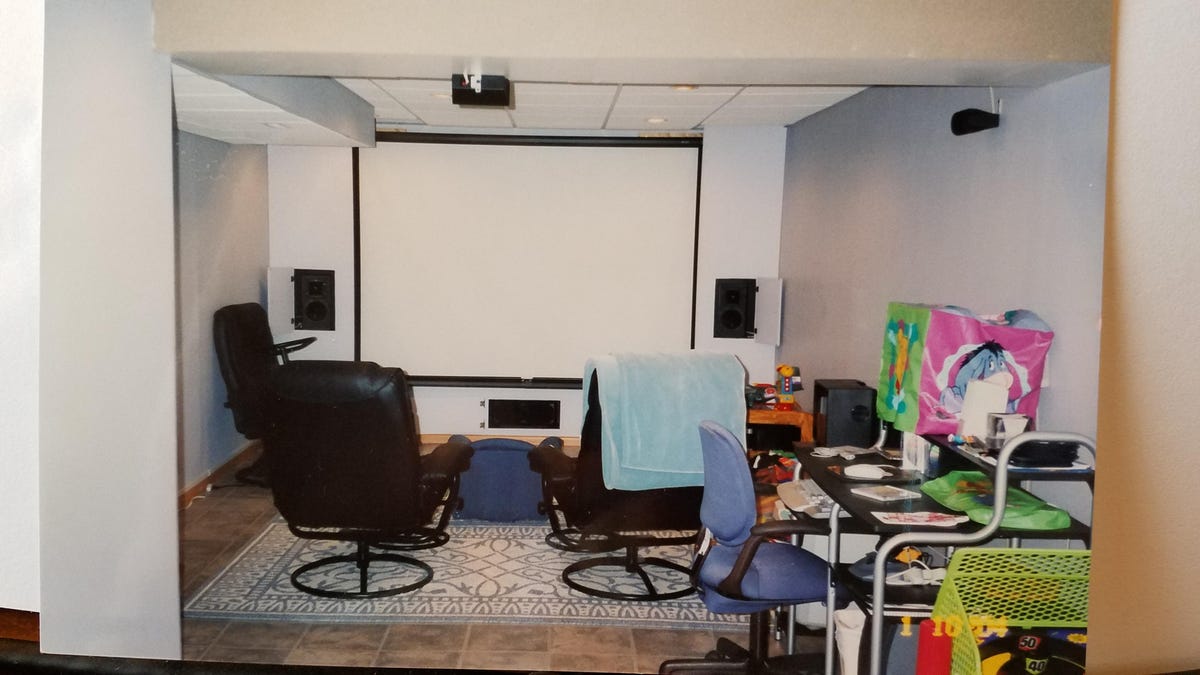
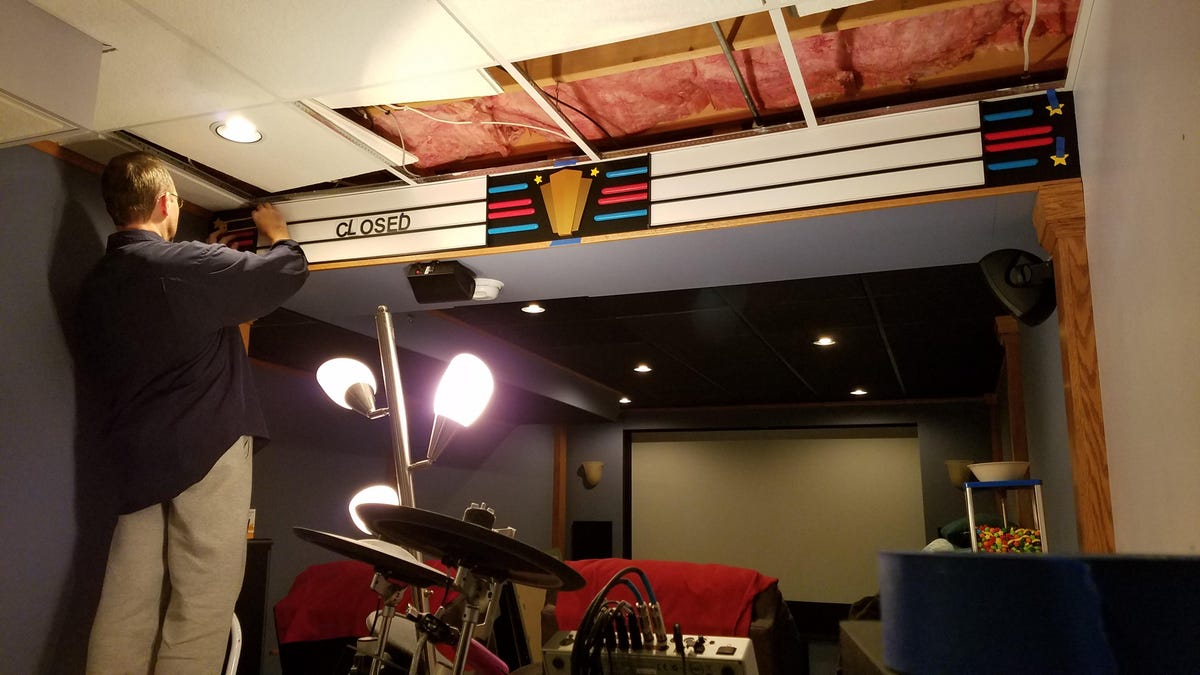
Getting ready for the final stage of updates. Over the years he added the wall sconces, removed the speaker doors, added oak columns and trim and made storage cabinets as a dad-son project a few years ago.
Adding the letter channel for marquee. He says he found some white panel edging with just the right opening for a plastic letter tile. He then painted it black and mounted it.
Mounting all the marquee pieces. He made the center logo out of four cut pieces of wood connected together and painted gold.
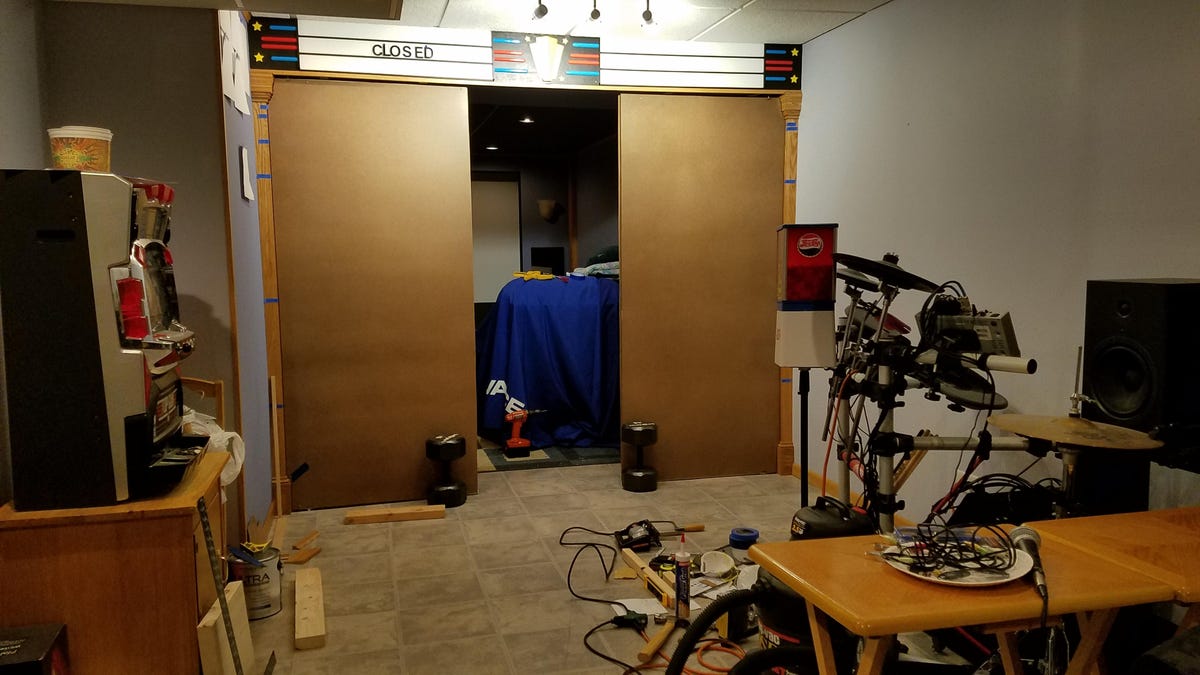
Doors almost done. He used a lighter brown paneling board instead of drywall to help keep the total weight down. While the doors have to be light, he reinforced them with horizontal 2 x 4's for support.
"Since I was going to hang heavy poster frames the wood is at the points where the frames would hang, making for a strong hanging point," he explains.

The doors are in and all the trim has been added. The top and bottom trim in the front is removable, held in place with magnets, in case he needs to remove or repair the walls in the future.
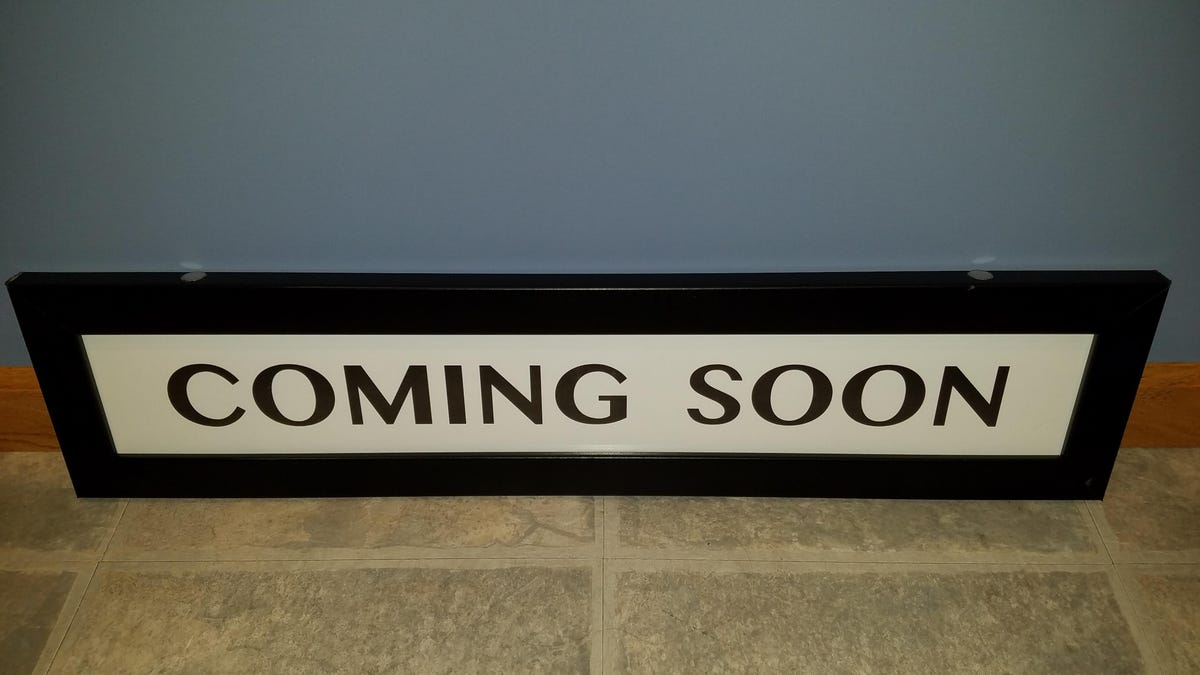
The "coming soon" sign was built to adhere magnetically to the frame of the poster.

Powerful magnets and a metal plate at the bottom of the frame keep the sign suspended.
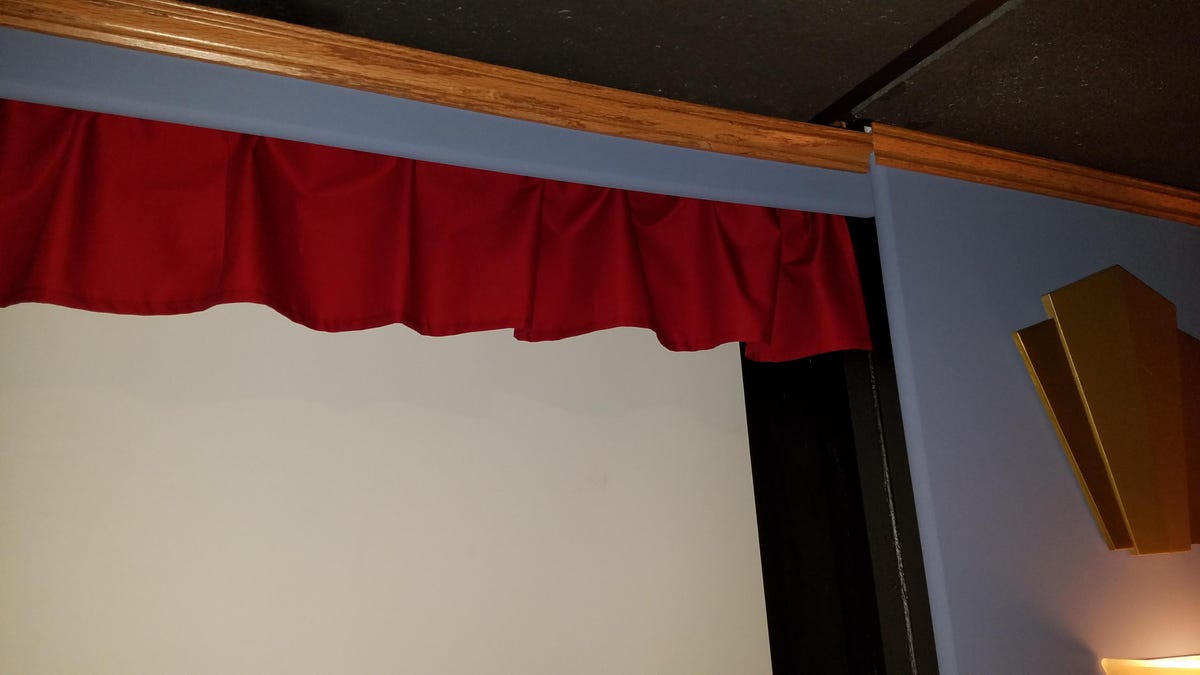
Closeup of the curtain. It's not a full drawn curtain, only a short segment to simulate a larger curtain that may be rolled up.
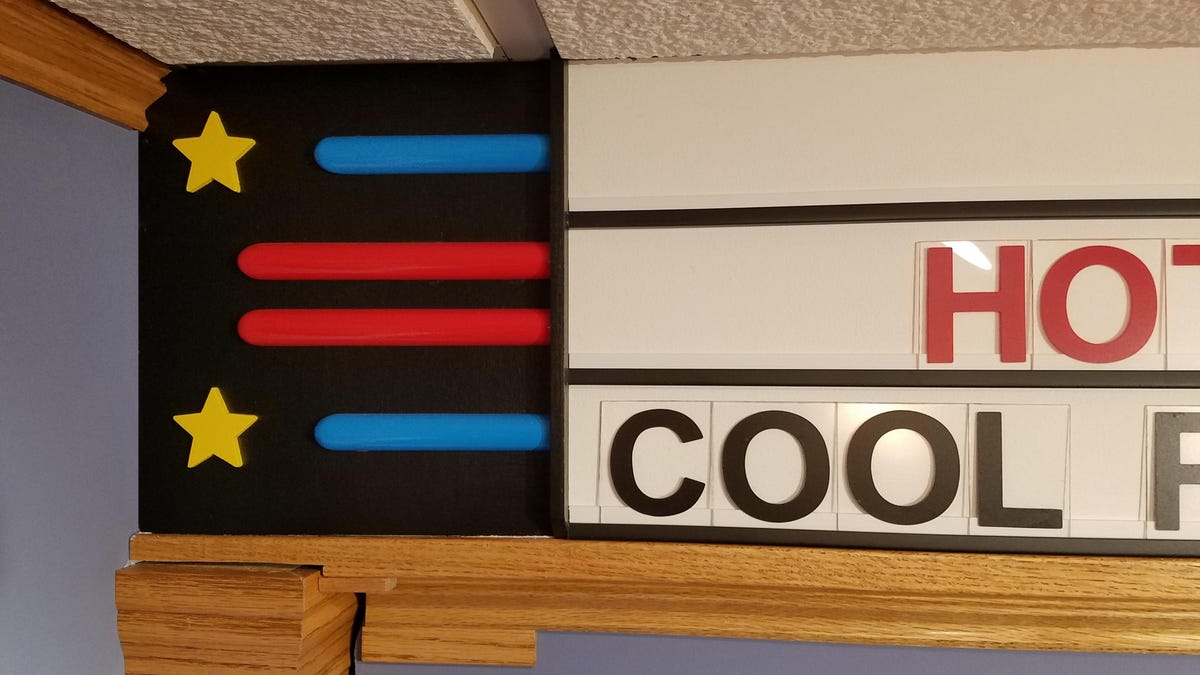
A little added flair to the marquee.
He wanted to complement the theater logo he designed (and cut out of wood) for the entrance marquee with a logo inside the theater. He decided to try 3D printing for this as the wood cuts were a bit complex for the tools he had.
He had the new logo pieces 3D printed locally from a template he made. He then finished them with a drywall patch as the 3D-printed surface ended up not being smooth.
He epoxied the pieces together with a metal mending plate on the backside to hold them together, then spray painted them in gold and finished with a layer of clear-coat.
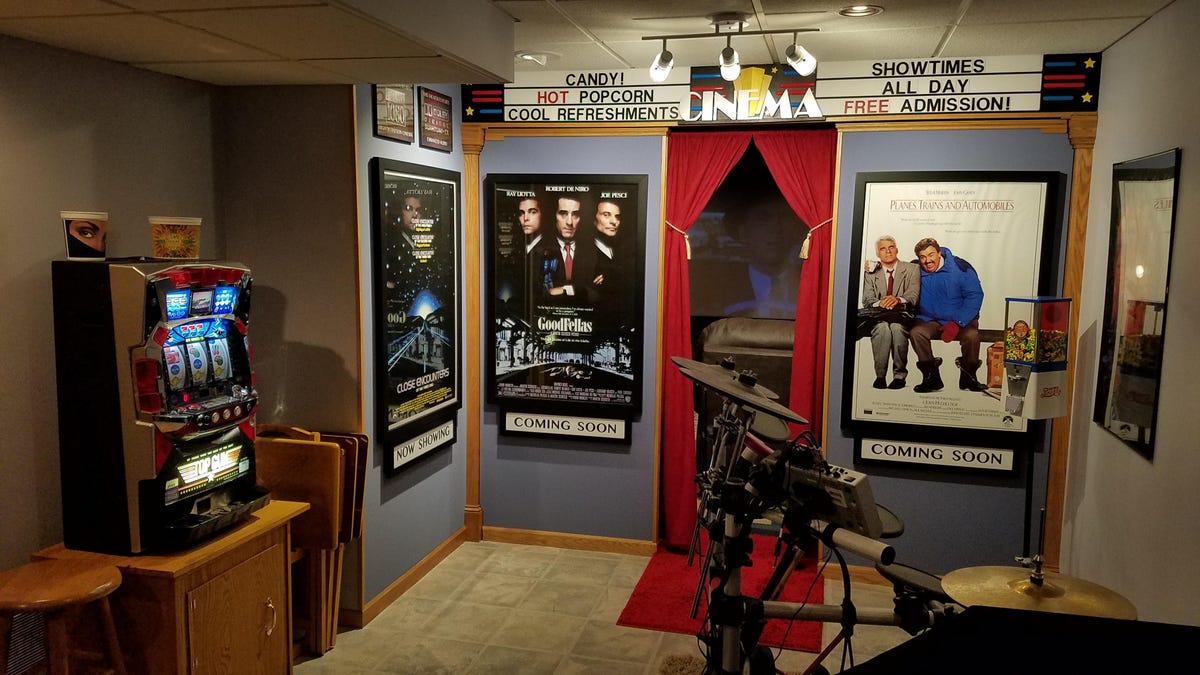
All finished, it's time to roll out the red carpet! The marquee letters were all hand made. "Yes, it did take a long time to do all this," Jim says. "My sister is a seamstress and made the curtains from the velvet-like fabric I scored on clearance."
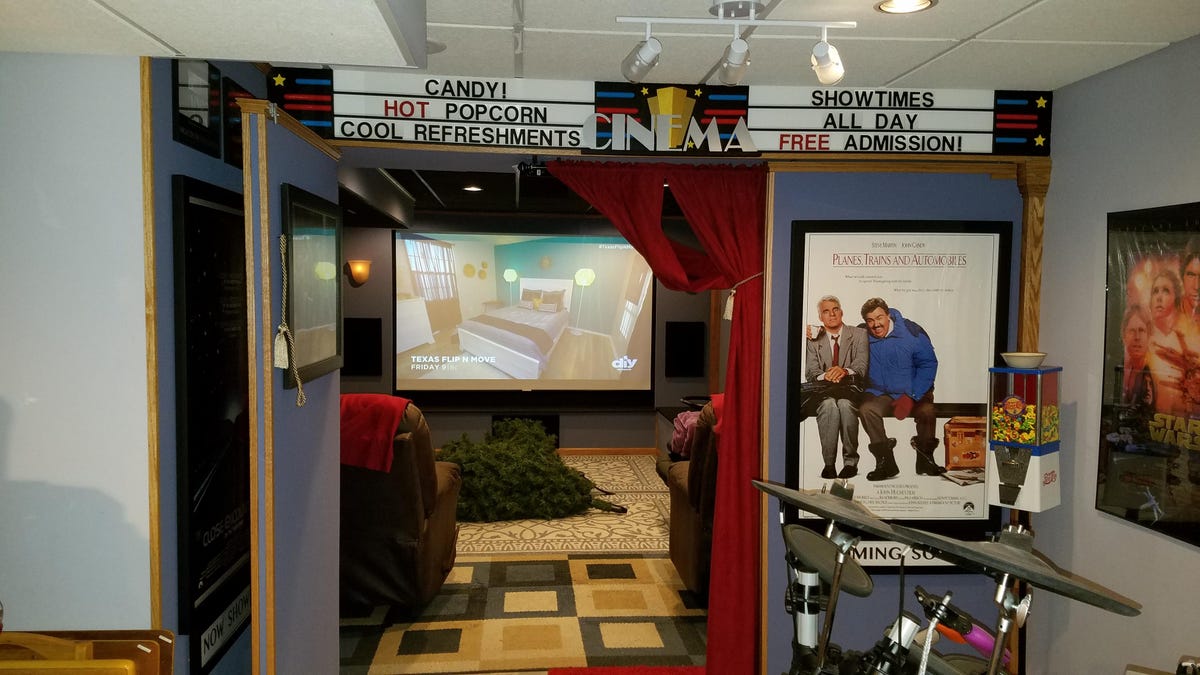
The view with only one wall open. Yes, that's the Christmas tree in the middle of the theater on its way into the storage bench.
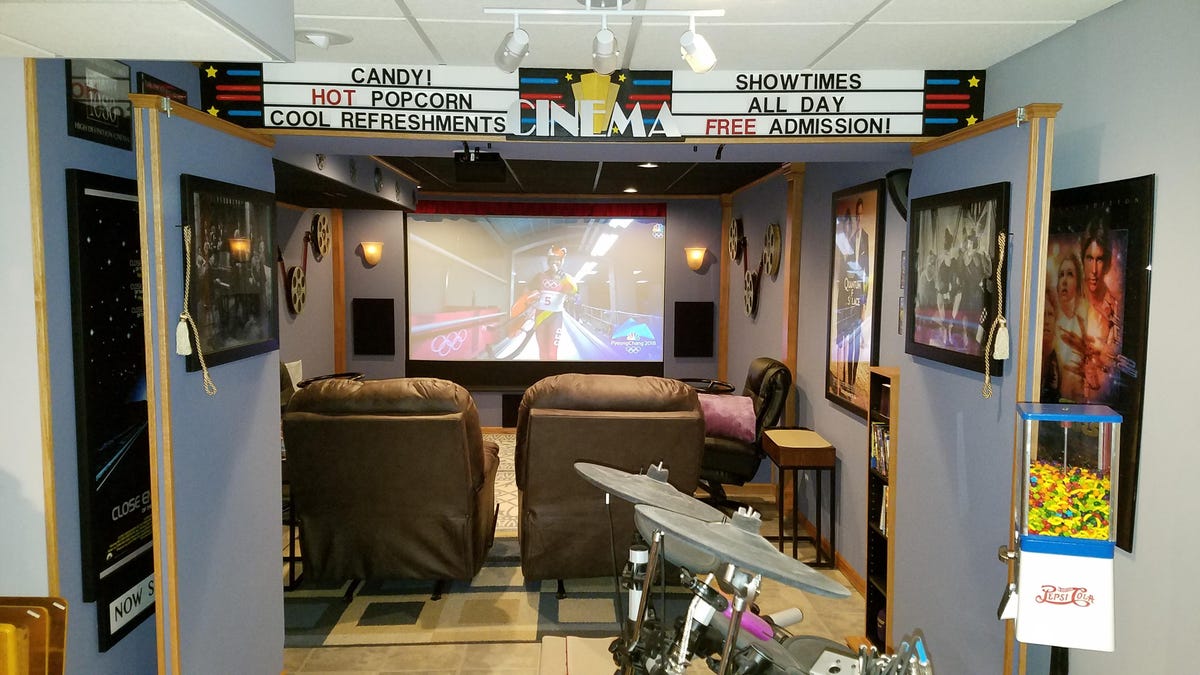
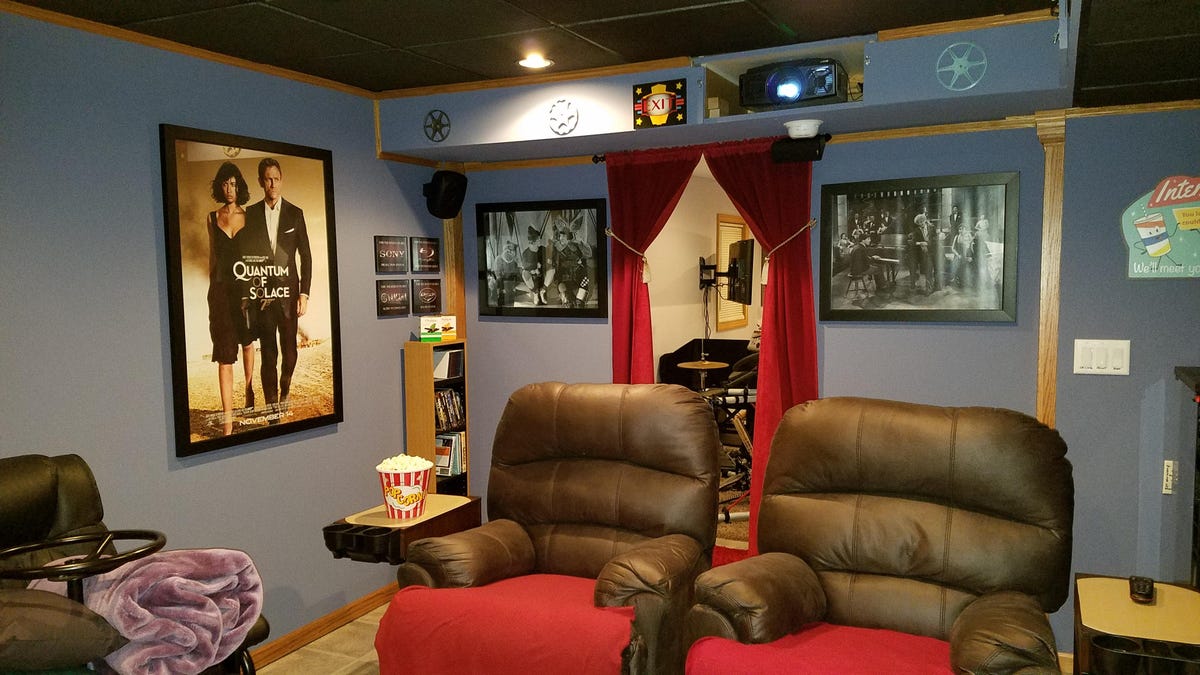
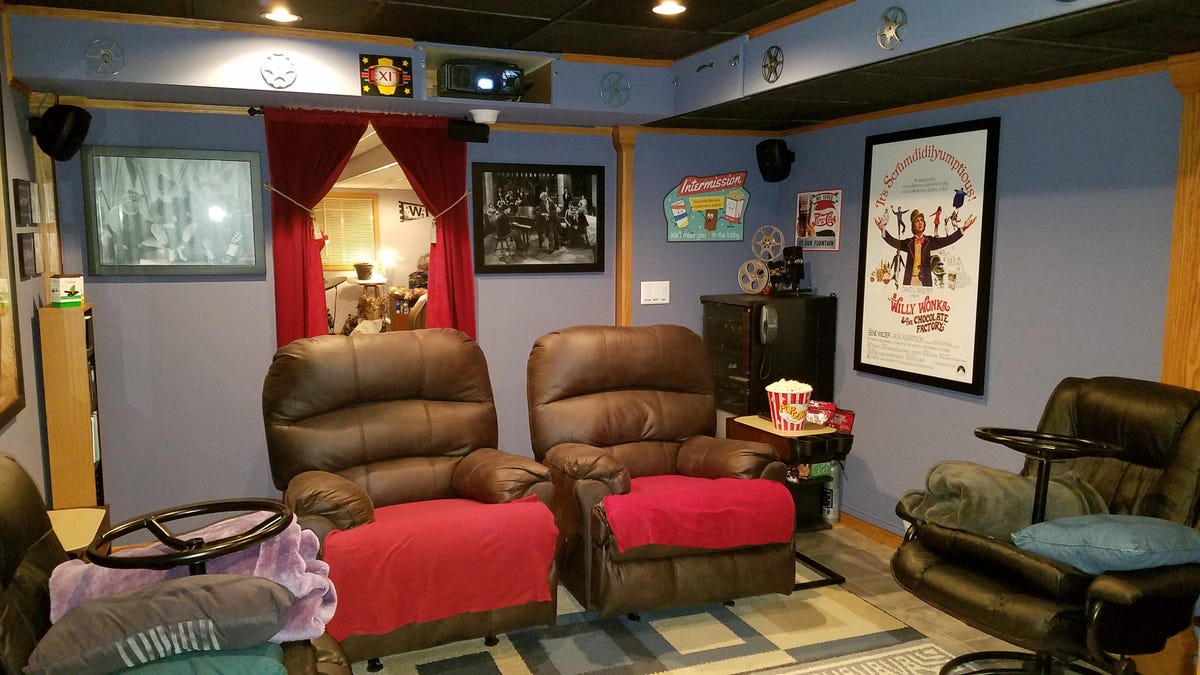
View with the walls open. They latch in place to hold them solid when closed. Curtain is removable. This arrangement opens up the room to make it easy to move things in and out of it. It also allows more people to view the screen if Jim has guests over.
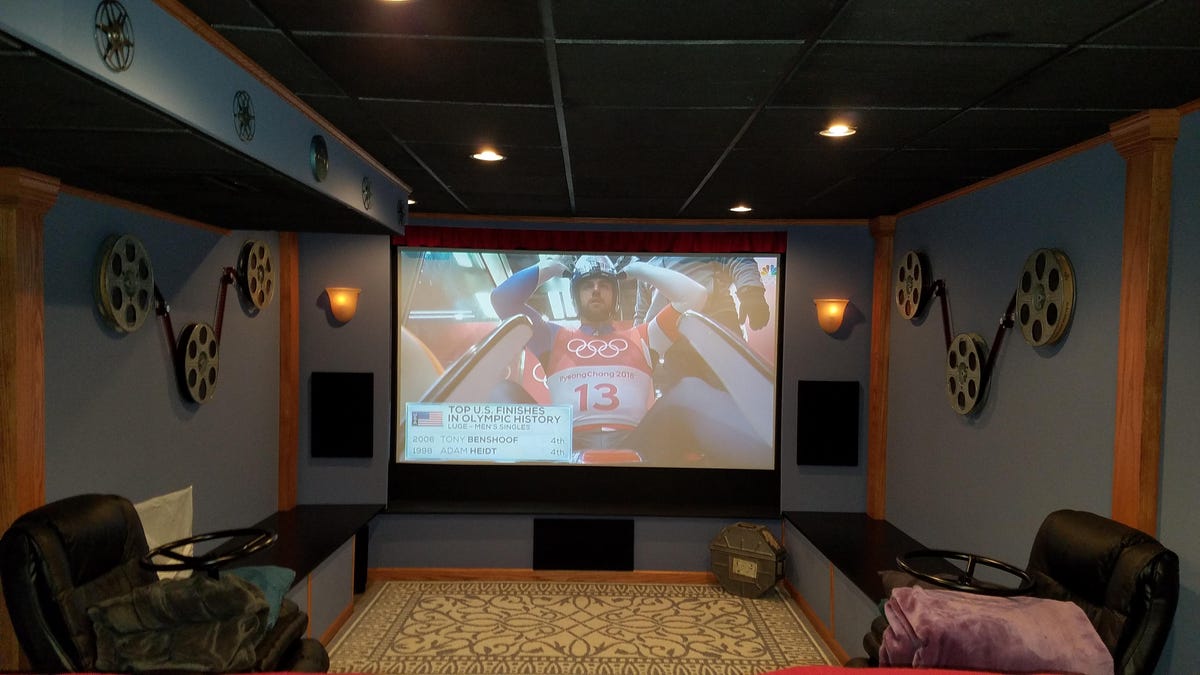
Viewing with the lights on. You can see one of the original metal movie reel transport cases on the floor as decoration. "People, including me, don't realize just how heavy three reels of 35mm film are!" Jim says.
View from inside with the walls open.

Jim says he bought these side tables on sale during the holidays from Menards Home Improvement and also found a plastic drink holder in the store's automotive section that was designed to fit in the seat gap of an automobile. "I cut the bottom portion off then screwed it to the front of the table," he says. "Cheap drink holders!
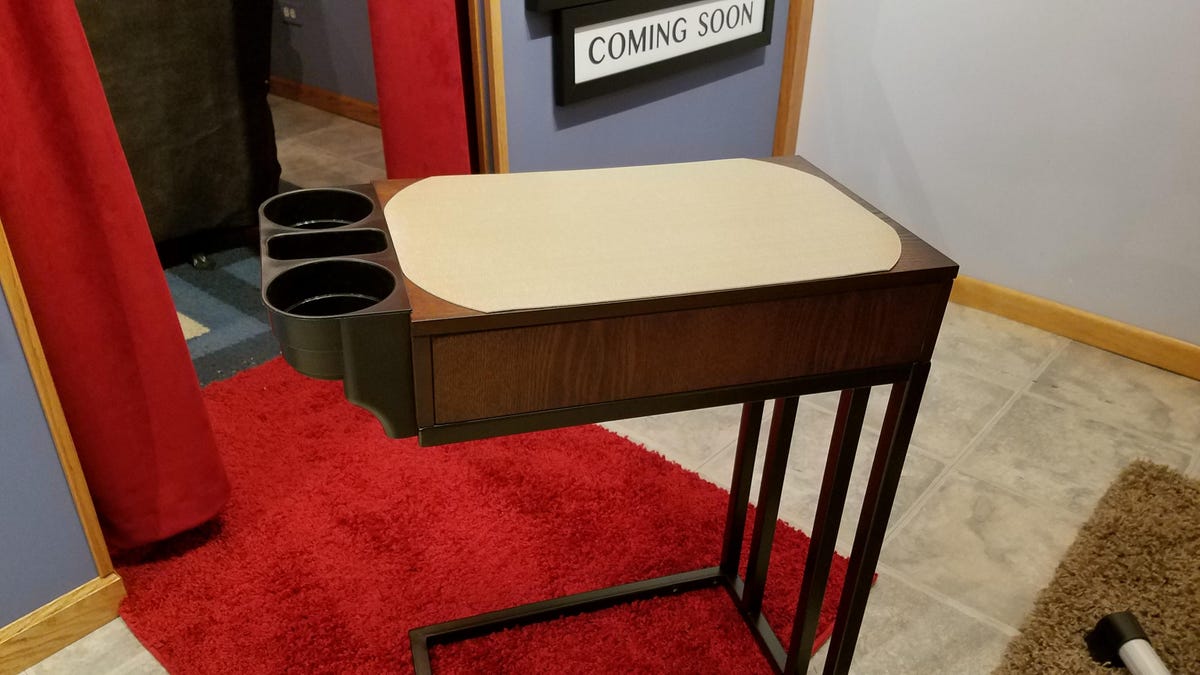
The finished project. He added a placemat on top that he cut to size to protect the table surface. To keep it from sliding off, he used some thin anti-slip rug tape on the bottom of the mat.
The table in place, doing what it was designed to do.
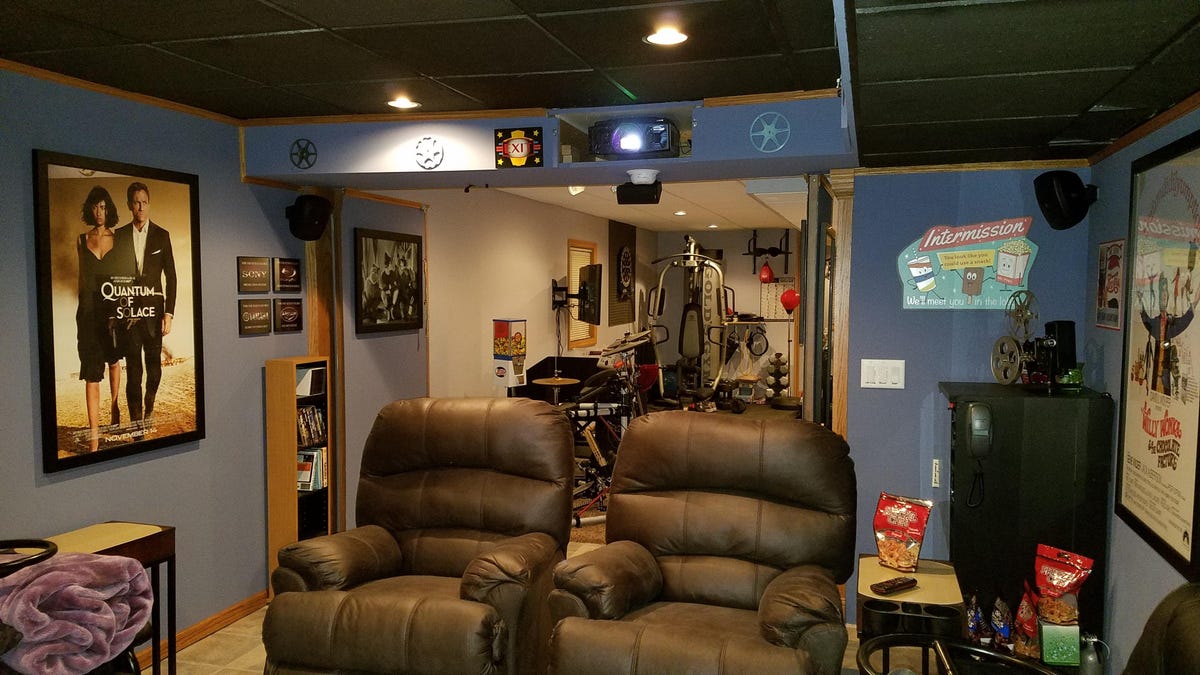
Wider shot of the interior. You can see the projector cover door stored along the top.
He says the recliners are the most comfortable in the world but a bit narrow in the seat, which is fine for him. He bought them on sale from Menards Home Improvement.
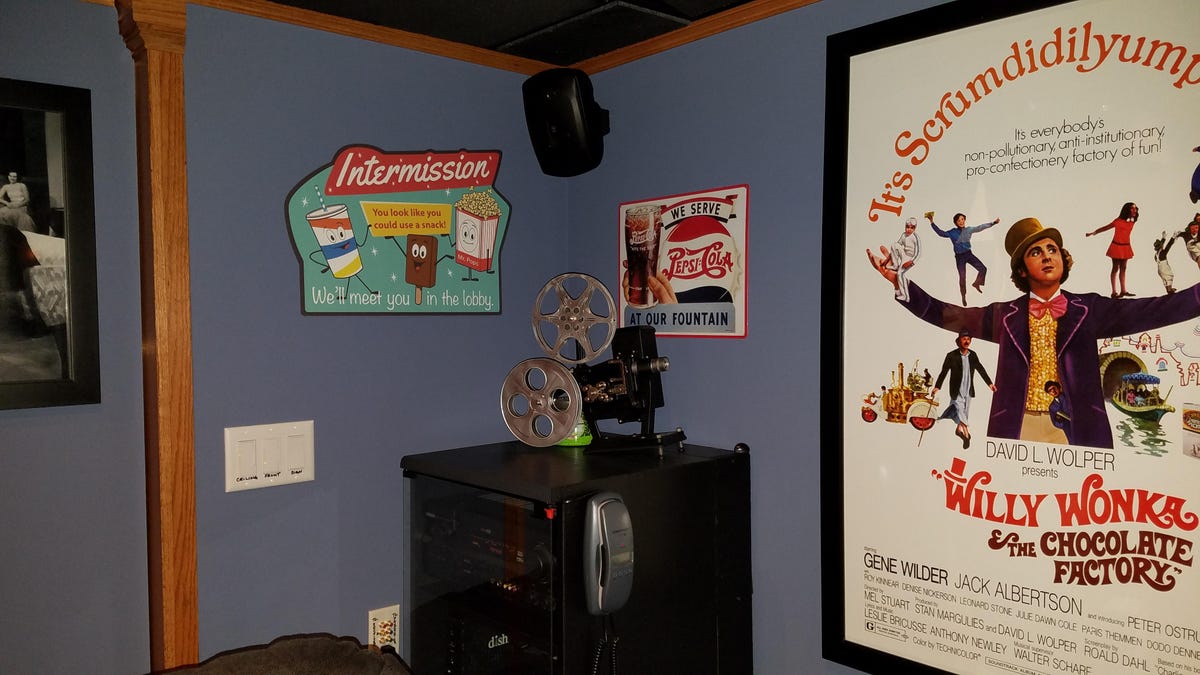
He bought this old DeVry projector at a flea market. He disassembled it, then cleaned it, repainted it and then put it back together. While he made it non-functional, he says it makes a great decoration.
The intermission sign was something he saw online but was one of those distressed looking signs -- and smaller. Since he'd done some cartooning in the past, he used Adobe Illustrator to make his own style of the sign and had it printed up on light gauge aluminum from signs.com.
Notice the wall connectors near the bottom: They have auxiliary connections that allow him -- or his kids -- to easily hook up a video game console or other device without having to play around with the receiver directly. An HDMI switcher in the cabinet allows for switching HDMI inputs.

At the same place he found the small DeVry projector someone was selling two three-reel cases of an old 35mm movie for $70 total. This is a real 35mm theater movie that was made back in 1969 called Wilderness Calling, a film so minor it's not even listed on IMDB.
"Needless to say, I wasn't too upset about cutting up some film from one reel to put in between the reels for decoration," Jim says. "I used some steel mending plates and some 1-1/2 inch pins for the wall pivots to make a simulated movie projector mechanism for the film to pass through."
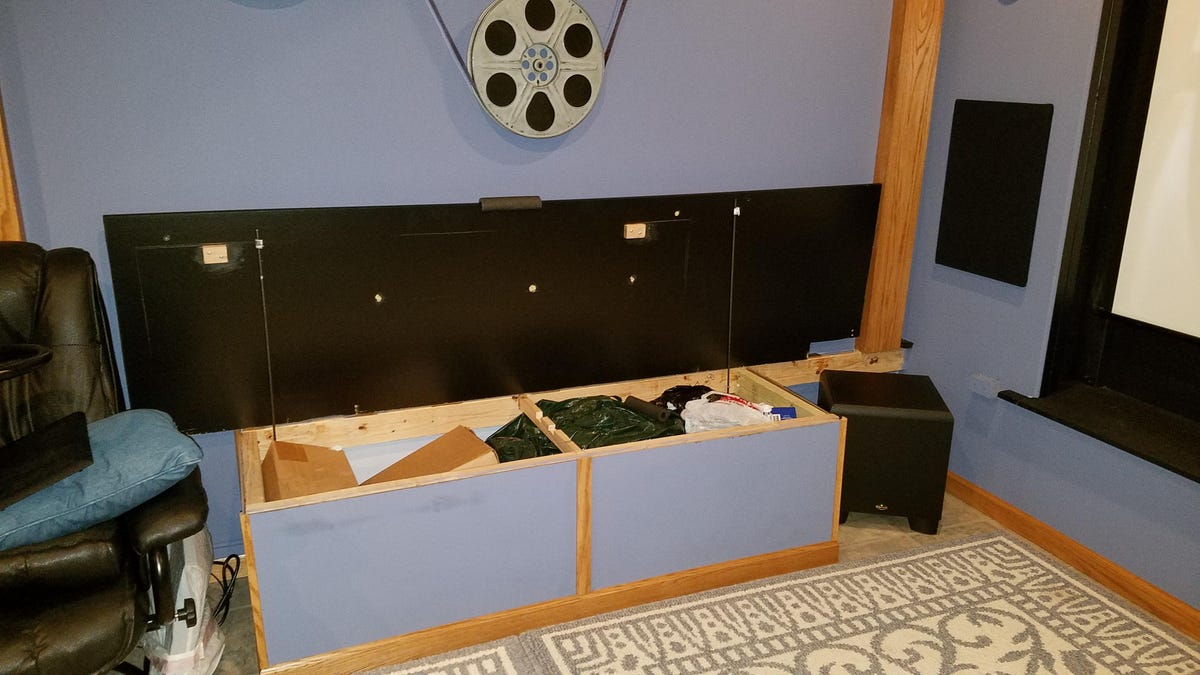
Storage cabinets for that much-needed storage. Also doubles as bench seating.
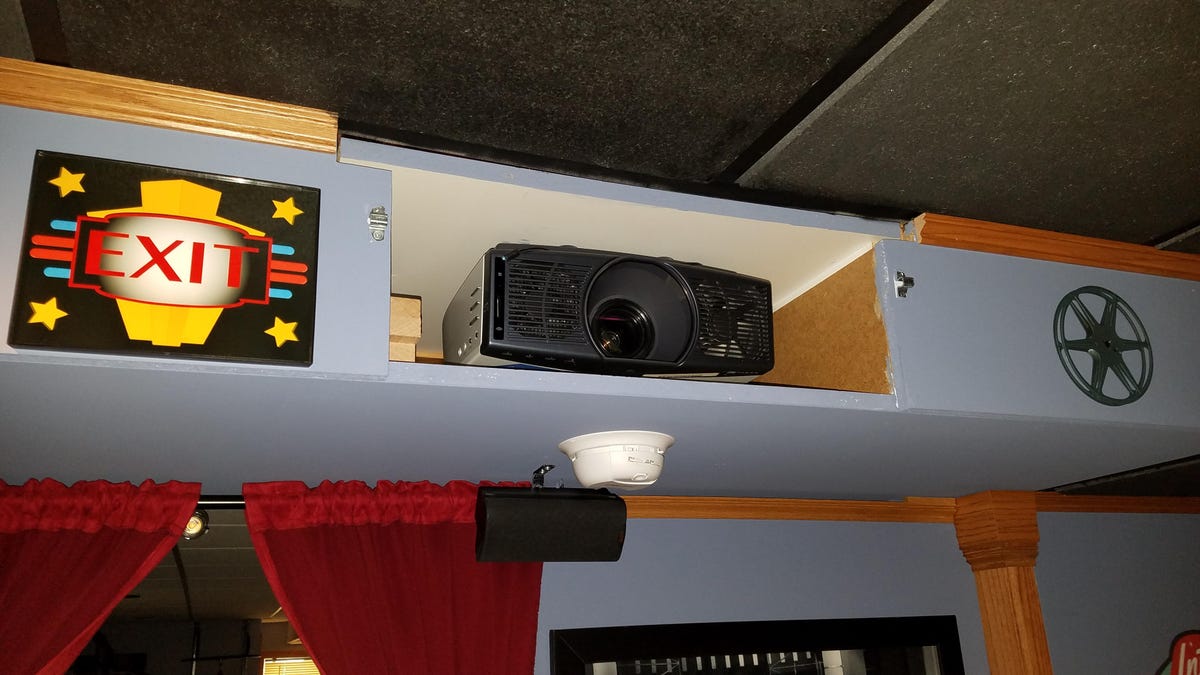
Closeup of the Sony VPL-HS20 HD projector mounted in the ceiling channel.
Logos in place above the sconces.

Home-theater tech signs at the entrance. Online, Jim found a few people who did these types of printed signs but their printing files didn't work for him so he used Photoshop to work with the chromed logo and text, added a different background and additional text. Mounted in inexpensive frames for "a nice space filler above the poster."

These are in the theater. They're the same as the entrance signs, but smaller in size.
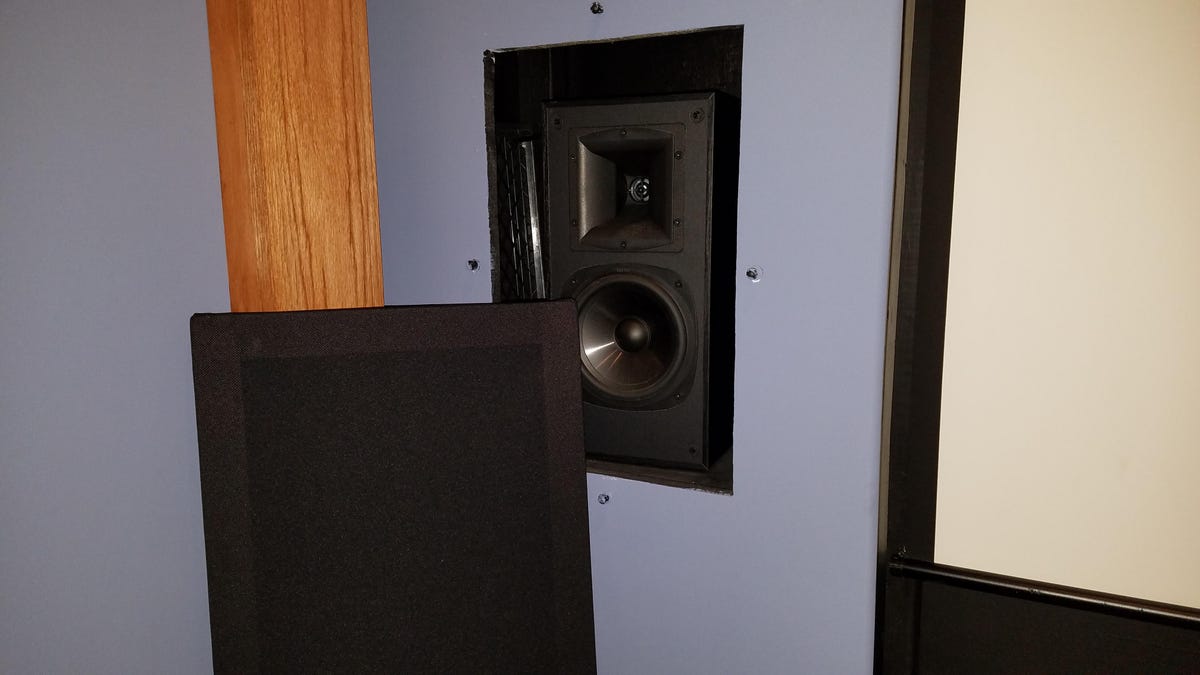
Speakers are housed in the screen framing. He bought speaker cloth online, built a wooden frame that he stretched the cloth over and secured. He then bought some friction pins and mounted them in the wall and frame. That allows him to take the covers off to clean out enclosures.

Same cover set-up for the center-channel speaker.
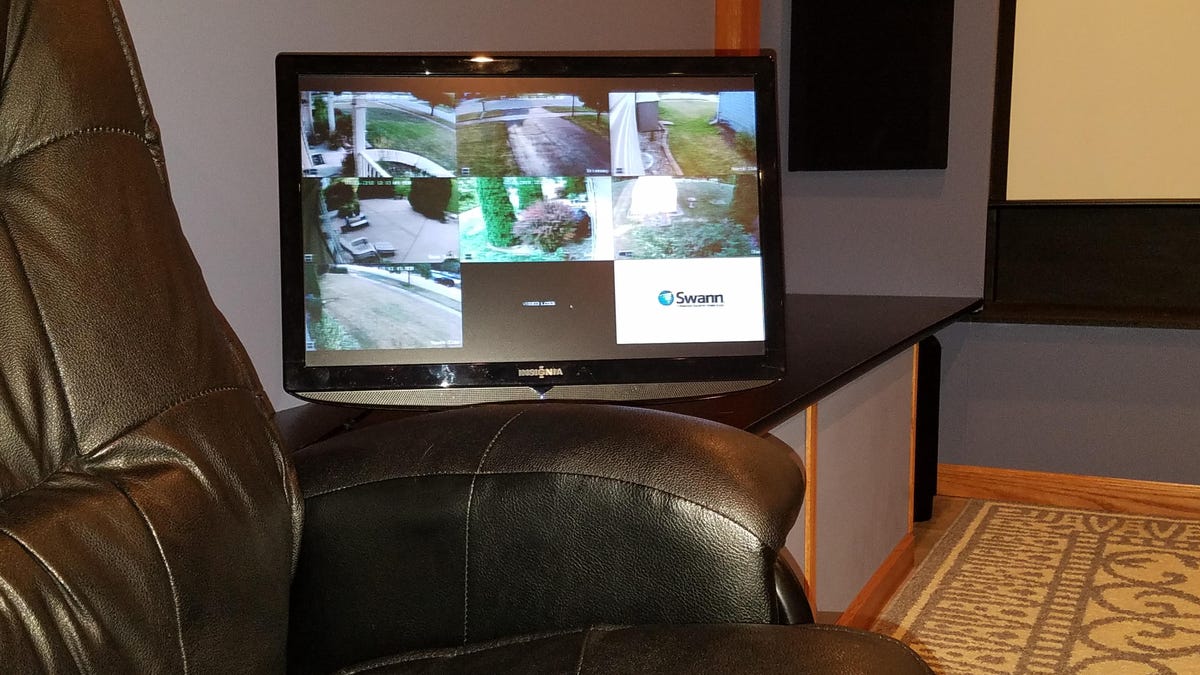
Turning on the security camera monitor to see when the pizza delivery guy is at the door!

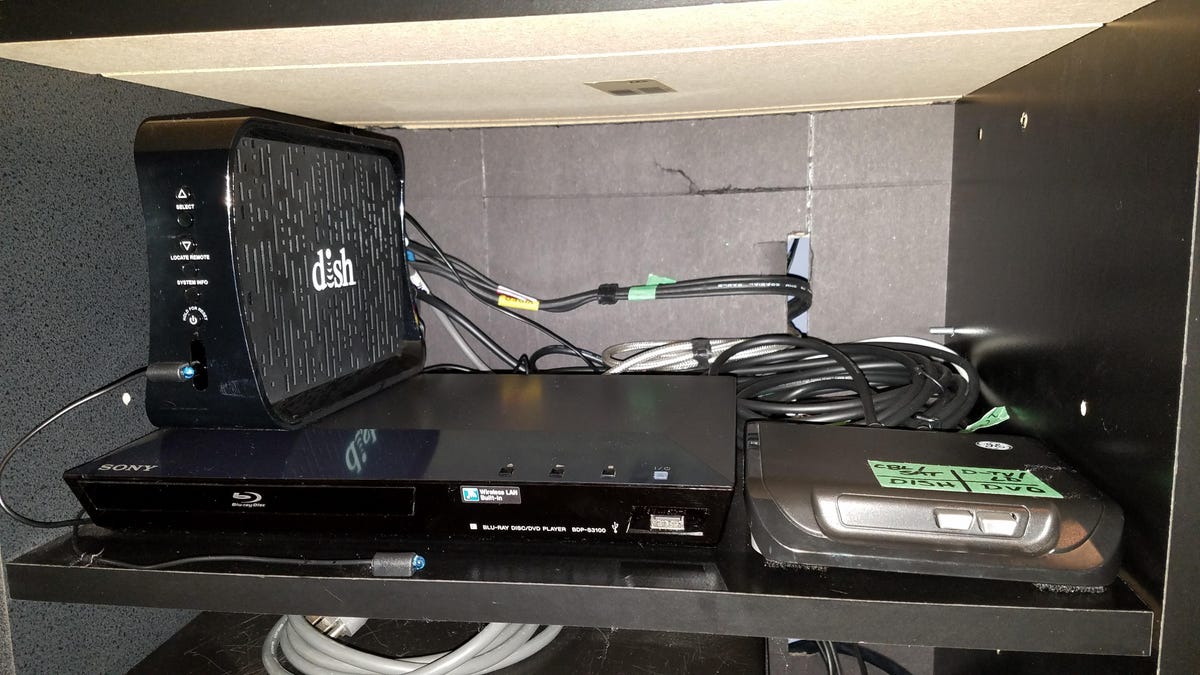
As far as home-theater equipment goes, Jim wanted to keep things simple and inexpensive. He has just a receiver, Blu-ray player, satellite box and HDMI switch for the external wall-mounted auxiliary inputs. The small CRT monitor at the bottom was connected to the security cameras at one point. The devices are controlled by a powered IR repeater. That makes it easy to point the programmable remote (Logitech Harmony 650) at one IR receiver at the top of the cabinet and control all devices.
This is his equipment list:
Projector: Sony VPL-HS20
Receiver: Yamaha HTR-5590
Blu-ray player: Sony BDP-S3100
Video Source: Dish Network, Wireless Joey paired to a 16-tuner Dish Hopper 3
Front Speakers: Klipsch SB-2 bookshelf
Center: Infinity
Subwoofer: Klipsch KSW-10
Rear speakers: Yamaha NS-AW190
Universal Remote: Logitech Harmony 650

Subwoofer is nestled snugly underneath the storage bench top.
Not pretty but functional.
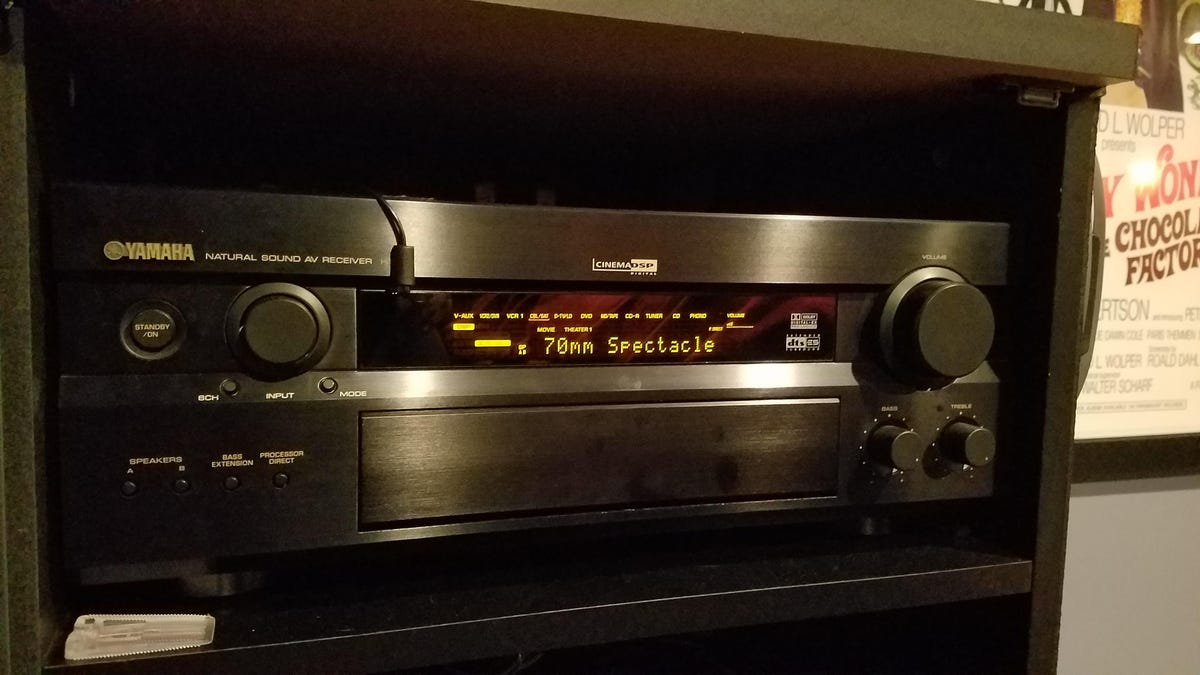
Closeup of the Yamaha receiver.

Lights off. Feels just like at the multiplex. Sit back, relax and watch.
And we'll say goodbye there. If you want to see more Show Us Yours showcases, we have plenty more to check out at here.
And feel feel to submit your own photos of your home theater here. Don't be shy!
More Galleries

My Favorite Shots From the Galaxy S24 Ultra's Camera
20 Photos
Honor's Magic V2 Foldable Is Lighter Than Samsung's Galaxy S24 Ultra
10 Photos
The Samsung Galaxy S24 and S24 Plus Looks Sweet in Aluminum
23 Photos
Samsung's Galaxy S24 Ultra Now Has a Titanium Design
23 Photos
I Took 600+ Photos With the iPhone 15 Pro and Pro Max. Look at My Favorites
34 Photos
