This is one way to hide a home theater in your living room
In this edition of Show Us Yours, Chad from Colorado shows us a DIY hideaway home theater that he built for himself and his family.


Say hi to Chad from Colorado. He's been into home theater since he was about 15 years old.
"My first display was a 25-inch hotel set that I purchased out of the classifieds for $60," he says. "My first projector was a three-gun CRT (Sony VPH-1031) bought for $500. I've had a couple of dedicated home theater rooms since then, but I wanted to try something different this time."
The design for his "stealth theater" really got going when Chad and his wife purchased this home. Importantly, the garage attic is right above the family room, which meant there would be space to stash a ceiling projector when not in use. That got Chad thinking...
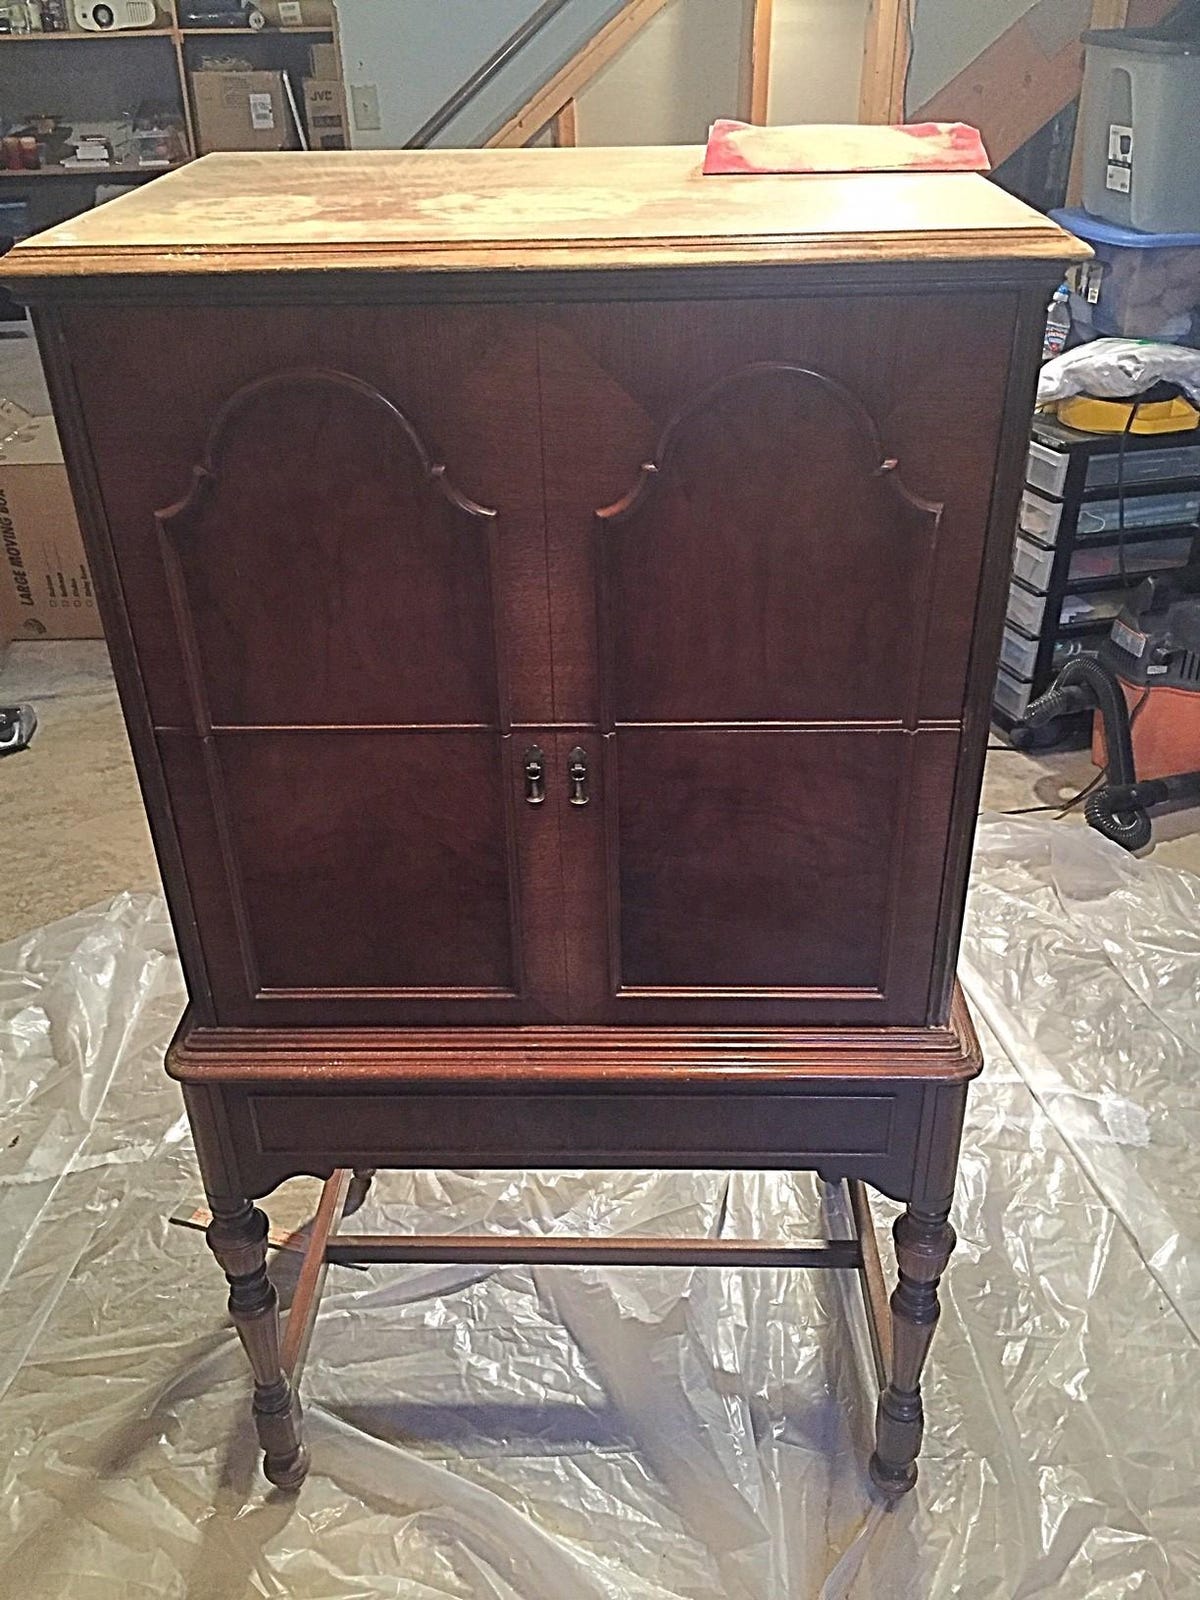
Chad inherited an antique radio cabinet from his great aunt. There was no radio inside, but he wanted to honor its roots by using it as a media cabinet -- after repairing and updating it, of course.
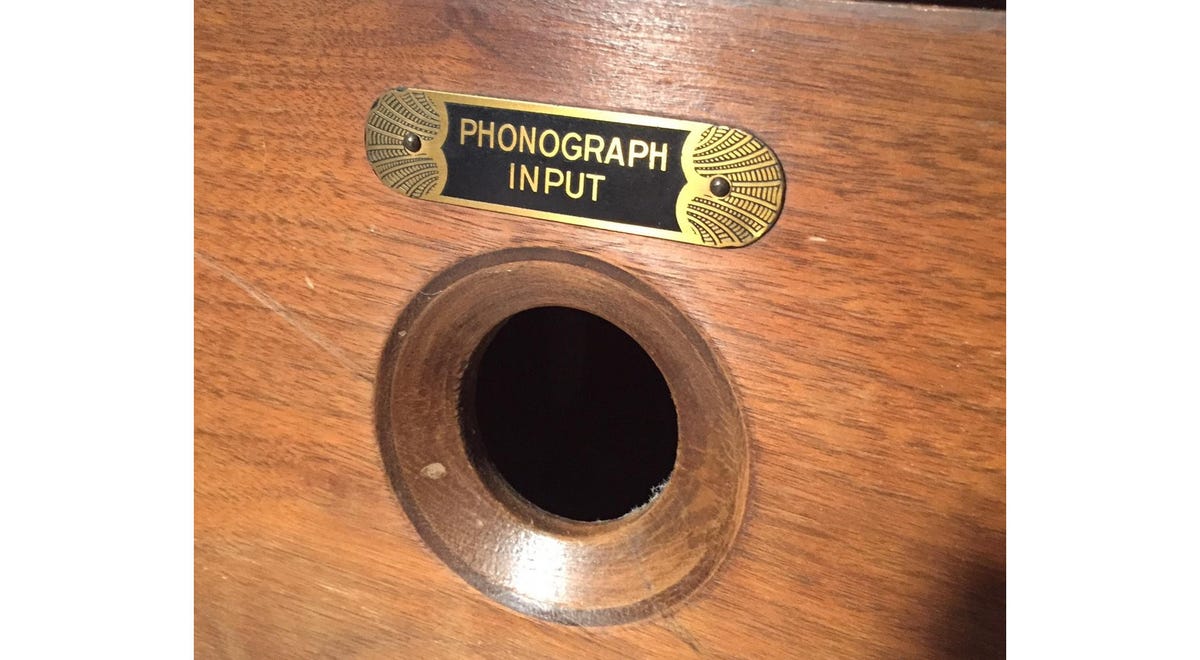
The original input description plate on the back of the media cabinet. "I love the 1930s Art Deco font!" he says.

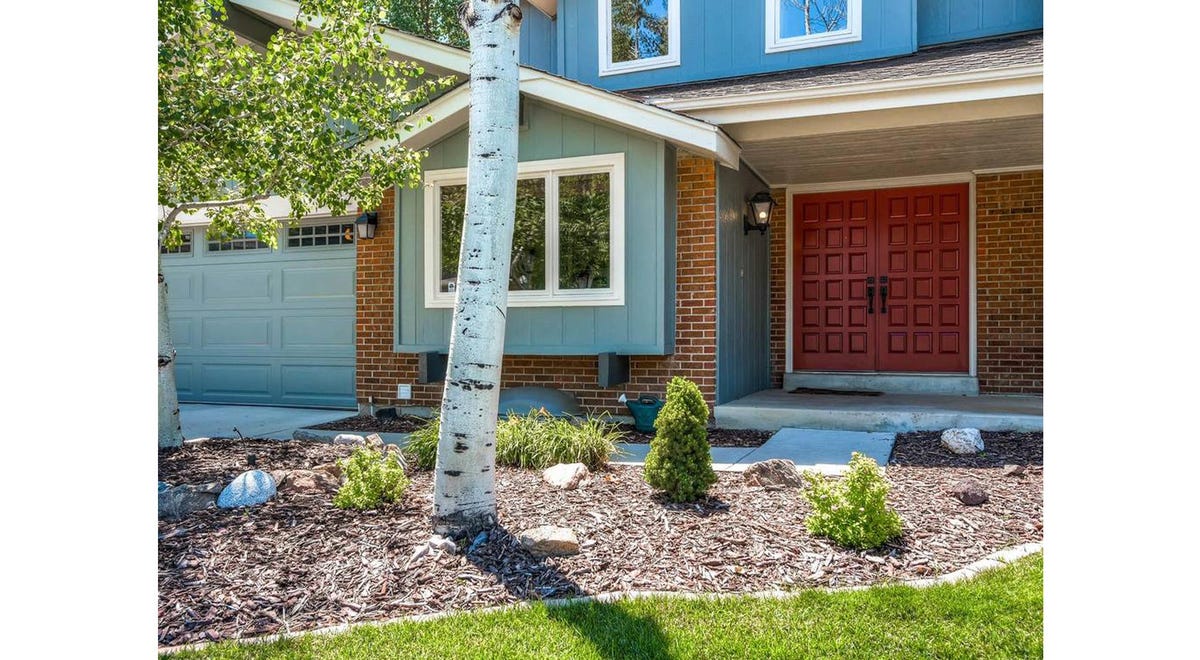
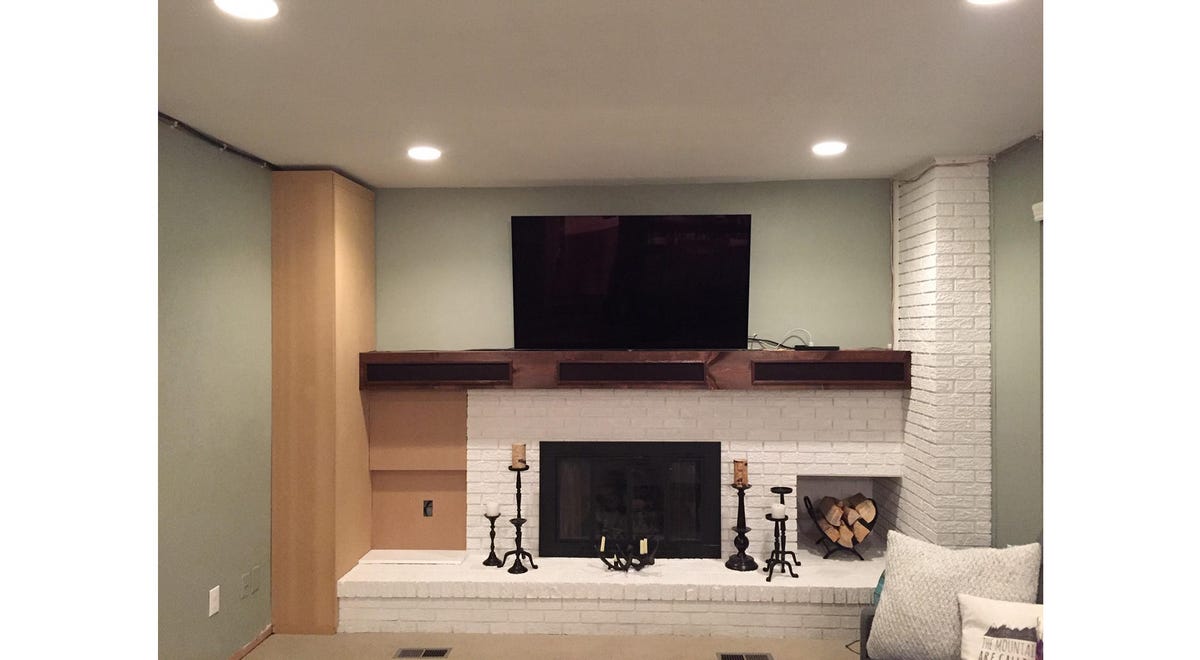
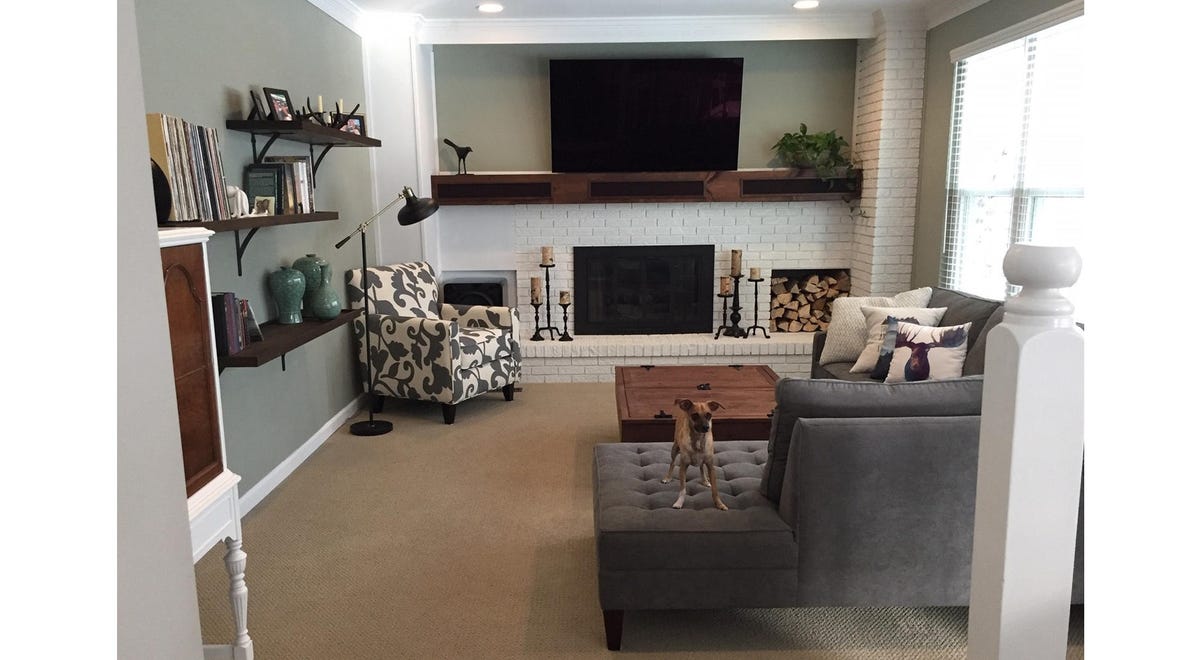
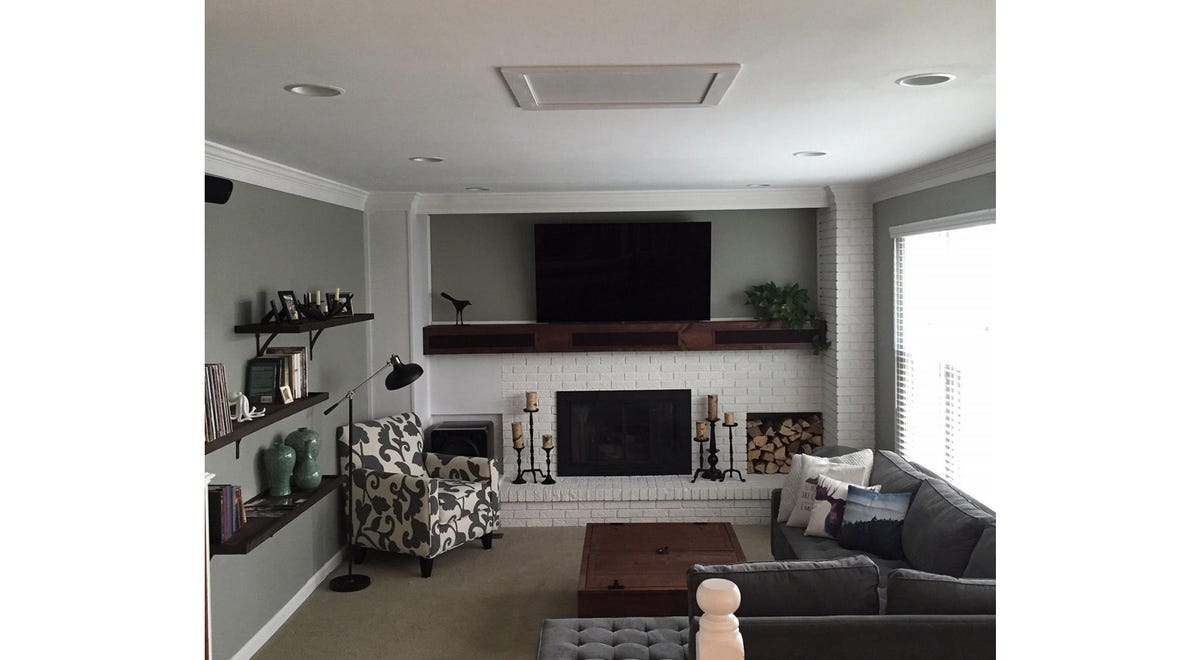
Seen here in the "before" shot, the family room was laid out differently by the previous homeowners. It looked good but Chad figured he could do it better, "functionally, visually and acoustically."
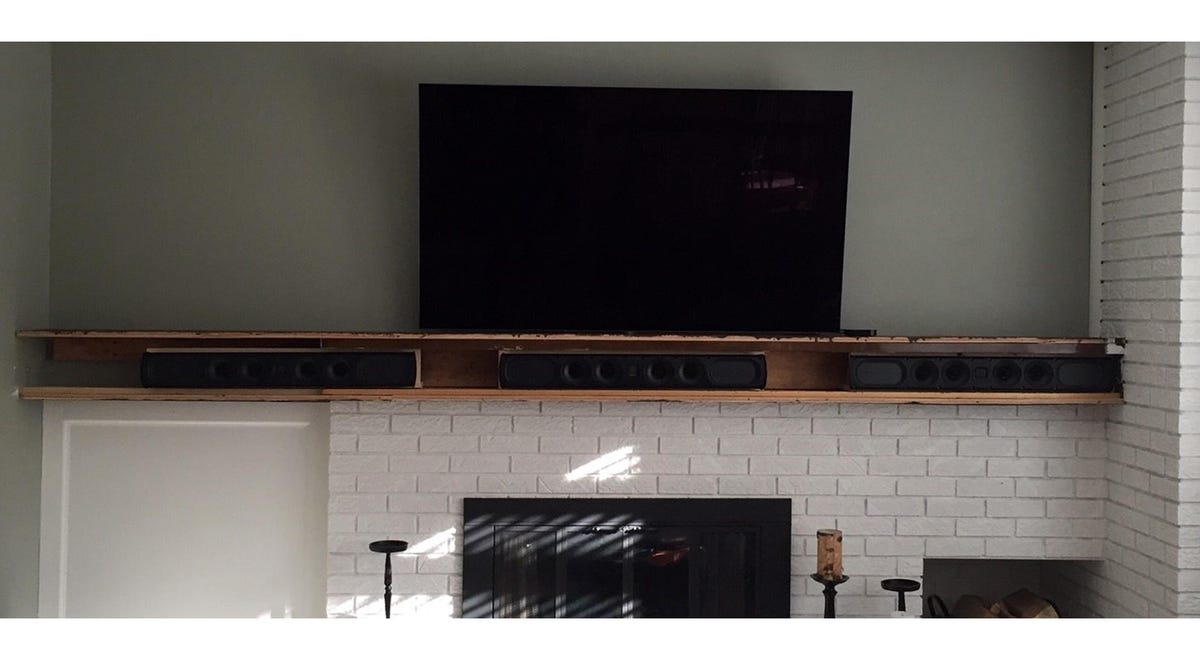
Step 1: He removed the built-in media shelves from the long wall and broke open the mantle over the fireplace (thankfully, it was hollow). That gave him room to mount his three GoldenEar SuperSat 60 speakers inside the mantle.
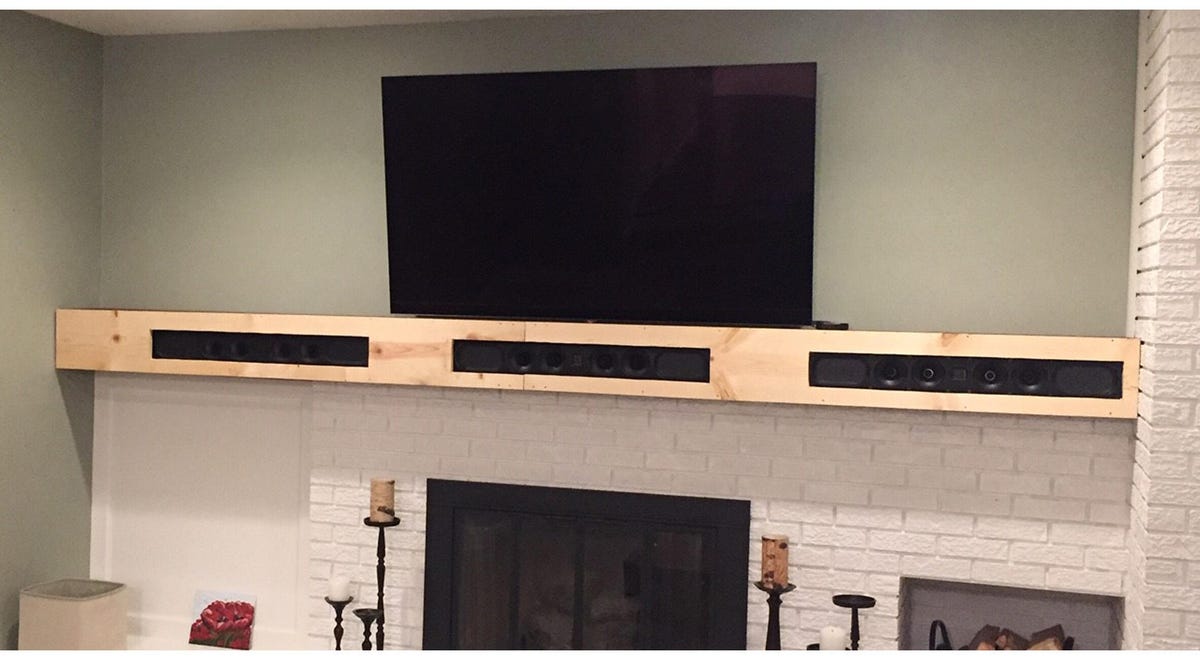
Here's a shot of the speakers securely mounted, with new wood added to the front of the mantle.

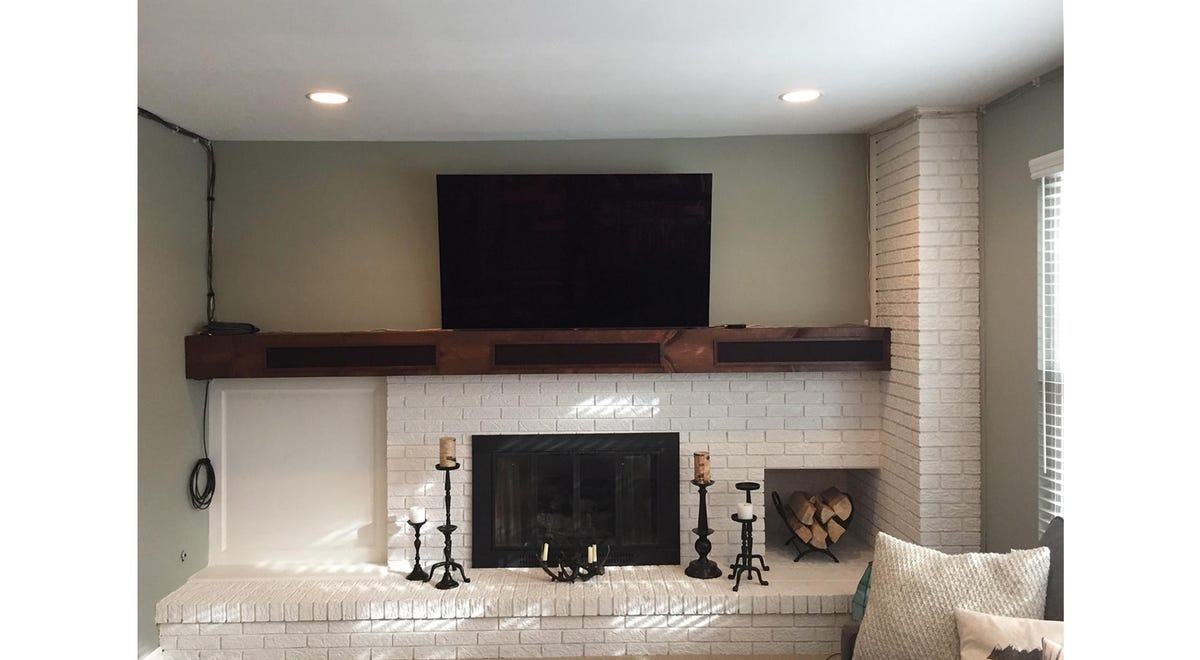
He stained the wood to match the existing mantle, added dark-brown speaker cloth and trimmed out the openings.
Not wanting to climb around in the attic in the summer, he opted to run all the wiring (speaker, subwoofer, HDMI, etc.) to the top of the wall, upper left, and then hide it with crown molding.
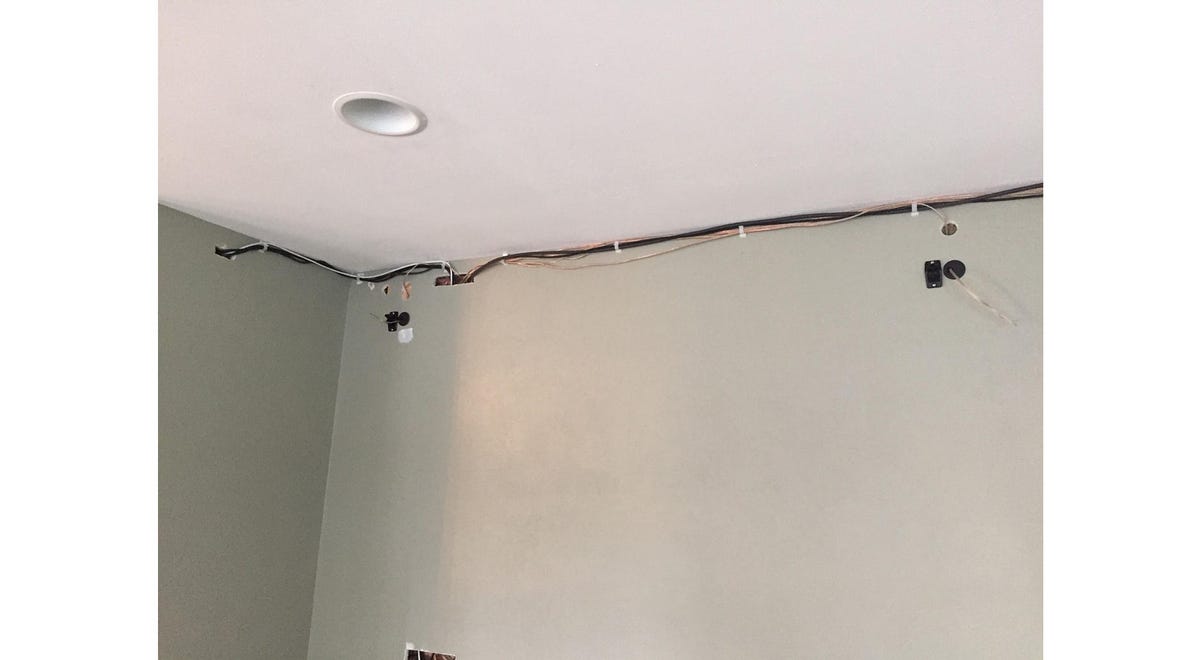
Detail of the wiring runs.
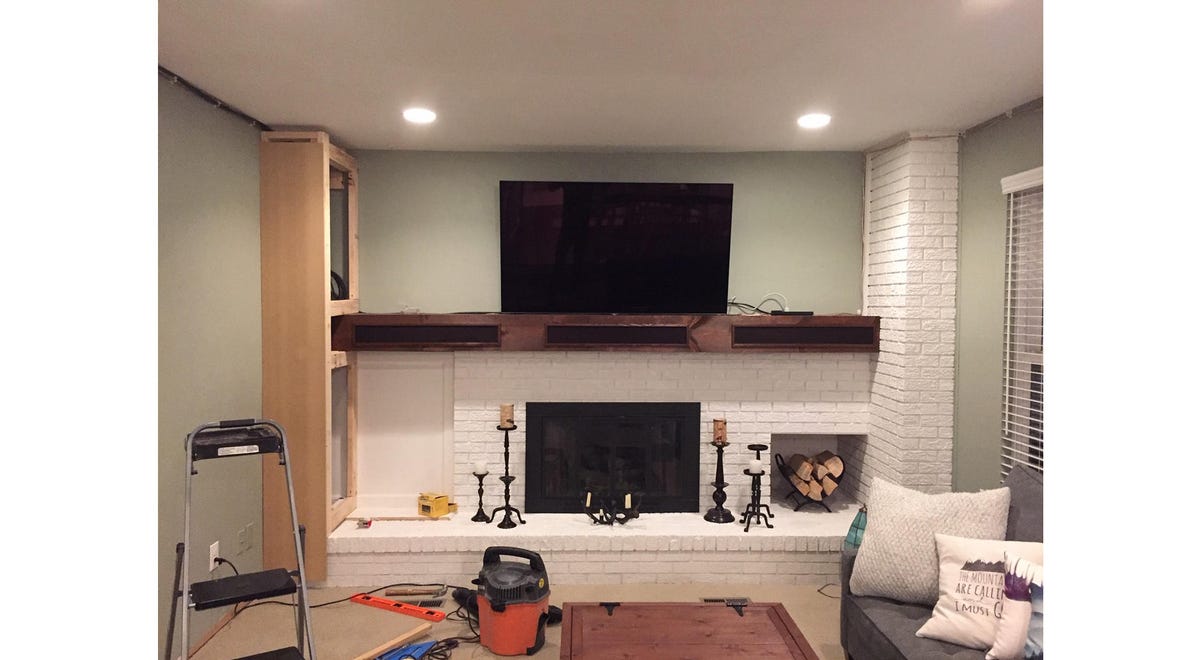
The room felt off-balance with the large brick column on the right side and nothing on the left, so he decided to add a matching column on the left side to frame the viewing space.
The new left column takes shape.
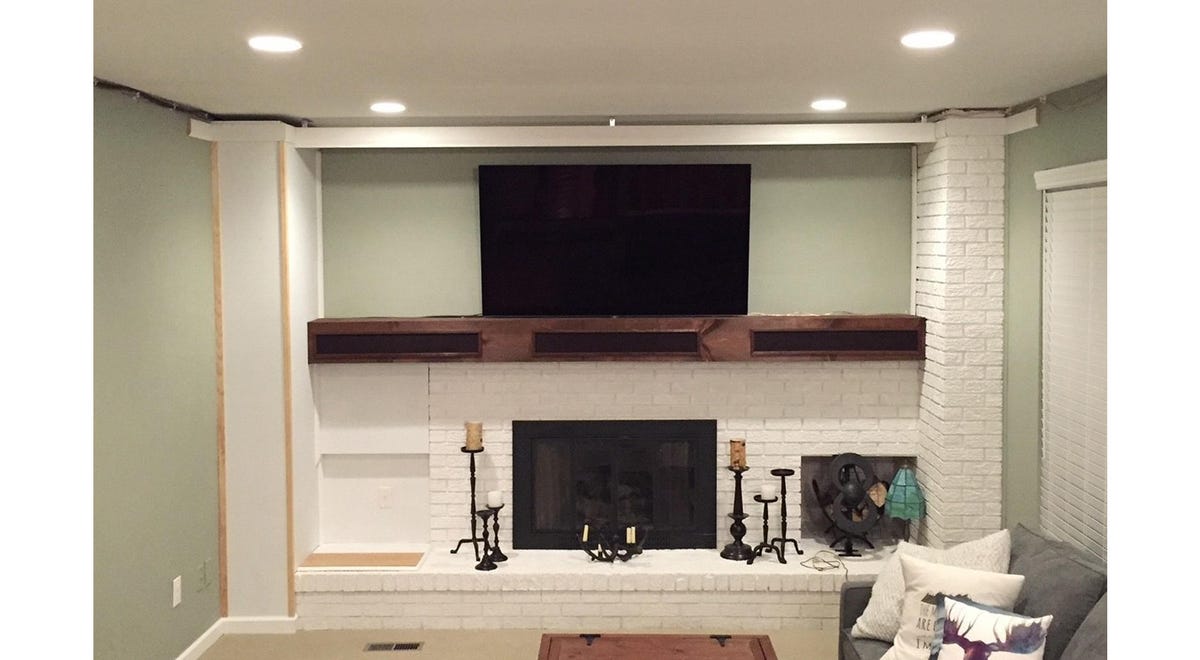
With the new left column mostly painted, Chad started on the ceiling trim to hide the wiring.
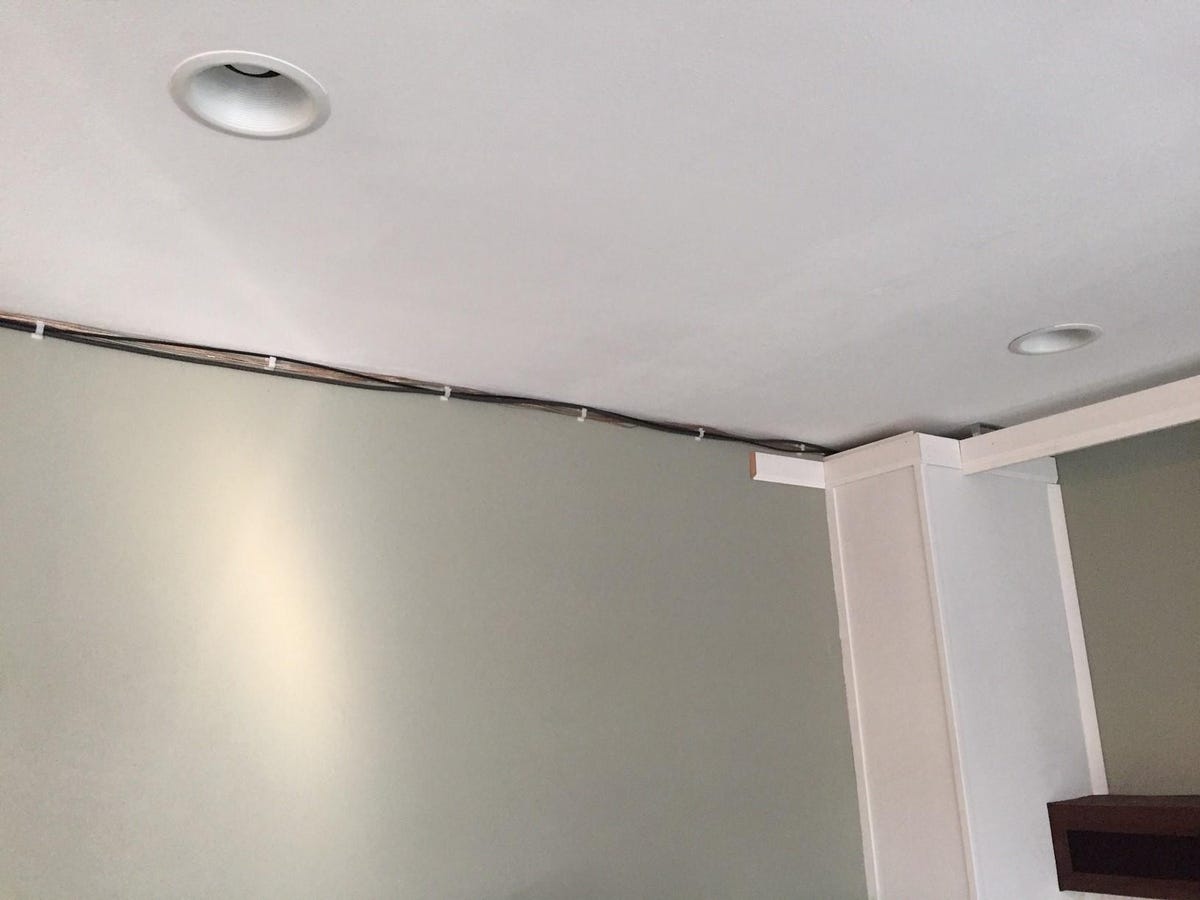
Detail of the ceiling trim.
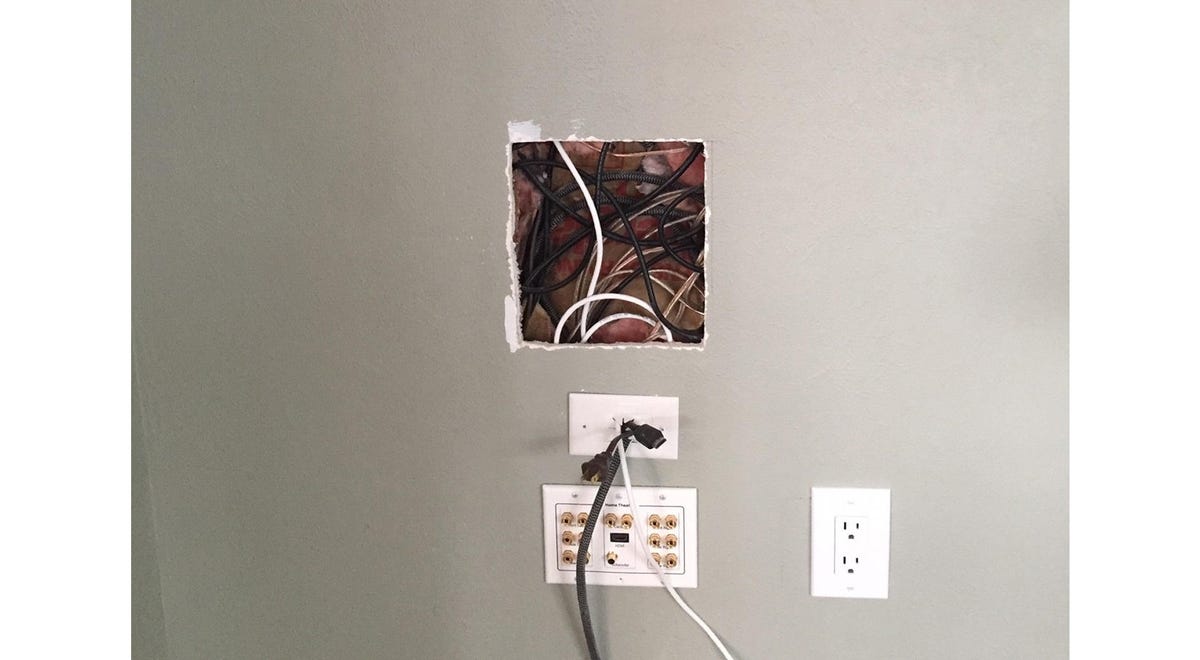
The wires running down the wall are connected to the home theater wiring panel.
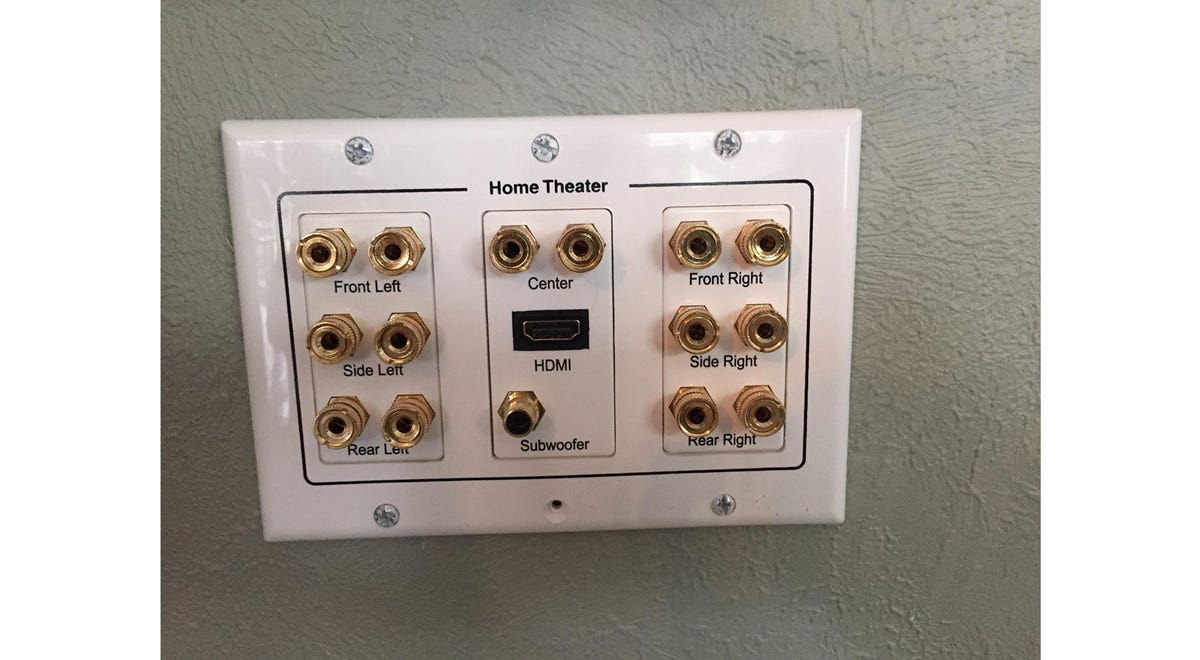
Close-up of the wiring control panel on the wall.
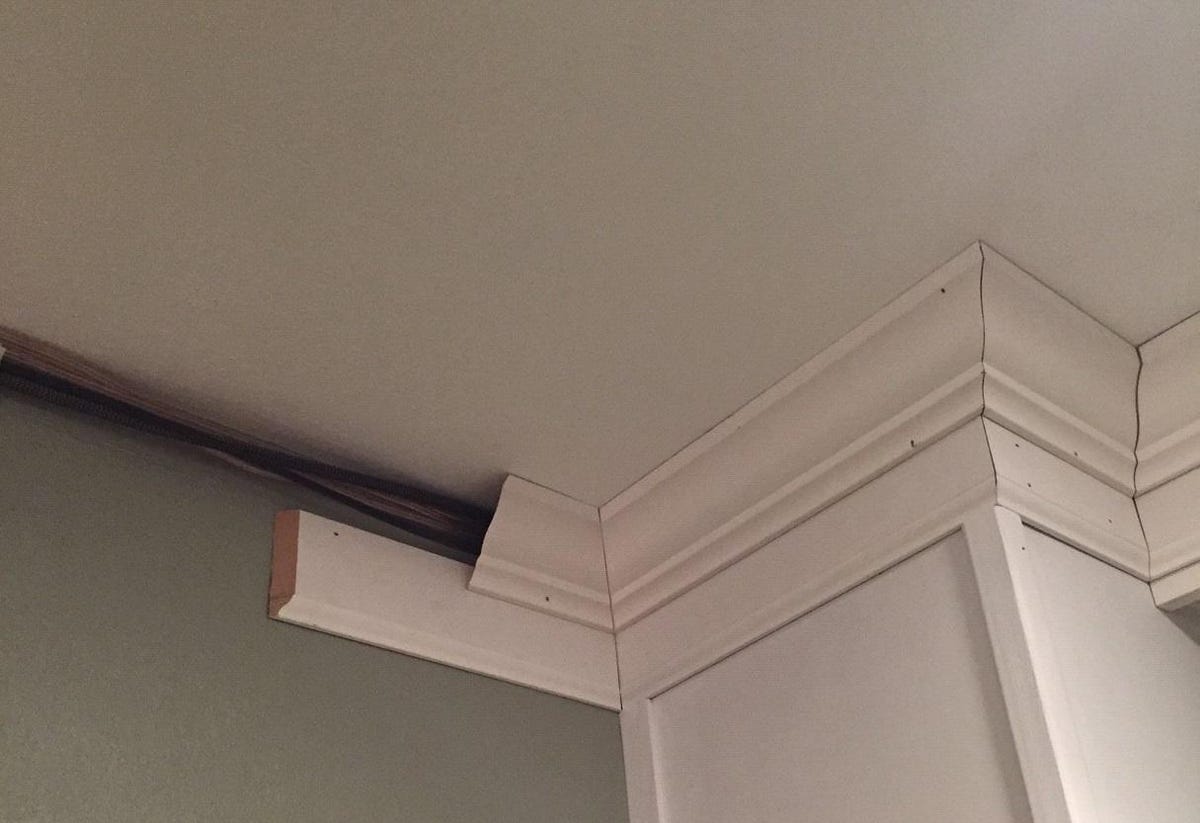
Detail of the crown molding going over the wiring.
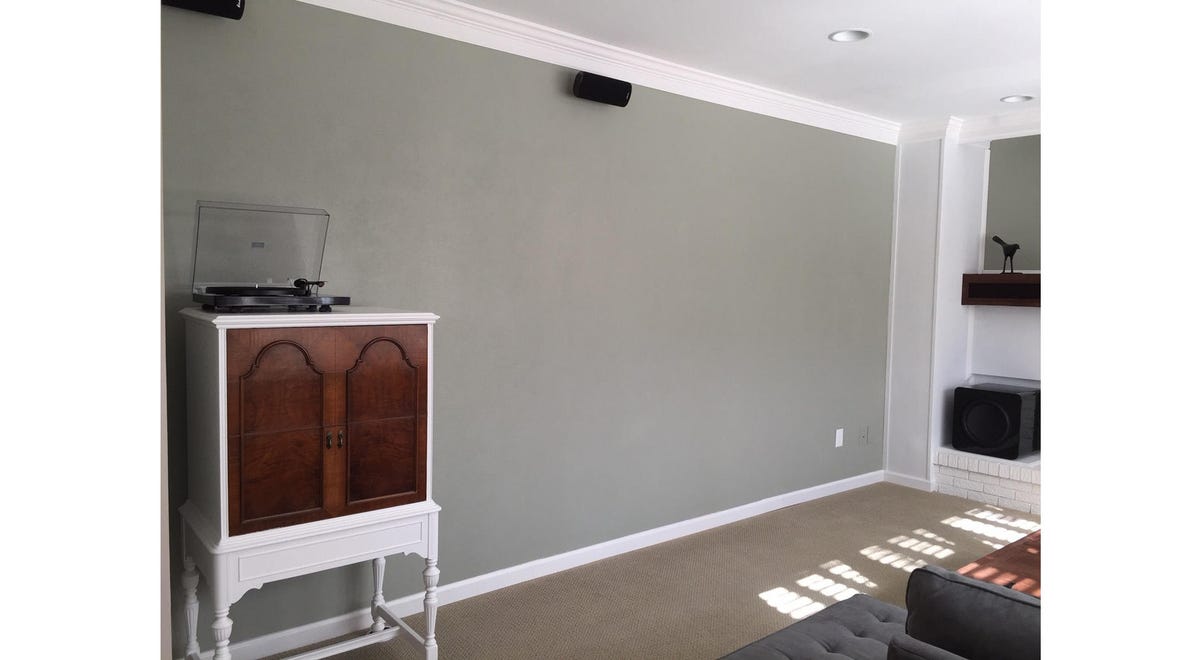
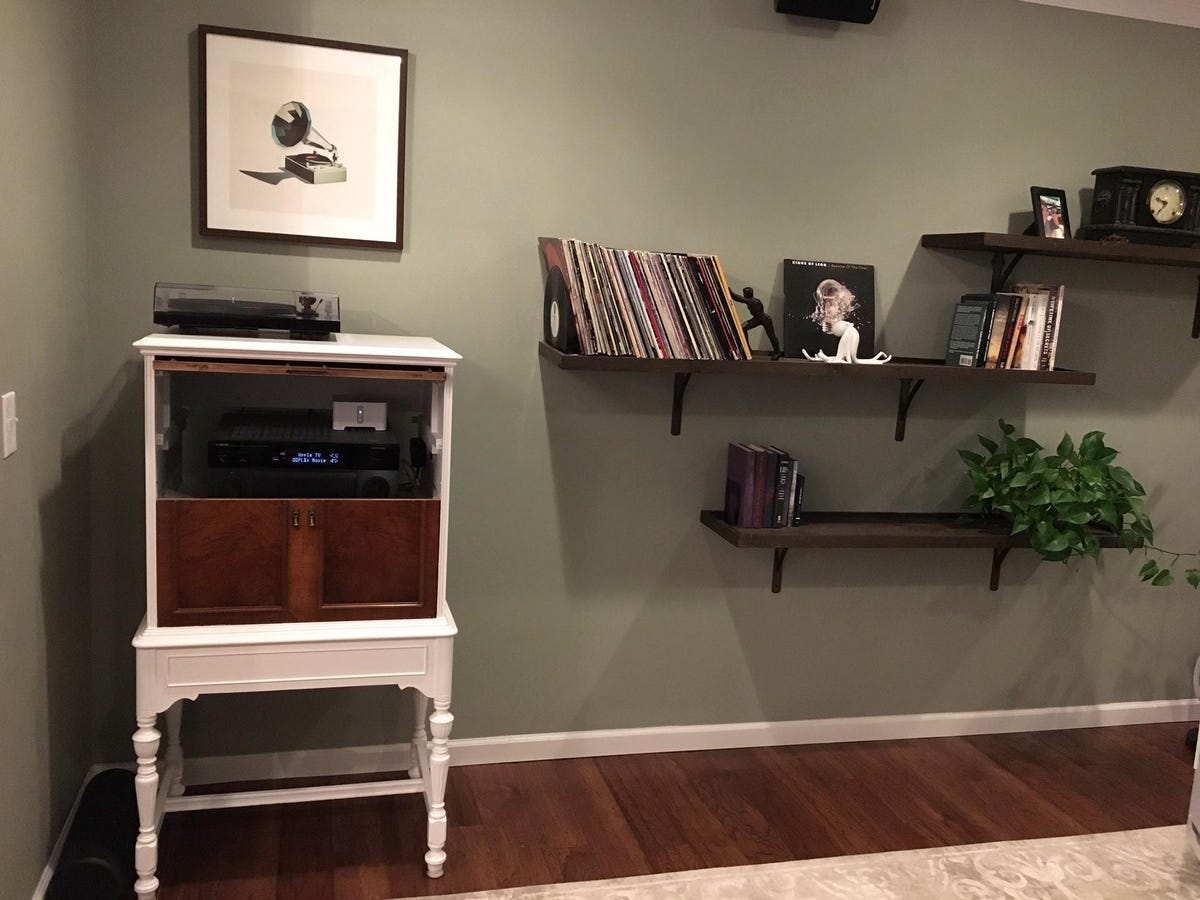
Here's the updated old radio/new AV cabinet in the room, with the crown molding complete. The SVS SB-13 Ultra subwoofer (far right) has been installed and the Project Debut Carbon turntable is up and running. Needless to say, the input for that turntable is going into the opening labeled Phonograph Input on the back of the cabinet.
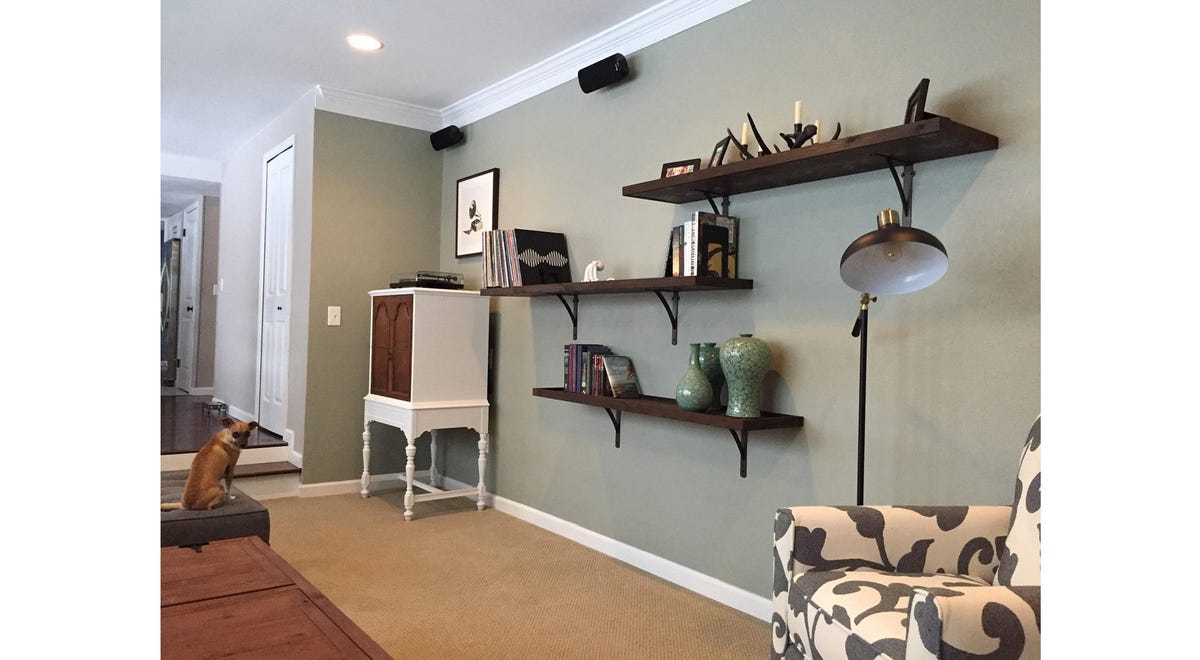
The shelves Chad built are now installed, giving easy access to his vinyl.
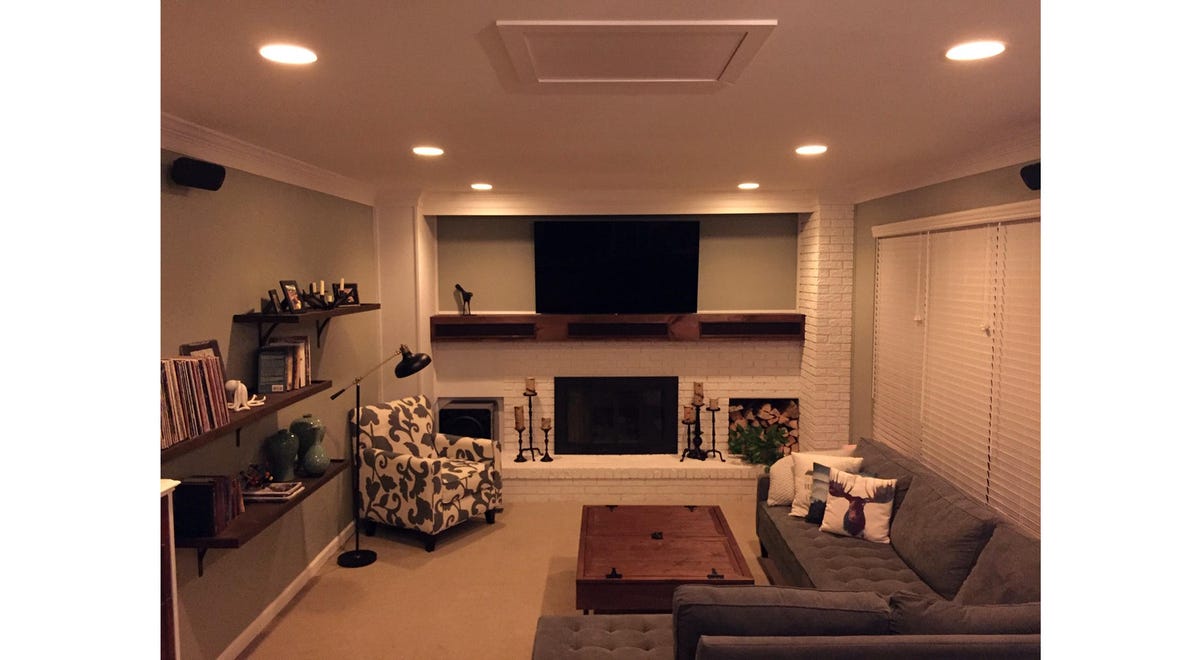
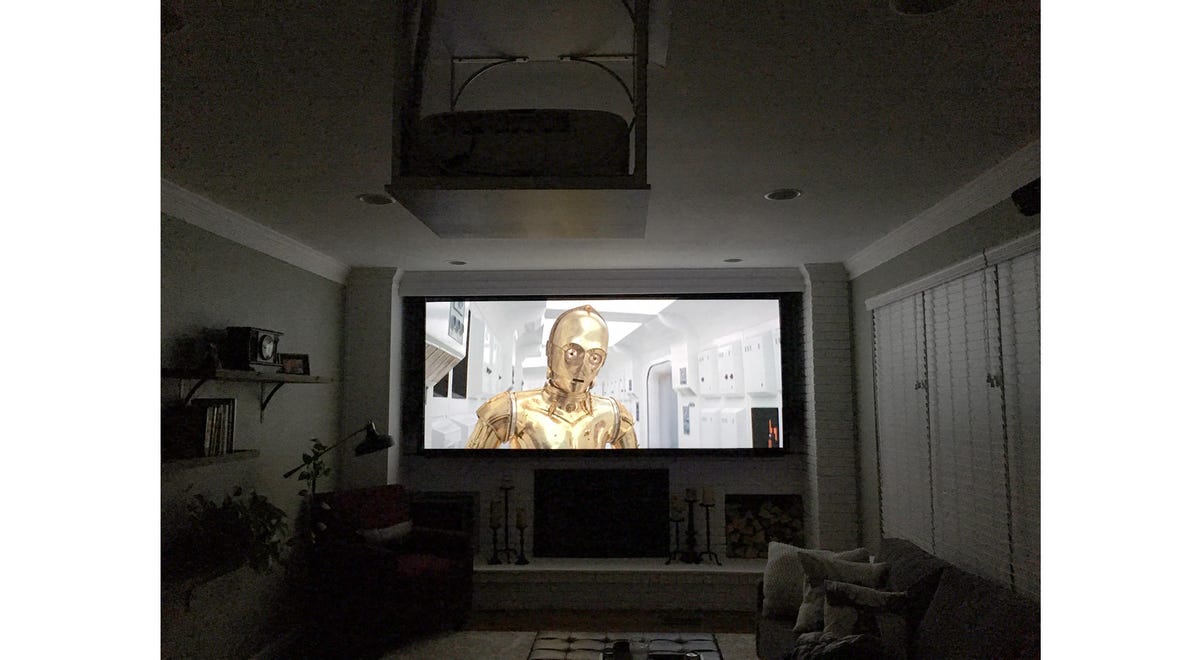
A view of the furnished room. Looks pretty good, right? But Chad's not done. His master plan calls for a big-screen projector too. The screen will come down over an LG OLED65B6P 65-inch OLED TV he has in place.
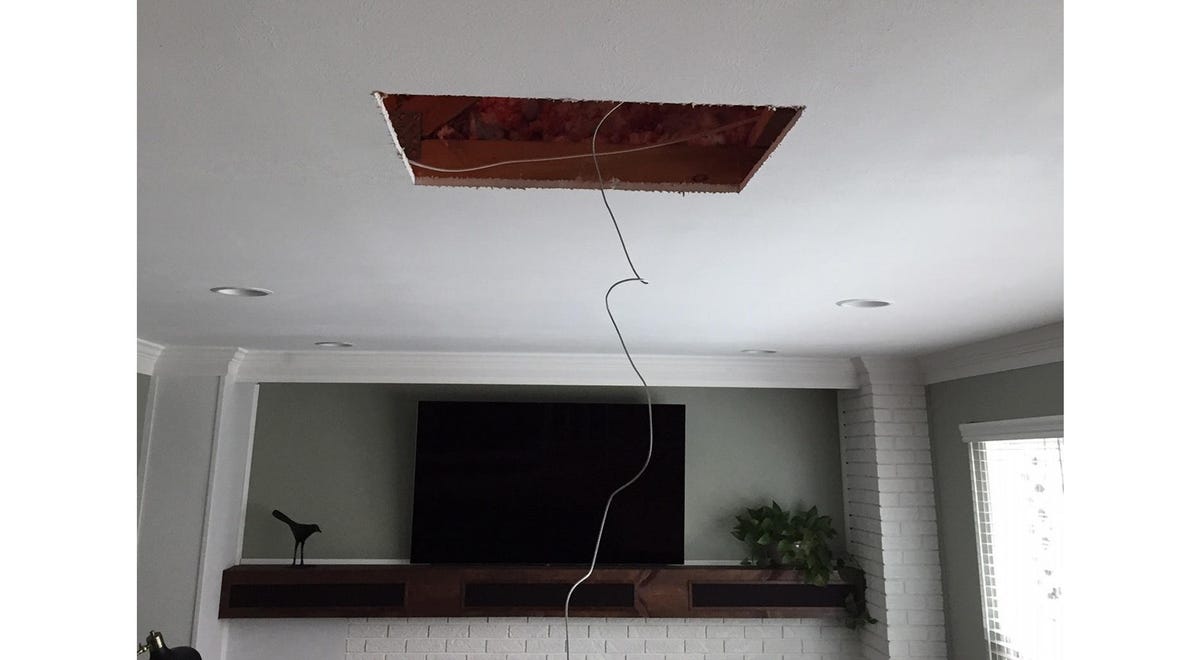
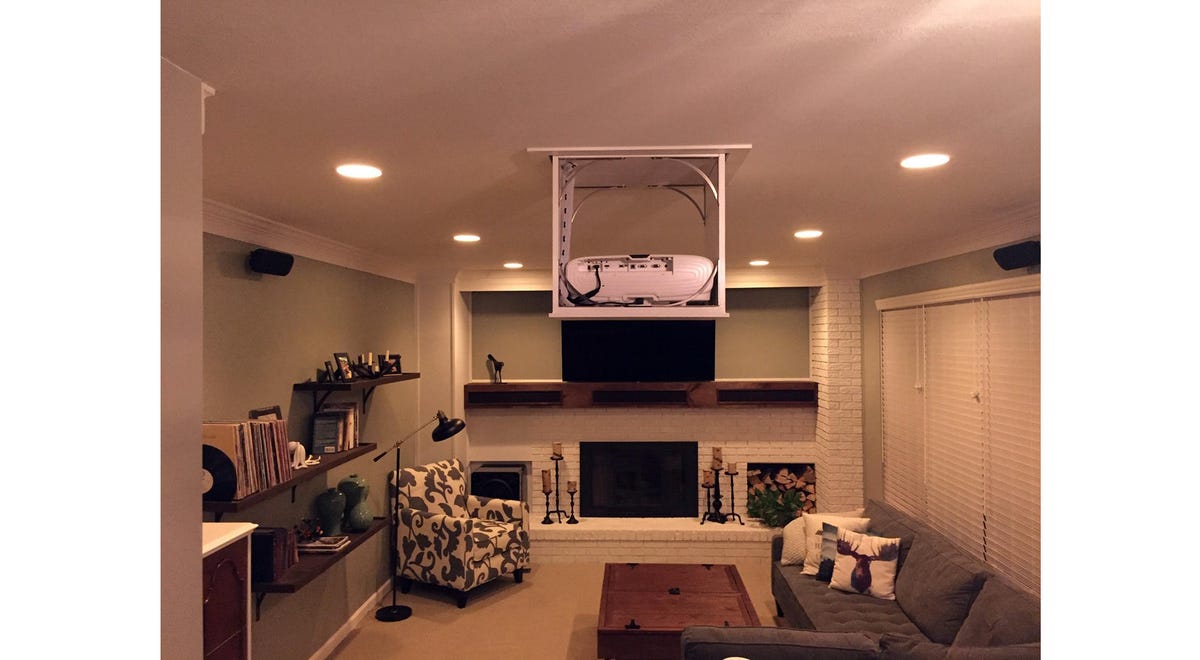
The coolest part of Chad's installation is the drop-down projector lift. He cut a hole in the ceiling to access the garage attic, "So there was no going back now!" he says. He modified a design he found online and used a linear actuator to do the work of lifting it up and down.
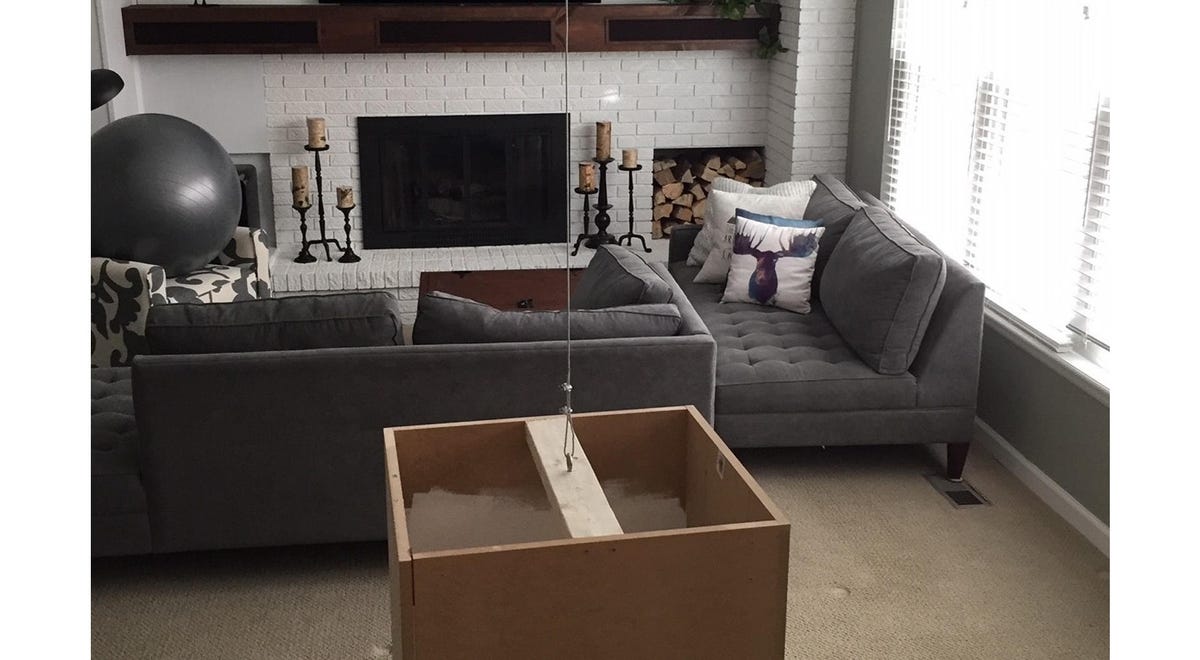
Pictured, the lift housing going in. He used the linear actuator to pull it up 2 feet at a time. It was a slow process but easy enough, he says.

Once the lift housing was in place and secured to the ceiling joists, the projector lift -- which fits inside the lift housing -- was next. He used the same method to get it in place -- 2 feet at a time.

Getting there, slowly but surely!
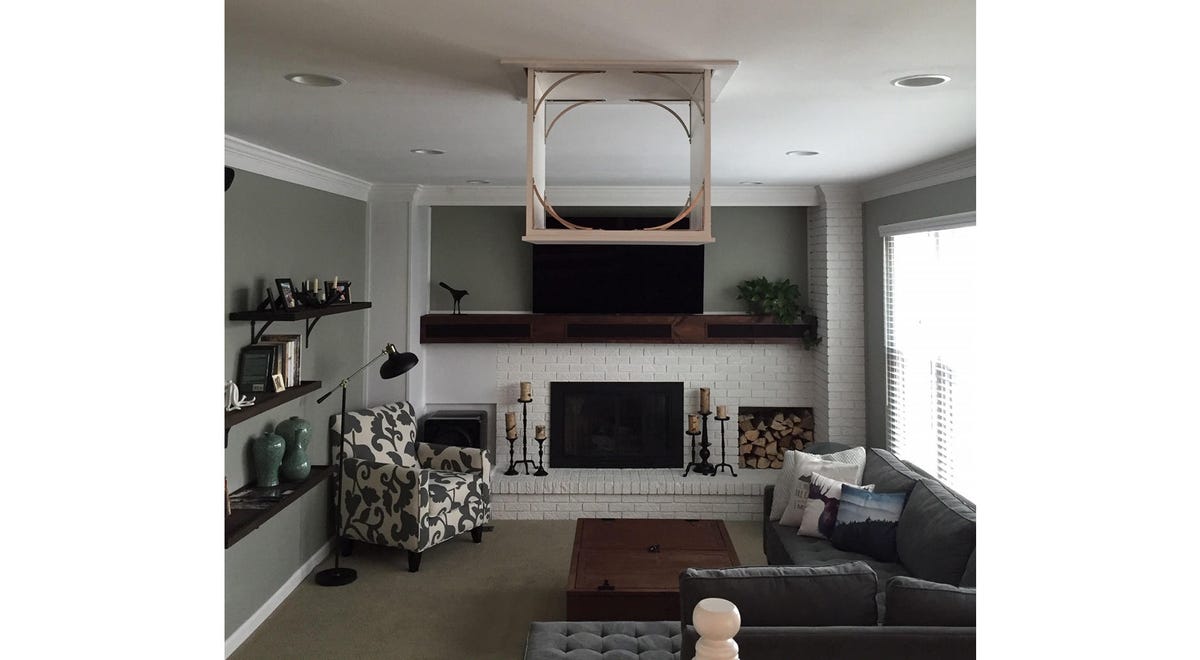
The projector lift has been installed and secured and the opening has been trimmed out and painted. "The oval/circular shape of the brackets is meant to mimic/recall the look of an old-fashioned tube television," Chad says.
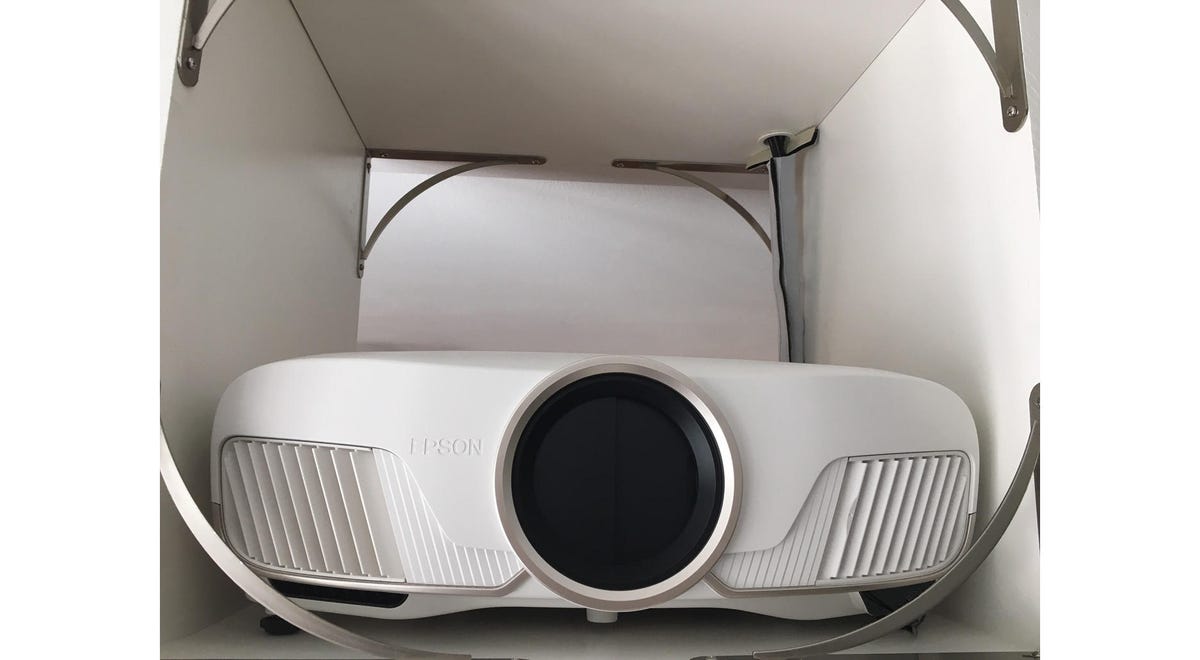
Close-up of the Epson Home Cinema 5040UB inside the lift. The projector has 4K upconverting and 3D capability.
All buttoned up! Now it's time to install the drop-down screen.
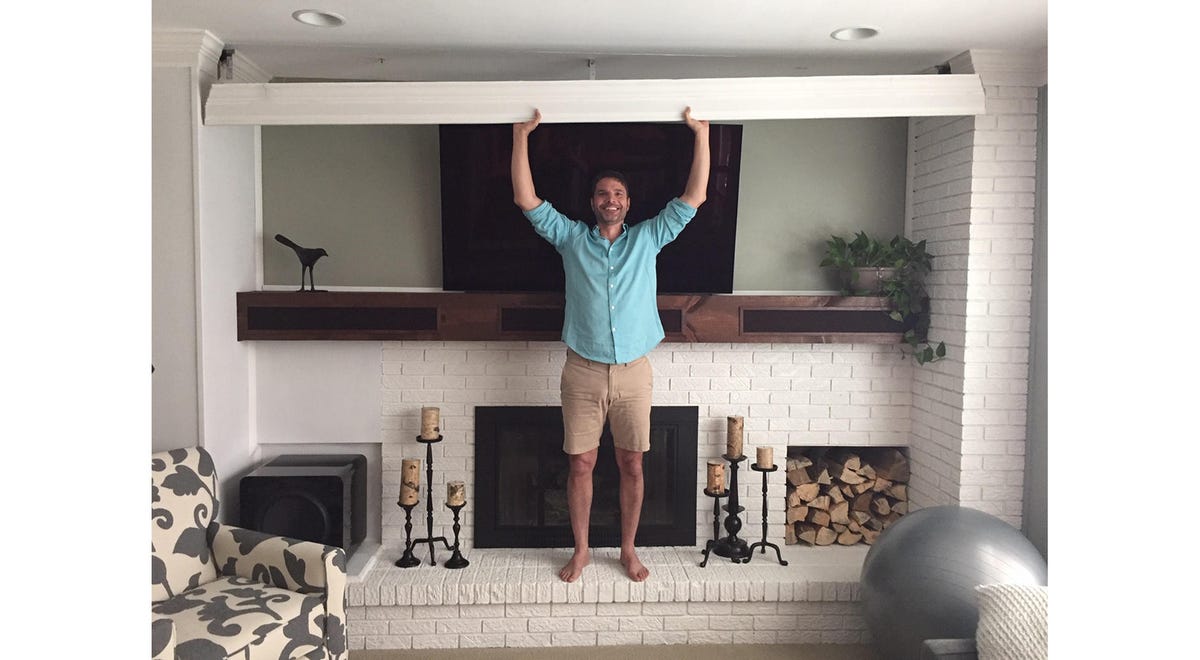
Taking down the existing crown molding above the TV to prepare for installing the screen.
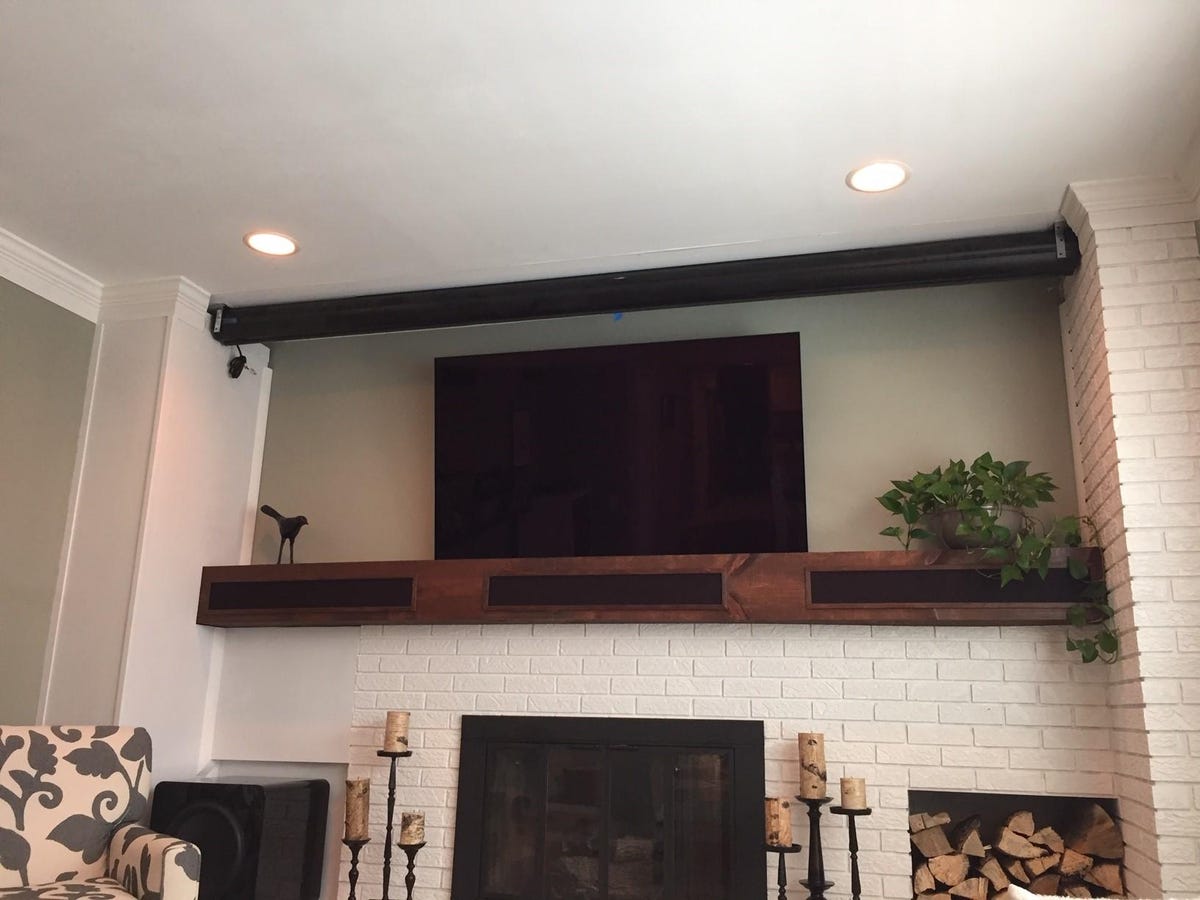
The 2.35:1 aspect ratio, 128-inch Seymour AV screen is acoustically transparent, tab-tensioned and motorized to drop down in front of the TV.
With the molding reinstalled, you'd never know a screen was there.
The projector is down and ready for action.
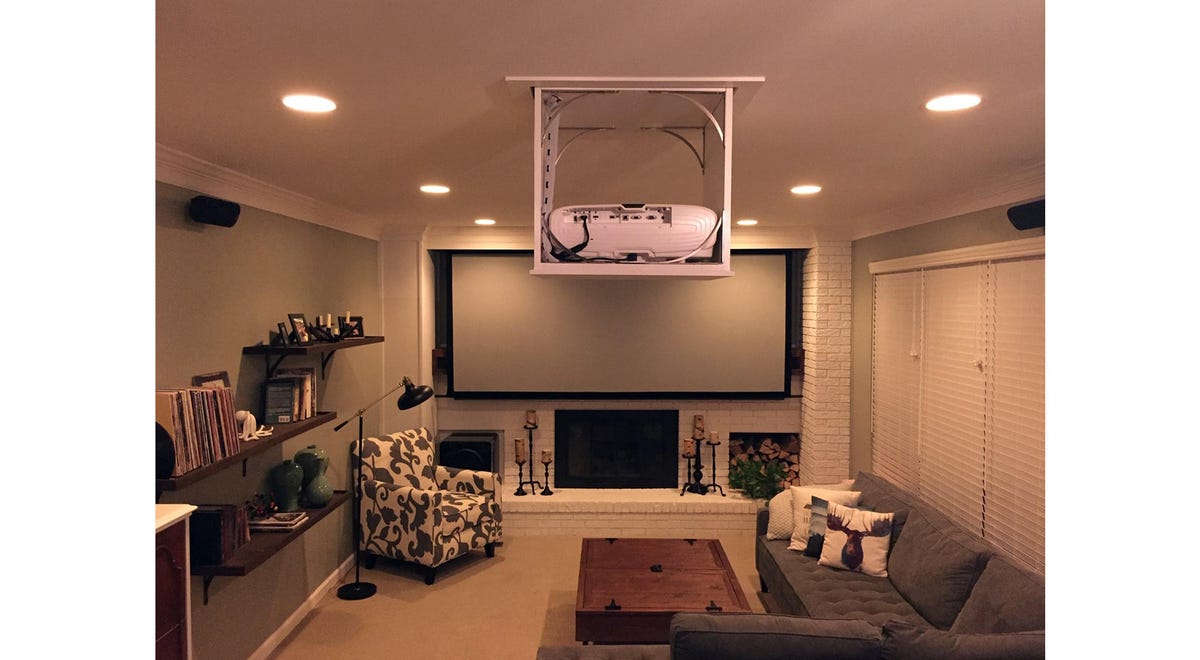
Screen down: "The acoustic transparency of the screen means that the sound from the front speakers will be crystal clear," Chad says.
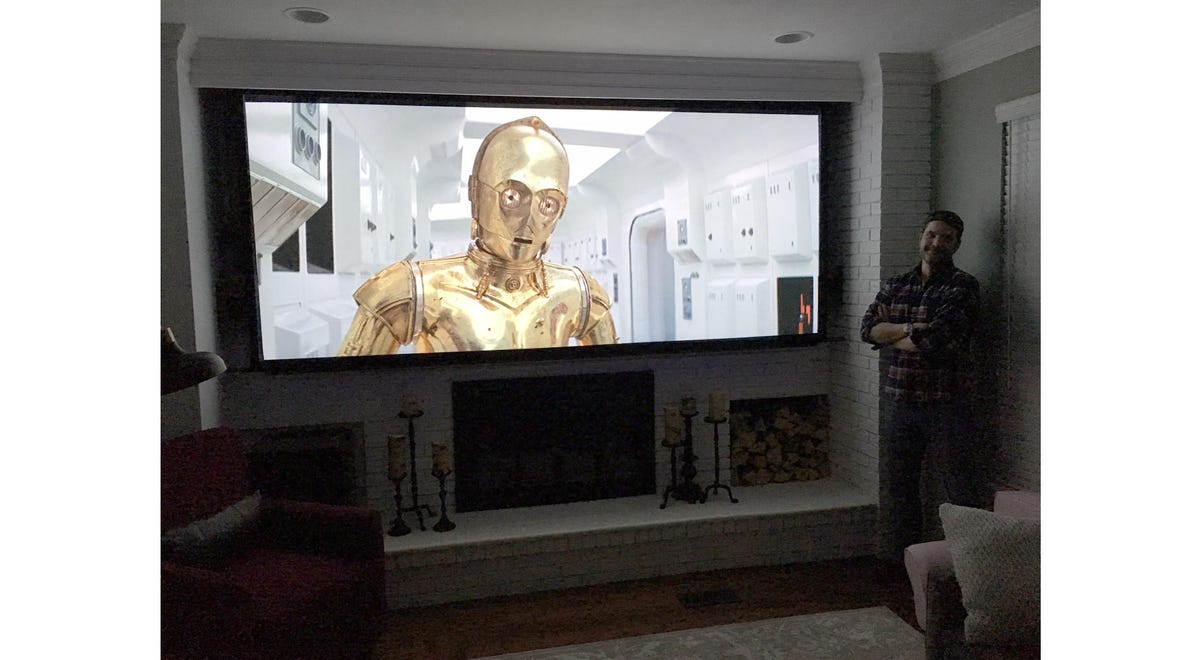
Chad says his 7-year-old self never ceases to "feel the joy that I can watch this movie on a screen this size in my own living room!"
Chad says the projector throws a beautiful image, with deep blacks, saturated colors and crisp whites, all upscaled to 4K and Darbee image-processed through the Oppo BDP-103D Blu-ray player.
His Yamaha Aventage RX-A3030 9.2-channel networked AV receiver fits perfectly in the cabinet. "I love the Receiver, but it does not have Dolby Atmos," he says. "That's my next upgrade!"
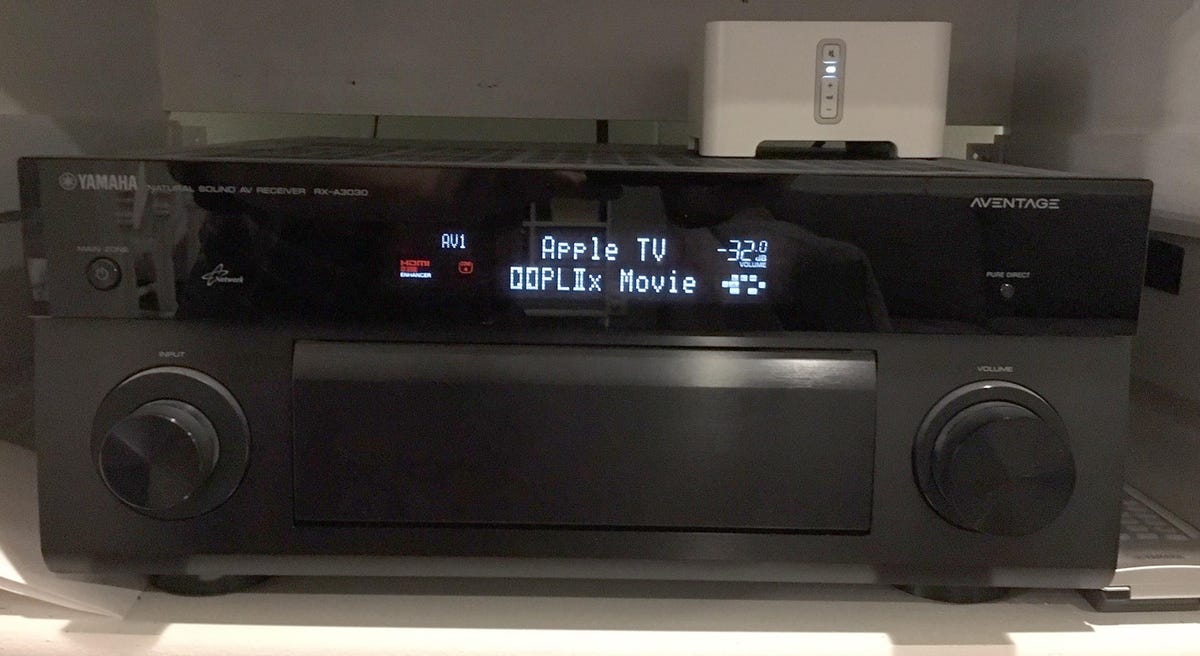
Close-up of the Yamaha RX-A3030 Receiver in the cabinet. That white box perched on top is a Sonos Connect.
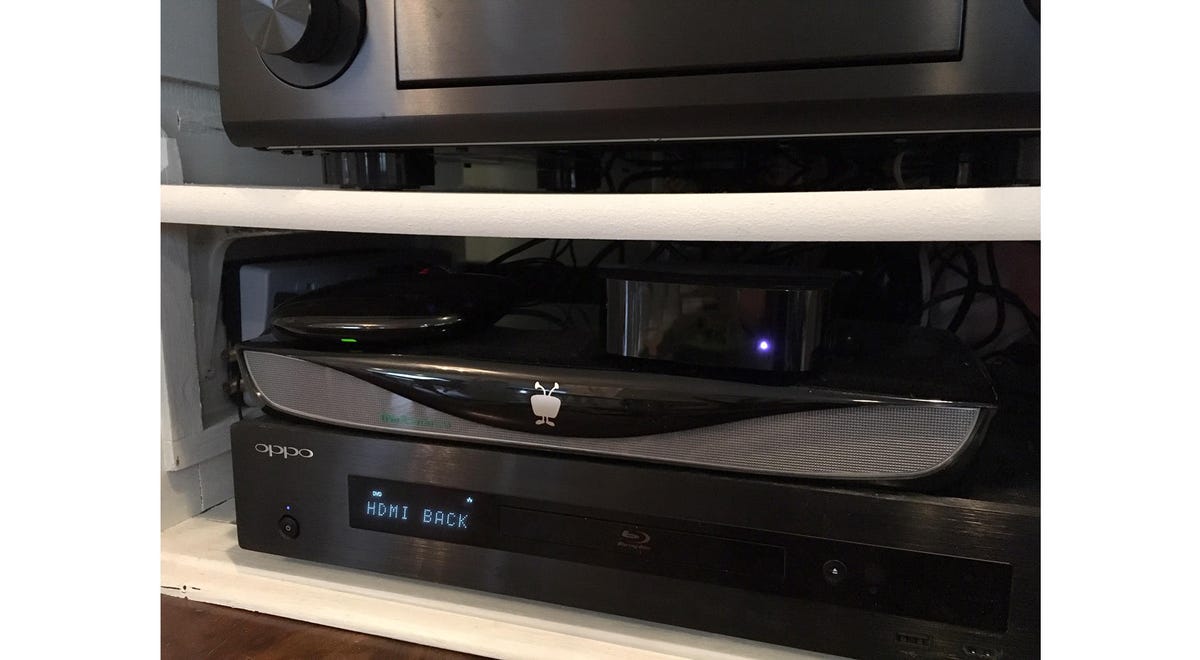
The Oppo BDP-103D, TiVo Roamio and Apple TV 4K in the equipment cabinet.
"I use the Oppo as my video processor for all sources: Tivo, Apple TV and Sony Blu-Ray changer," Chad says. "The Darbee process really enhances the image from all of my sources -- I highly recommend it for any 4K upscaled 1080p video."
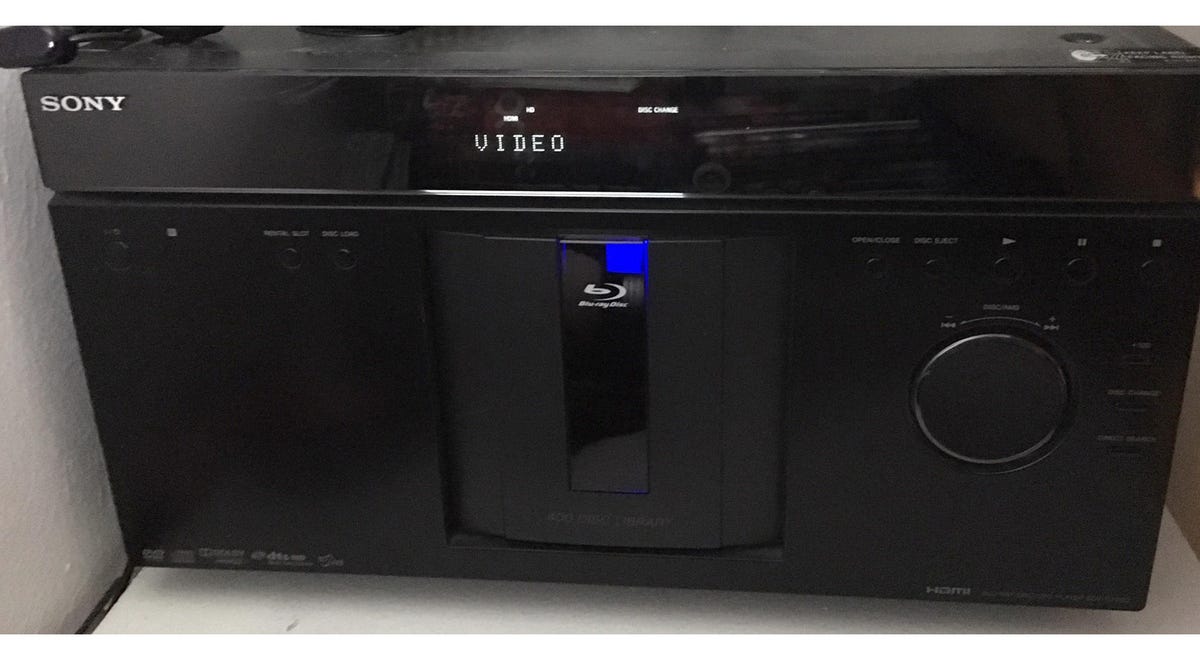
Chad's Sony BDP-CX960 400-disc Blu-ray changer.
"I love this unit," he says. "I've had it for over nine years, and it's still going strong. I have about 150 Blu-rays and another 200 standard DVDs that I can access from this device at any time."
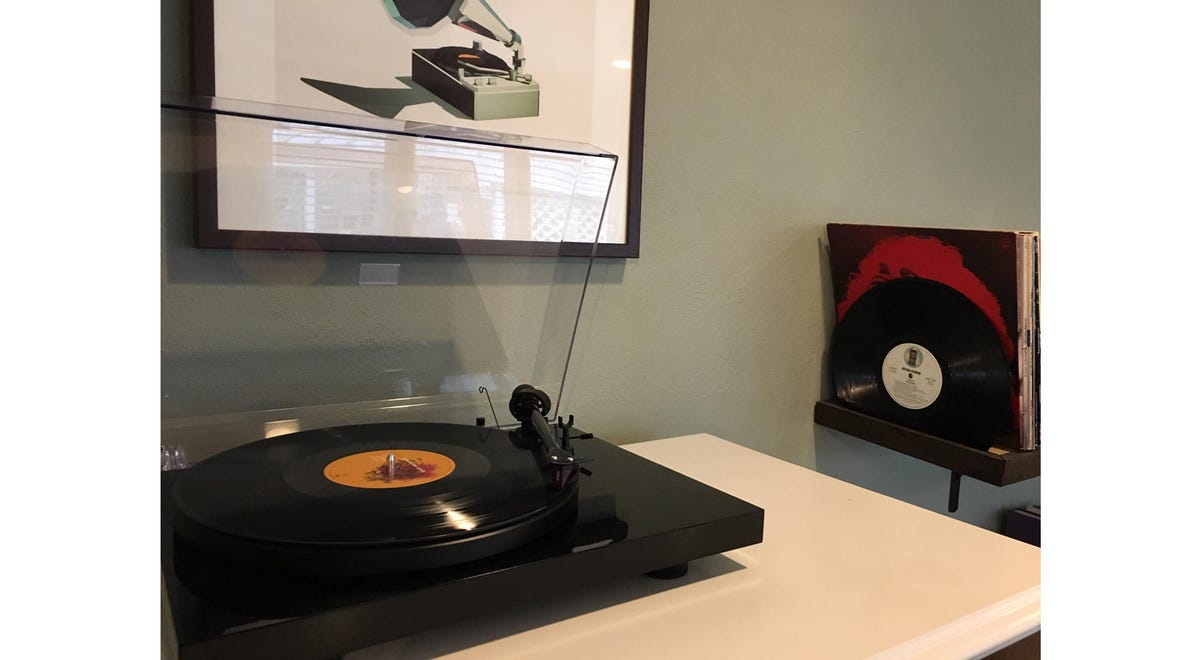
The Pro-Ject Debut Carbon turntable in use. "This is a high-quality, yet relatively inexpensive unit," says Chad. "Very fun to use!"
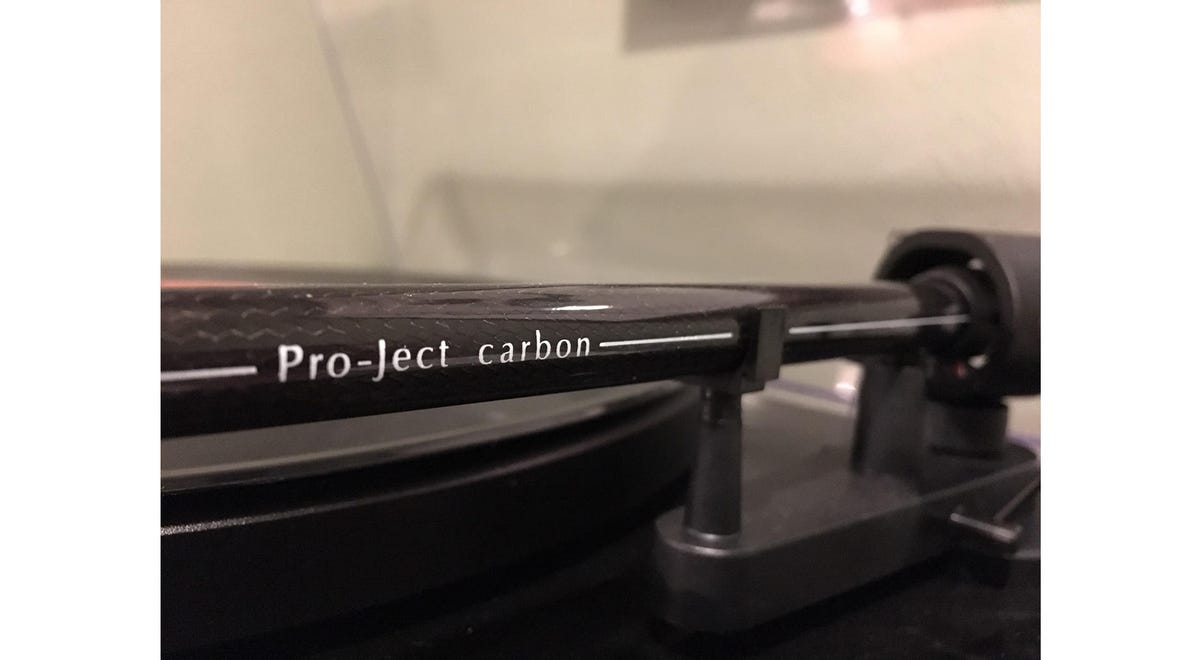
Detail of the Pro-Ject Debut Carbon turntable.
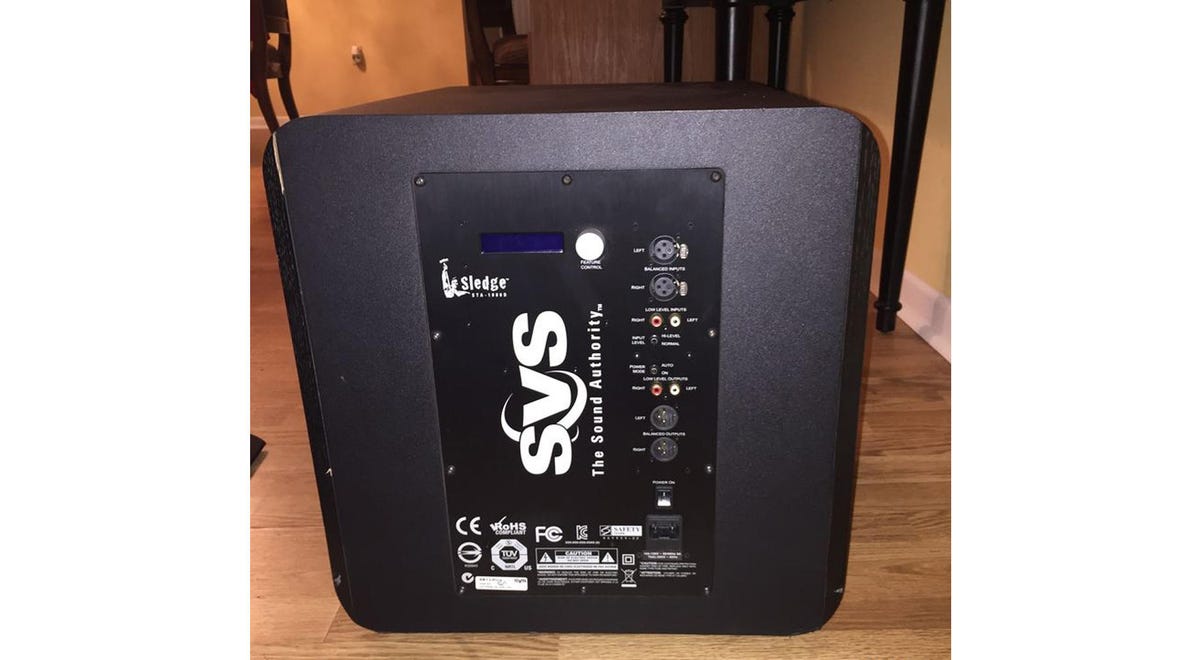
The back of the SVS SB13-Ultra subwoofer.
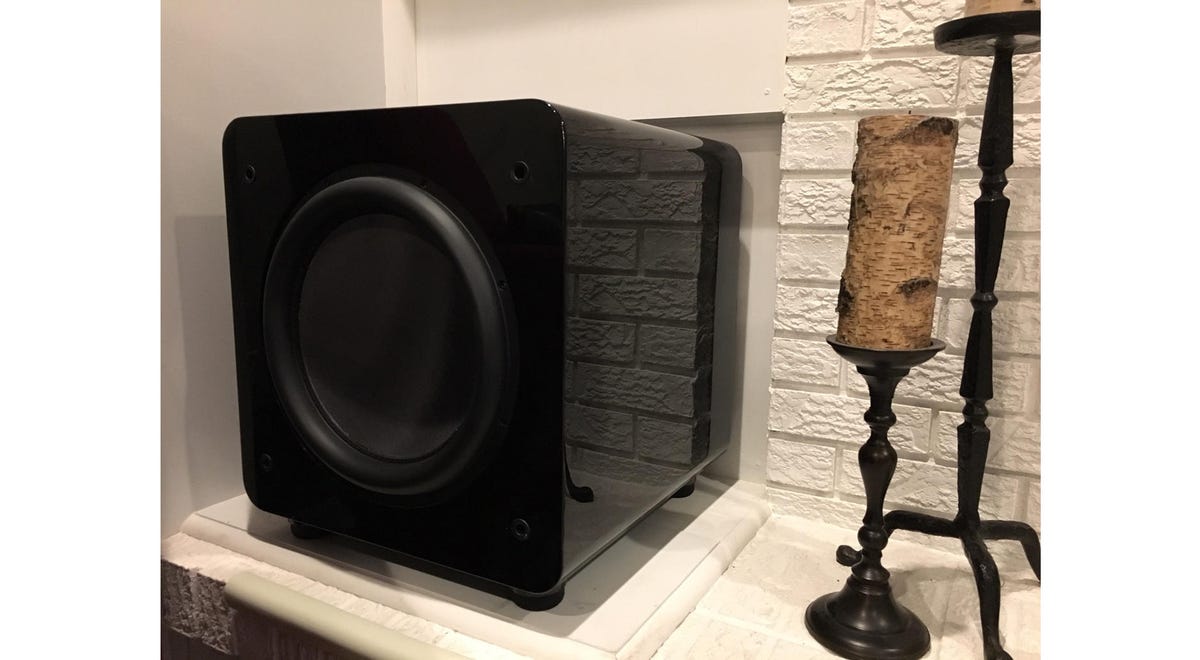
"It's potent," he says of the sub. "It can shake the foundation of my house if I let it! With 1,000 watts RMS and 3,200 watts peak, it can go all the way down to 15 Hz."
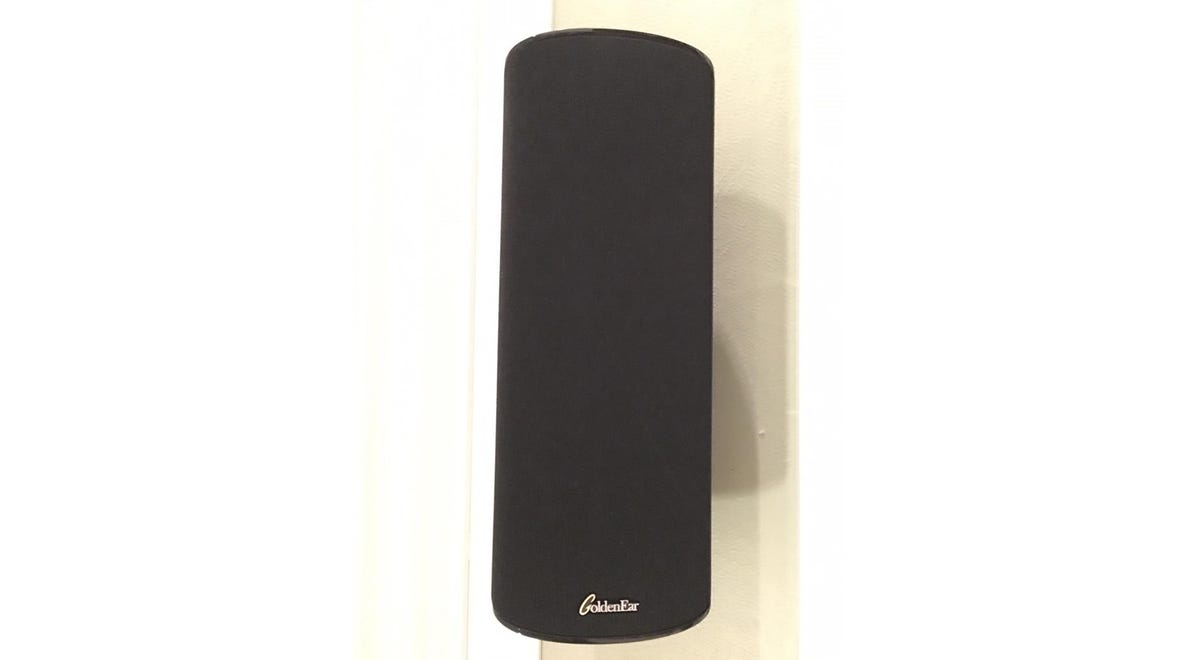
Chad loves these speakers. He has three GoldenEar SuperSat 60's (Front Left, Front Right and Center) and four GoldenEar SuperSat 3's (for the left and right side and back surrounds) paired with the SVS sub.
"The robust Yamaha 150W/channel amplification results in a powerful, focused, clear and enveloping sound field for music, movies, sporting events, you name it!" he says.
And that's it, folks, for this installment of Show Us Yours. We have plenty more here.
And please submit your own photos here. We're always looking for more of our readers' home theater setups to show off. So take some pictures!
More Galleries

My Favorite Shots From the Galaxy S24 Ultra's Camera
20 Photos
Honor's Magic V2 Foldable Is Lighter Than Samsung's Galaxy S24 Ultra
10 Photos
The Samsung Galaxy S24 and S24 Plus Looks Sweet in Aluminum
23 Photos
Samsung's Galaxy S24 Ultra Now Has a Titanium Design
23 Photos
I Took 600+ Photos With the iPhone 15 Pro and Pro Max. Look at My Favorites
34 Photos
