Step-by-step setup with the Click & Grow Flowerpot (pictures)
From start to finish, installing the Smart Flowerpot couldn't be easier.
Katie Pilkington
Katie is a writer, a humor blogger, a Vietnam War historian, and an avid cook. She holds an MFA in Creative Writing and is hard at work on her first novel. When she's not writing about tech, she's reading about armored cavalry units in Vietnam, or teaching her labradoodle, Lola, to overcome her lack of opposable thumbs.
Honestly, the most difficult part about preparing the Click & Grow Smart Flowerpot was removing the shrink-wrap from the box. Ready to grow some chili peppers?
2 of 14 Colin West McDonald/CNET
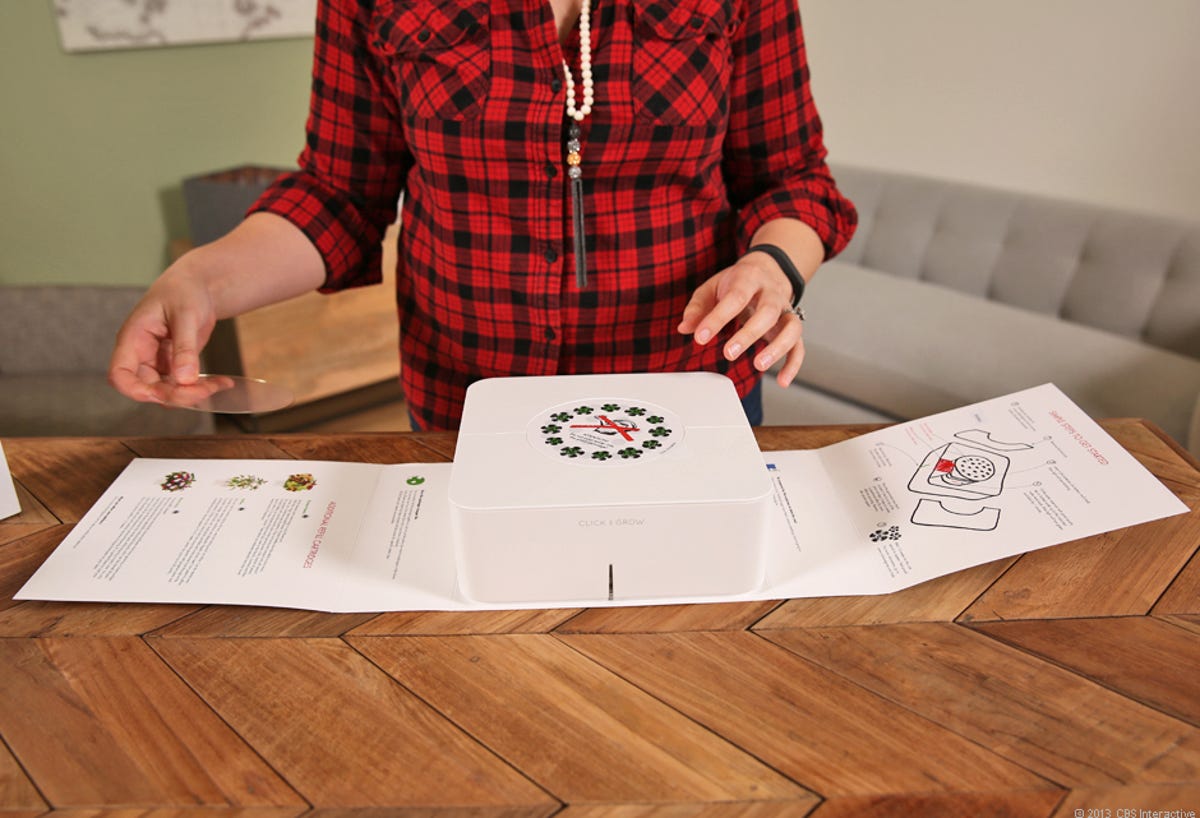
You'll find easy to understand directions and product information wrapped around the flowerpot.
3 of 14 Colin West McDonald/CNET
First, remove the sticker from the top of the Smart Flowerpot.
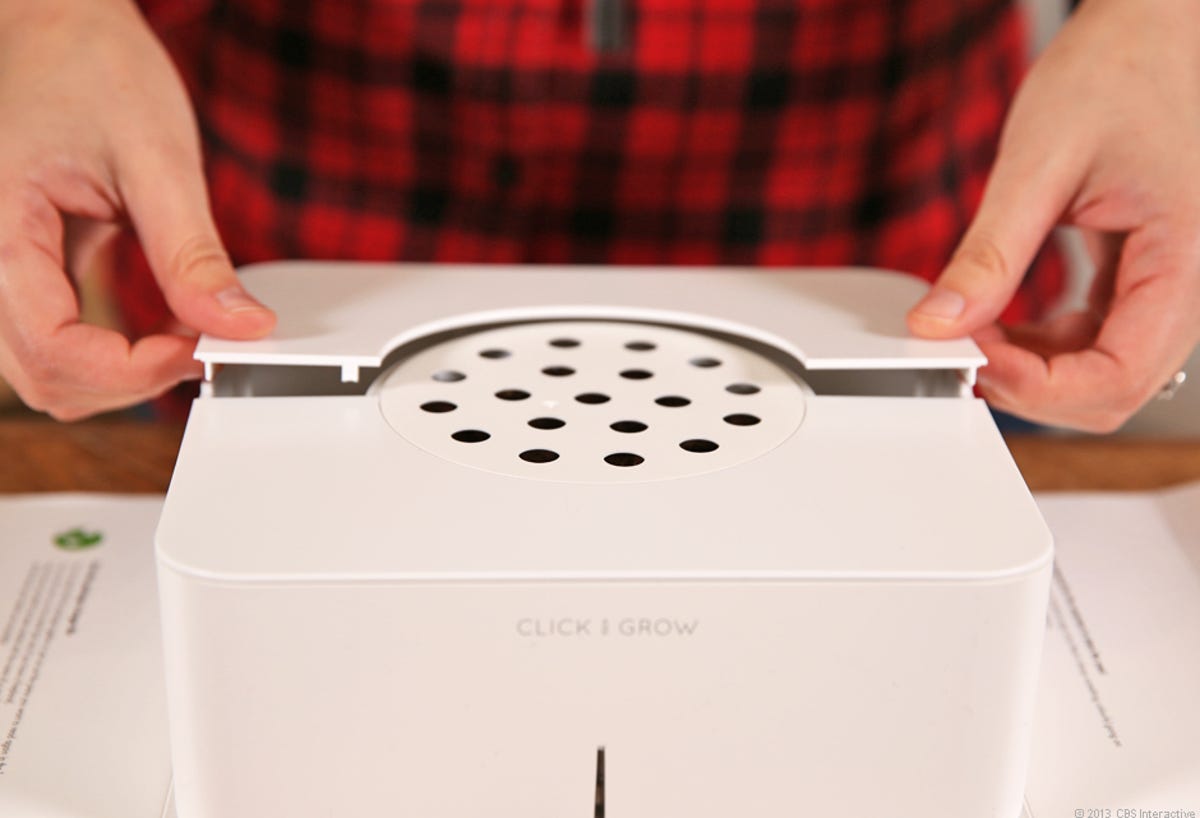
4 of 14 Colin West McDonald/CNET
Remove the two plates.
5 of 14 Colin West McDonald/CNET
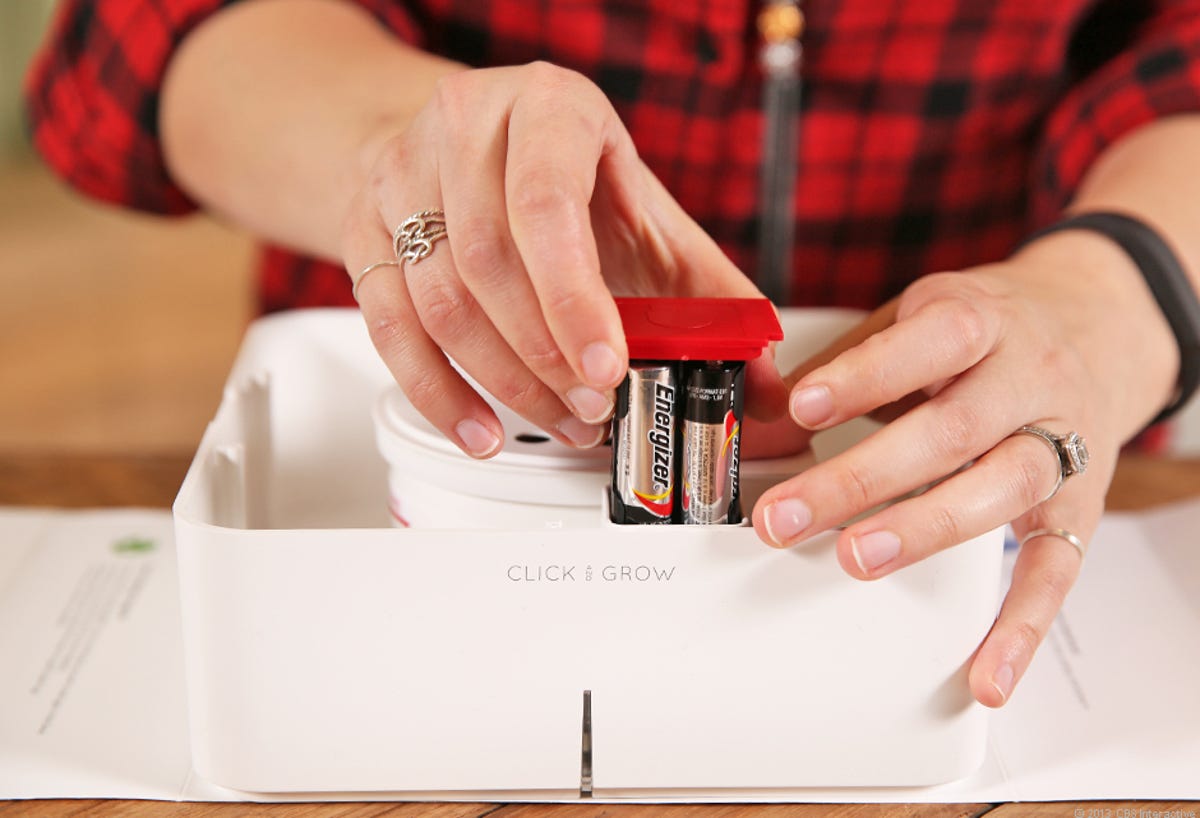
The red-lidded container houses the batteries which power the sensor and water pump. Pull up on the red lid to install batteries.
6 of 14 Colin West McDonald/CNET
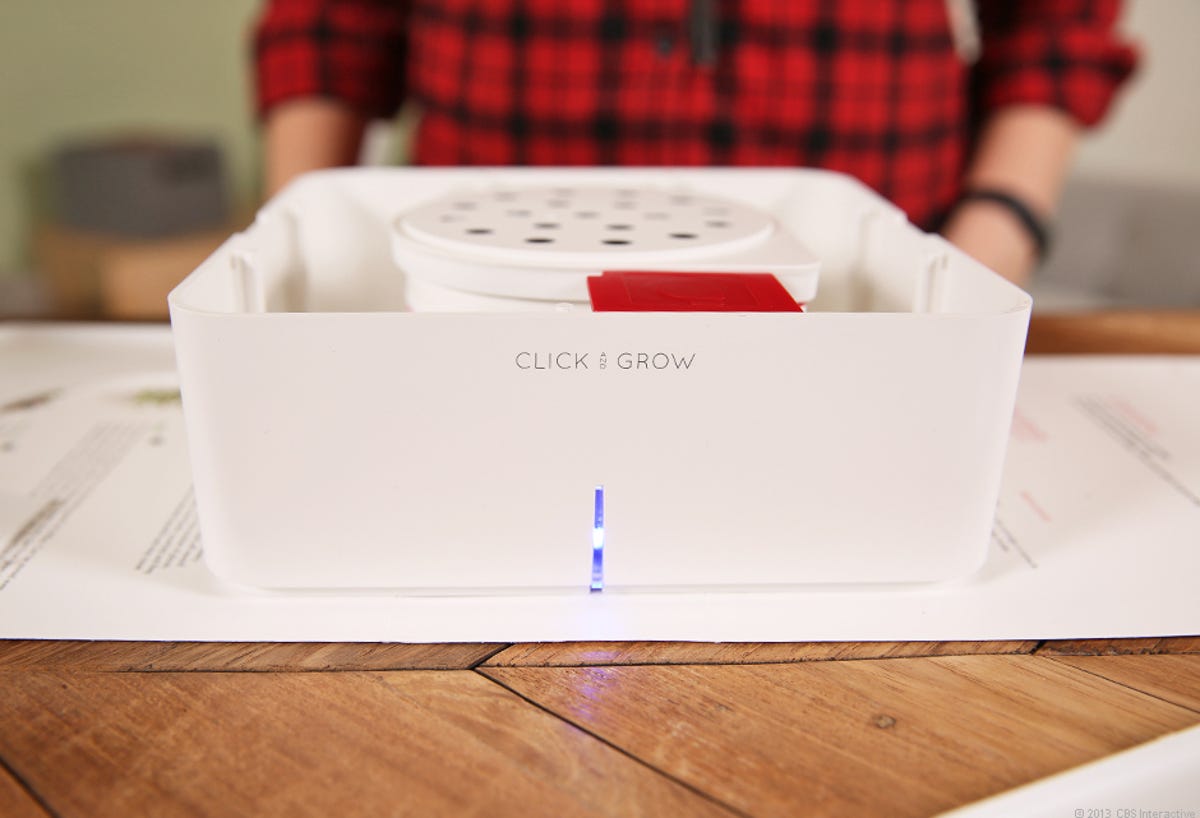
The Smart Flowerpot requires four AA batteries. Once you've installed them, the light on the front of the flowerpot will turn blue and start blinking.
7 of 14 Colin West McDonald/CNET
When the light turns on blue and blinks, the Smart Flowerpot is ready for water.
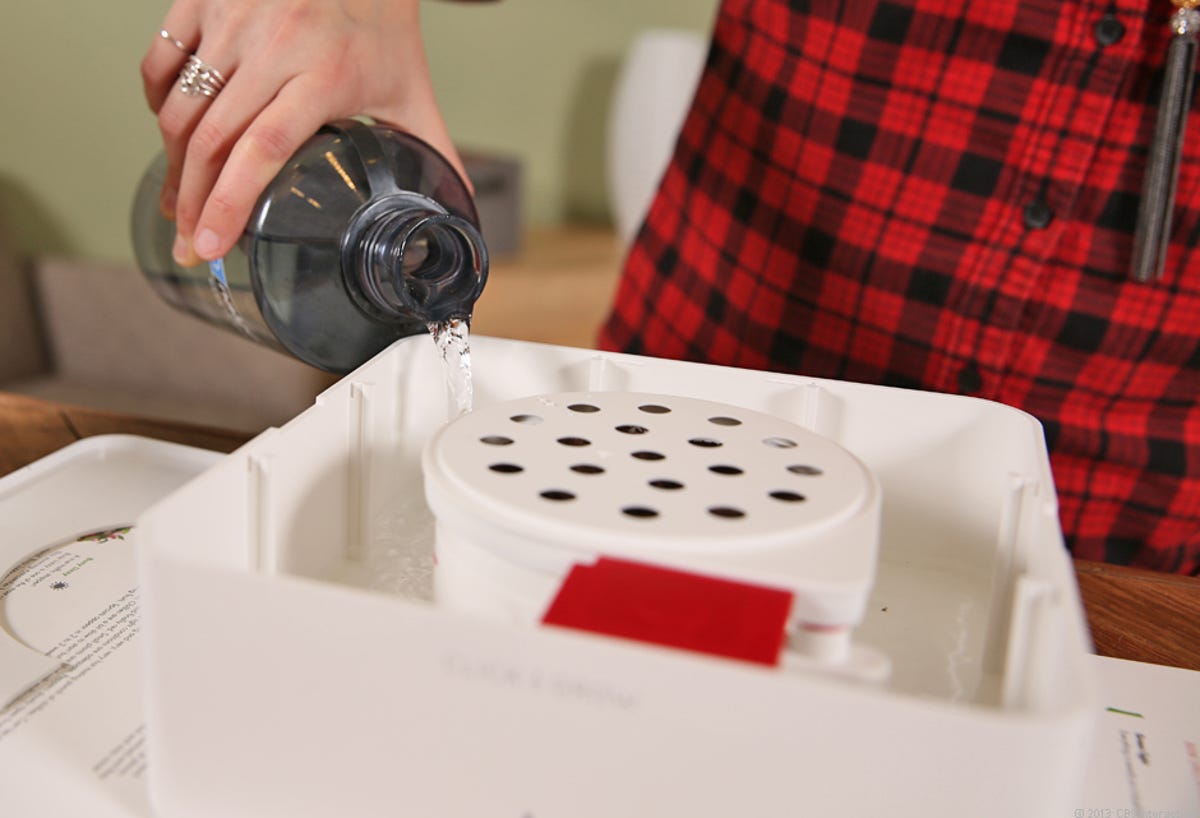
8 of 14 Colin West McDonald/CNET
Pour water into the reservoir until the water line matches the indicated mark. Don't pour water into the plant cartridge area in the center.
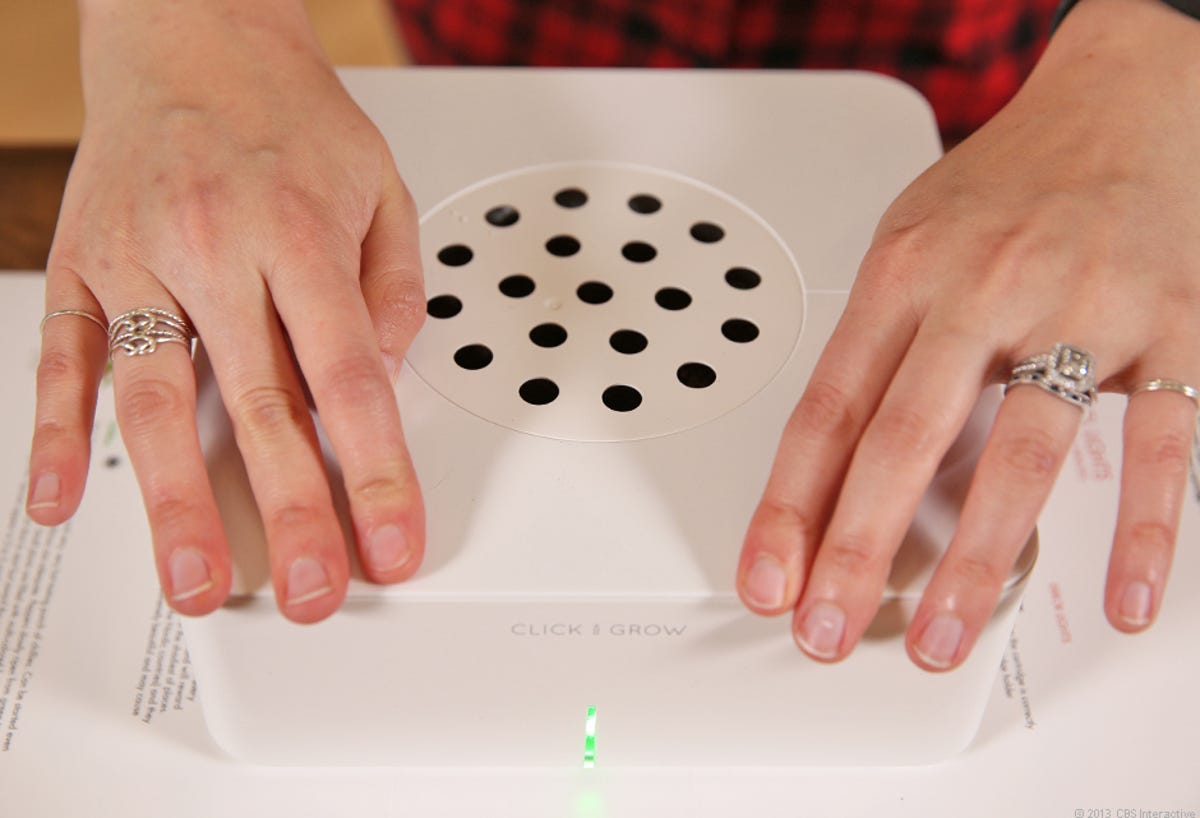
9 of 14 Colin West McDonald/CNET
Replace the plates and press down to secure them. Place the plastic germination lens over the plant cartridge in the center and leave it until you see sprouts.
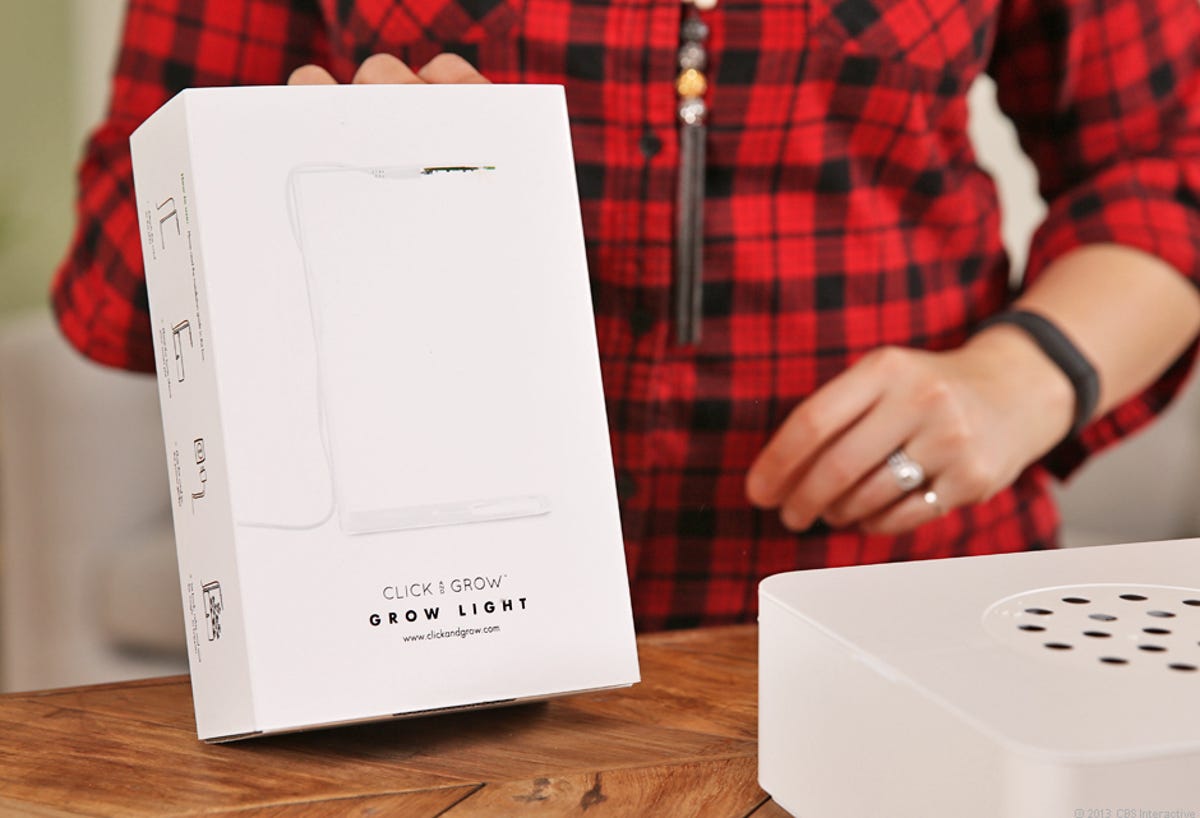
10 of 14 Colin West McDonald/CNET
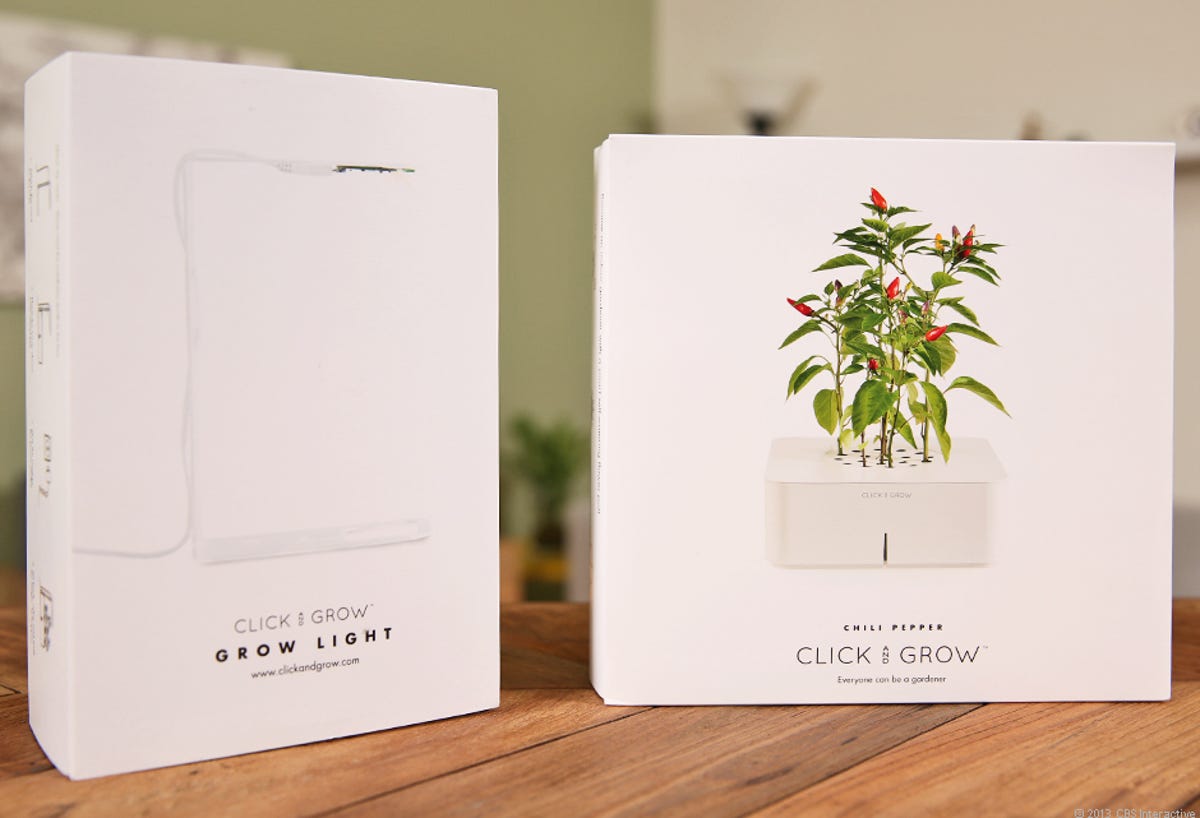
If you are planting in winter or plan to keep the Smart Flowerpot in an area with low light, you may need to purchase the $49 grow light.
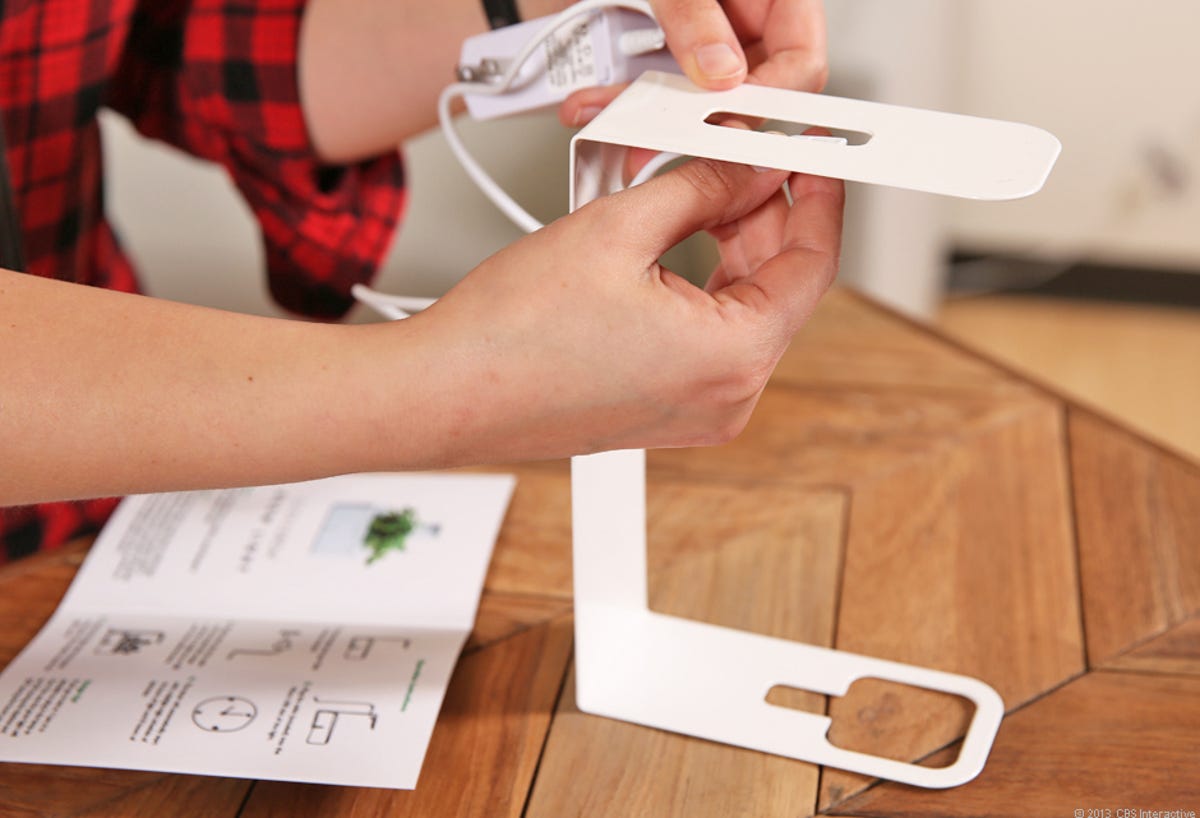
11 of 14 Colin West McDonald/CNET
Fish the cord through the light stand and plug the cable into the port on the top of the light.
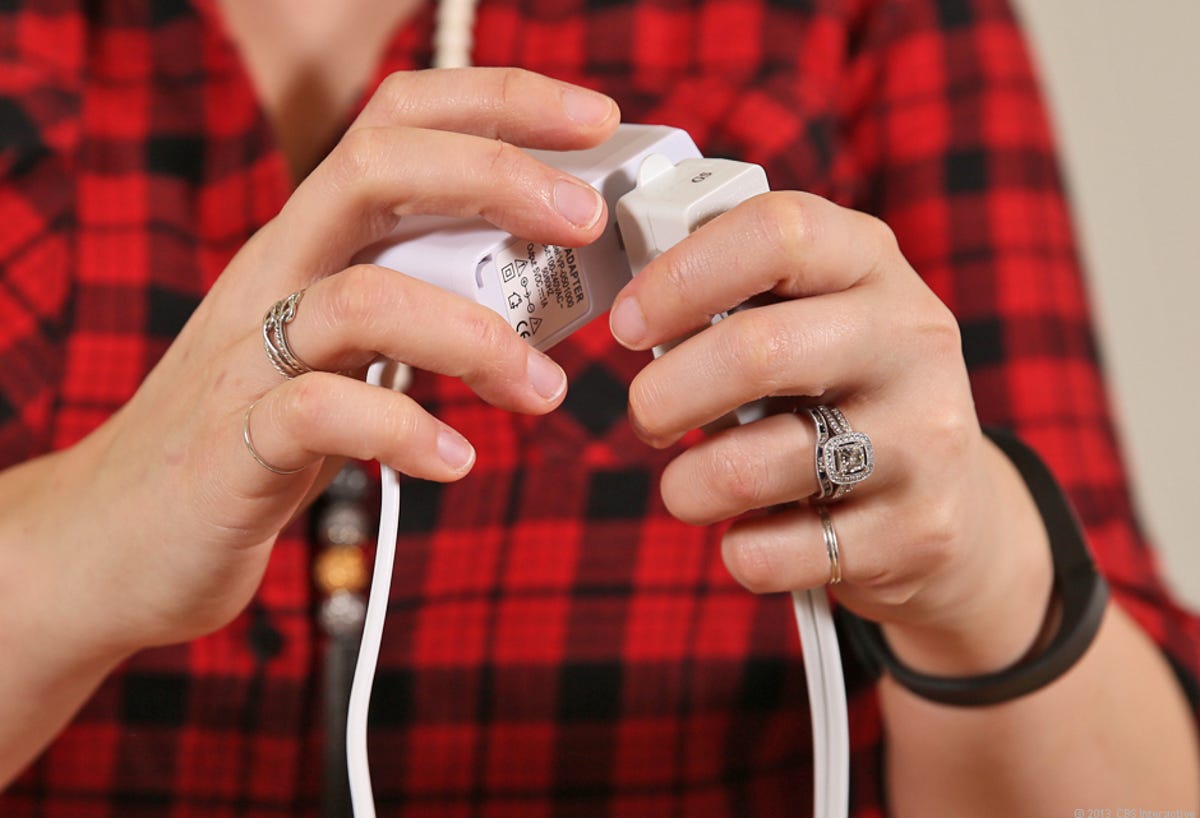
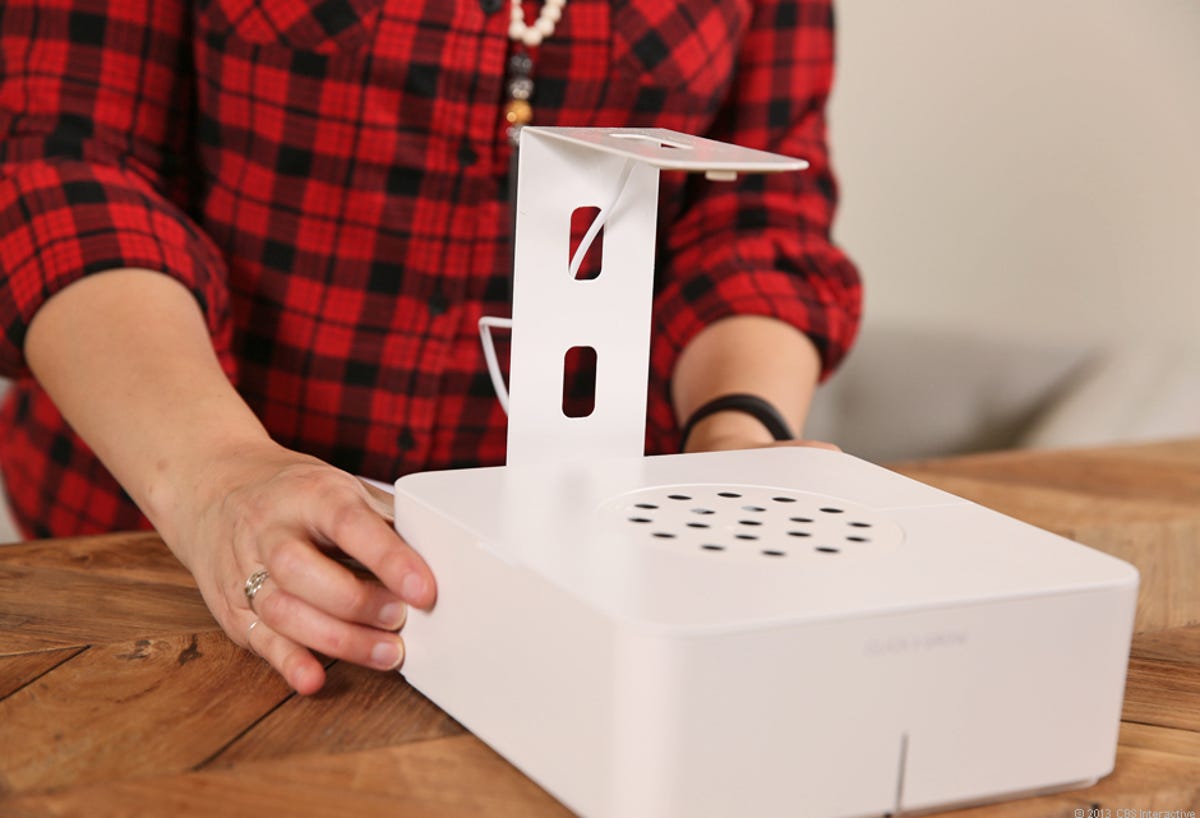
12 of 14 Colin West McDonald/CNET
Place the grow light against the Smart Flowerpot and plug in.
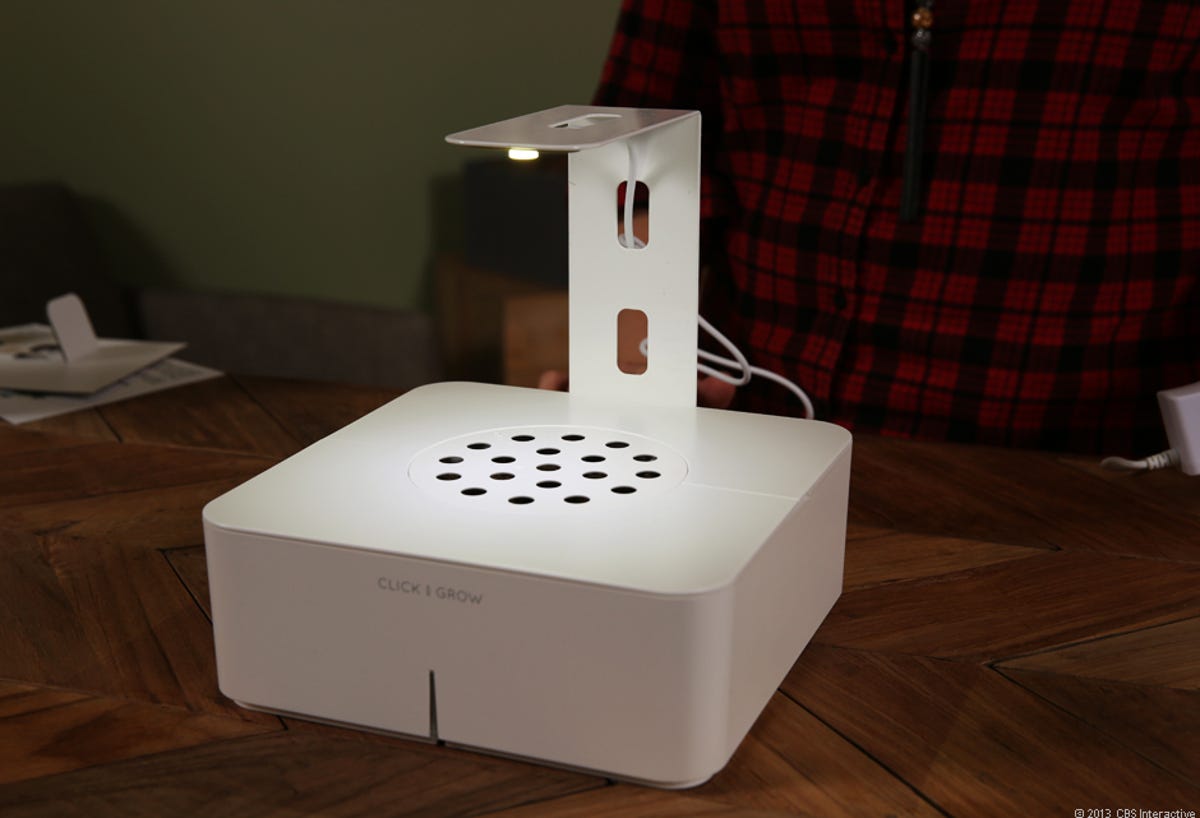
13 of 14 Colin West McDonald/CNET
Voila! Click & Grow says that you can expect sprouts in two to three weeks, and a full-sized plant in two to four months. Plenty of time to look up recipes calling for chili peppers.