ProShot puts manual controls where you need them (pictures)
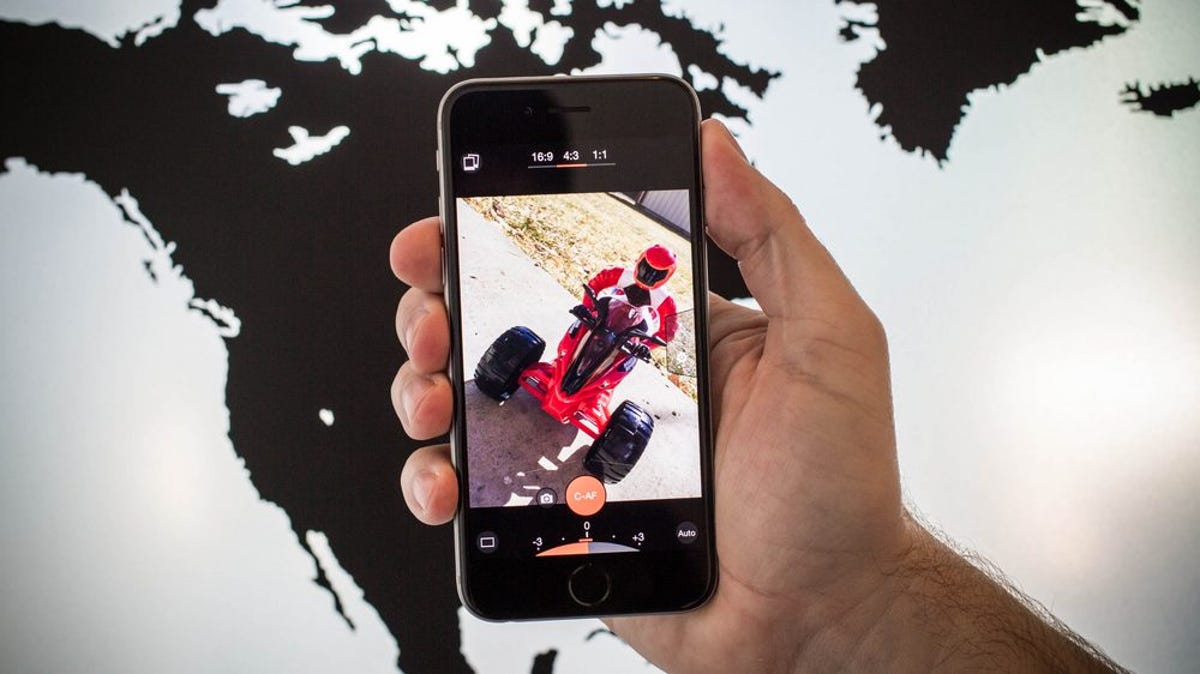
Before making the jump to an expensive camera, learn the ins and outs of composing the perfect picture with ProShot.


ProShot for iOS
Despite some confusing controls, ProShot takes great shots and will give you a better understanding of advanced photography tools.
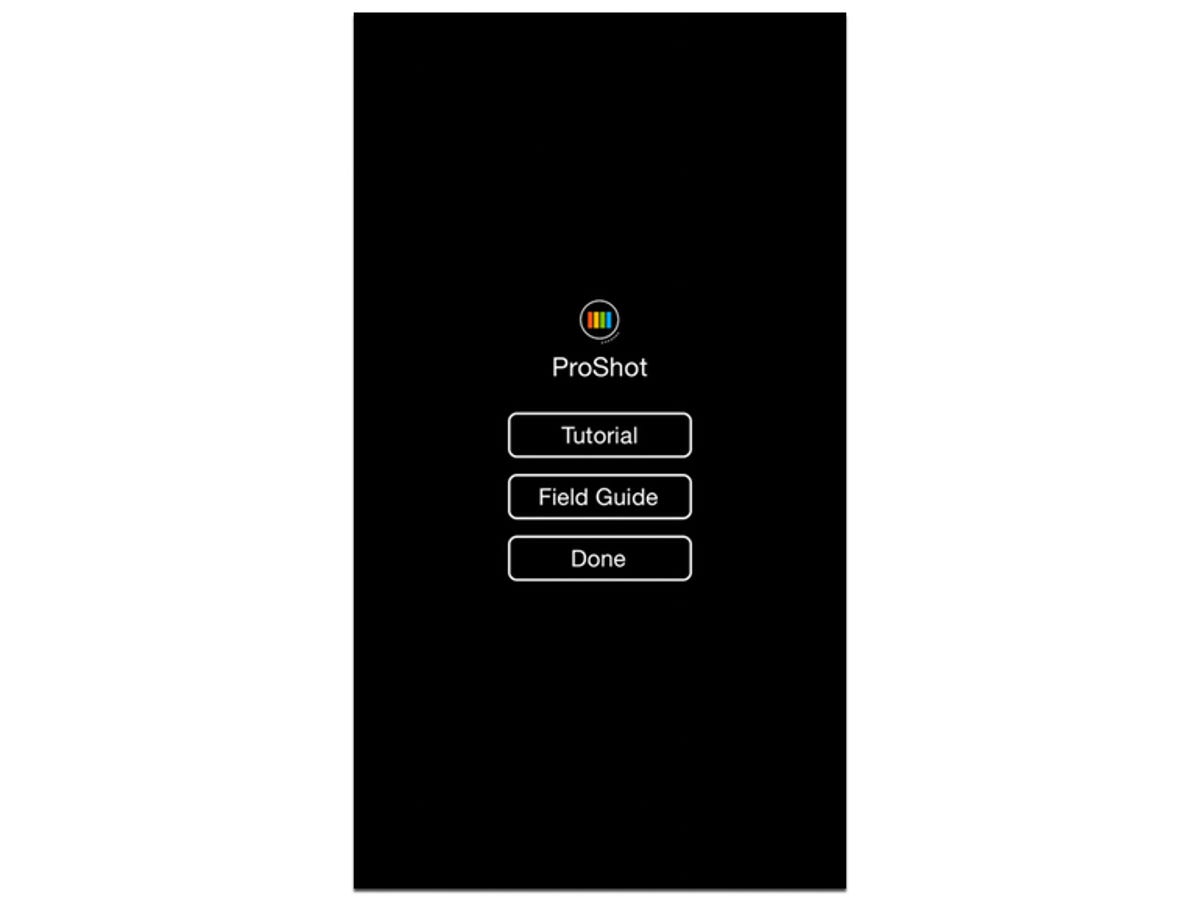
Initial launch
The first time you launch ProShot you're given the option to go through a tutorial, or view the field guide to outline which controls are where.
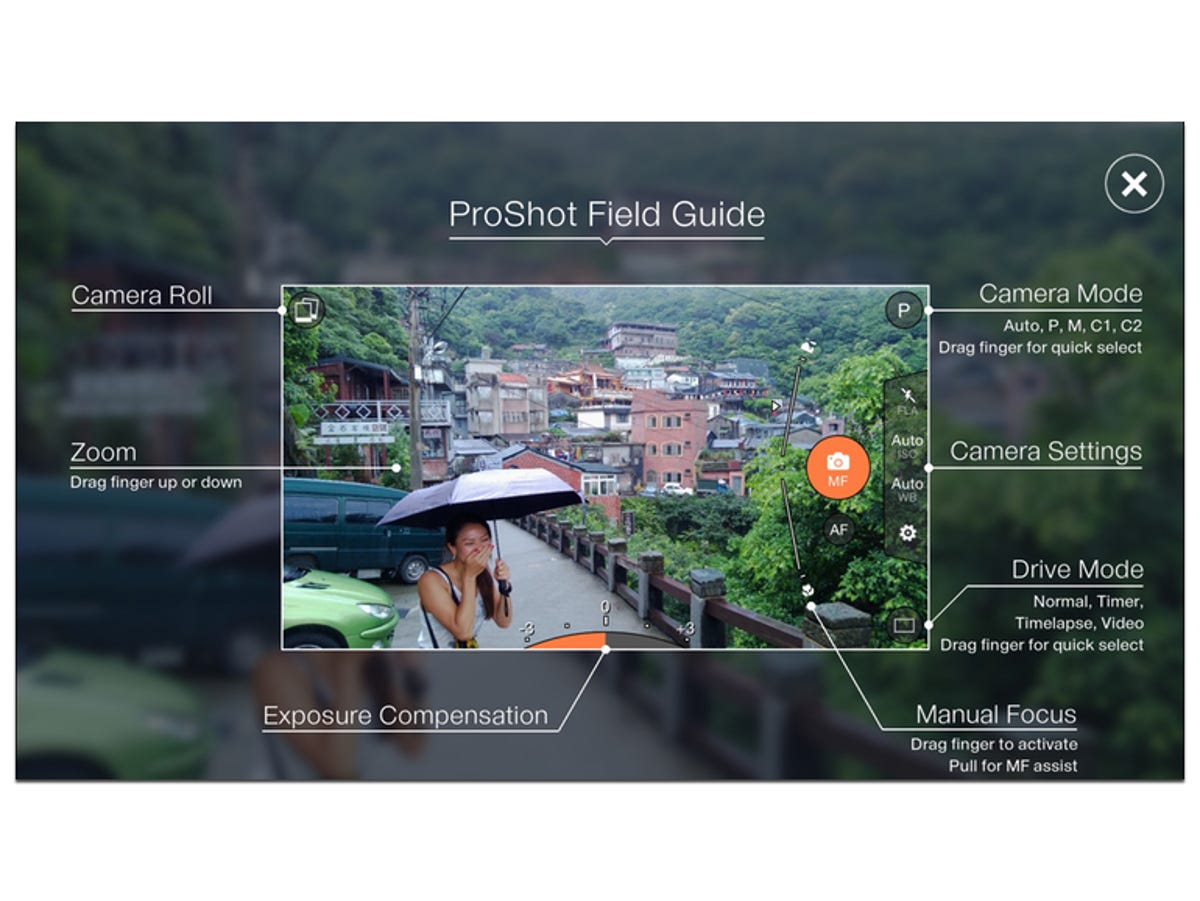
Field guide
This is the field guide for ProShot. As you can see, it's nothing fancy, but then again, it doesn't need to be.
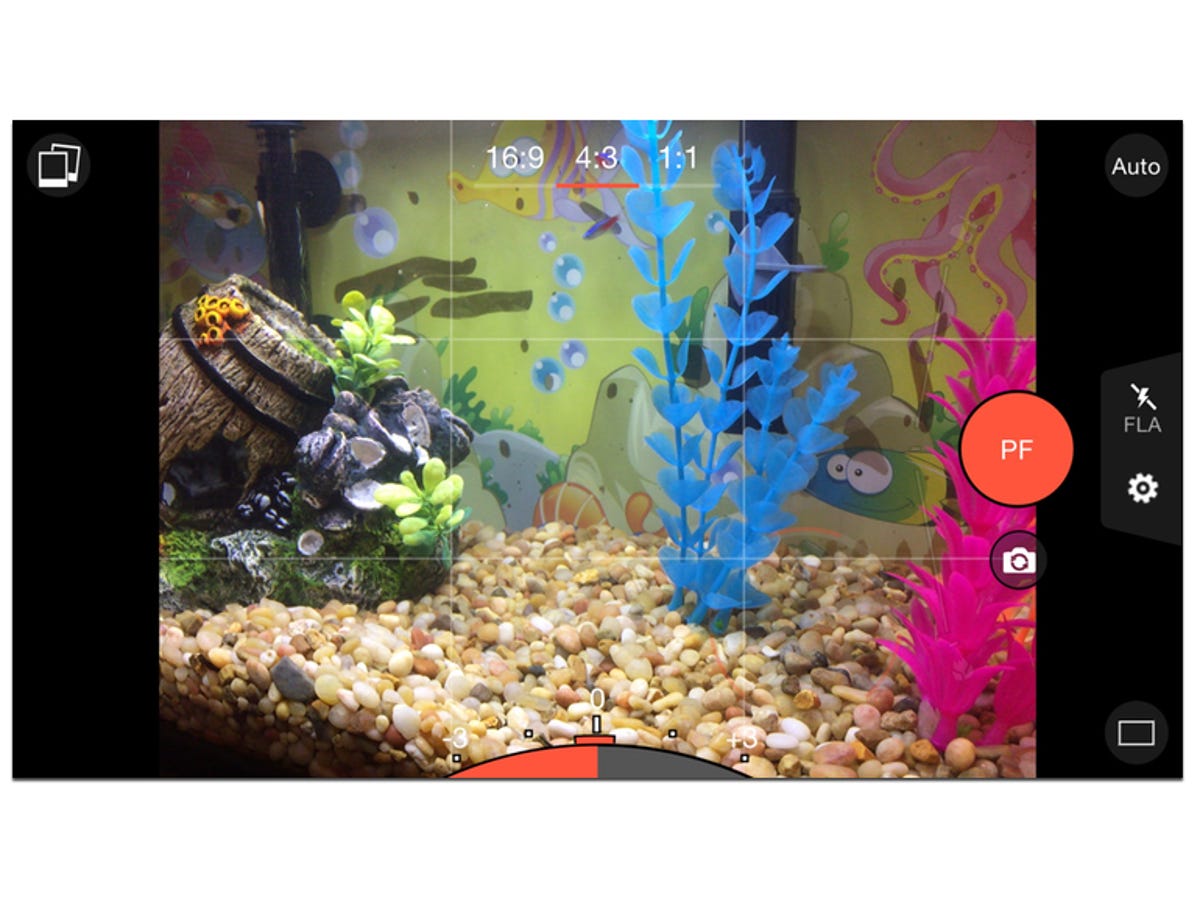
Main screen
This is the main screen of ProShot (fish tank not included). On the right is your shutter button and advanced controls. Other controls can be found on the top, bottom, and left side of the screen.
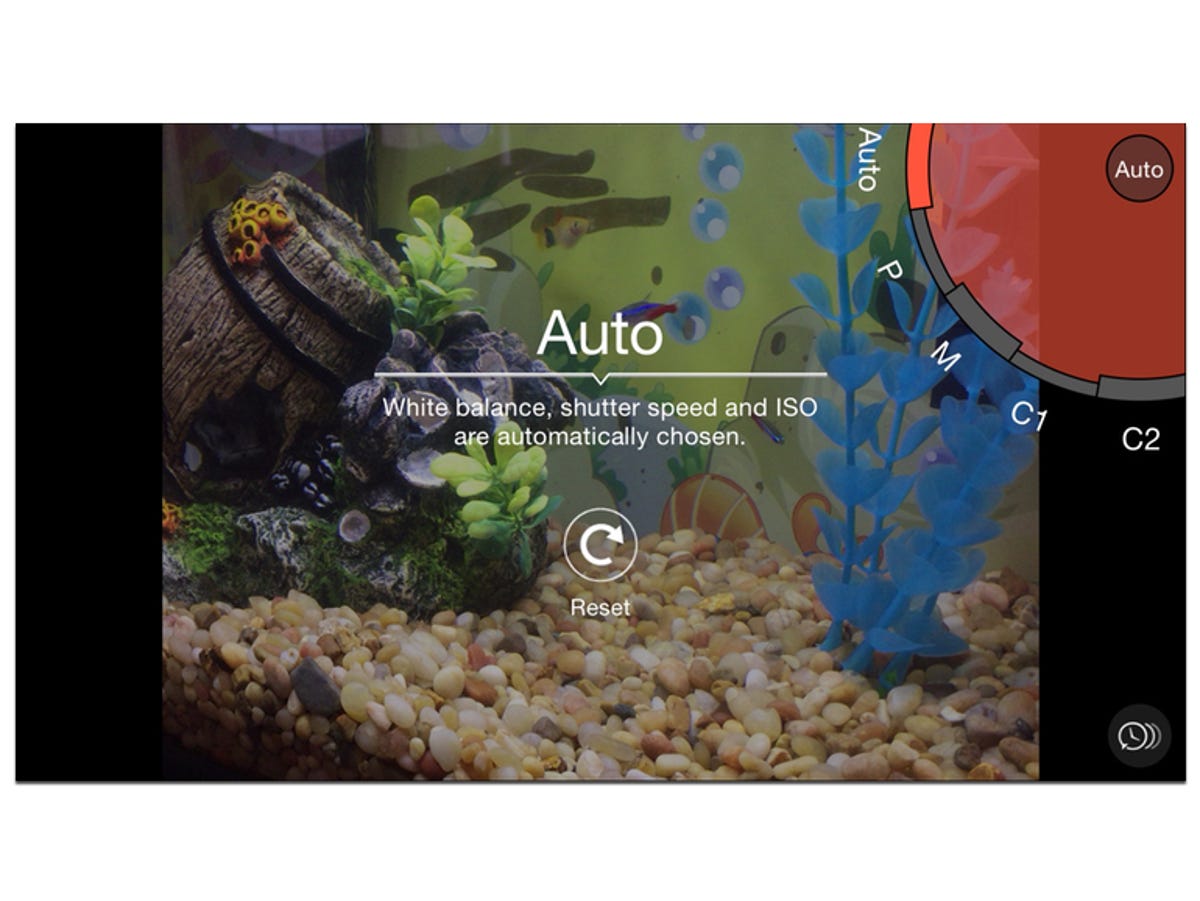
Auto, Manual, Program, Custom
There are several different modes available for you to shoot in. You can go from no control over various settings, to complete control over every single aspect of the photo you're taking.
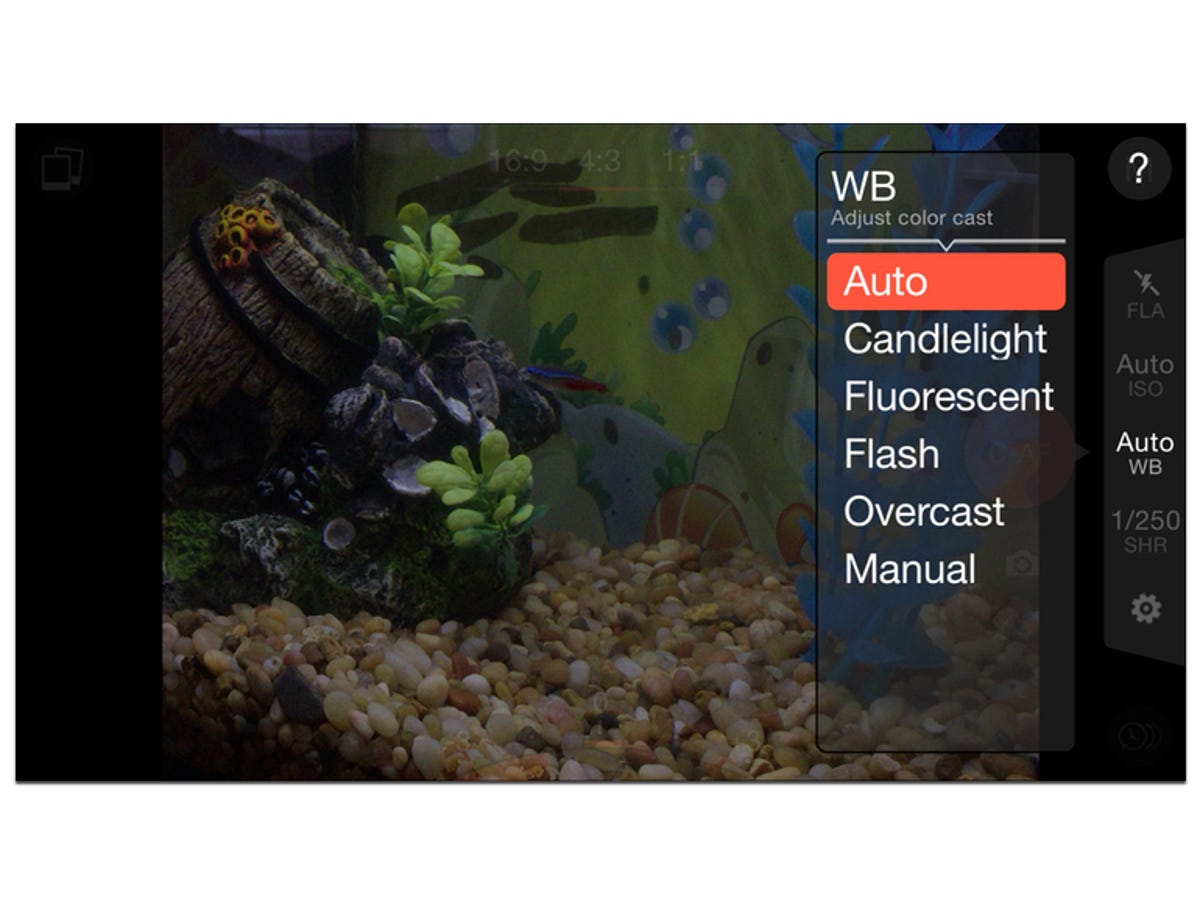
Menus
When you activate a menu for one of the adjustments or controls, it's placed atop the viewfinder. Any changes you make are immediately reflected giving you a live preview.
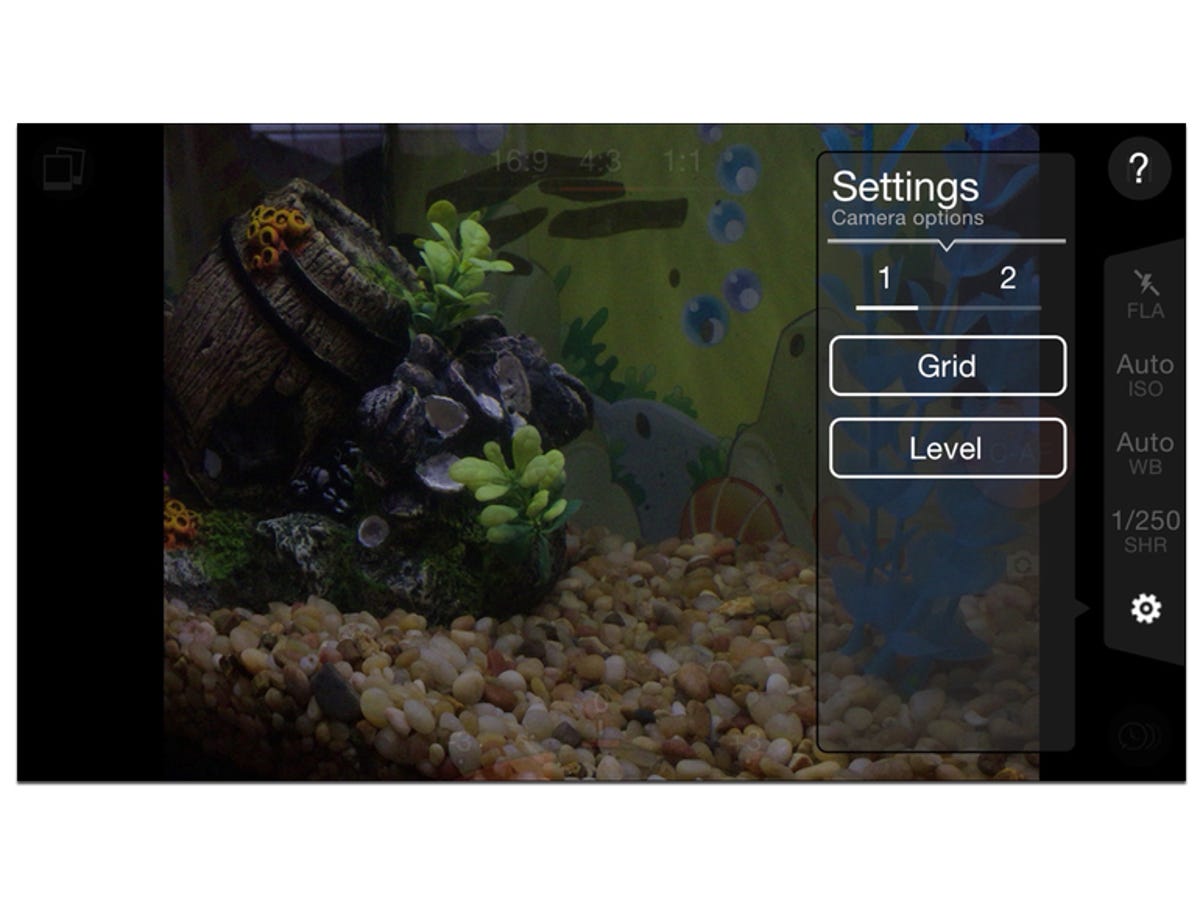
The app's settings are basic, with the option to turn on the classic 3x3 grid and change the color of the tools within the app.
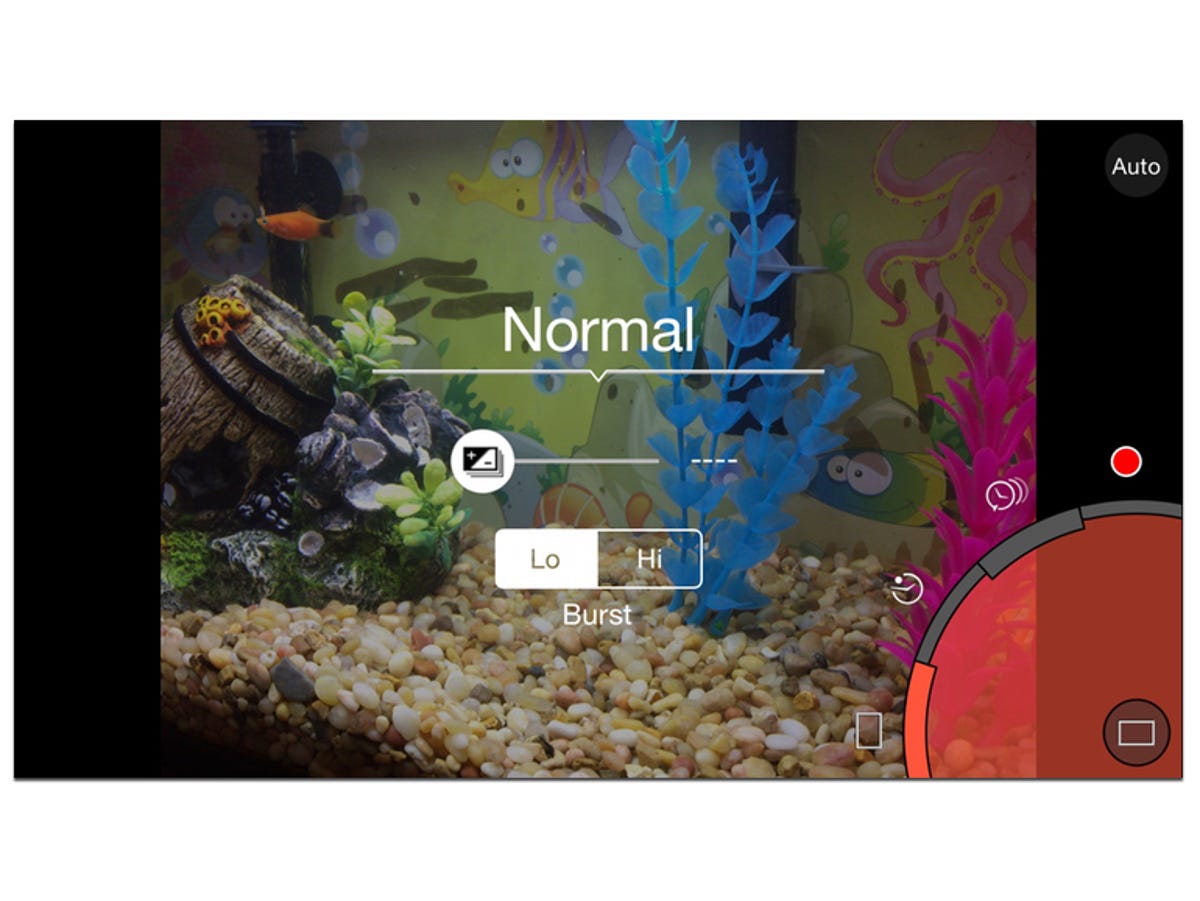
Shooting modes
You can adjust shooting modes for burst captures, time-lapse, video or countdown timers.
More Galleries

My Favorite Shots From the Galaxy S24 Ultra's Camera
20 Photos
Honor's Magic V2 Foldable Is Lighter Than Samsung's Galaxy S24 Ultra
10 Photos
The Samsung Galaxy S24 and S24 Plus Looks Sweet in Aluminum
23 Photos
Samsung's Galaxy S24 Ultra Now Has a Titanium Design
23 Photos
I Took 600+ Photos With the iPhone 15 Pro and Pro Max. Look at My Favorites
34 Photos
