Photos: Panasonic Lumix DMC-G1
A discussion of the design and features of the Panasonic Lumix DMC-G1.


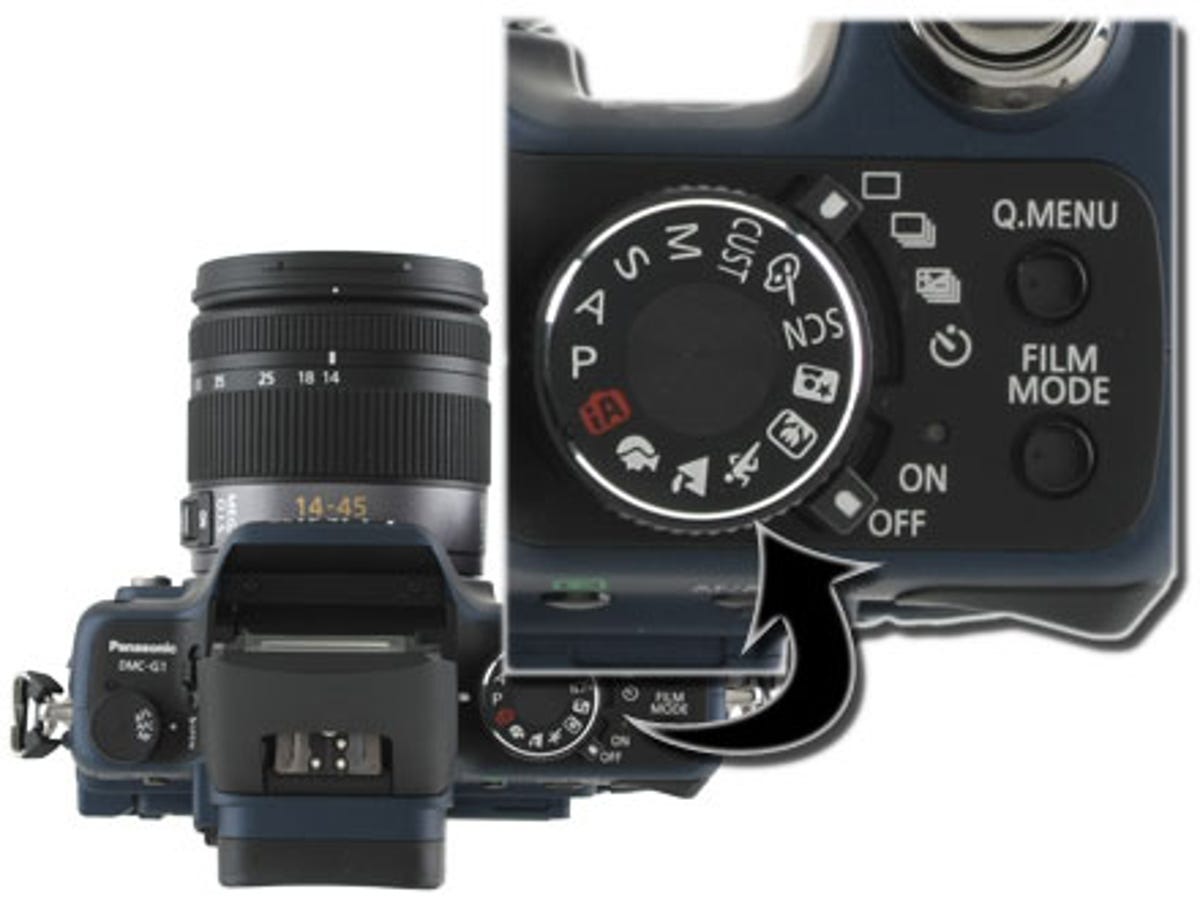
Controls, part 1
The G1 offers a full set of manual controls, laid out--for the most part--in a logical and easy-to-use manner. In addition to the usual manual, semimanual, and preset (scene) exposure modes, the mode dial offers Panasonic's Intelligent Auto, a custom settings slot (to choose from three user settings options) and a place to edit your color, brightness and saturation settings.
I really like Panasonic's Q.Menu, which is a fast way to access all the most frequently needed shooting settings, but I 'm not as sold on the necessity of giving Film Mode--essentially, presets for color, saturation, and brightness combinations--such a prominent placement.
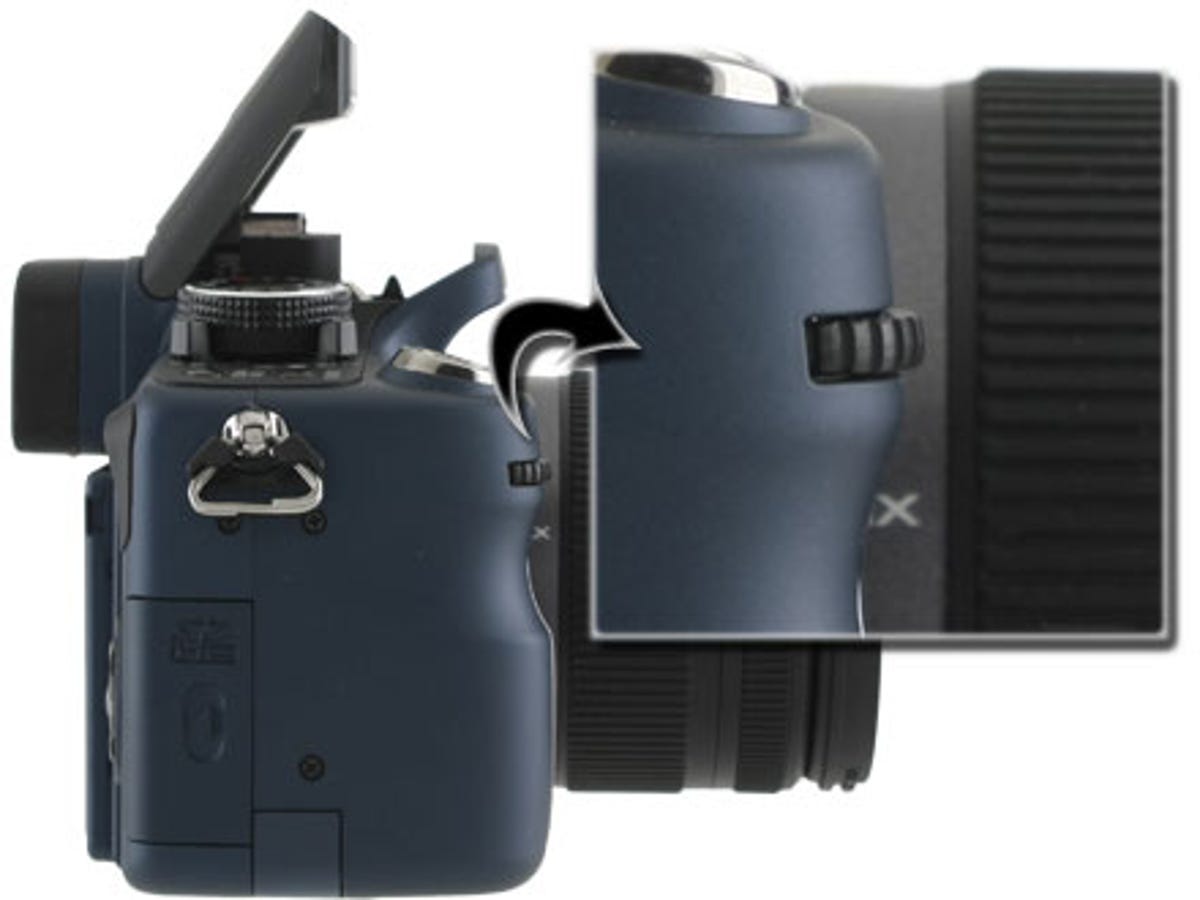
I do like the location of the drive mode switch, but don't like Panasonic's bracketing implementation. It's hardwired to presets, such as three shots at 1/3 stop increments and five shots at 2/3 stop increments, rather than allowing you to choose the frames and bracket separately. This is complicated by the fact that you can't choose full-stop increments. On the other hand, the virtual display it uses to select the center bracket exposure is very nicely done.
Controls, part 2
Controls, part 3
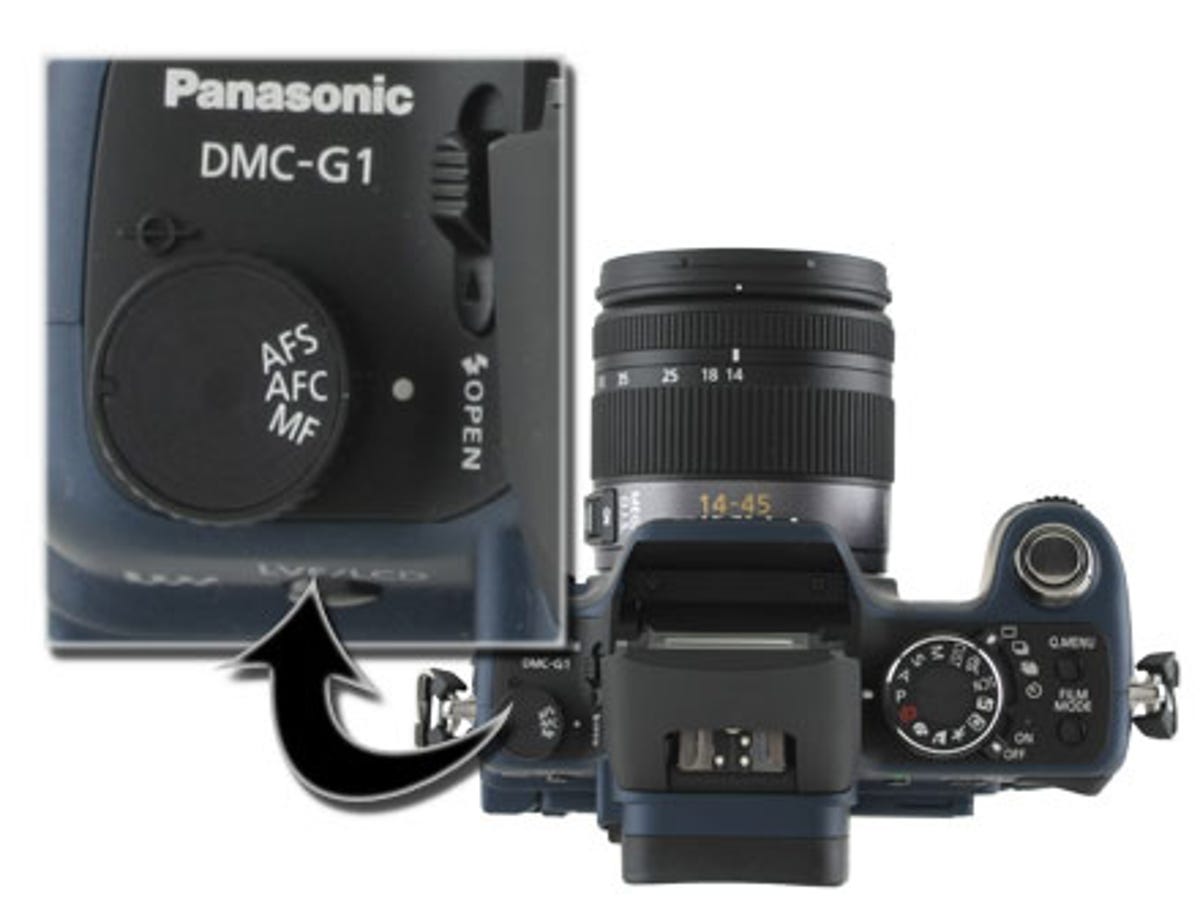
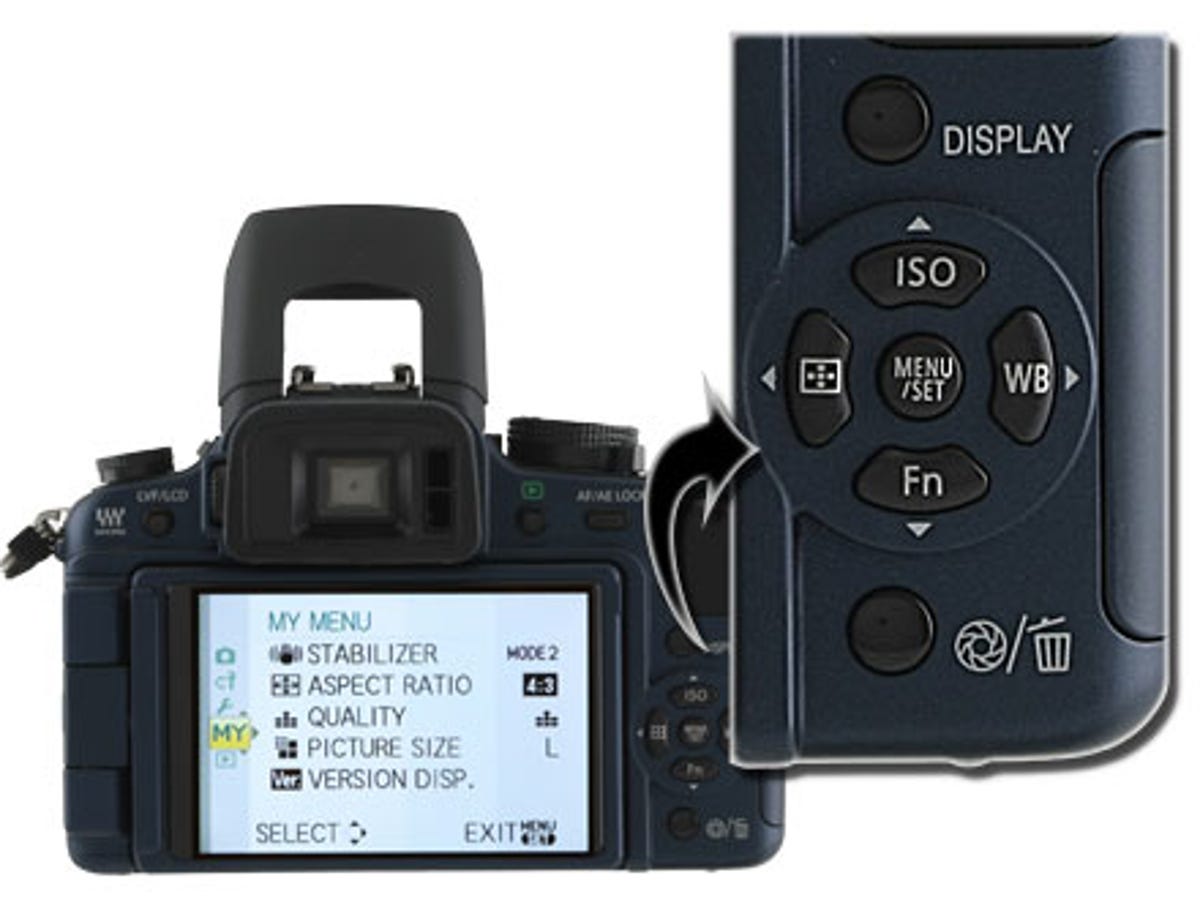
The G1 uses a traditional four-way-nav plus Set button for accessing ISO sensitivity, white balance, AF mode (user-selectable area, face detection, automatic, and spot tracking) and a user-definable function button that can be set to pull up settings for aspect ratio, quality, metering mode, intelligent exposure or guidelines.
That aperture button invokes an interesting shutter-speed effect preview mode. While useful if you're trying to figure out the best rate for stopping a particular motion or getting the most interesting motion trails, it's most notable for being the only way to get an accurate exposure preview on the camera. Because all EVFs and LCDs automatically gain up so that you can see the scene, you never really see the exposure; this allows you to.
Controls, part 4
Controls, part 5
More Galleries

My Favorite Shots From the Galaxy S24 Ultra's Camera
20 Photos
Honor's Magic V2 Foldable Is Lighter Than Samsung's Galaxy S24 Ultra
10 Photos
The Samsung Galaxy S24 and S24 Plus Looks Sweet in Aluminum
23 Photos
Samsung's Galaxy S24 Ultra Now Has a Titanium Design
23 Photos
I Took 600+ Photos With the iPhone 15 Pro and Pro Max. Look at My Favorites
34 Photos
