Photos: Cracking open the iPhone 3G S
We take apart the newest addition to the iPhone family to see what makes it tick.
iPhone 3G S
The latest, greatest Apple iPhone has been released and our sister site TechRepublic just had to crack it open. With the help of their friends over at iFixit, they take a look at what makes the Apple iPhone 3GS tick.
Follow along as iFixit engineers disassemble the iPhone 3GS. (iFixit is a one-stop-shop for the parts, tools, and repair manuals needed to fix iPods, iPhones, Macs, and more. Their goal is to make it easy for anyone to repair their Apple hardware.)
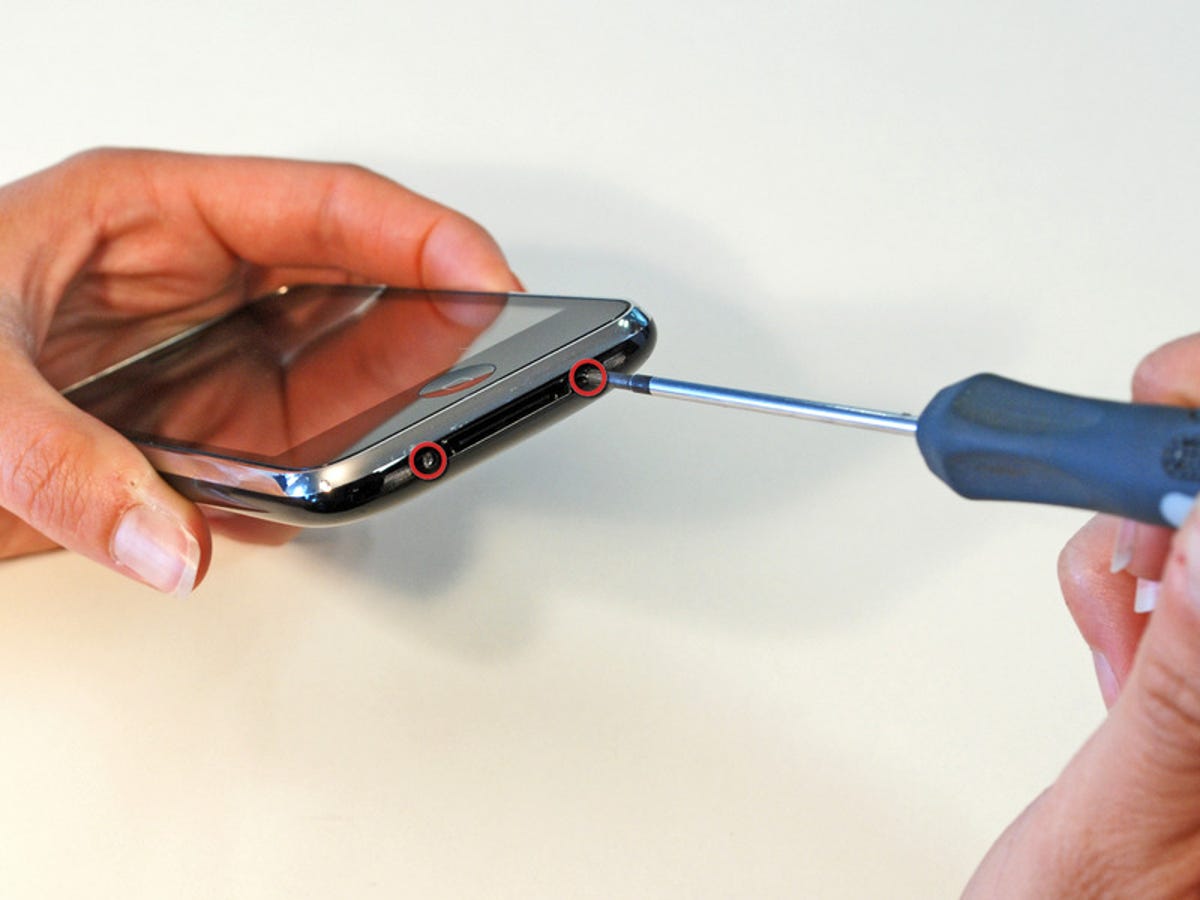
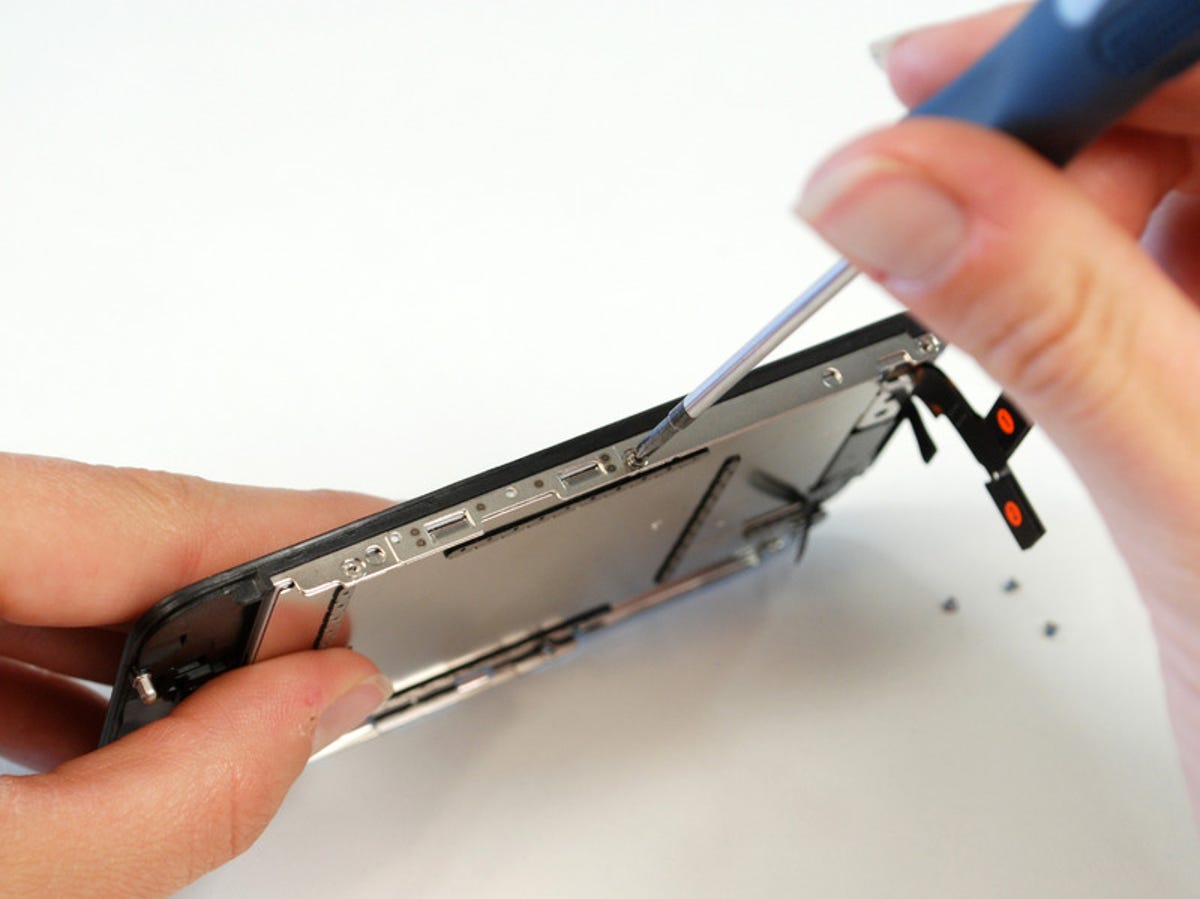
Get the screw driver
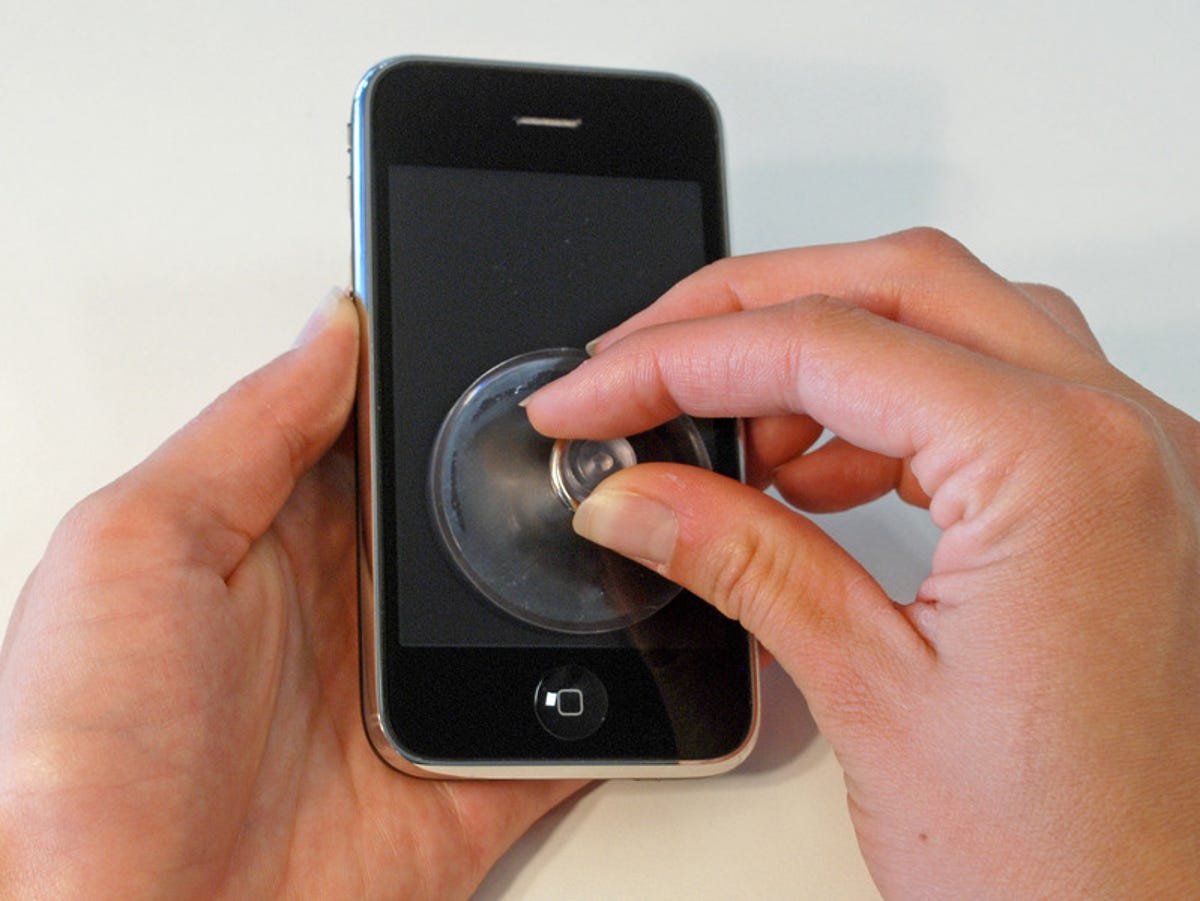
Suction
The seven
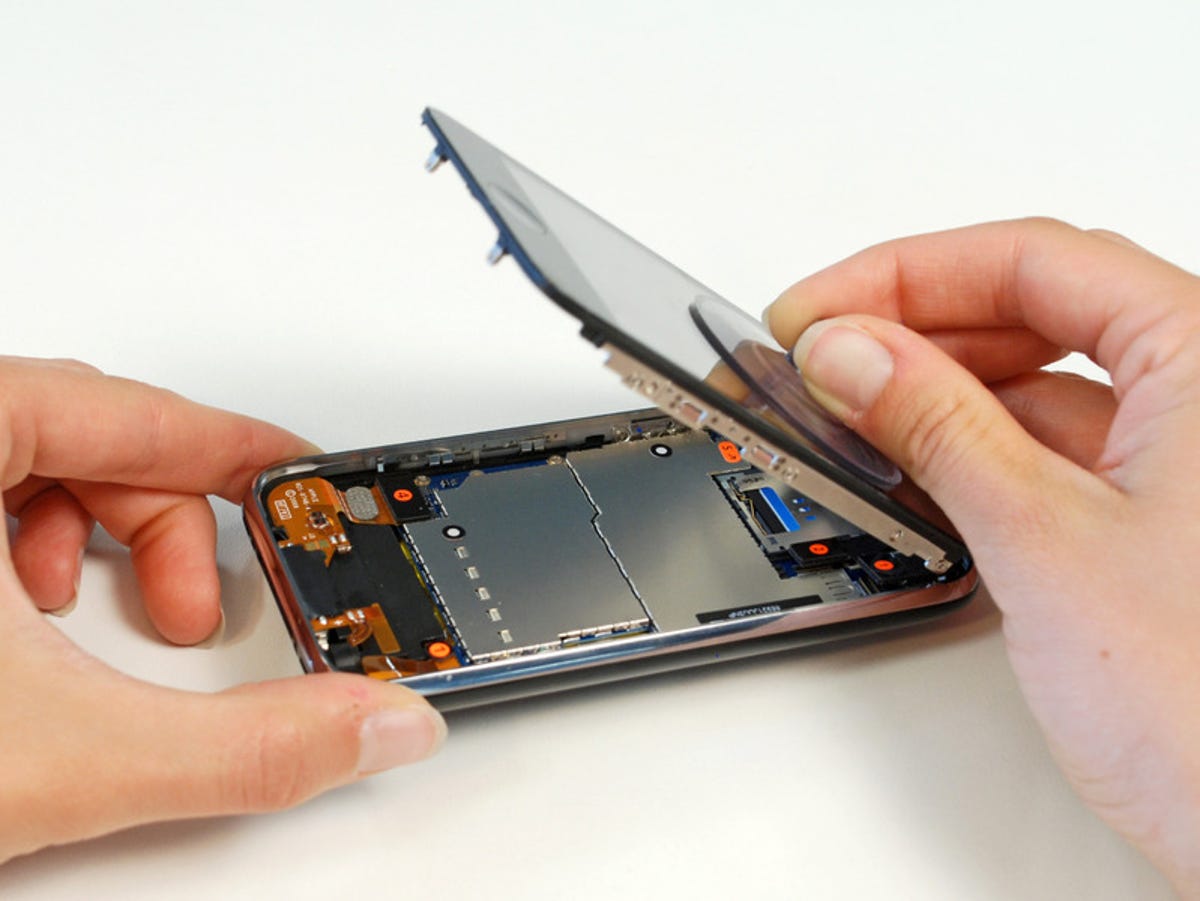
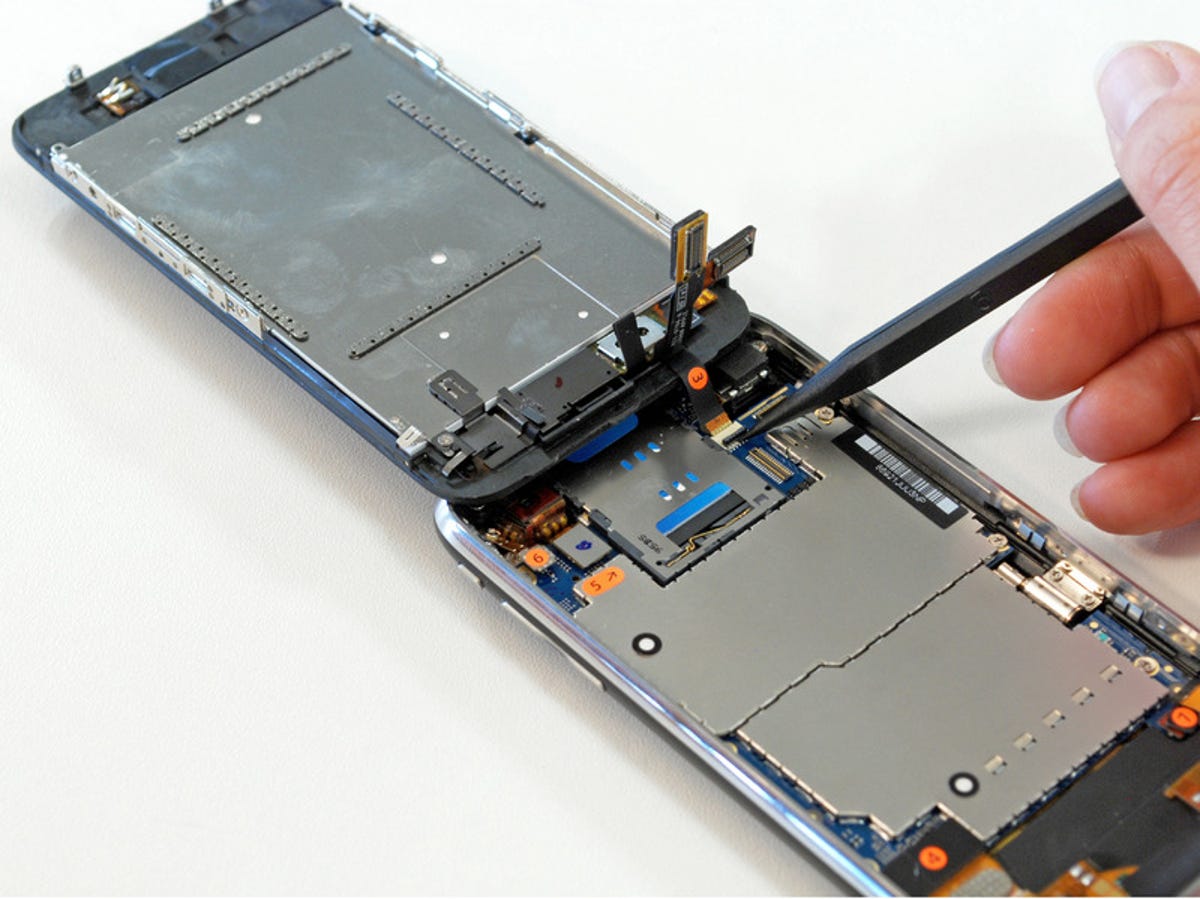
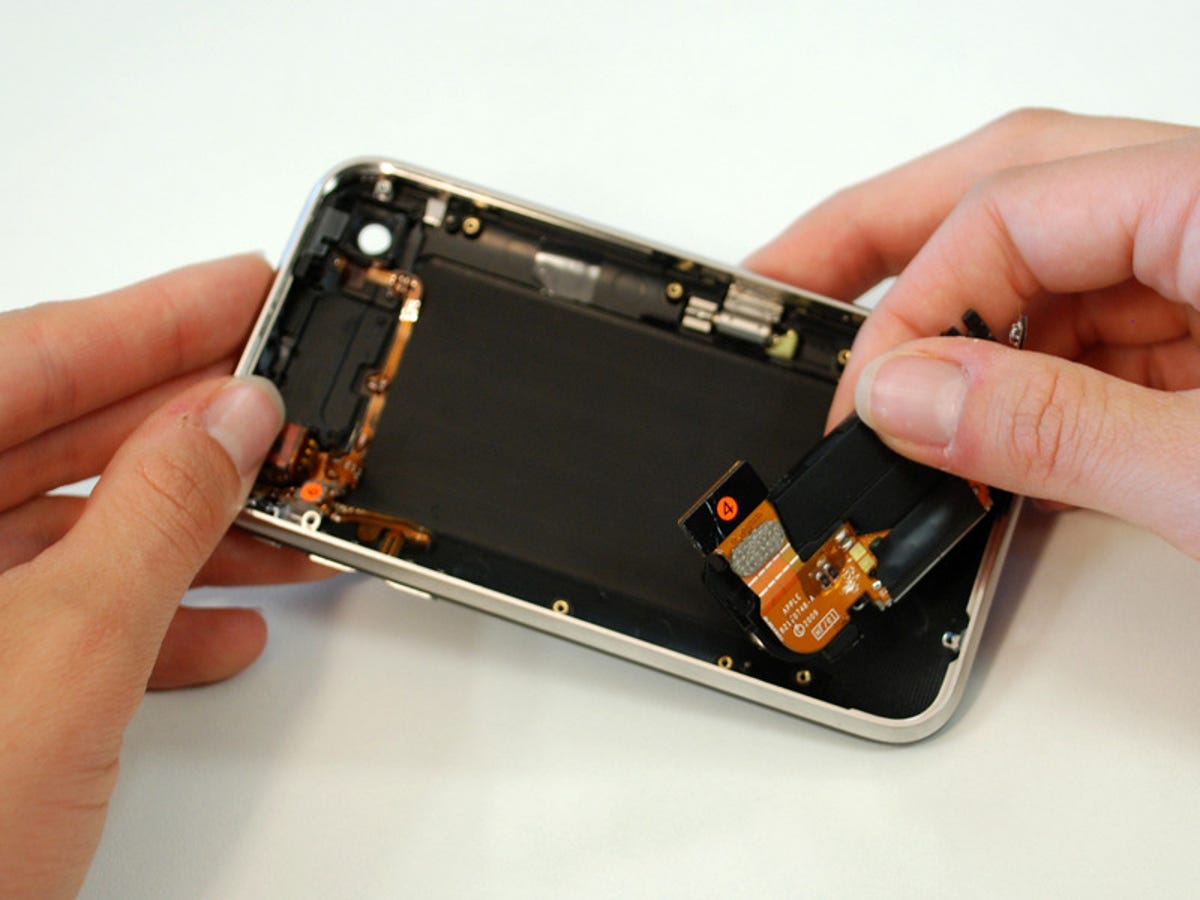
Connections
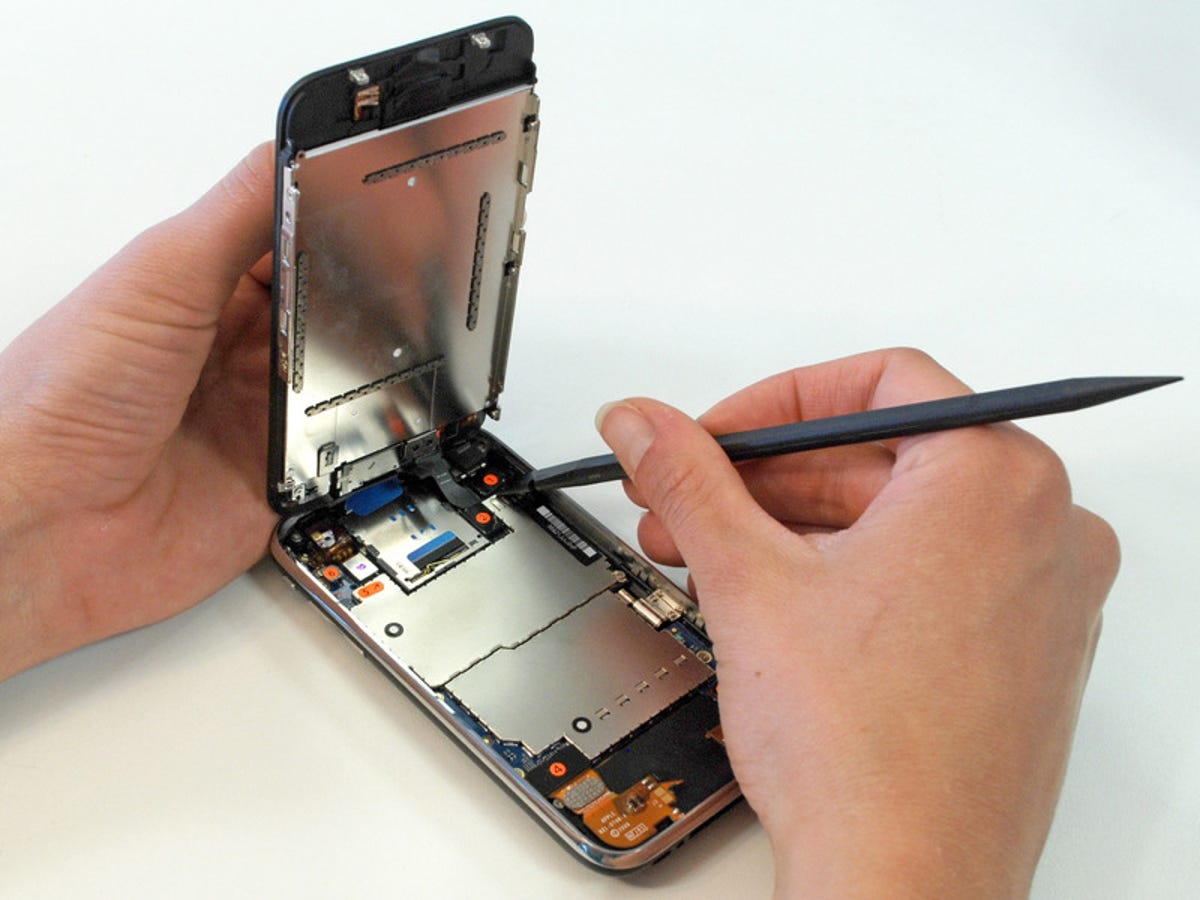
Disconnect one
There are three cables holding the LCD and digitizer to the rest of the logic board. Disconnecting them is as easy as 1-2-3.
• 1: LCD panel• 2: Digitizer
• 3: Ear speaker

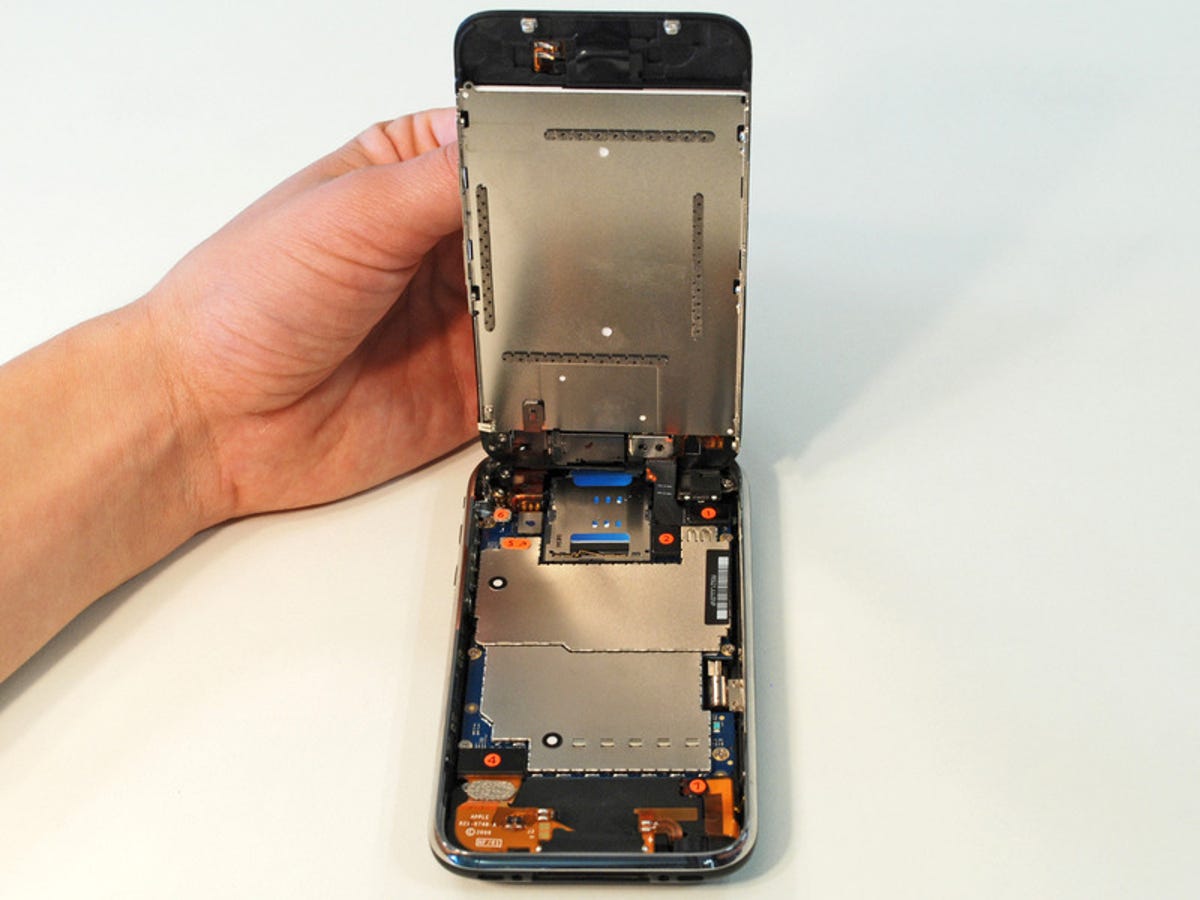
Two
Three
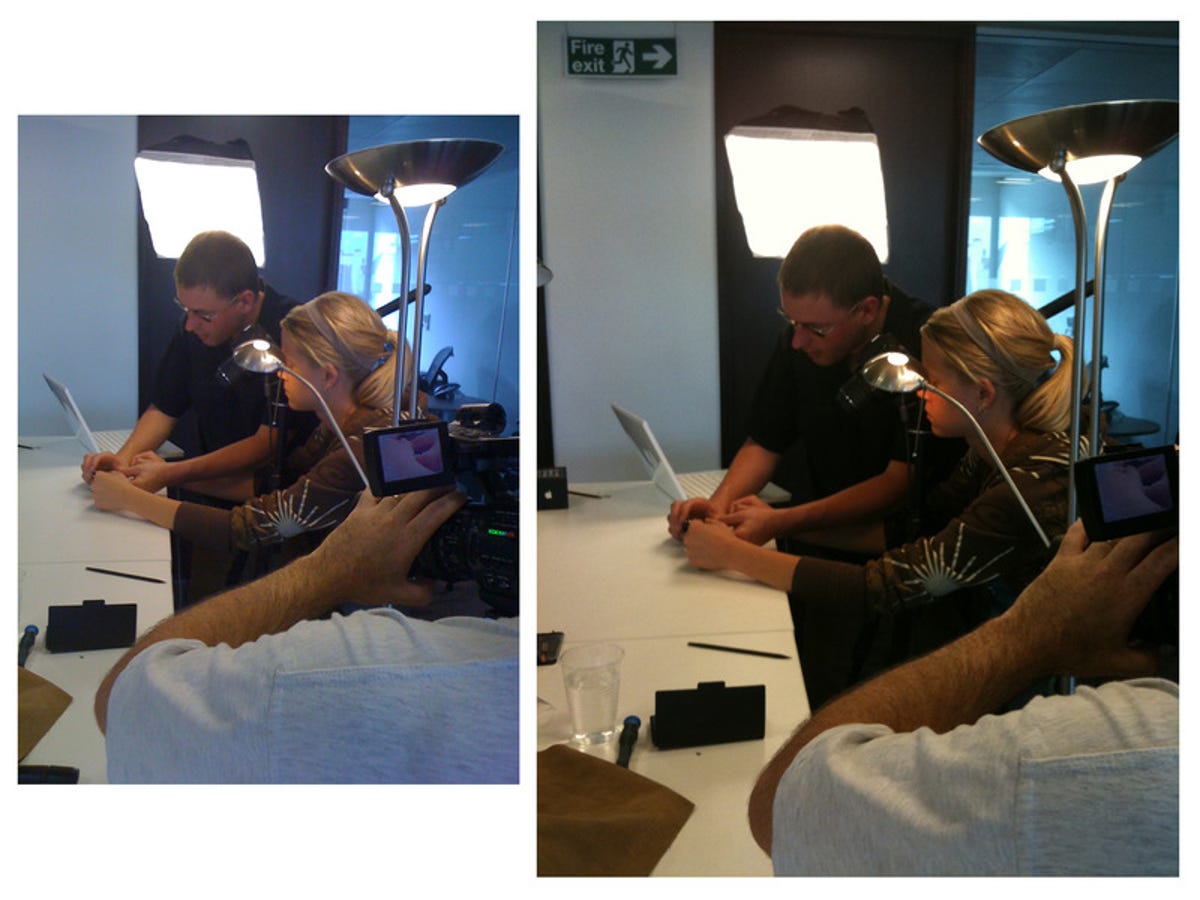
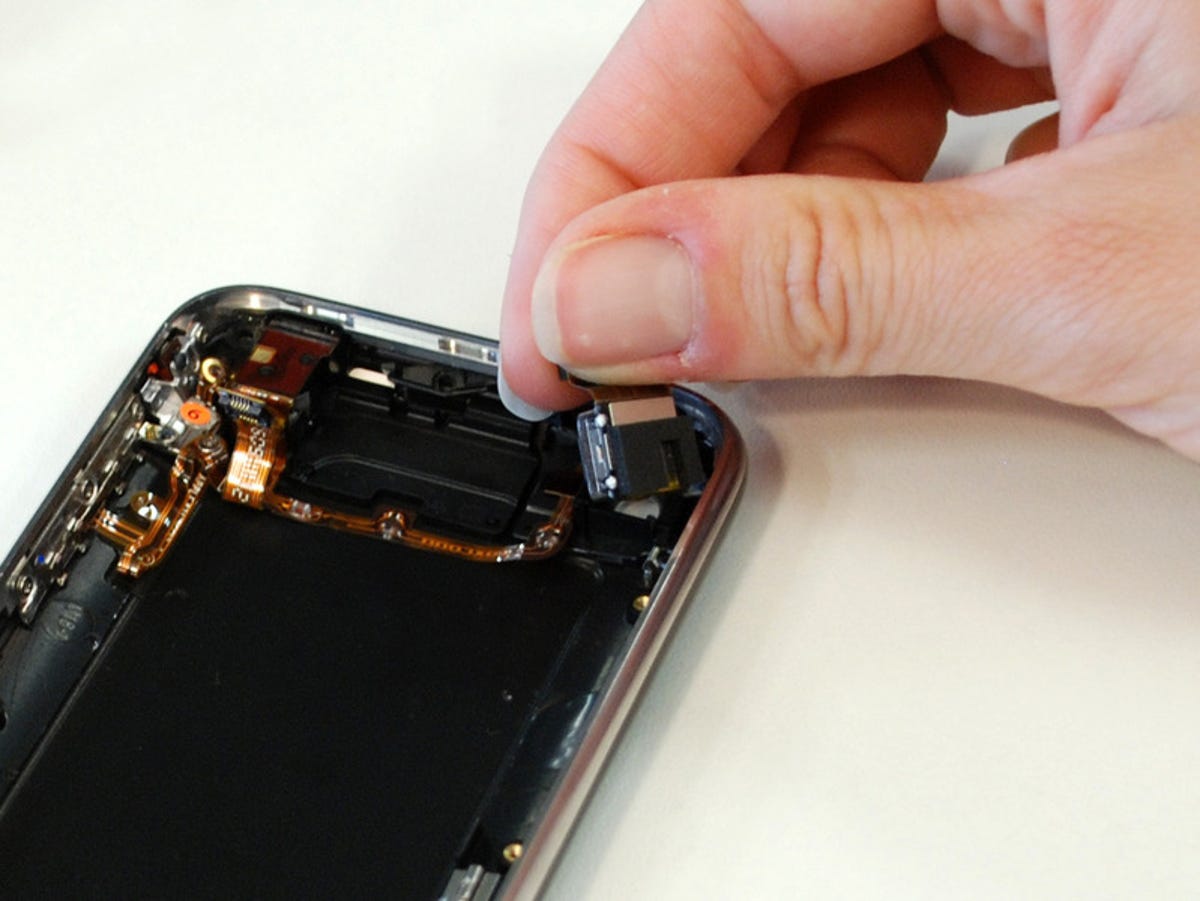
Camera comparison
We're looking forward to the improved 3-megapixel camera on the 3G S. According to our good friend Richard Lai, "Camera quality is much improved from the 3G one, close-up shots were possible down to about 5cm, brightness adjusts well when picking focus area." We've seen some pretty impressive shots already.
Fortunately, as in both the original and 3G iPhones, the camera's a separate component, so removal is possible if necessary for security purposes.
The left photo is from the iPhone 3G, the right photo is from the iPhone 3GS.
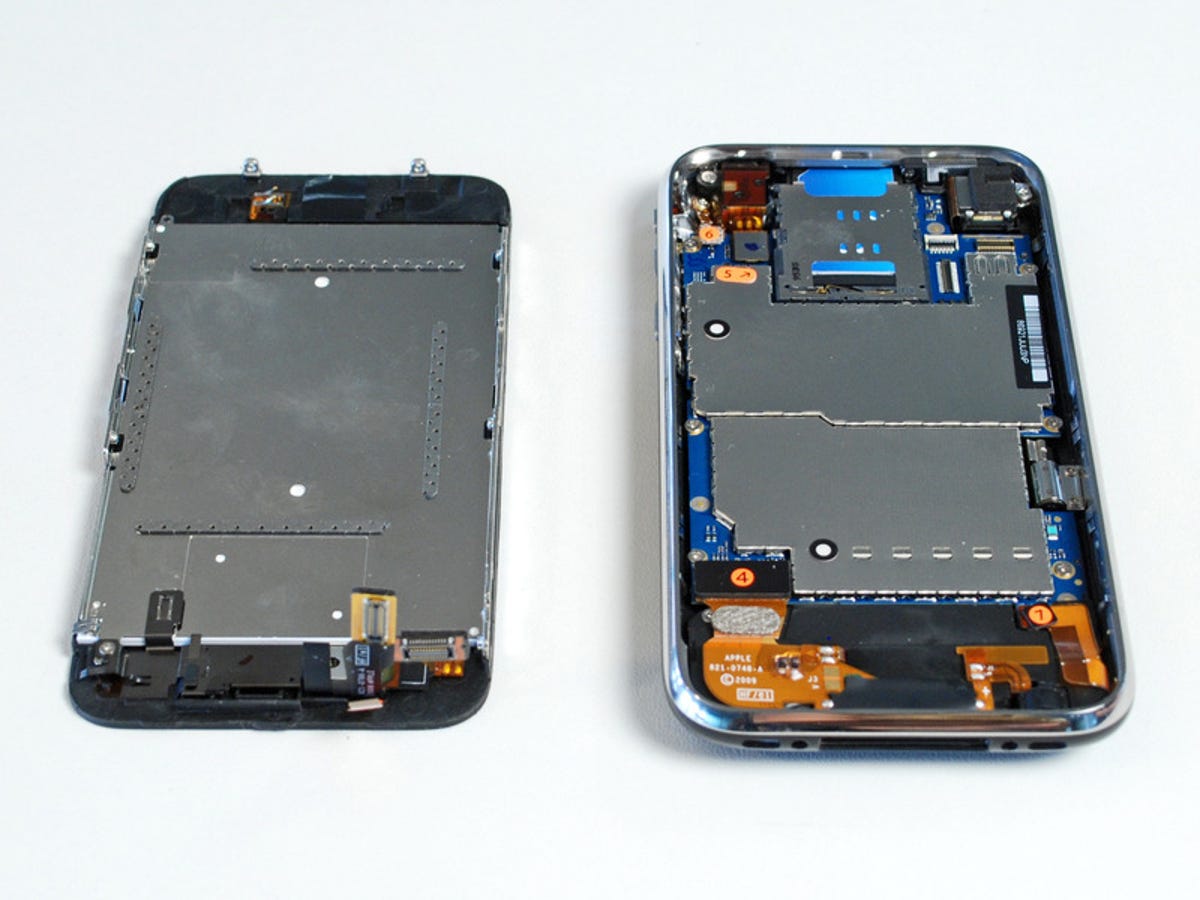
Two halves
LCD

Digitizer
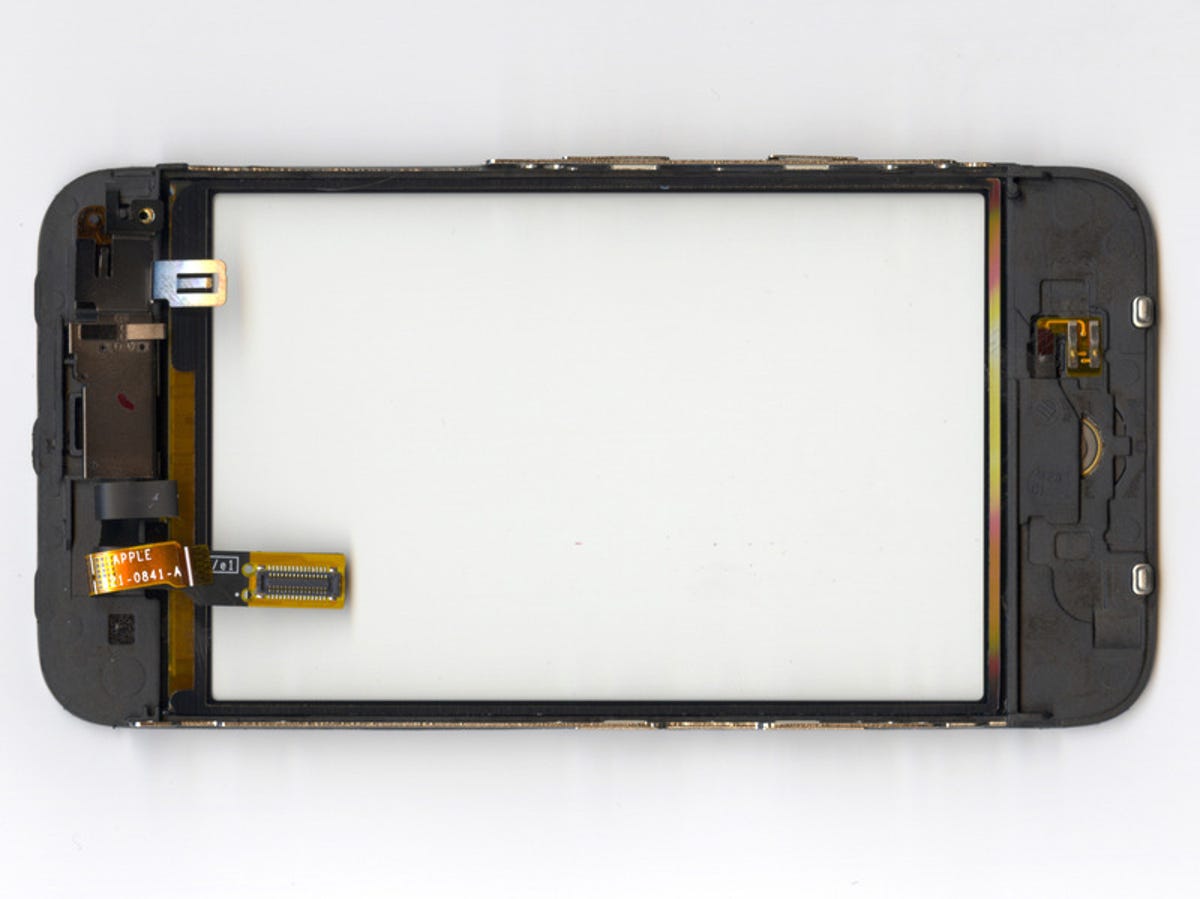
No cracks
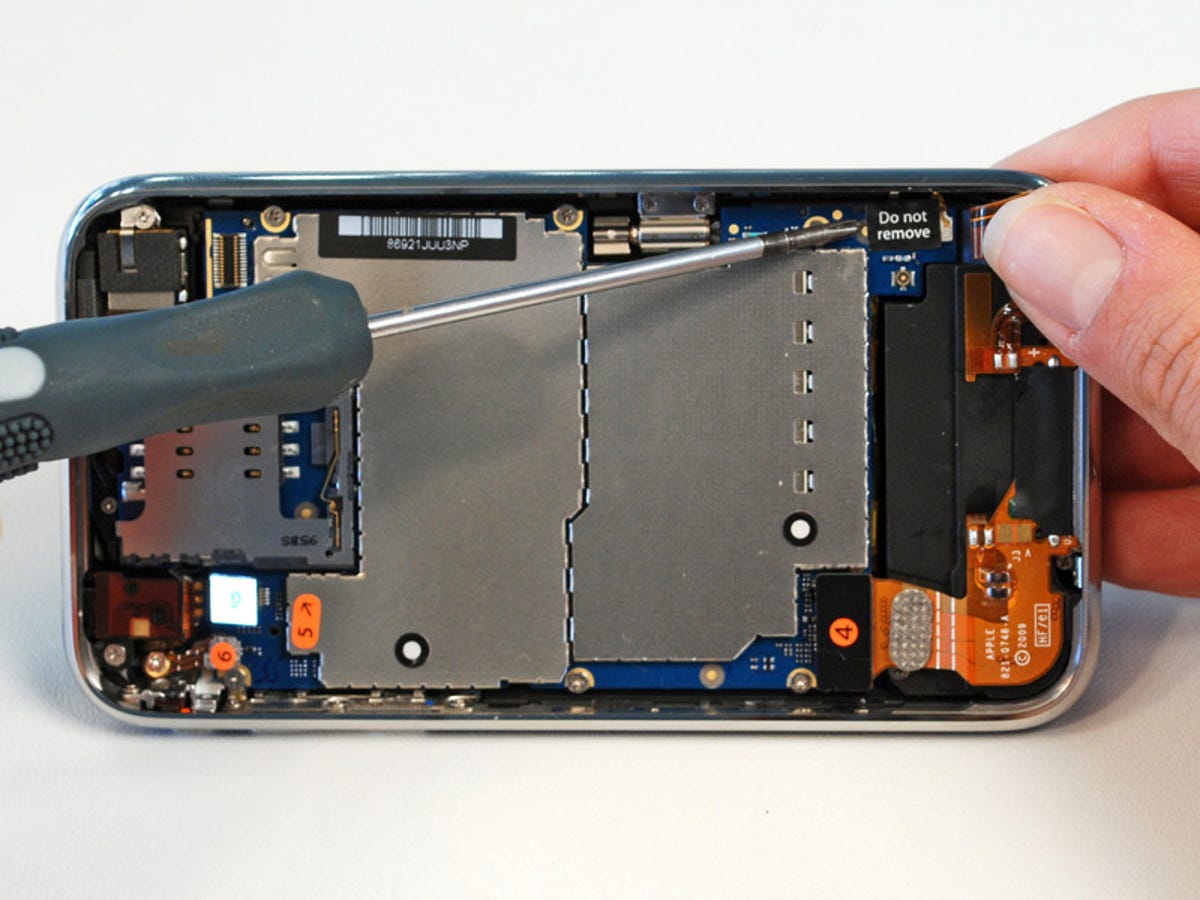
Do not remove
Single PCB
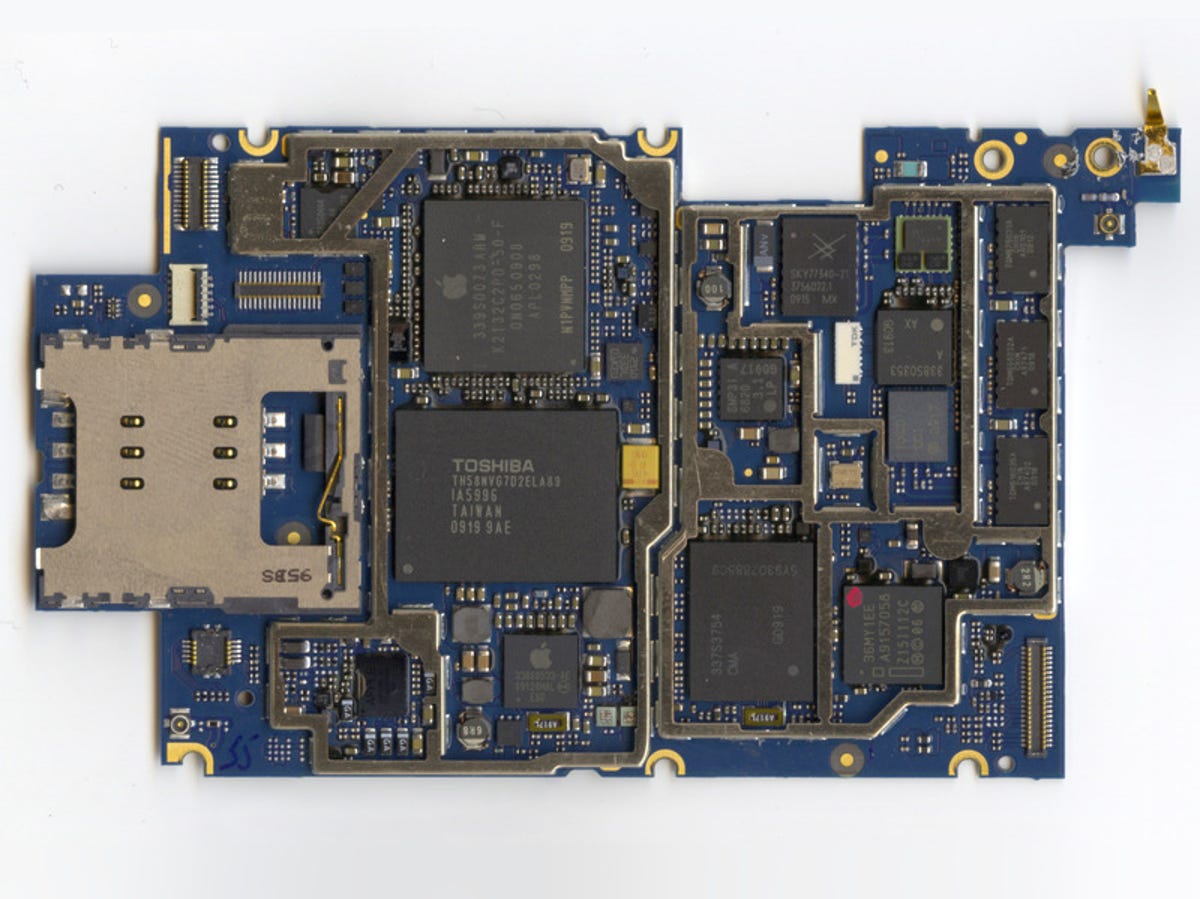
Main circuit board
The main logic board. There's a lot packed in here.
The Apple-logo chip is the primary Samsung ARM processor.
The 16 gigabytes of Toshiba flash are now on the front of the board, just below the Samsung ARM.

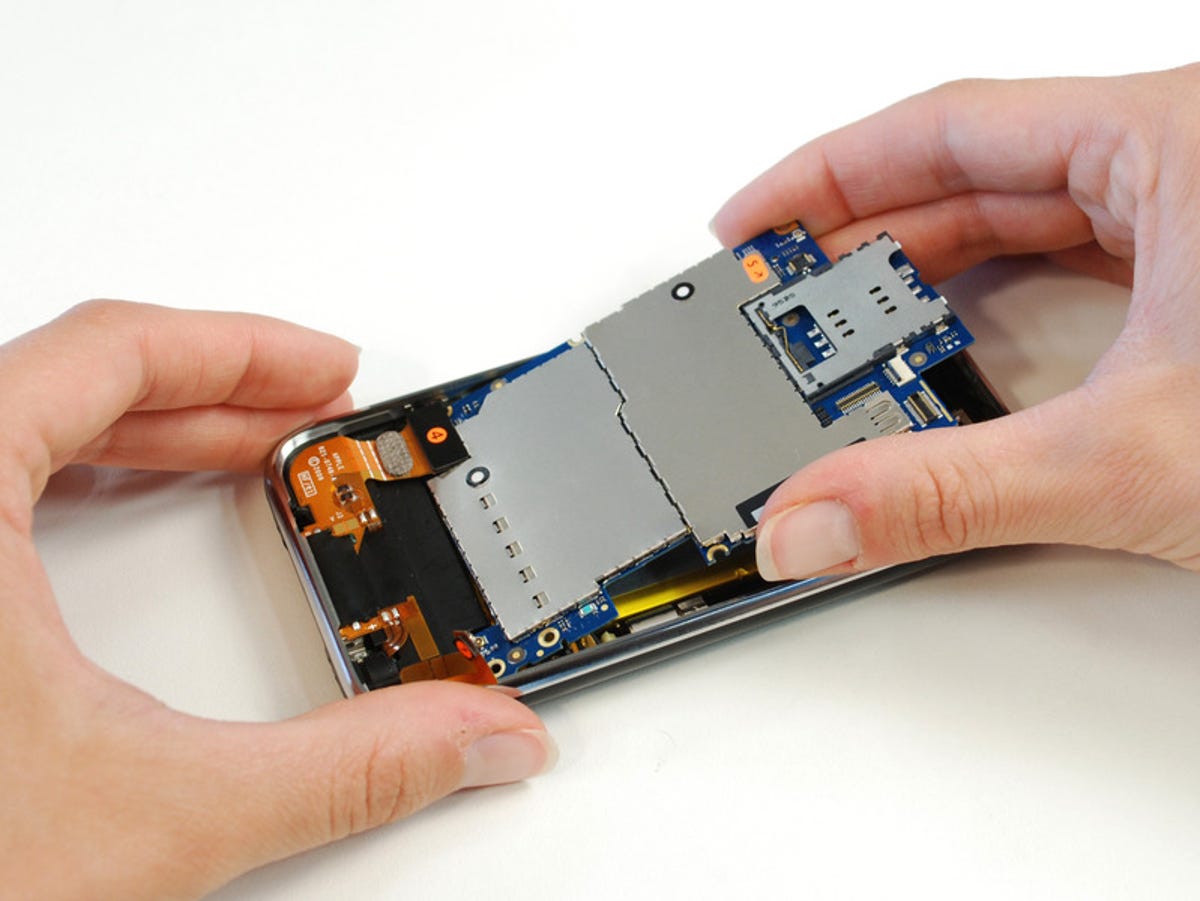
Back of main PCB
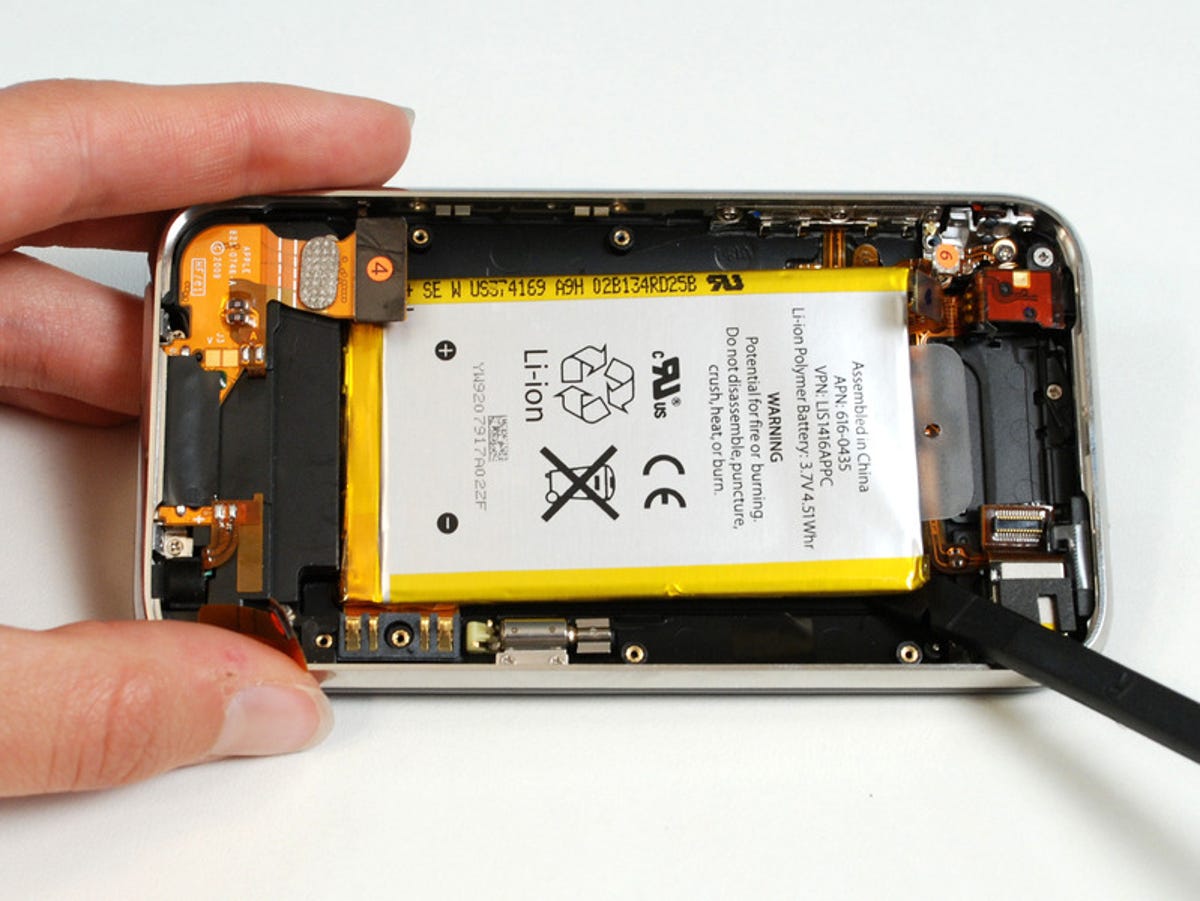
Battery life
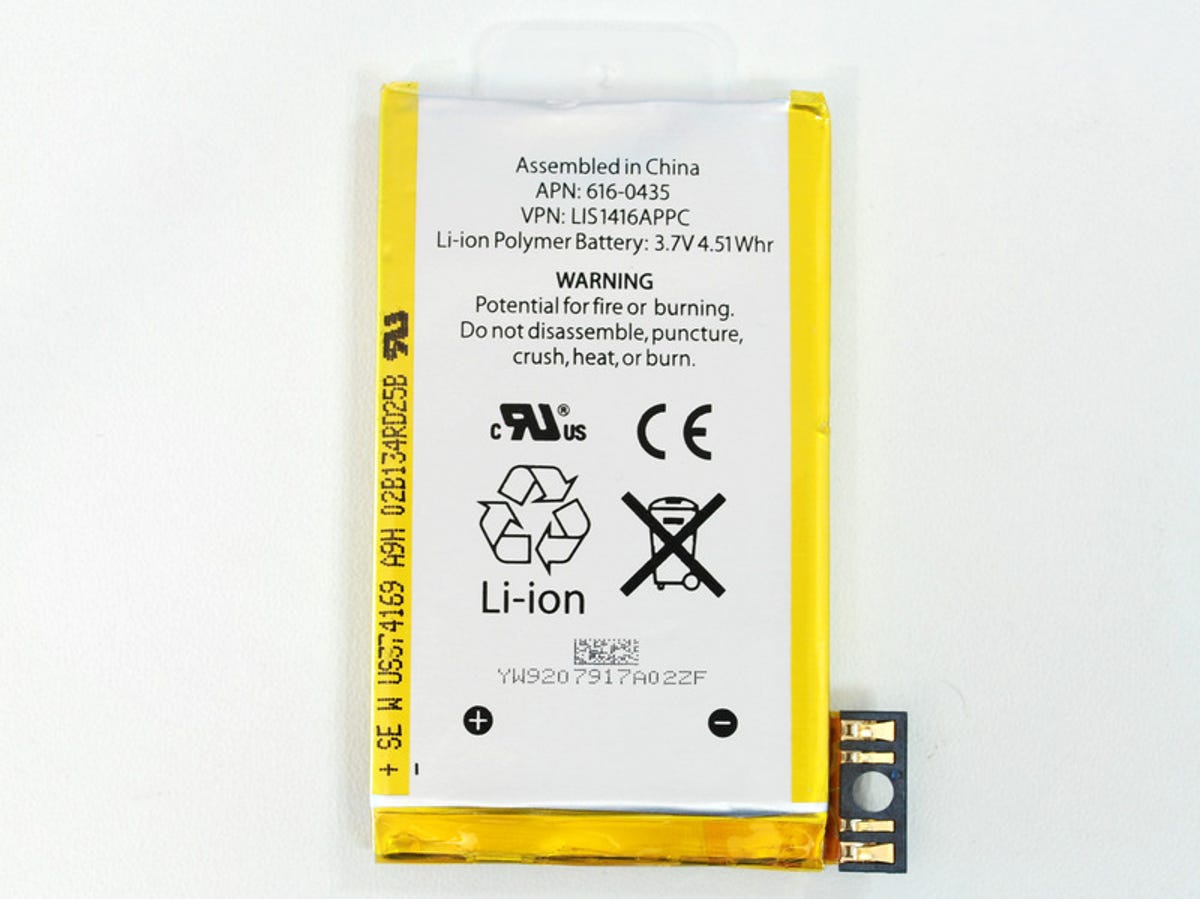
Battery closeup
Video recording
Voice recognition

Needs work
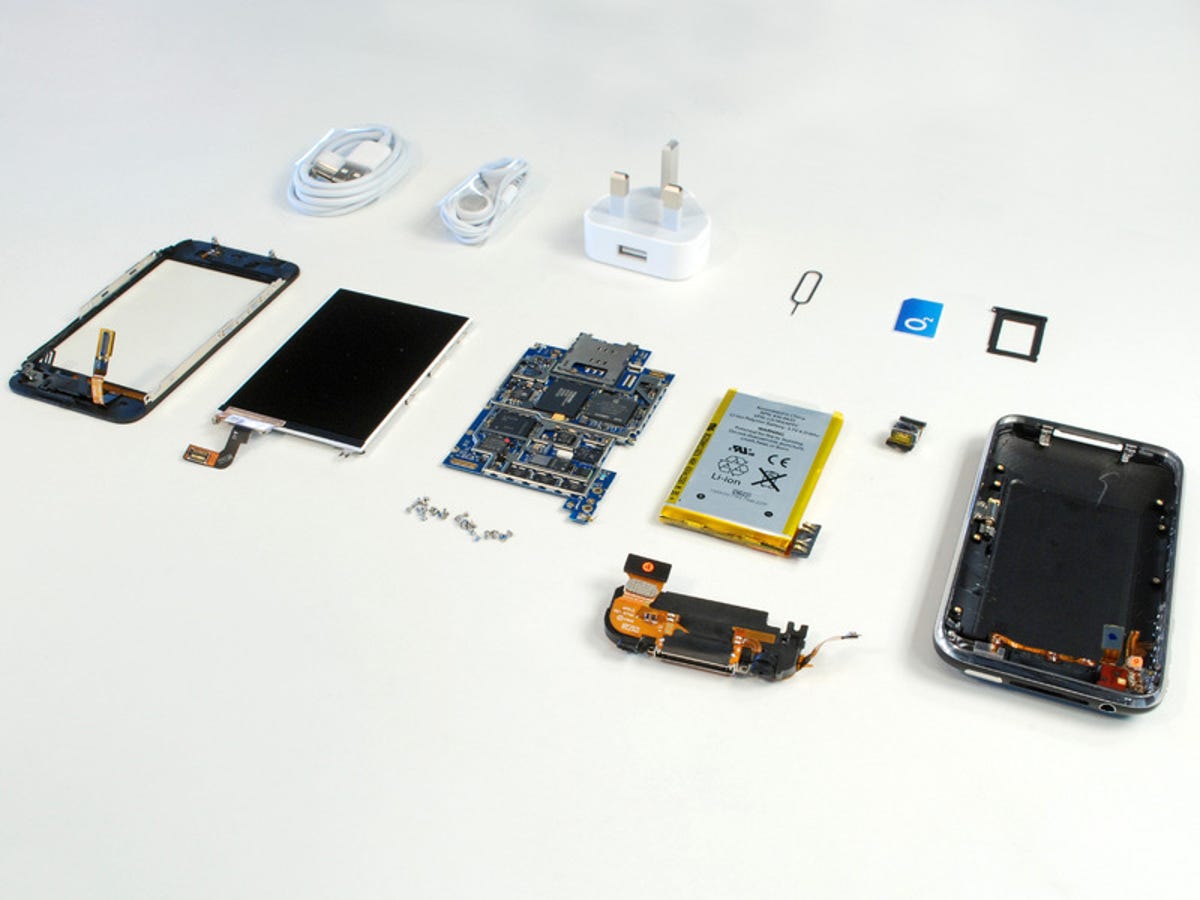
All taken apart
More Galleries

My Favorite Shots From the Galaxy S24 Ultra's Camera
20 Photos
Honor's Magic V2 Foldable Is Lighter Than Samsung's Galaxy S24 Ultra
10 Photos
The Samsung Galaxy S24 and S24 Plus Looks Sweet in Aluminum
23 Photos
Samsung's Galaxy S24 Ultra Now Has a Titanium Design
23 Photos
I Took 600+ Photos With the iPhone 15 Pro and Pro Max. Look at My Favorites
34 Photos
