The 10 filthiest places in your kitchen and how to clean them
These overlooked areas can be super gross. Here's how to get them clean and keep them that way.


Unsuspecting filthy spots
Even if you scrub the counters, wipe down your stovetop and deep clean your oven, your kitchen might not be as spotless as you want.
Get a truly clean kitchen by tackling these often overlooked places.
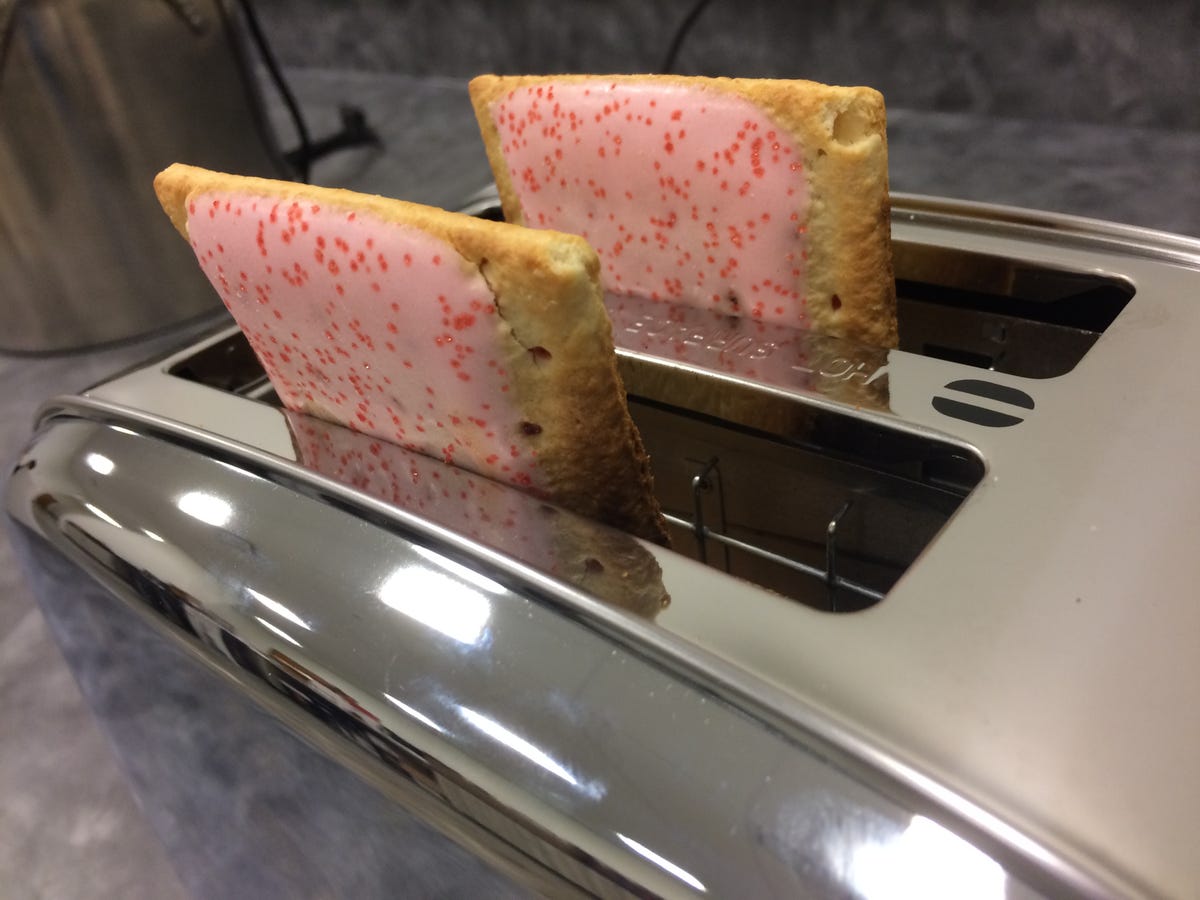
Toaster
Your toaster can gather bits of food, dust and bugs that can burn, causing unpleasant smells and potential fire hazards.
Here's how to properly clean your toaster to protect you, your kitchen and your tasty treats.
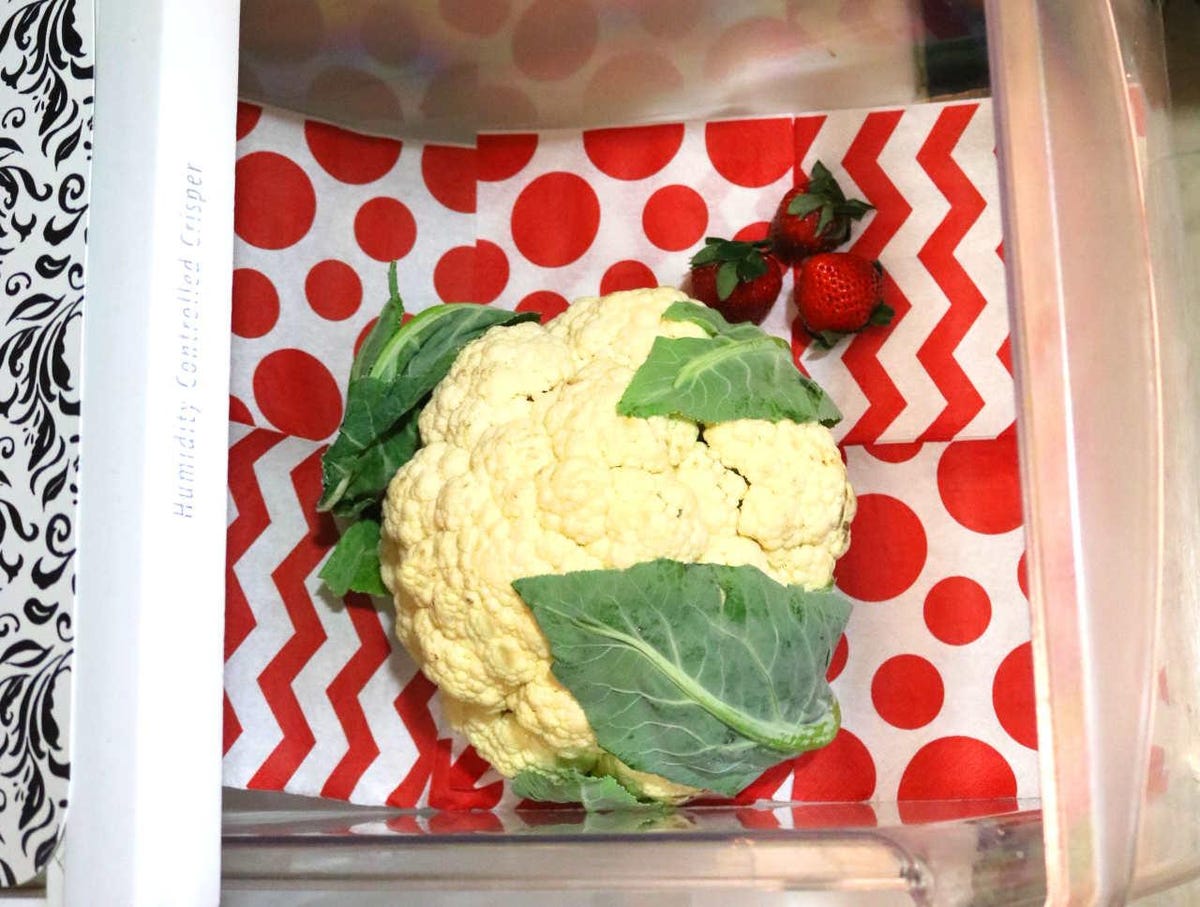
Fruit and veggie drawer
The produce drawer in your refrigerator can harbor salmonella, listeria, mold and yeast, according to the Public Health and Safety Organization.
Once a week -- or as soon as you find any mold on produce -- spray the drawer with a food-safe disinfectant and wipe it down.
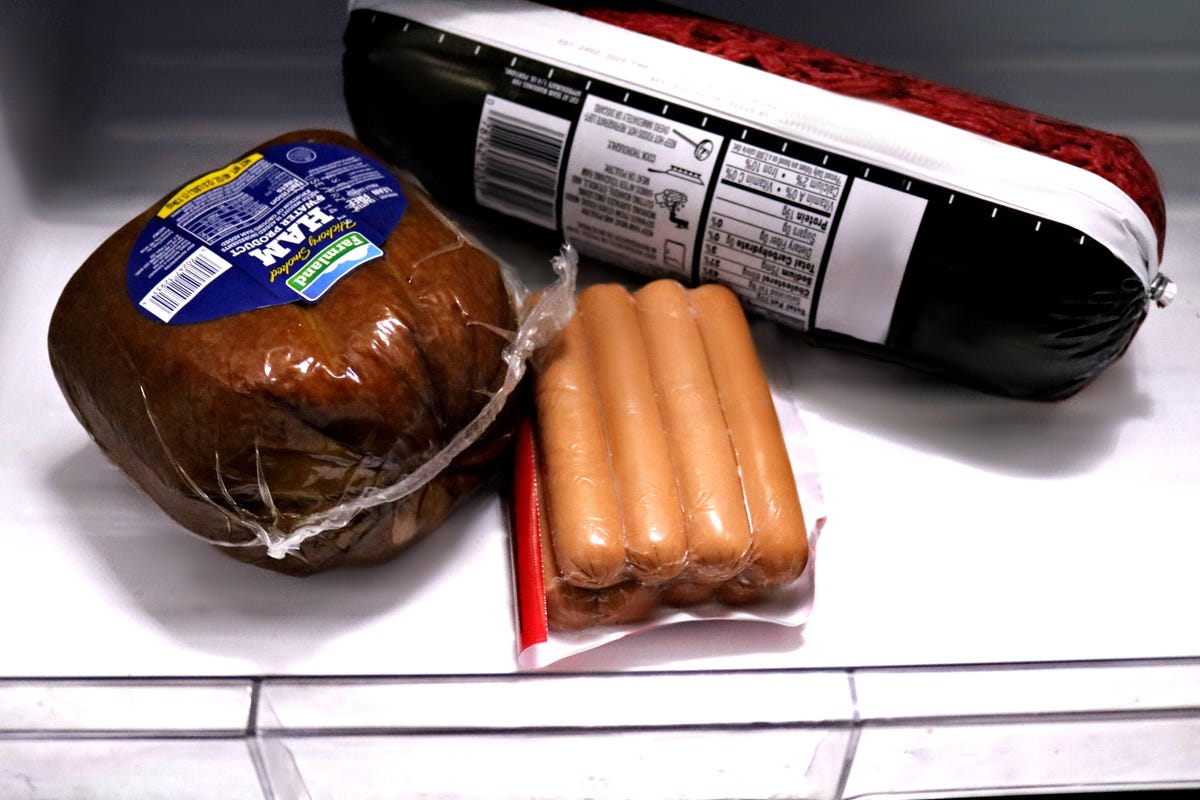
Meat compartment
The meat drawer can also contain icky stuff like yeast, mold, salmonella and E. coli.
Disinfect any area touched by raw meat with food-safe cleanser immediately. Otherwise, clean the drawer when you clean the produce drawer.
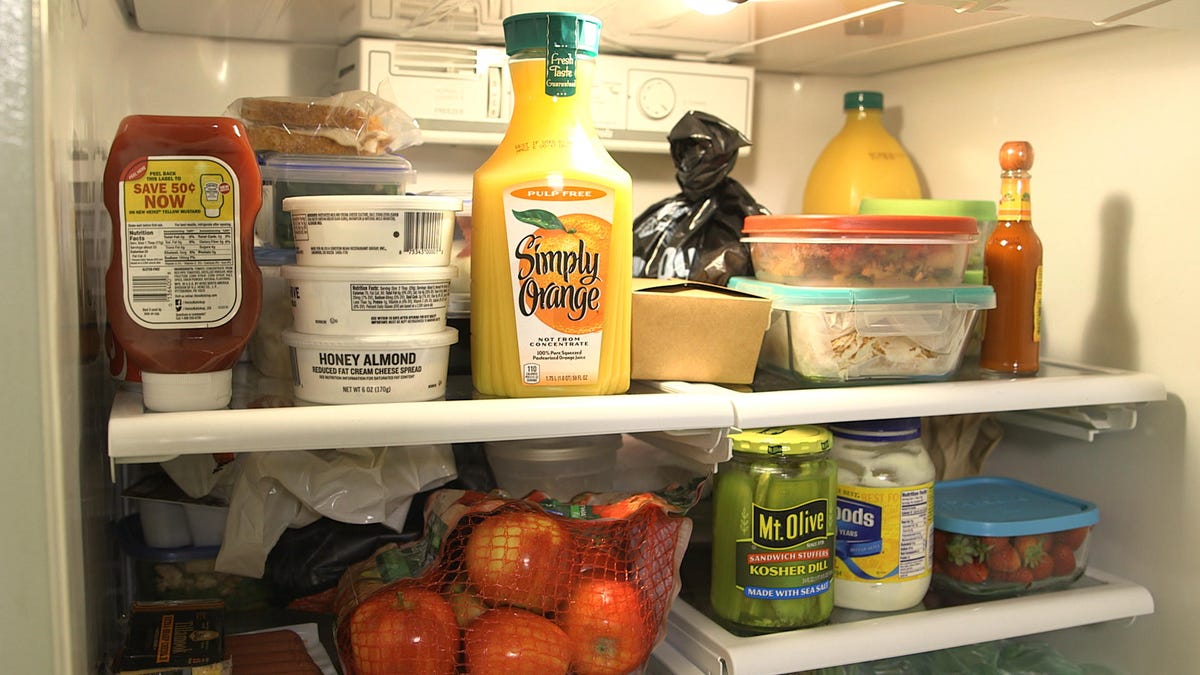
The rest of the fridge
If you put fruits, vegetables or raw meats anywhere else in your fridge, disinfect those areas, too.
Here are some tips for cleaning all of the spots in your fridge.
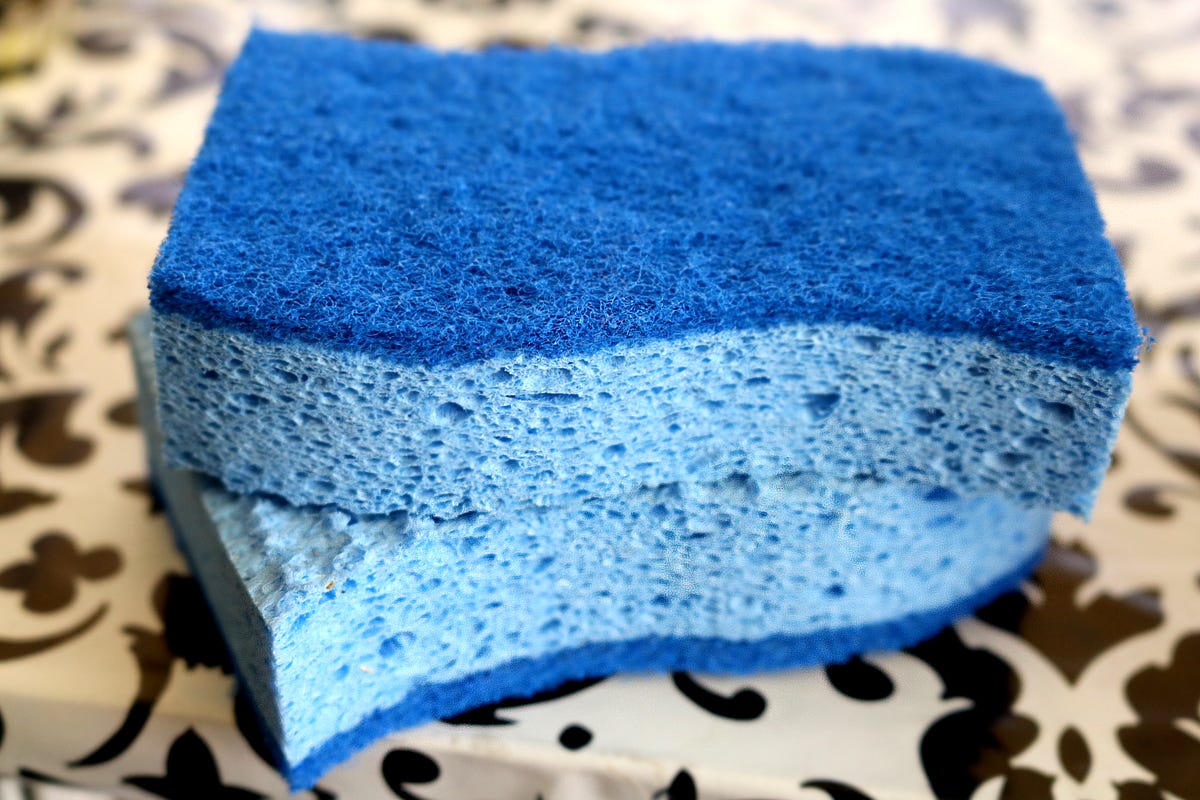
Sponges
Sponges are great places for bacteria to breed. While most of the 362 types of bacteria that can be found on a sponge won't hurt you, according to the UK's National Health Service, it's always a good thing to sanitize sponges regularly.
Here's how to sanitize your kitchen sponge in 2 minutes.

Container lids
Any container lid with a rubber gasket can become ripe with salmonella, yeast and mold if not cleaned properly.
Use the sanitizing mode on your dishwasher when cleaning these types of lids and ensure they're dry before you store them.

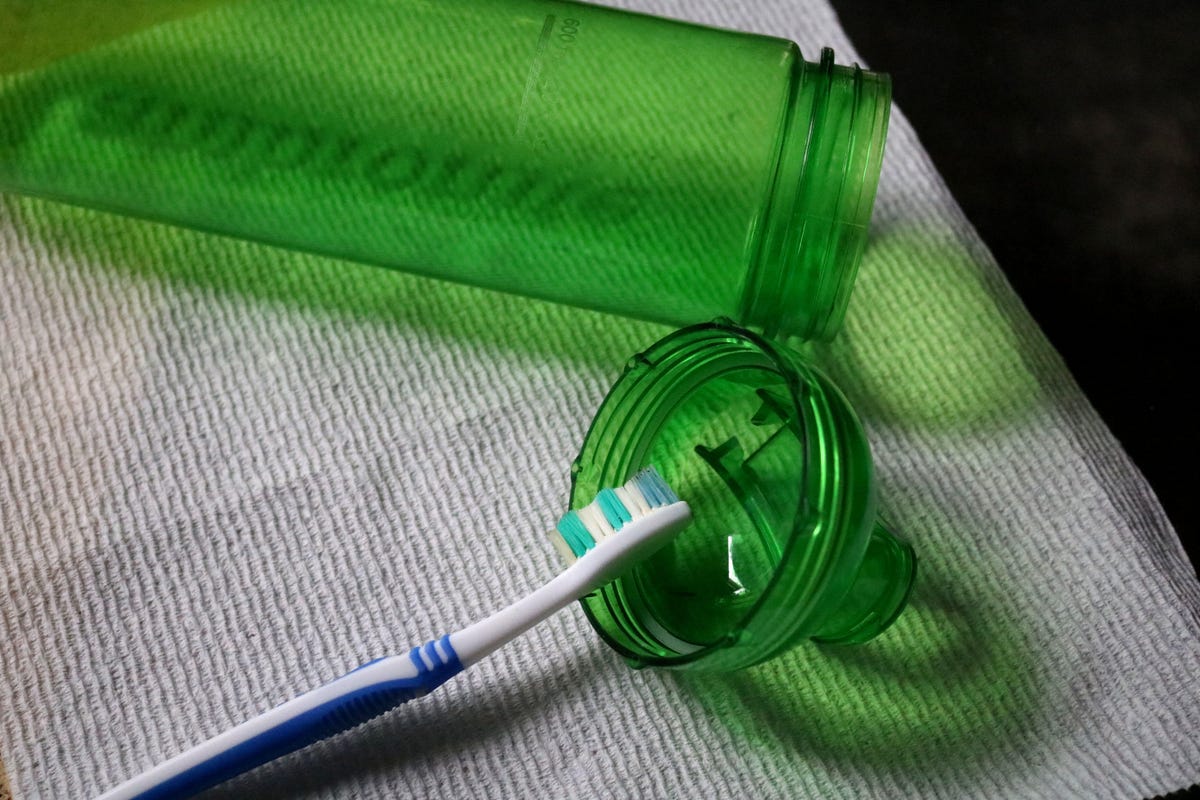
Can opener
Like many people, you probably don't clean your can opener after every use. You should probably change that habit.
Can openers can harbor yeast, mold, salmonella, E. coli.
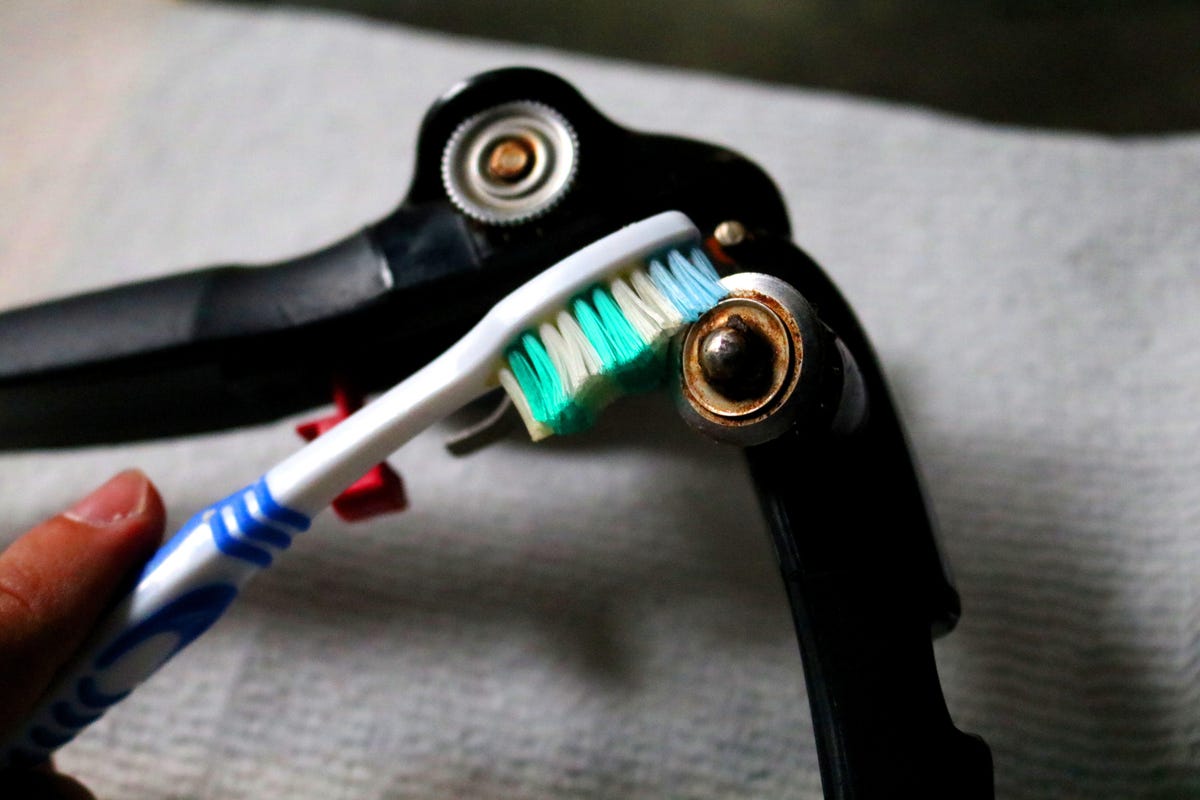
Cleaning a can opener
After each use, put your can opener in the top rack of the dishwasher and put it on sanitize mode. If it has stuck-on grime, dip a wet toothbrush in baking soda and give the gears and blade a good scrub before putting it in the dishwasher.
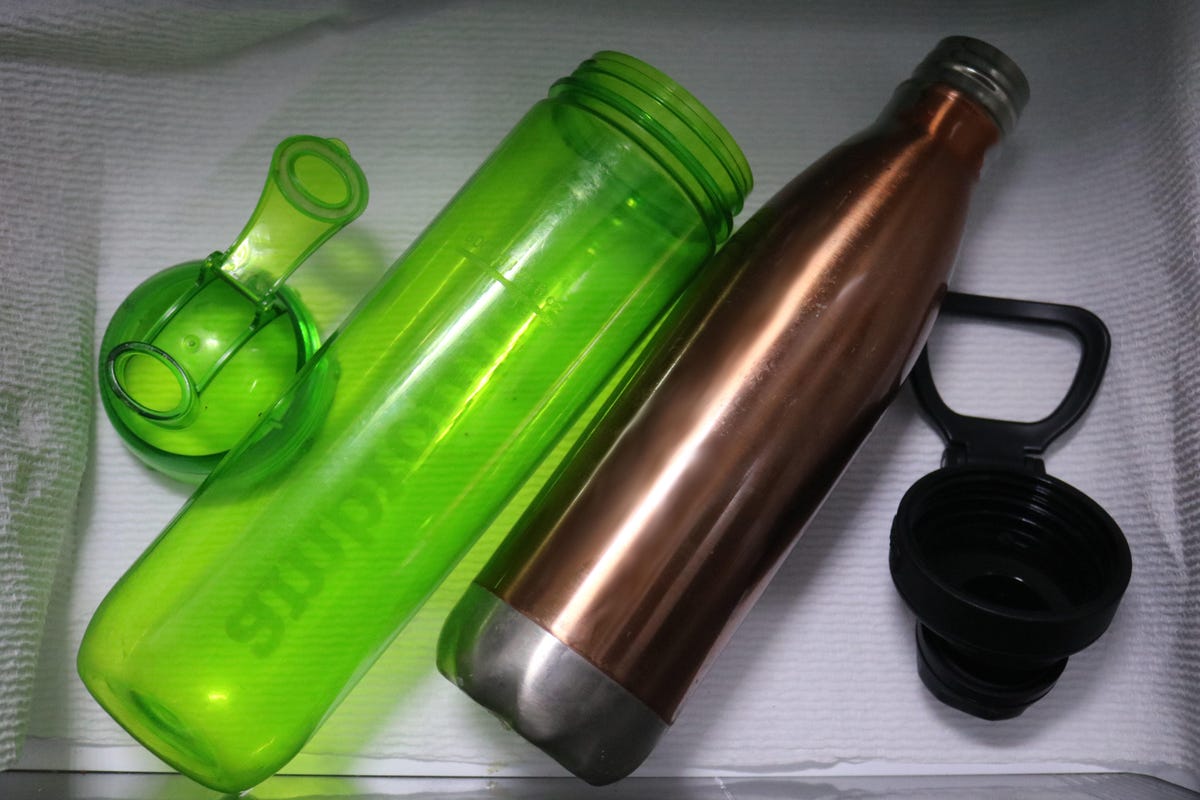
Water bottles
A study by Treadmill Reviews found that your water bottle could have more bacteria than a dog's chew toy. And while the study only examined 12 water bottles, it makes you think.
Cleaning a water bottle
From now on, don't skip cleaning your water bottle after each use. Put it in the dishwasher on sanitize on the top rack.
If the gasket in the lid looks gunky, scrub it with a toothbrush dipped in warm, soapy water before putting it in the dishwasher.
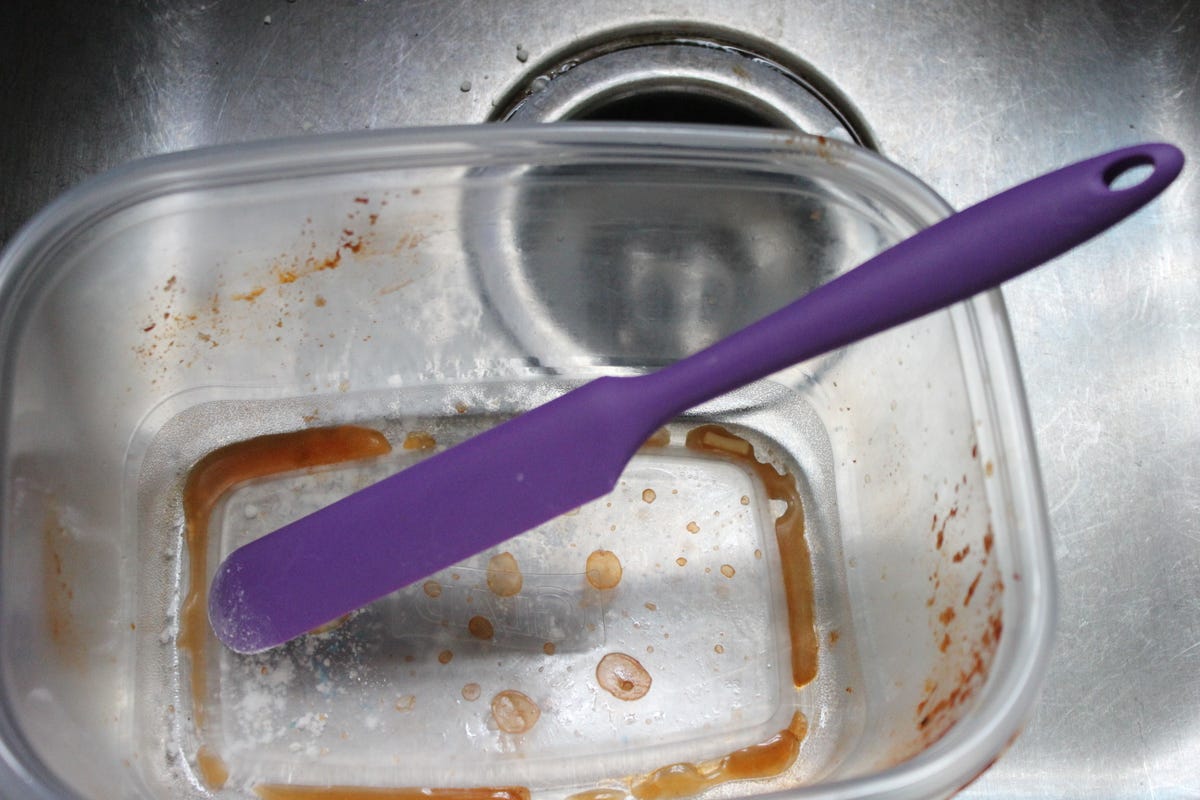
Rubber spatula
While you're at it, toss your rubber spatulas in the dishwasher with your can opener and water bottle.
According to the Public Health and Safety Organization, rubber spatulas can be one of the dirtiest things in your kitchen and harbor E. coli, yeast and mold.

Oven mitts
Have you ever thought about how often you clean your oven mitts? I know some people that never wash theirs.
Consider this, though. Your oven mitts get food dripped on them, and then they touch your cooking pans, possibly spreading germs and mold spores from decaying food particles. Or even worse, they may spread salmonella and E. coli if they've touched raw eggs or meat.
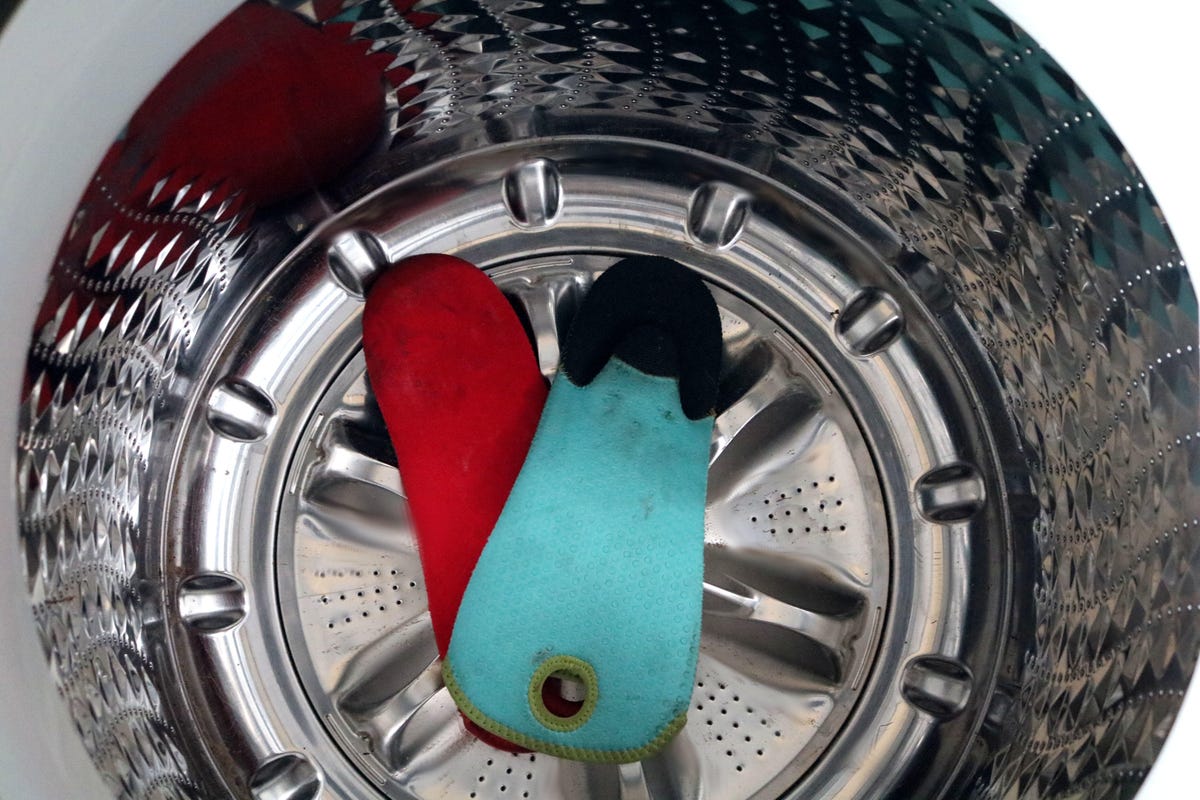
Cleaning oven mitts
Toss your oven mitts in the washer once a week or sooner if they've touched raw foods. Make sure you put them in the dryer too, but only if the material they are made of can survive it. The heat will kill any remaining bacteria.
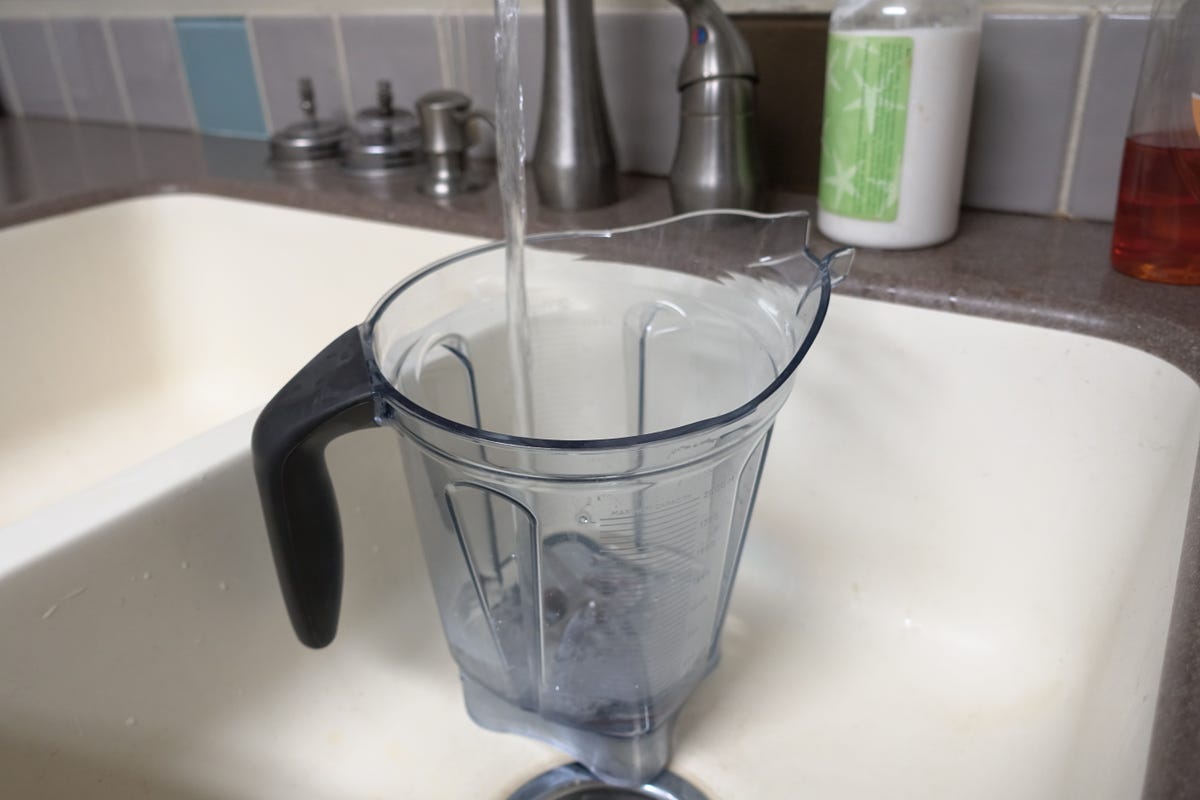
Blender
For quick clean up, try this method for washing out your blender pitcher. Every other use, you're going to need to go deeper to prevent mildew and mold growth from moisture that has seeped down into the blade area.
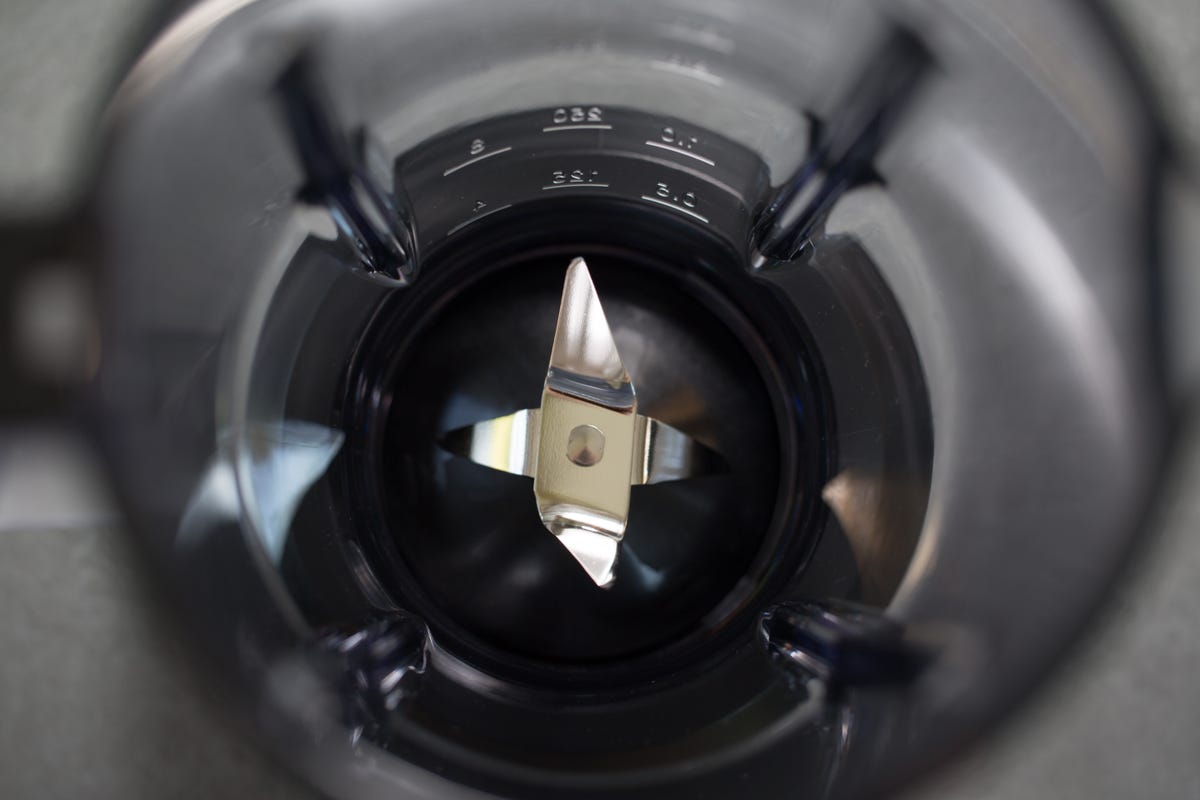
Deeper clean
To get the blade area extra clean, twist off the base of the container. Take apart the blade and rubber gasket and scrub them down with warm water. Let them completely air dry before you put the blender back together.
More Galleries

My Favorite Shots From the Galaxy S24 Ultra's Camera
20 Photos
Honor's Magic V2 Foldable Is Lighter Than Samsung's Galaxy S24 Ultra
10 Photos
The Samsung Galaxy S24 and S24 Plus Looks Sweet in Aluminum
23 Photos
Samsung's Galaxy S24 Ultra Now Has a Titanium Design
23 Photos
I Took 600+ Photos With the iPhone 15 Pro and Pro Max. Look at My Favorites
34 Photos
