MakerBot Replicator unboxing and assembly (photos)
Here's a quick look at the MakerBot Replicator's out-of-box experience.
Rich Brown
Rich was the editorial lead for CNET's Home and Wellness sections, based in Louisville, Kentucky. Before moving to Louisville in 2013, Rich ran CNET's desktop computer review section for 10 years in New York City. He has worked as a tech journalist since 1994, covering everything from 3D printing to Z-Wave smart locks.
The Replicator ships in a box about the size of a large air conditioner. It fit in the trunk of a Nissan Versa hatchback, although I had to lower the rear passenger seat.
2 of 18 Sarah Tew/CNET
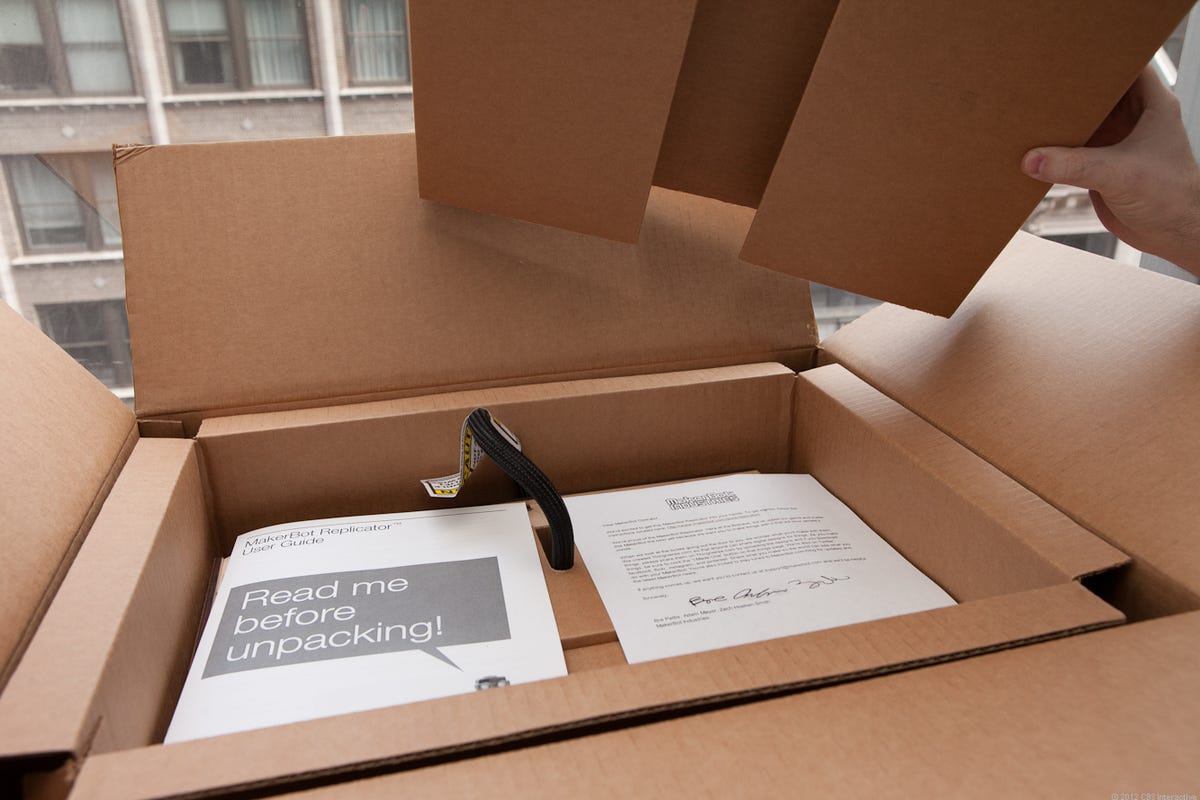
Documentation
The manual for the Replicator only covers hardware setup. The instructions are easy enough, but to learn about the software installation and using the device, the guide refers you to the MakerBot Web site.
3 of 18 Sarah Tew/CNET
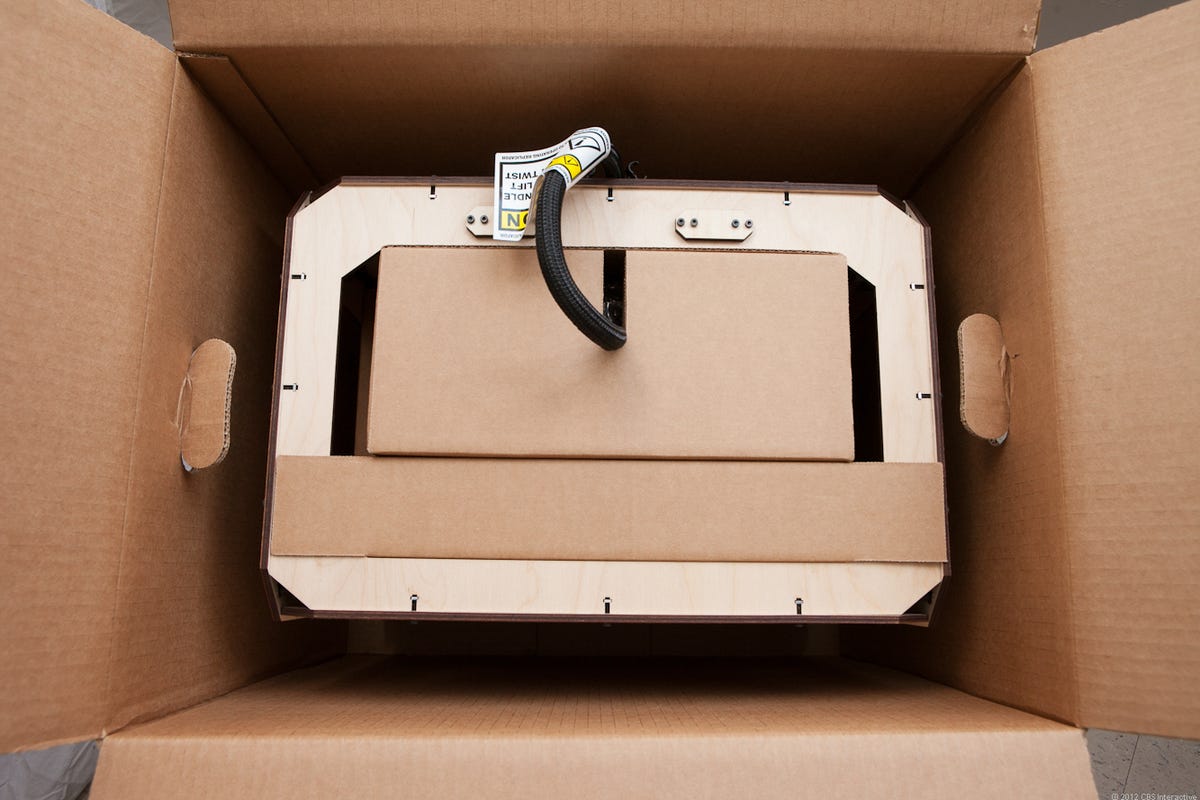
From the top
Here I've removed cardboard from the top and from around the sides of the printer. Despite cardboard-only packing material, the package feels secure.
4 of 18 Sarah Tew/CNET
Extraction
MakerBot supports the interior of the printer with cardboard spacers and boxes of plastic filament. It's not an Apple packing job, but it's about as smooth and efficient as it can be given the design of its contents.
5 of 18 Sarah Tew/CNET
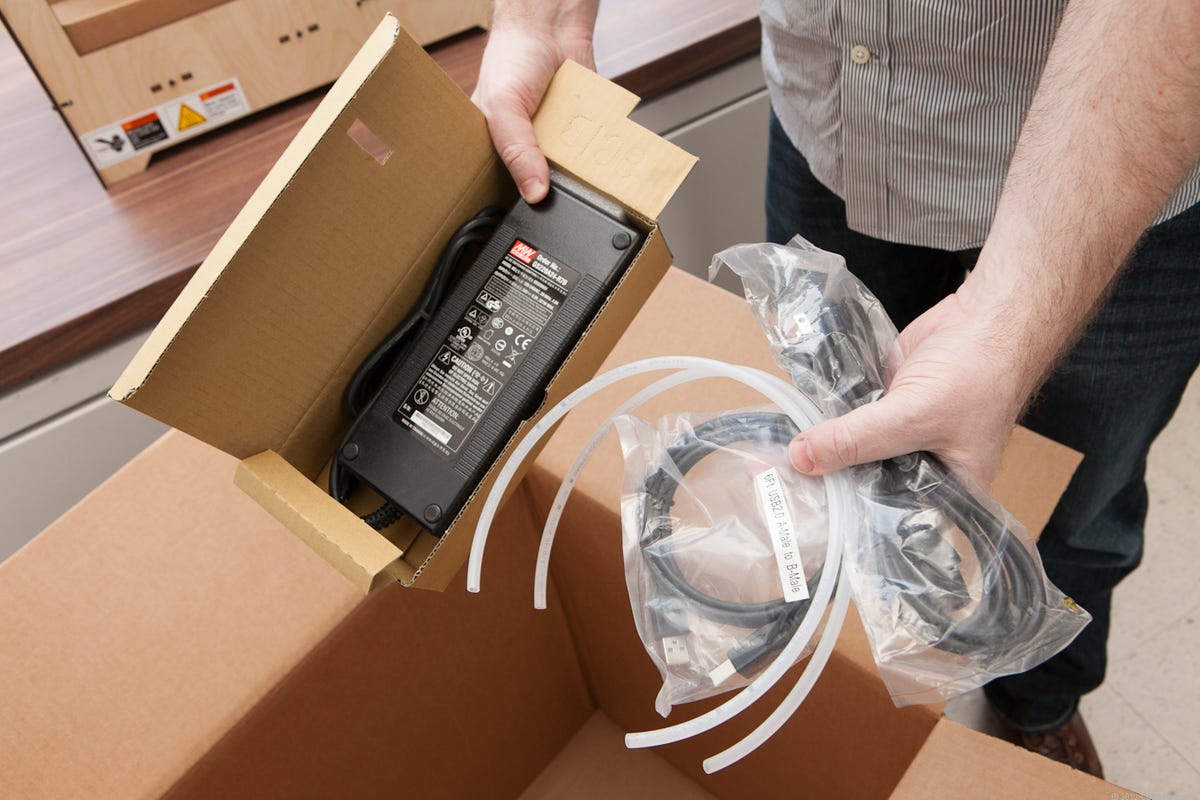
What lies beneath?
A few accessory and support boxes on the bottom of the box.
6 of 18 Sarah Tew/CNET
This stuff
A power supply, a USB cable, and tubing to guide the plastic filament.
7 of 18 Sarah Tew/CNET
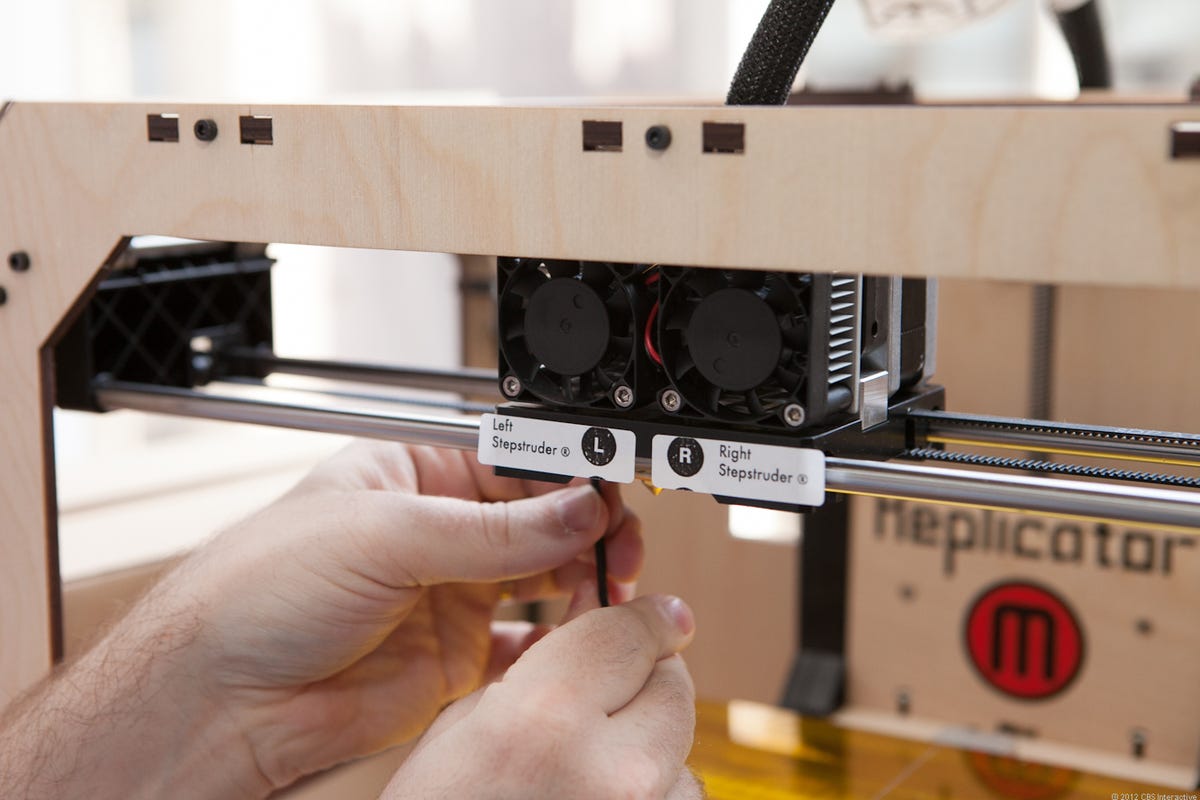
The key component
This is the print head with two extruders. It's this piece that gives the Replicator its unique ability to print objects in two different colors.
8 of 18 Sarah Tew/CNET
Plastic included
MakerBot graciously includes two spools of 1.75mm ABS plastic filament, one black, and translucent/natural. Each spool has 1 kilogram of printing material.
9 of 18 Sarah Tew/CNET
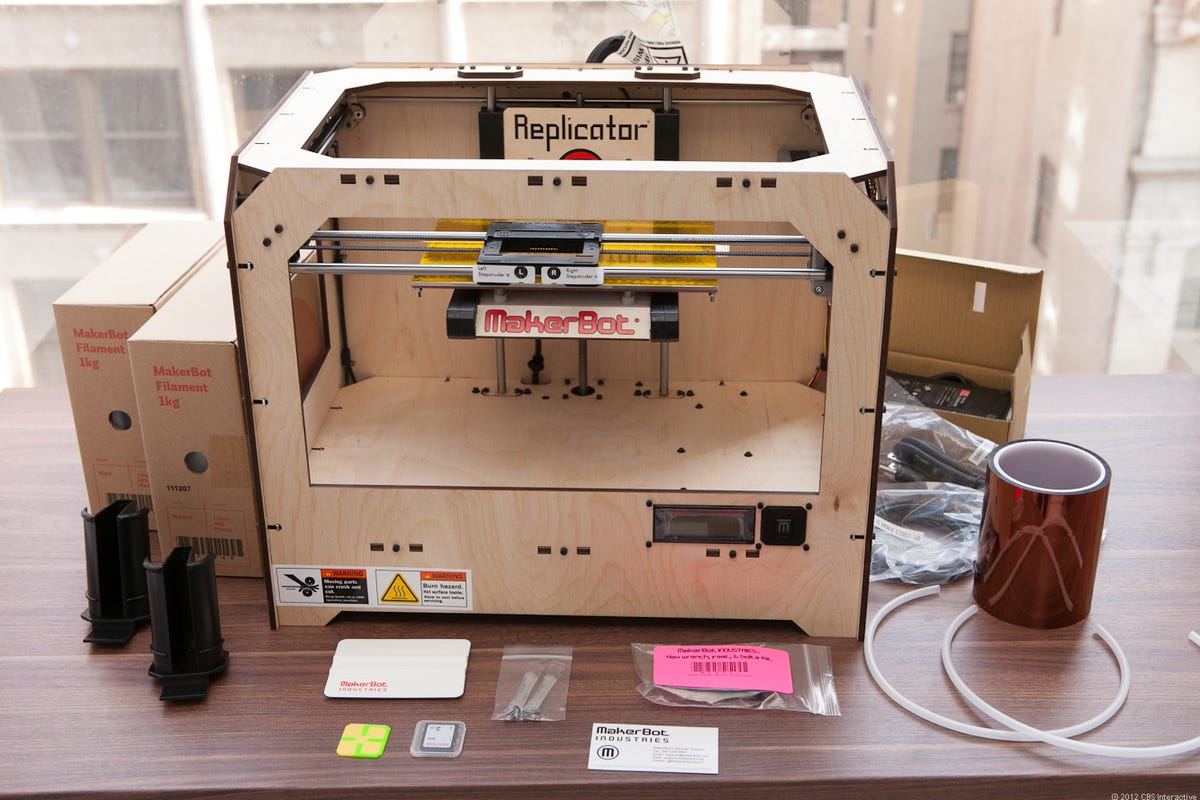
The Replicator, exposed
The Replicator and all of its included hardware and accessories.
10 of 18 Sarah Tew/CNET
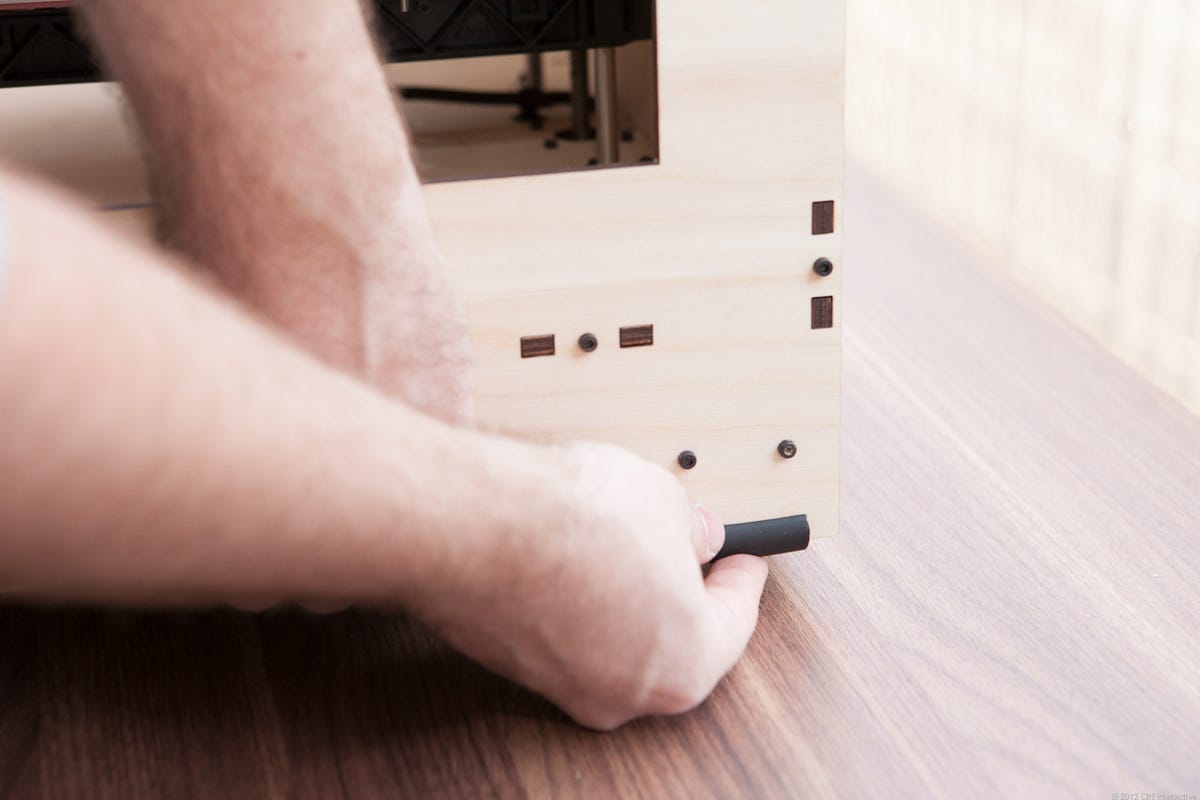
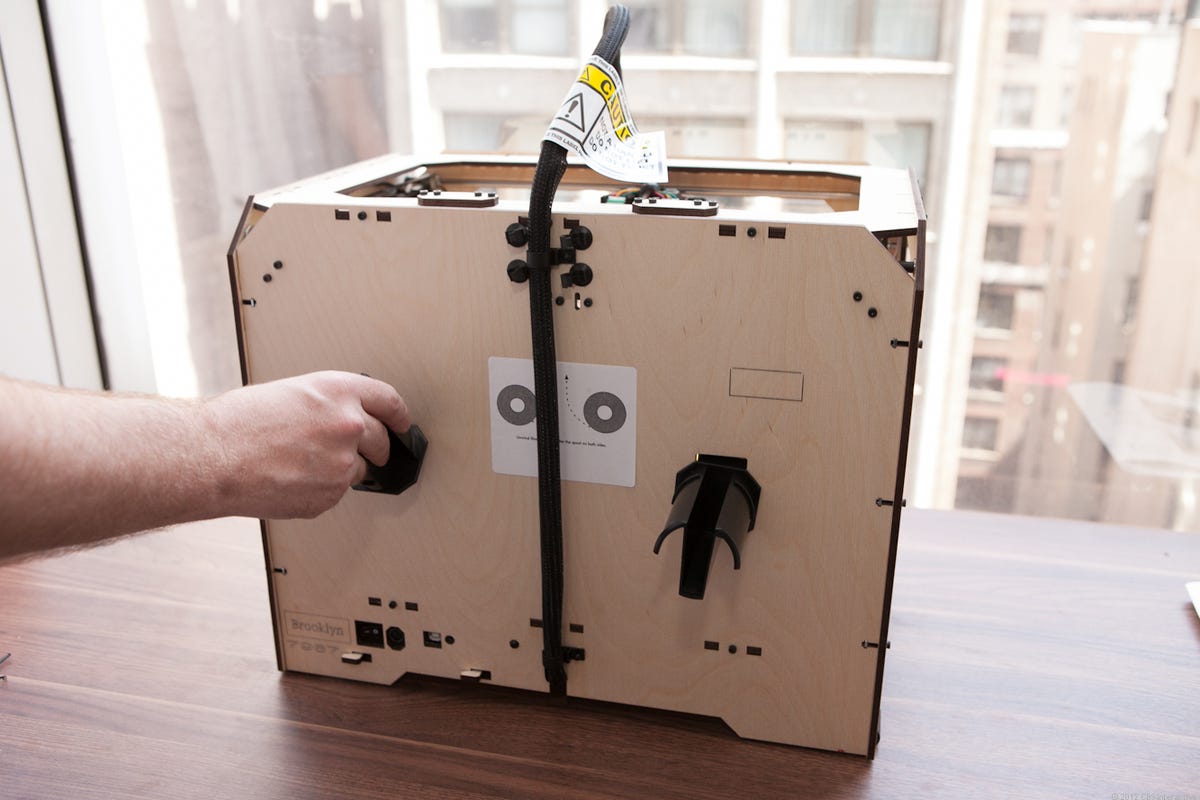
Assembly, Step 1
First step to putting the printer together, anchor this cable to the base of the unit.
11 of 18 Sarah Tew/CNET
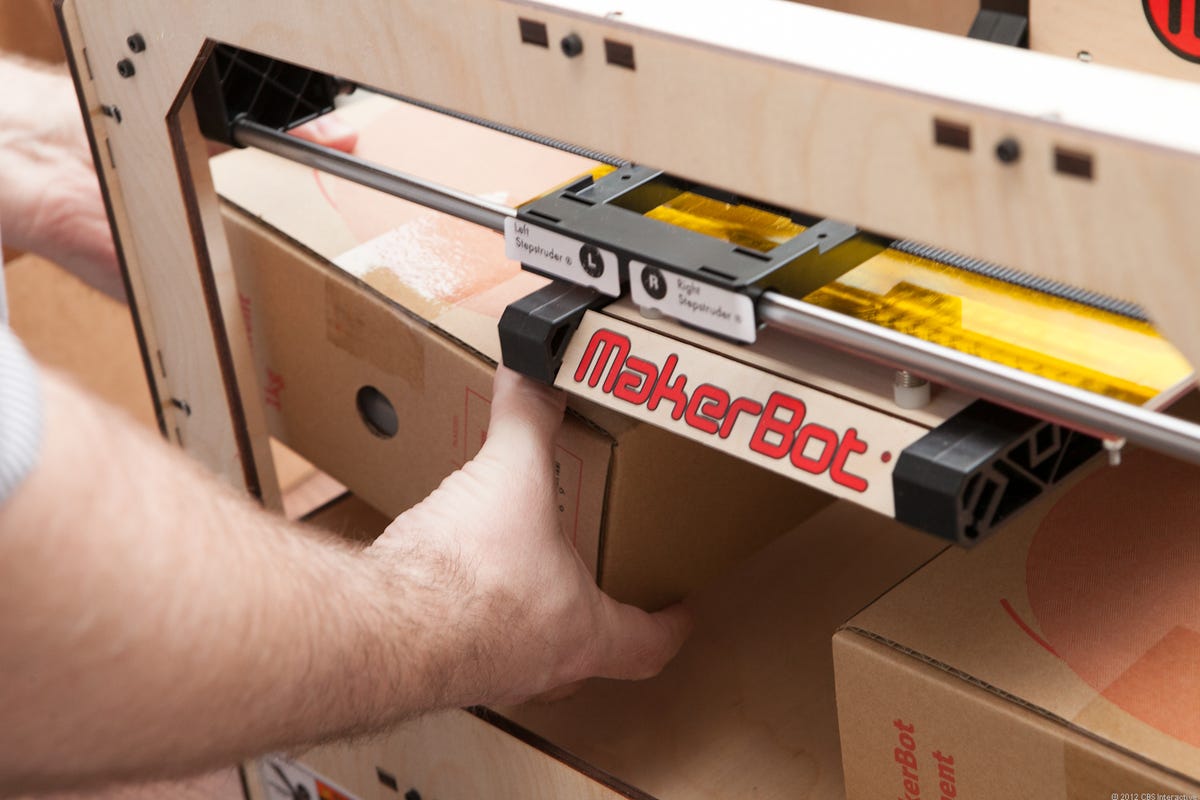
Assembly, Step 2
Next, attach the extruder head to the mounting assembly, using two hex screws (screws and wrench included).
12 of 18 Sarah Tew/CNET
Proper footing
The Replicator's only janky-feeling part so far: four pieces of cut rubber tubing. You slide these on the Replicator to keep it from wobbling while it prints.
13 of 18 Sarah Tew/CNET
Spool supports
The mounting hardware for the spools of plastic filament.
14 of 18 Sarah Tew/CNET
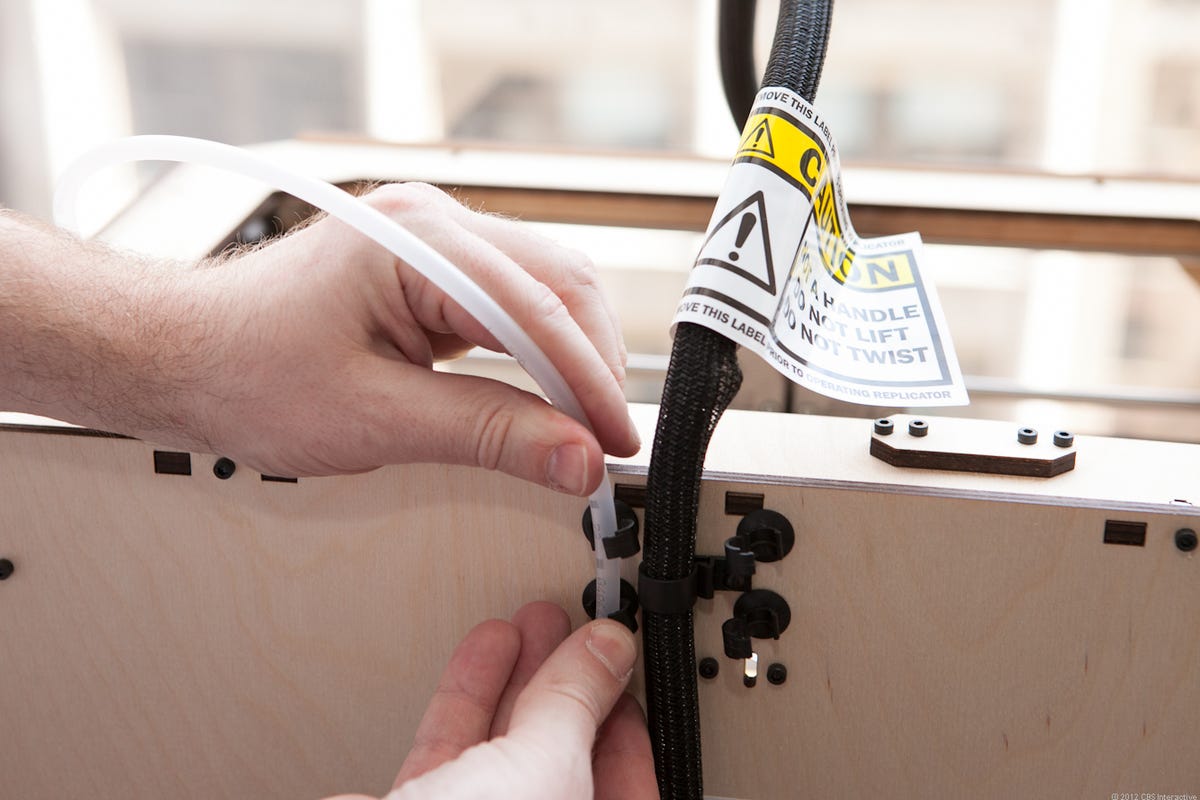
Series of tubes, Part 1
Rubber tubes guide the filament from the spool to the extruder head.
15 of 18 Sarah Tew/CNET
Pops right on
Mounting the spool is simple and self-explanatory.
16 of 18 Sarah Tew/CNET
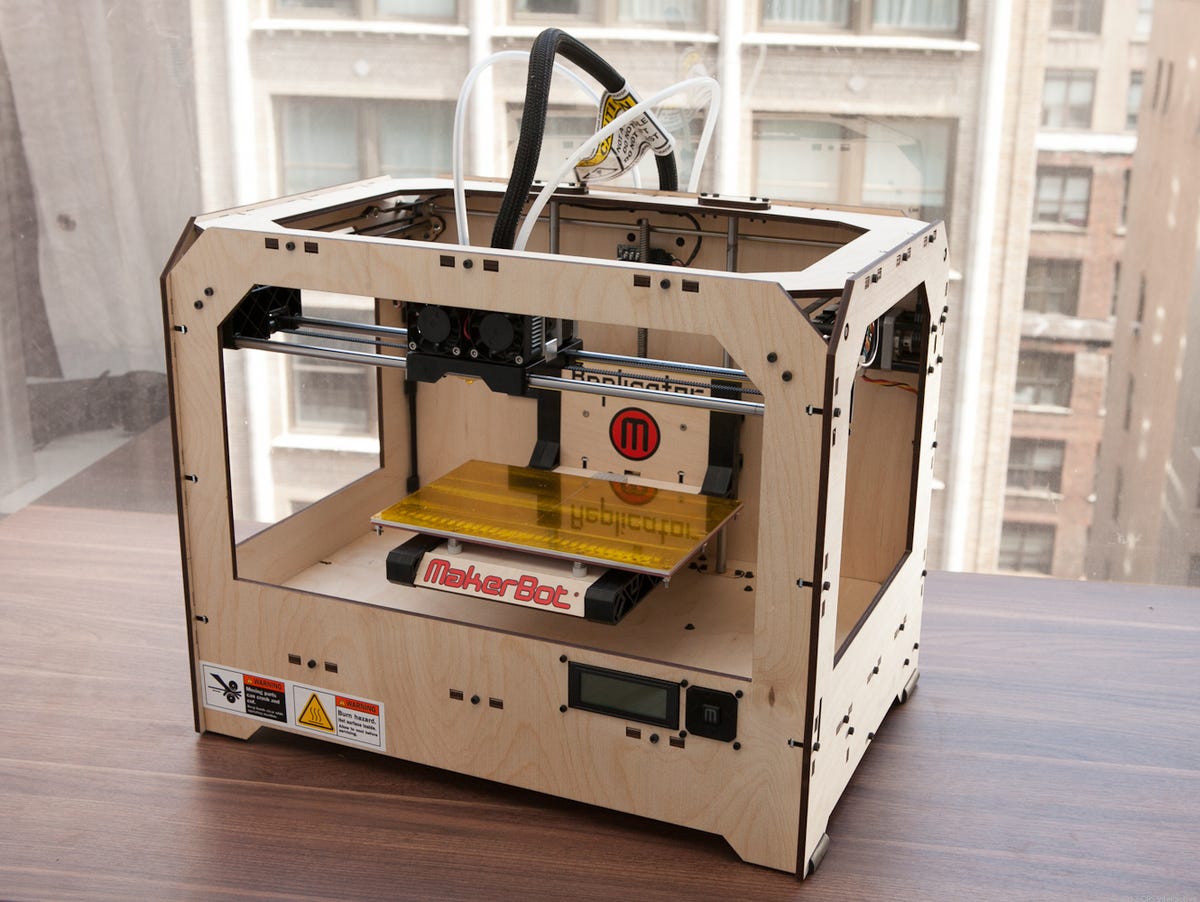
Series of tubes, Part 2
This shows the full filament pathway, from spool, to tubing, to extruder head.
17 of 18 Sarah Tew/CNET
Ready to replicate
Next step, installing the ReplicatorG software on our computer.
18 of 18 Sarah Tew/CNET
Side-by-side
The MakerBot Replicator next to the MakerGear Mosaic 3D printer. We built the smaller printer from a DIY kit back in January.