Mac Mini hard drive swap (pictures)
Learn how to upgrade or replace the hard drive in Mac Mini models from 2005 to 2009.


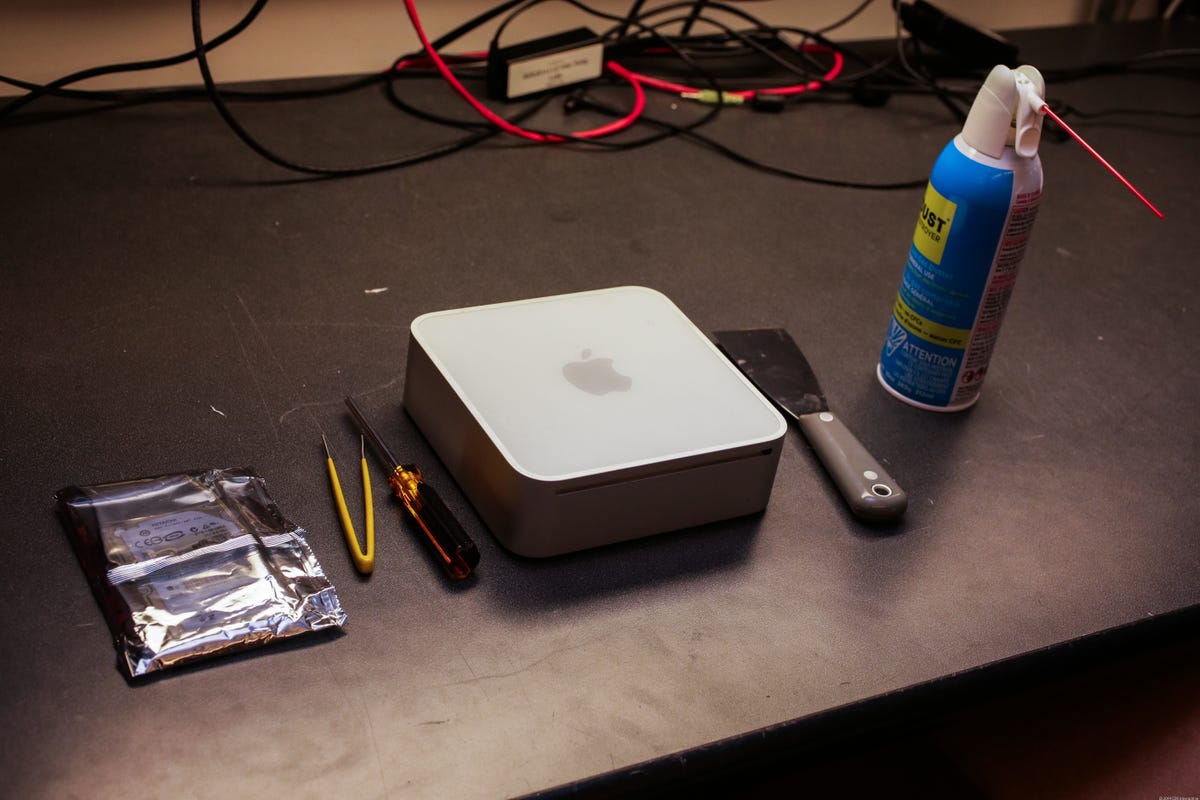
You will need a putty knife or small paint scraper to remove the Mac Mini's casing, a small Phillips head #2 screwdriver, a pair of tweezers, and either a replacement 2.5-inch solid-state drive or a hard drive. It also doesn't hurt to pick up a can of compressed air to clean away the dust.
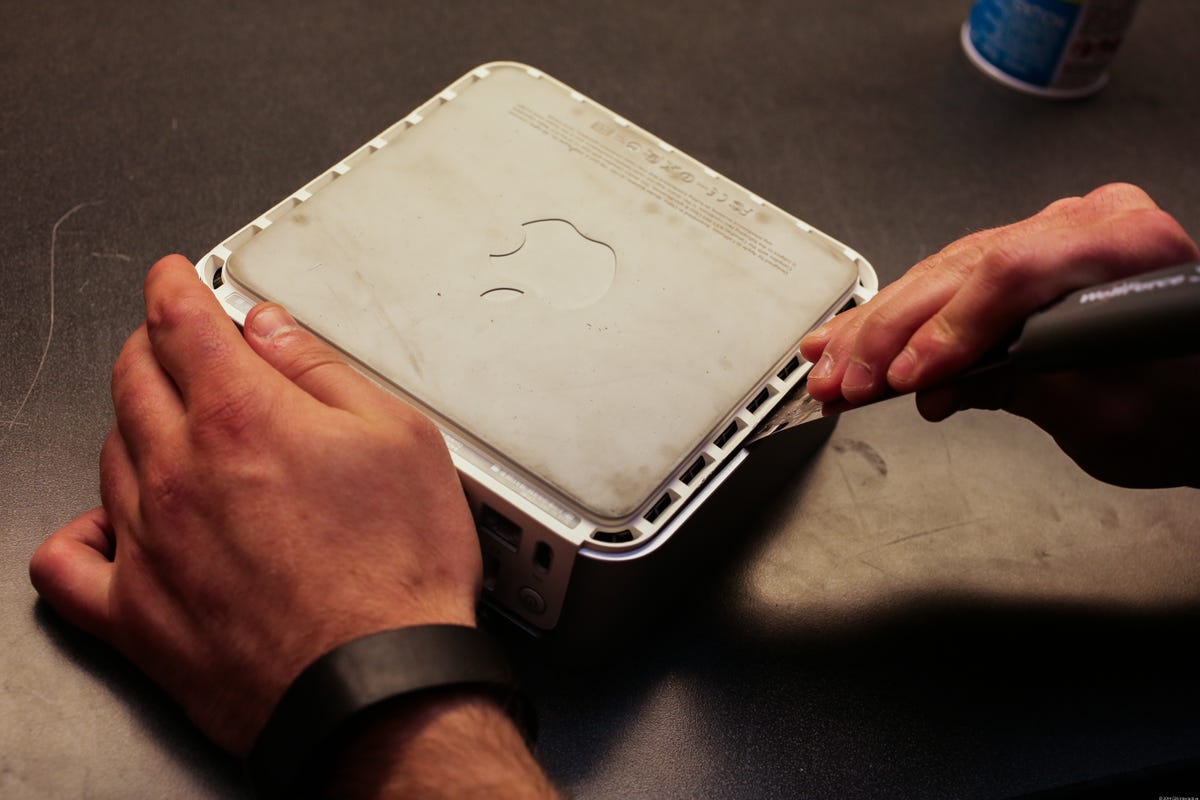
Gently shimmy the putty knife between the base of the Mac Mini and the case. Carefully bend the knife away from you until the cover begins to lift as you make your away around all four edges.
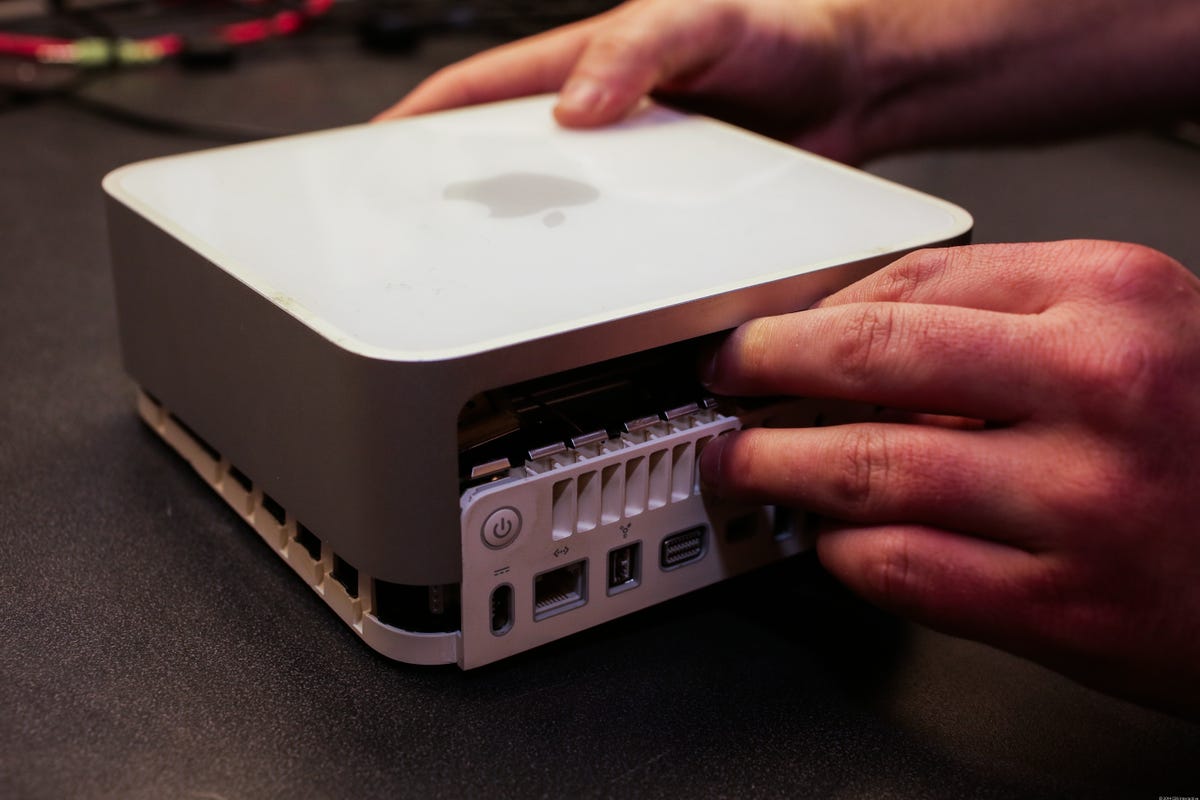
You should now be able to remove the case with your hands.
There are three orange antennas that must be removed before moving forward. The two on the left simply lift out, while the larger one is held in place with a clip that must be squeezed from the bottom.
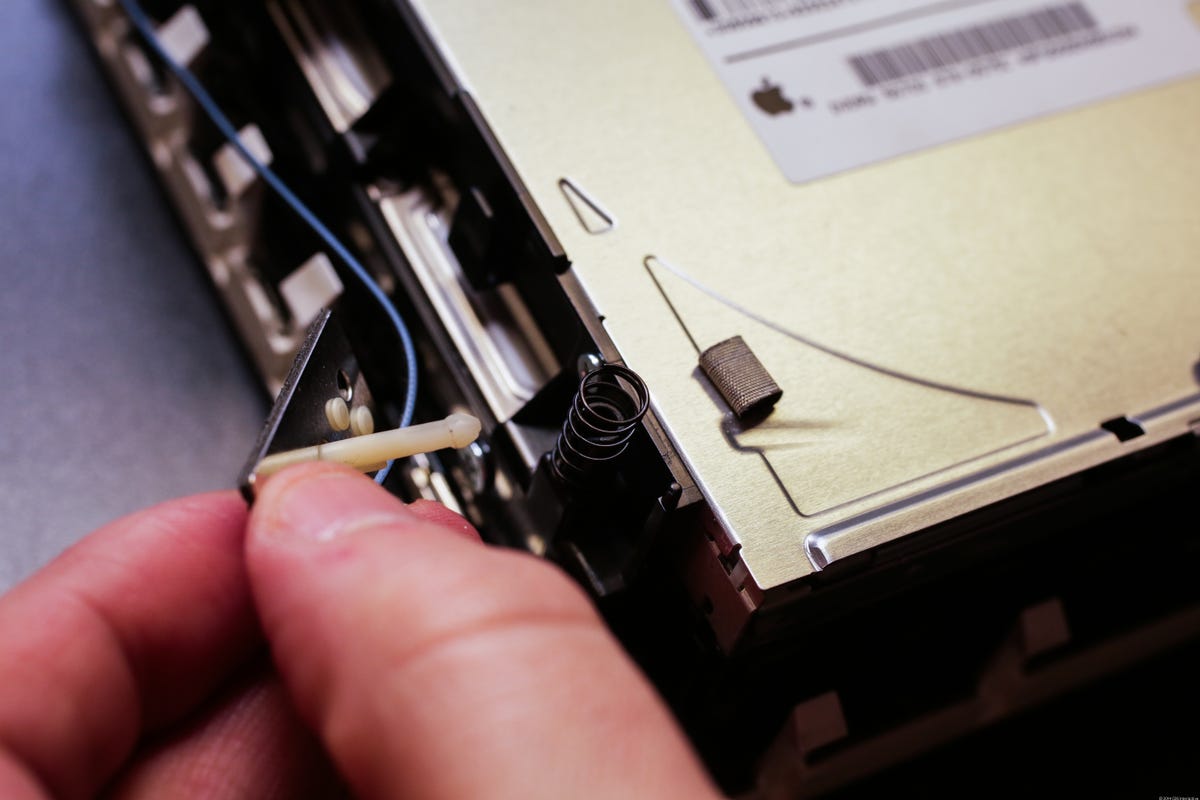
Under each antenna is a spring, remove it and place it aside.
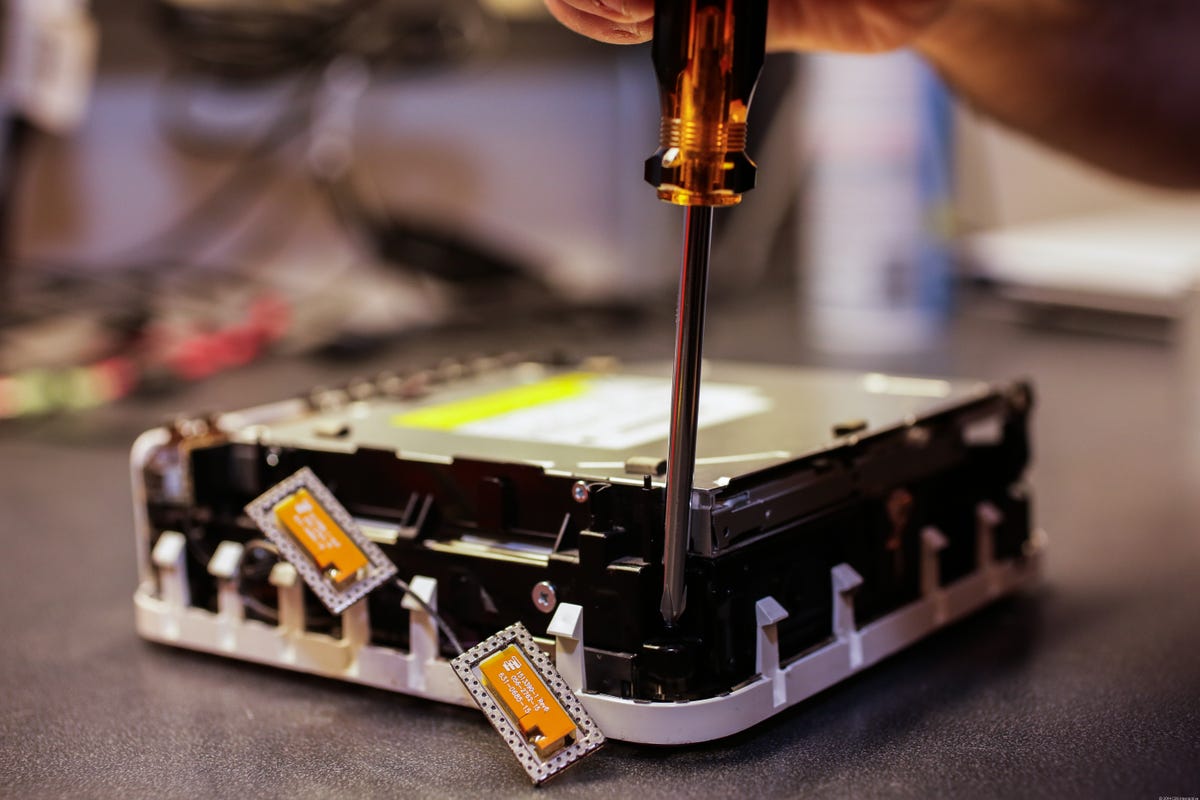
Unscrew the four screws that hold the CD drive into place. Make sure you are removing the screws that connect the drive to the case, and not the ones on the actually CD drive.
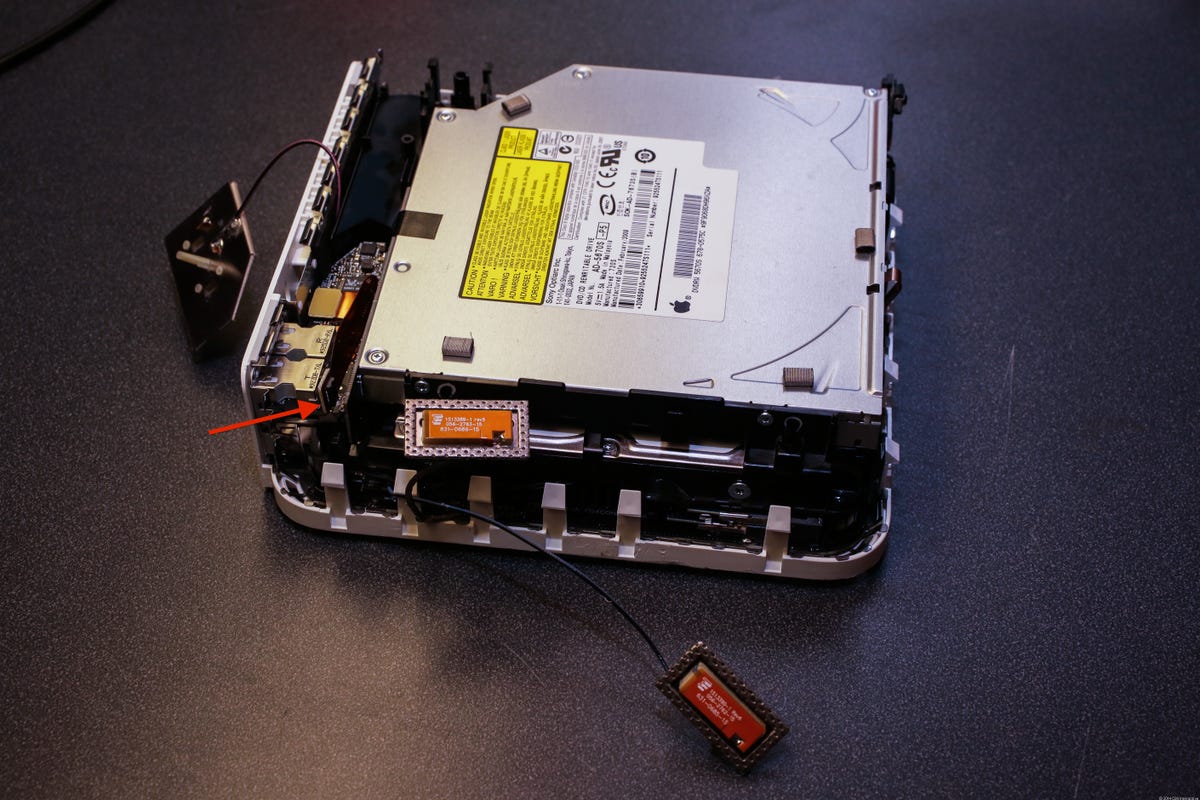
Don't forget to remove the ribbon cable before you lift the CD drive out of the case.
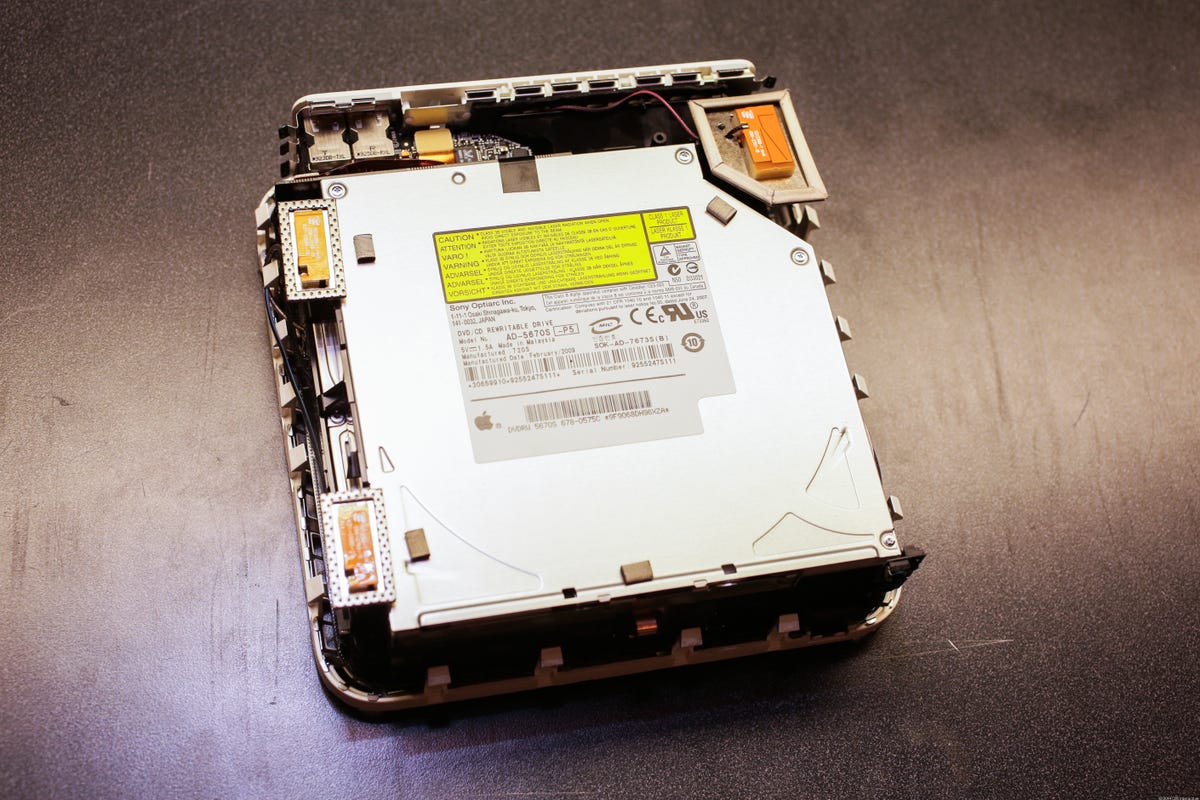
The hard drive is located on the back of the CD drive.
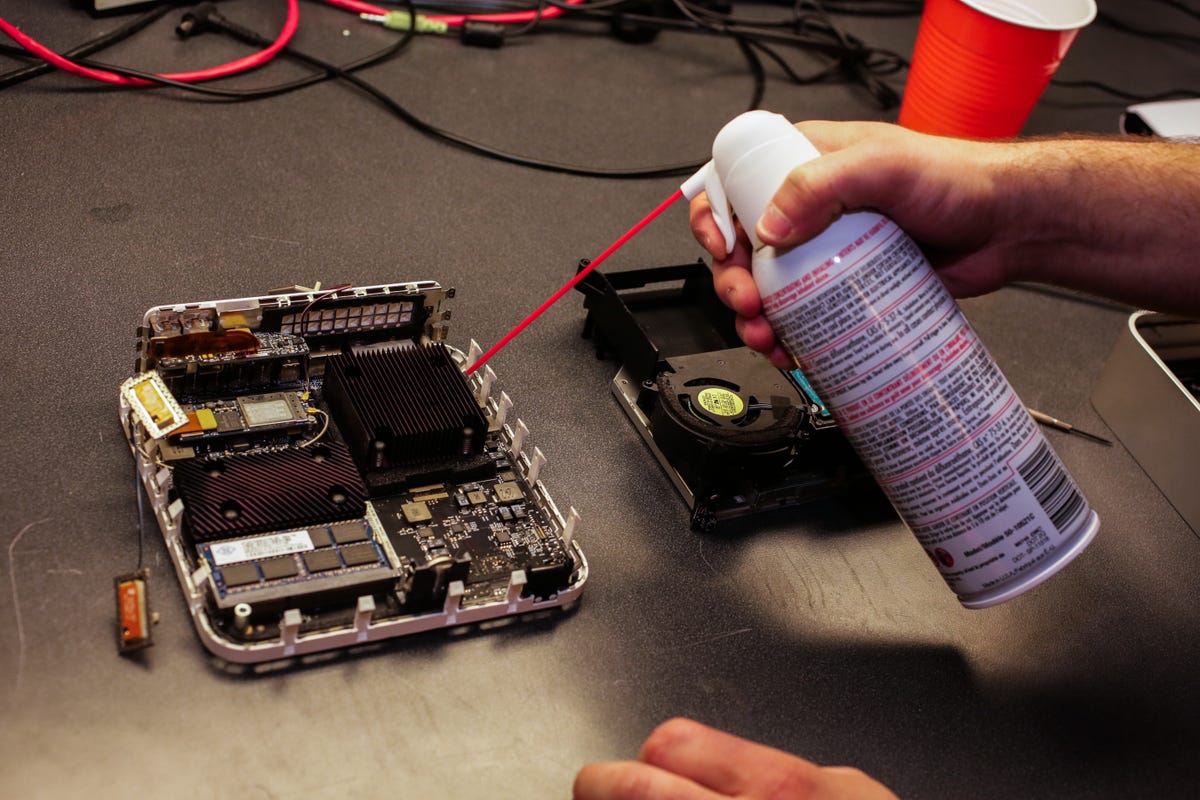
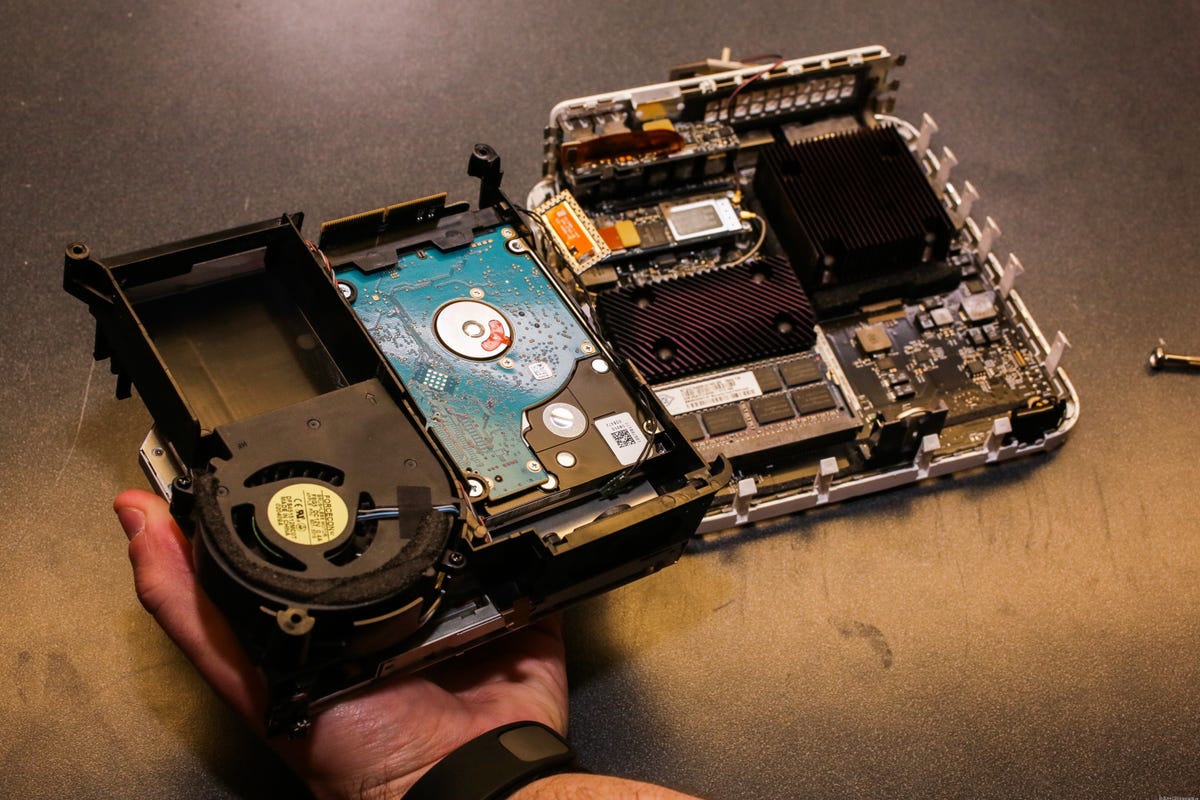
At this time I used the can of compressed air to spray away the extra dust.
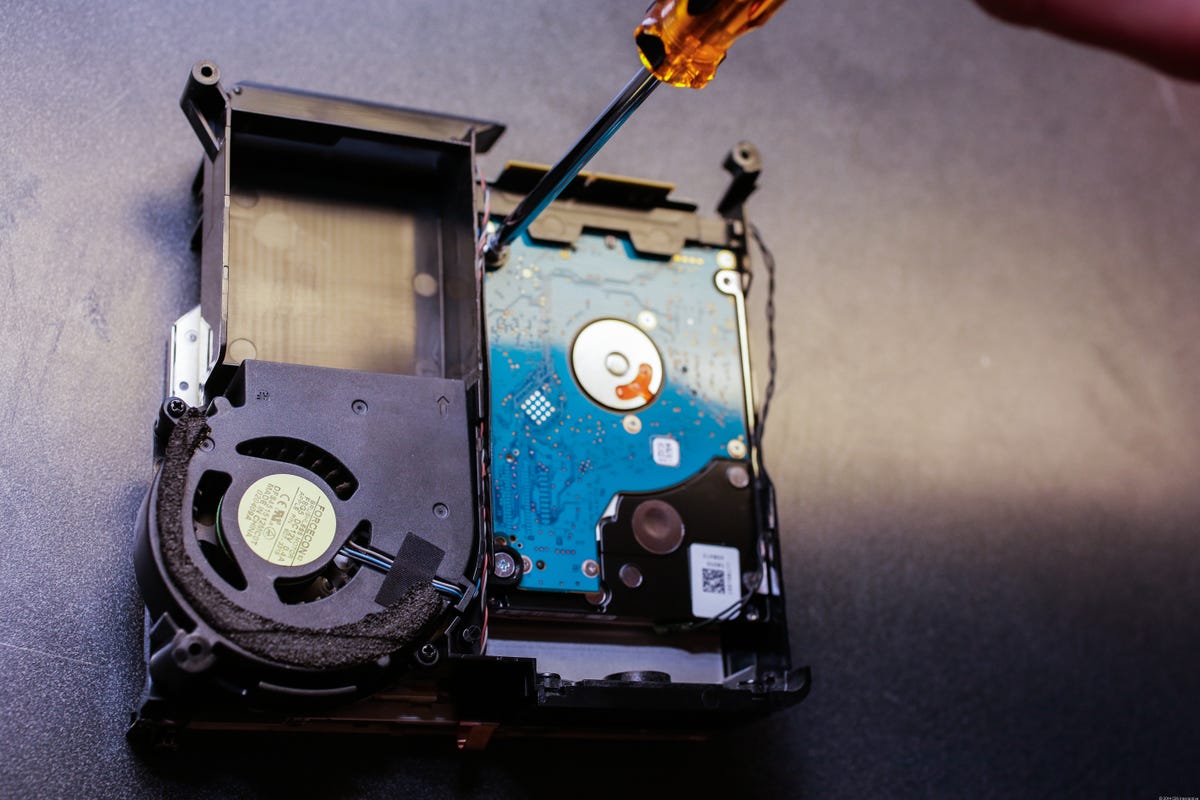
The hard drive is held in place with four screws. Remove the two on top and then the two on the side.
Next, remove the temperature sensor from the top of the drive.
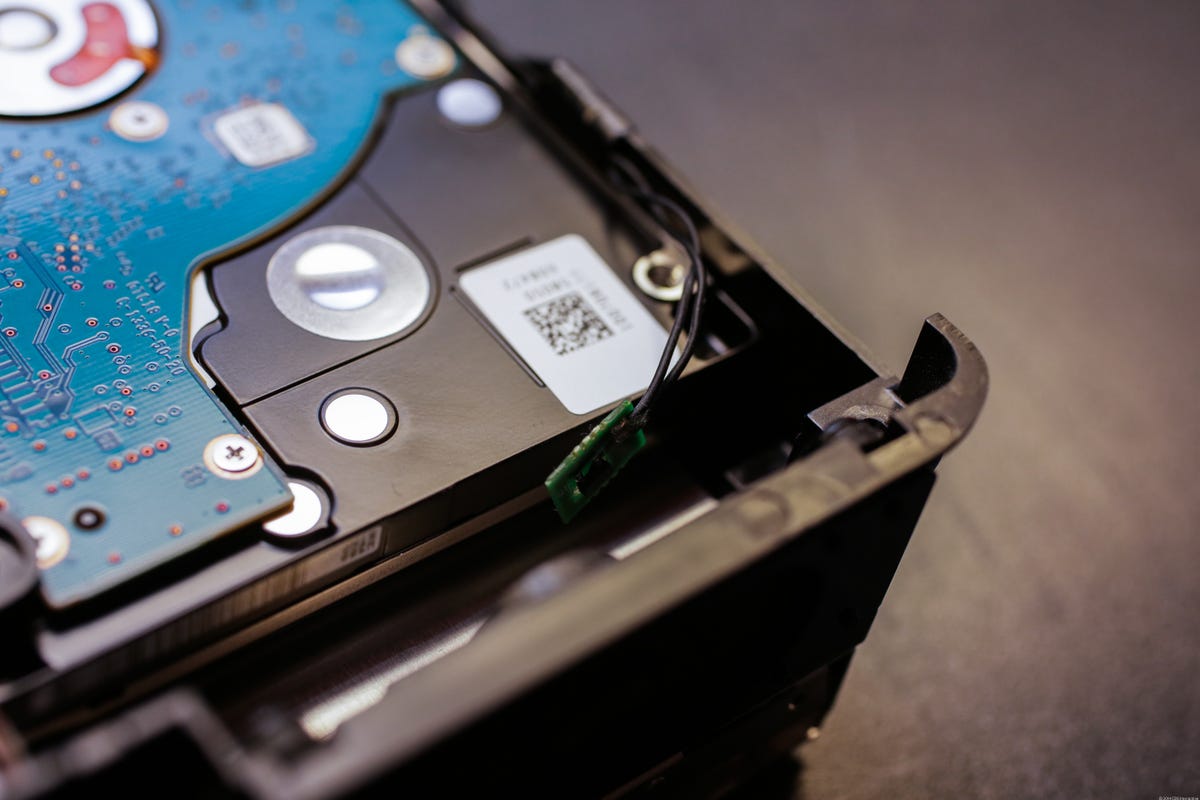
Slide the drive up and use the tweezers to gently lift it out.
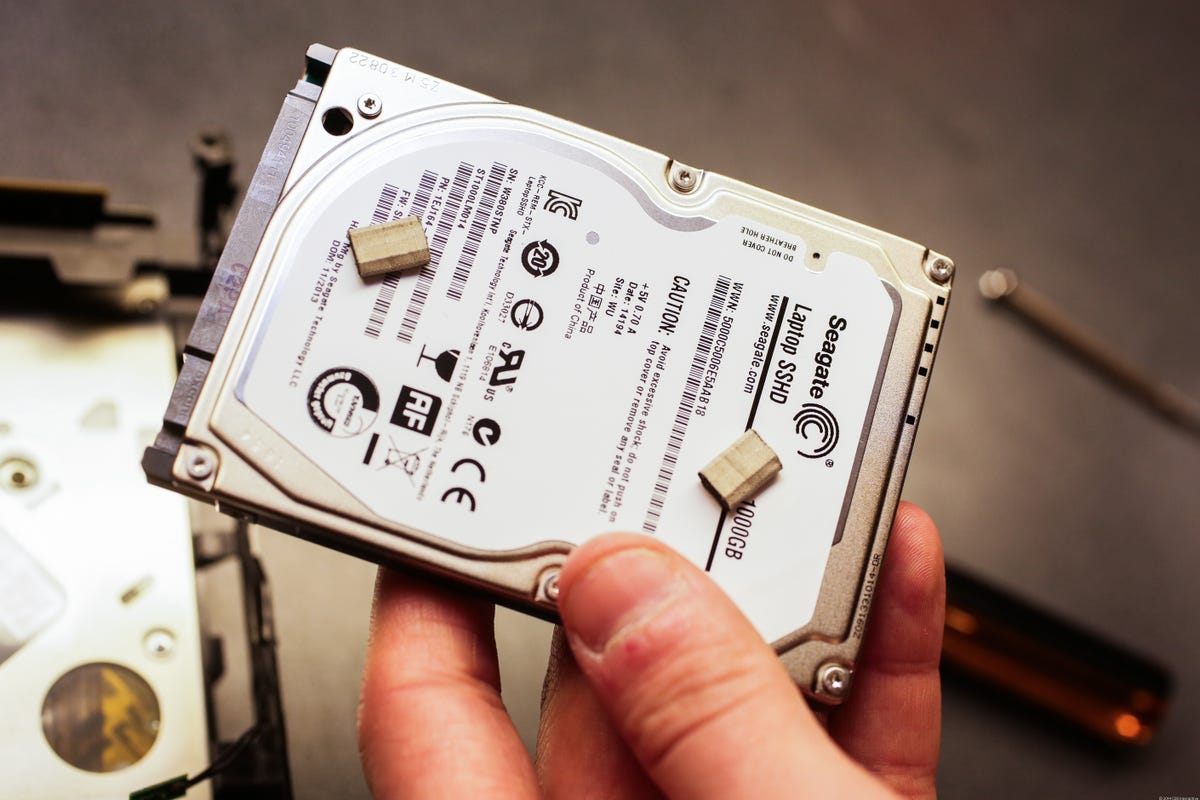
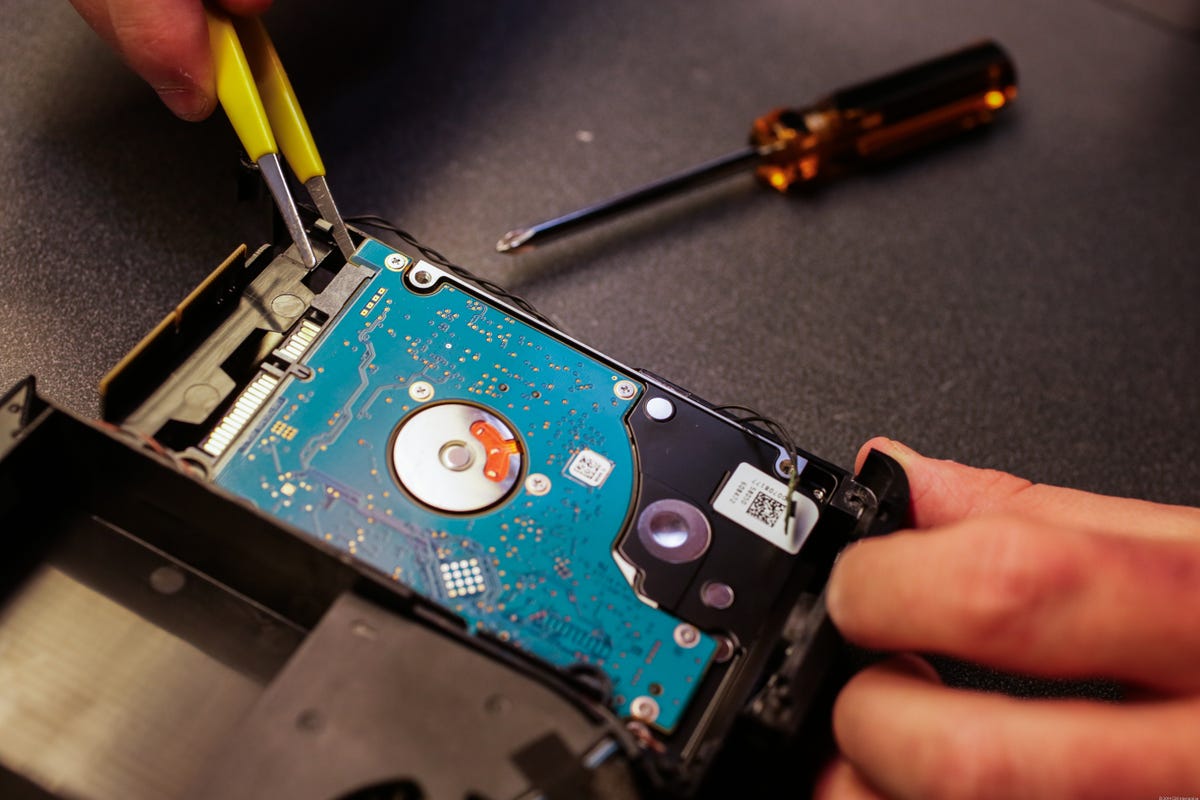
Remove the two anti-static cushions from the back of the hard drive and place them onto your new one.
Secure the hard drive in place, reattach the temperature sensors, and place the CD drive back into the case. Use the four screws to secure the CD drive, and reattach the ribbon cable. Then, take the three springs you removed earlier and place them back on their corresponding antenna posts, followed by the antennas themselves. Place the case back on the Mac Mini and push down evenly along the edges to lock it in.
More Galleries

My Favorite Shots From the Galaxy S24 Ultra's Camera
20 Photos
Honor's Magic V2 Foldable Is Lighter Than Samsung's Galaxy S24 Ultra
10 Photos
The Samsung Galaxy S24 and S24 Plus Looks Sweet in Aluminum
23 Photos
Samsung's Galaxy S24 Ultra Now Has a Titanium Design
23 Photos
I Took 600+ Photos With the iPhone 15 Pro and Pro Max. Look at My Favorites
34 Photos
