How to install a keyless smart lock
Ready to ditch your dumb deadbolt and embrace a key-free future with a shiny new smart lock? Here's how to make the swap.


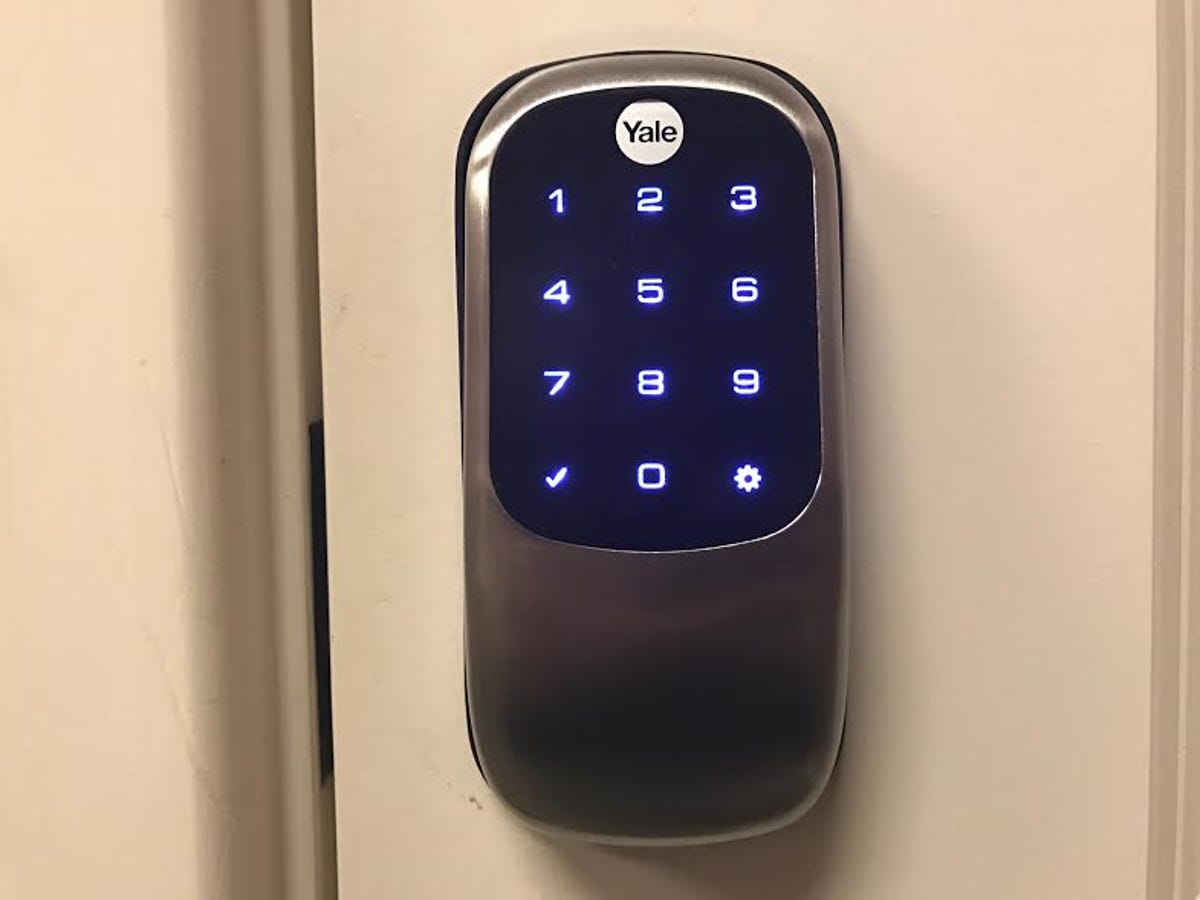
Yale Assure Keyless Smart Lock
Yep, that's a smart lock with no place for a key -- specifically, the Yale Assure Bluetooth Smart Lock. Click through to see a step-by-step look at the installation process.
Check your door
Before you even get a smart lock, you need to make sure that your door is cut correctly to take one (most smart locks won't work with mortise-cut doors, for instance). You should also check to be sure that the door is aligned properly with the frame so the smart lock can slide the bolt without resistance.

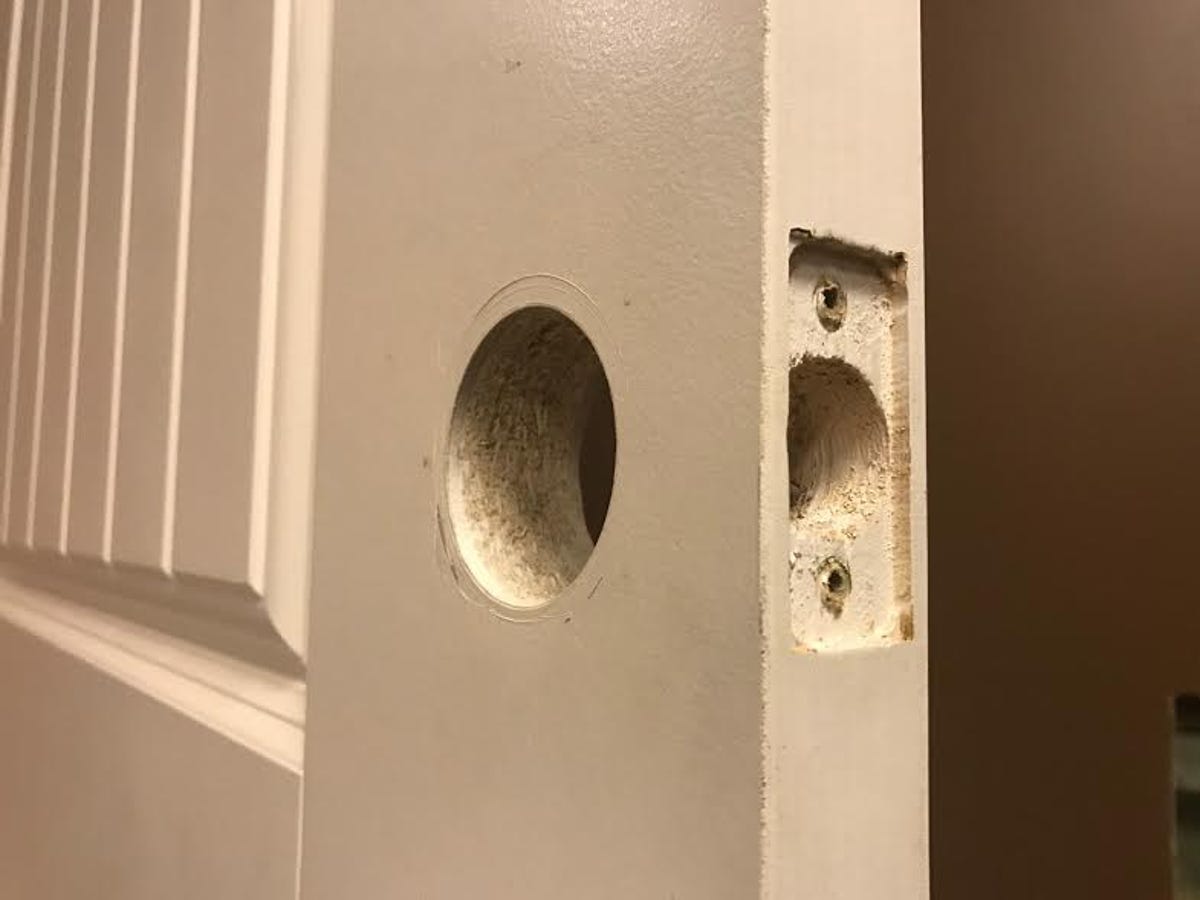
And your doorframe
Also take a look at your doorframe. Is the hole deep enough for the entire bolt? If not, you'll want to get that fixed, too.

What's in the box
All right, so you've got a door that's ready for a keyless smart lock. Here in the CNET Smart Home, we're going to install the Yale Assure Bluetooth Smart Lock. Here's everything that comes in the box.

Exterior
Here's the back of the exterior. You'll put this in place on y our door and thread that cable through to the other side...

Interior
...where it will connect with the interior half. That's where the batteries are kept, so that cable is what keeps the thing powered.
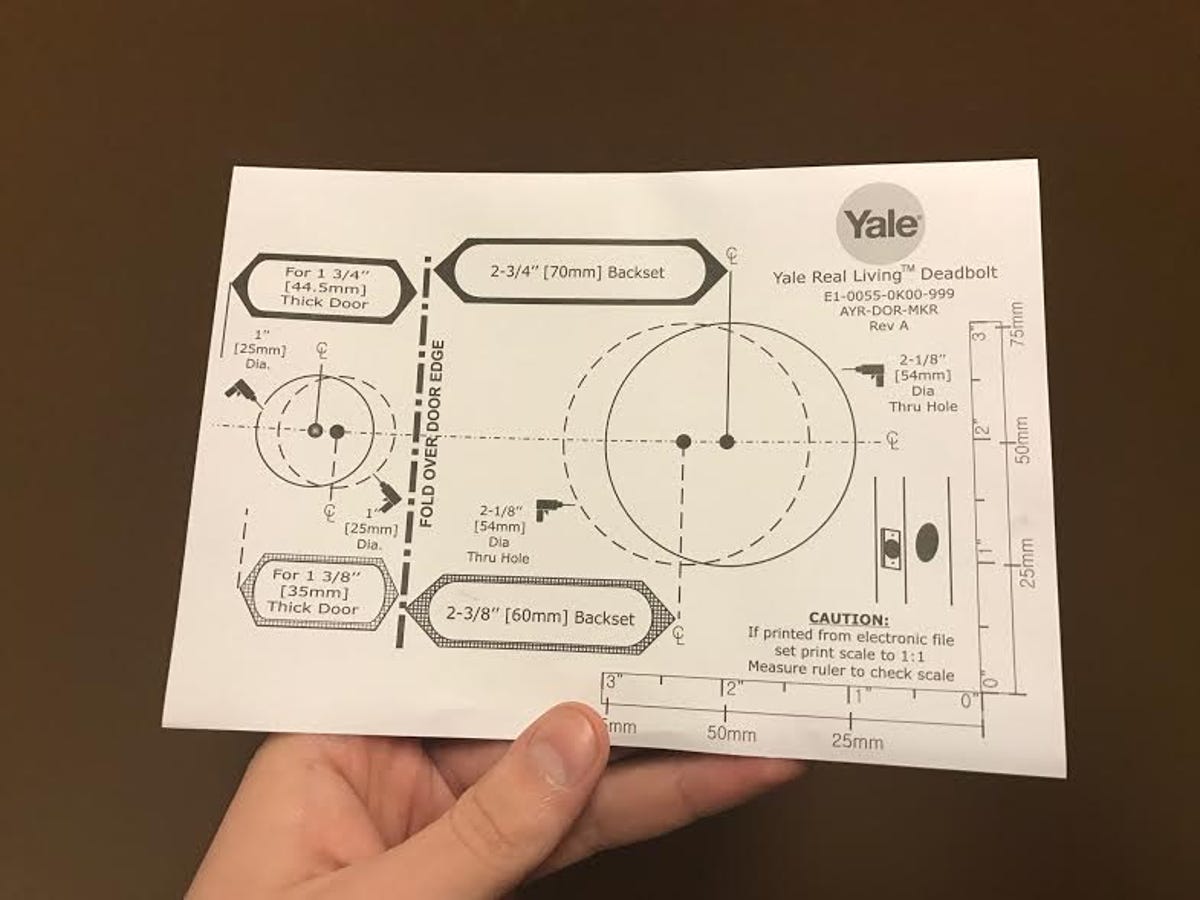
Dimensions
Yale includes a handy cheat sheet to make sure everything will fit in your door. You can find diagrams like this online with some quick Googling -- it's a good idea to double-check them before making a purchase.
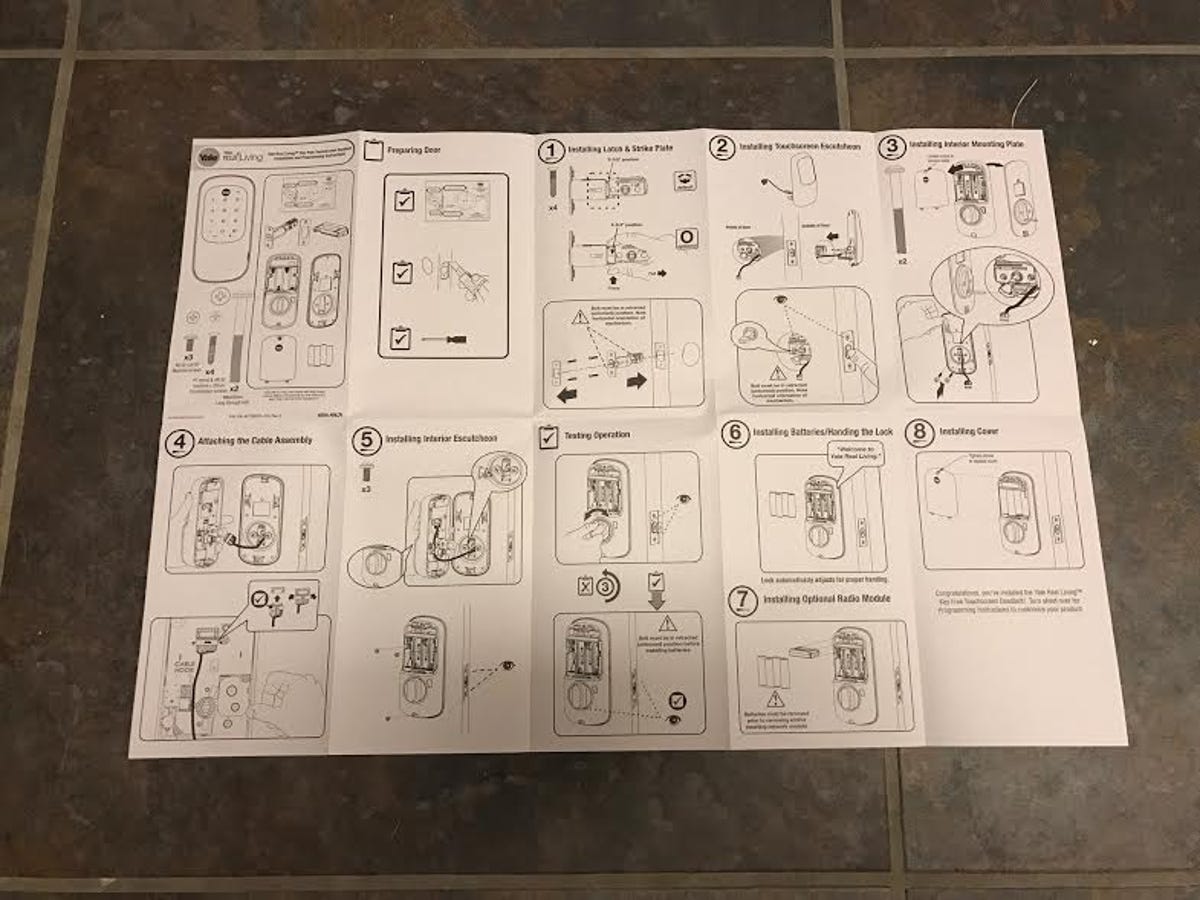
Instructions
You also get a full set of printed-out instructions. And trust me, the process is easier than it looks here.

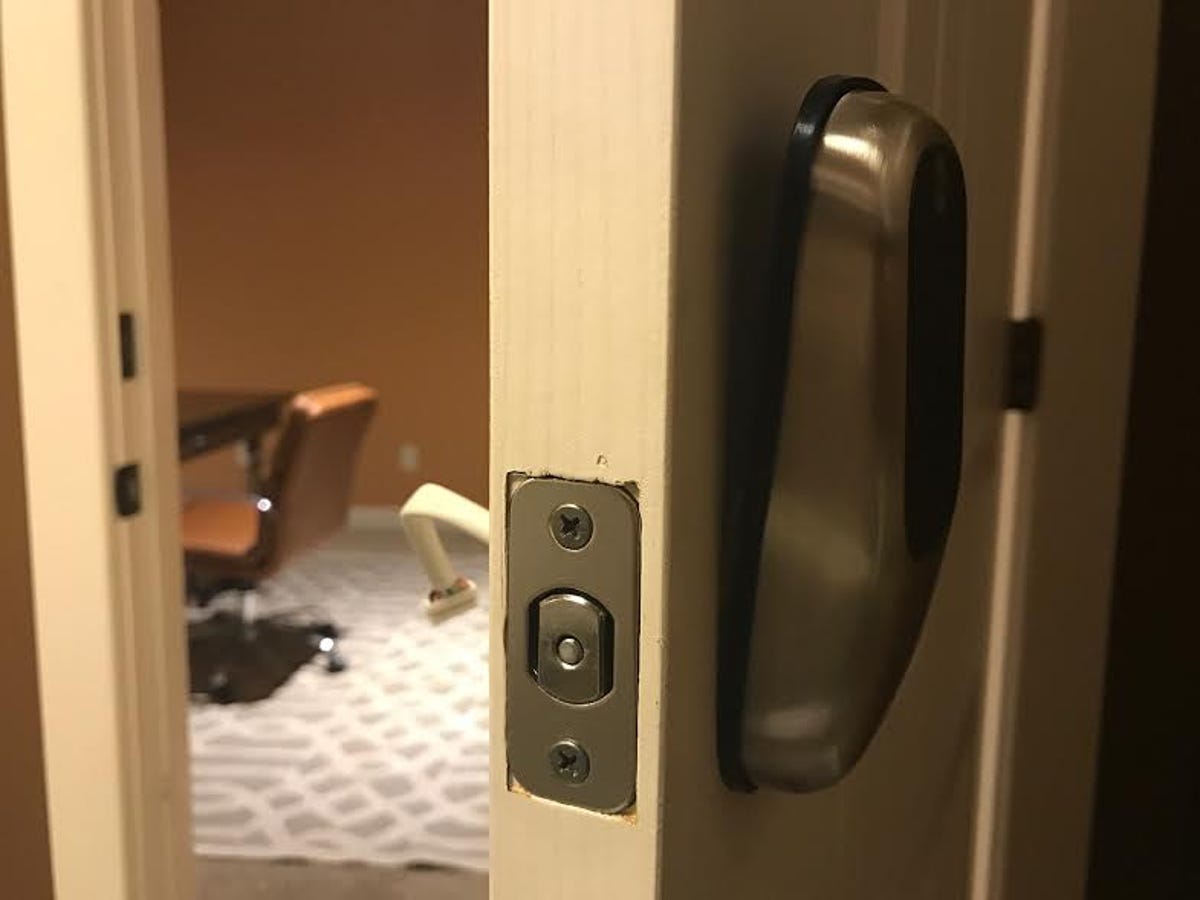
Start with the bolt
Your first step: Insert the bolt itself, then screw the faceplate into place. Easy enough.
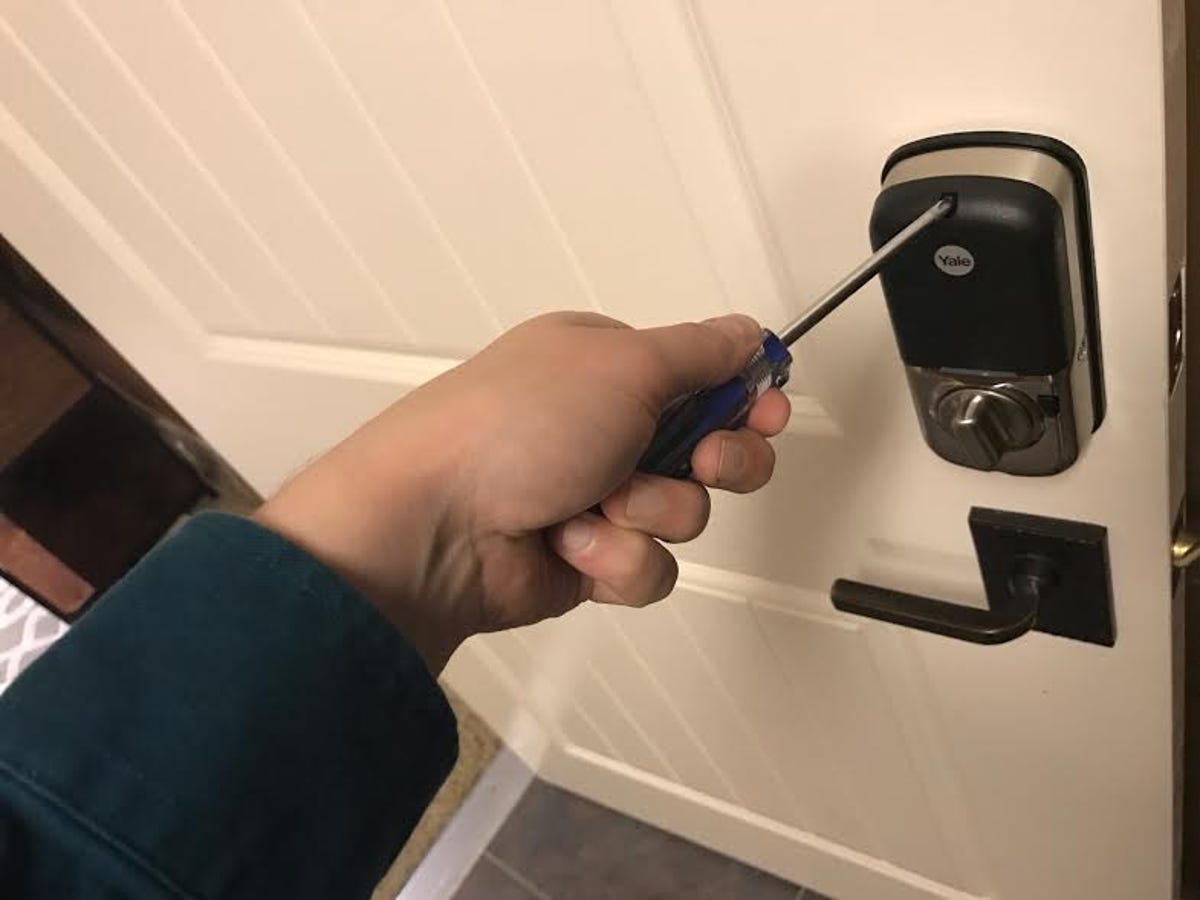
Quick check
You'll want to be sure that the turning mechanism sits right in the center of your door's opening. This is also a good time to check and make sure that the bolt will slide smoothly when you lock the door. To do so, just use a flat-head screwdriver to give it a quick turn.
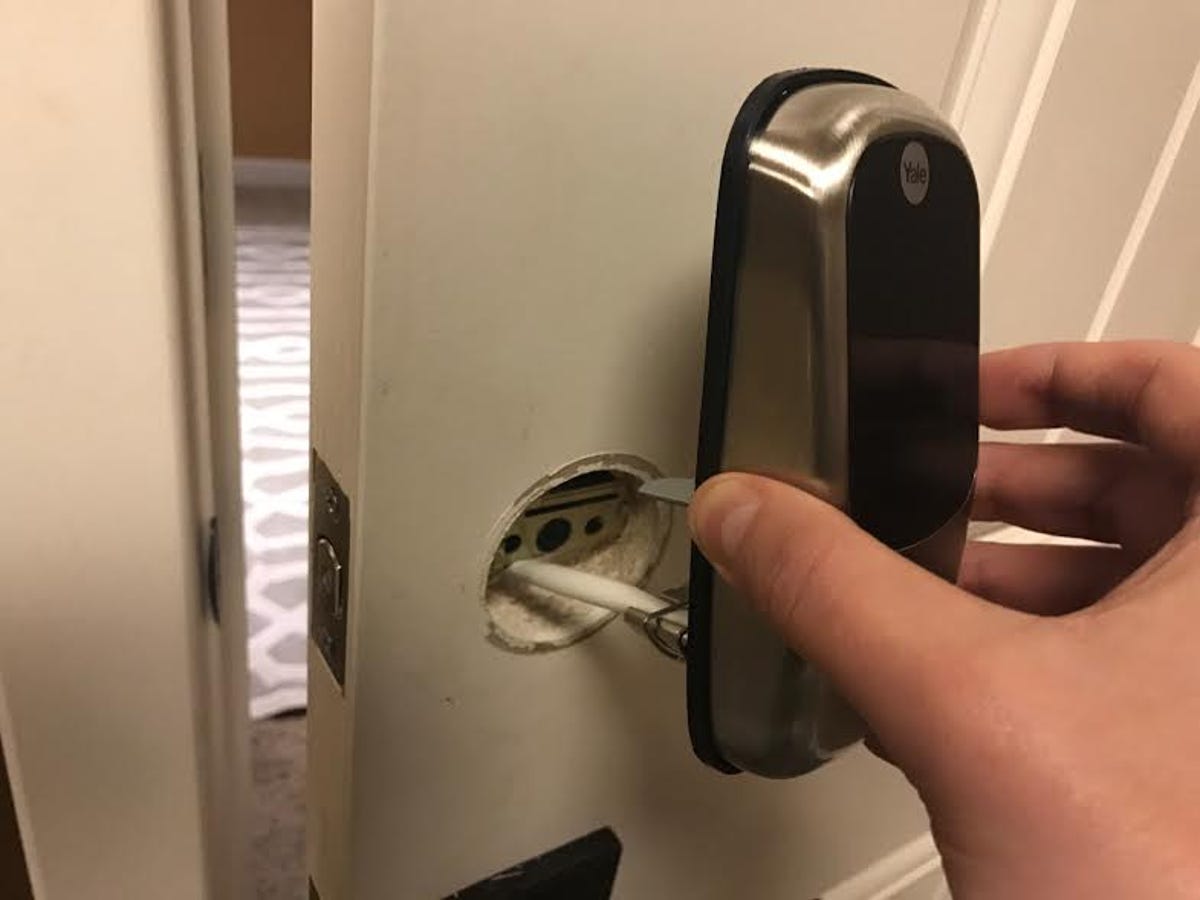
Next, the exterior
With the bolt in place, your next step is to slide the exterior half of the lock into place. Thread the cable underneath the bolt and on through to the other side.
A little loose
The exterior will hang a little loose at this point, and that's okay -- we're going to start tightening things up in just a minute.
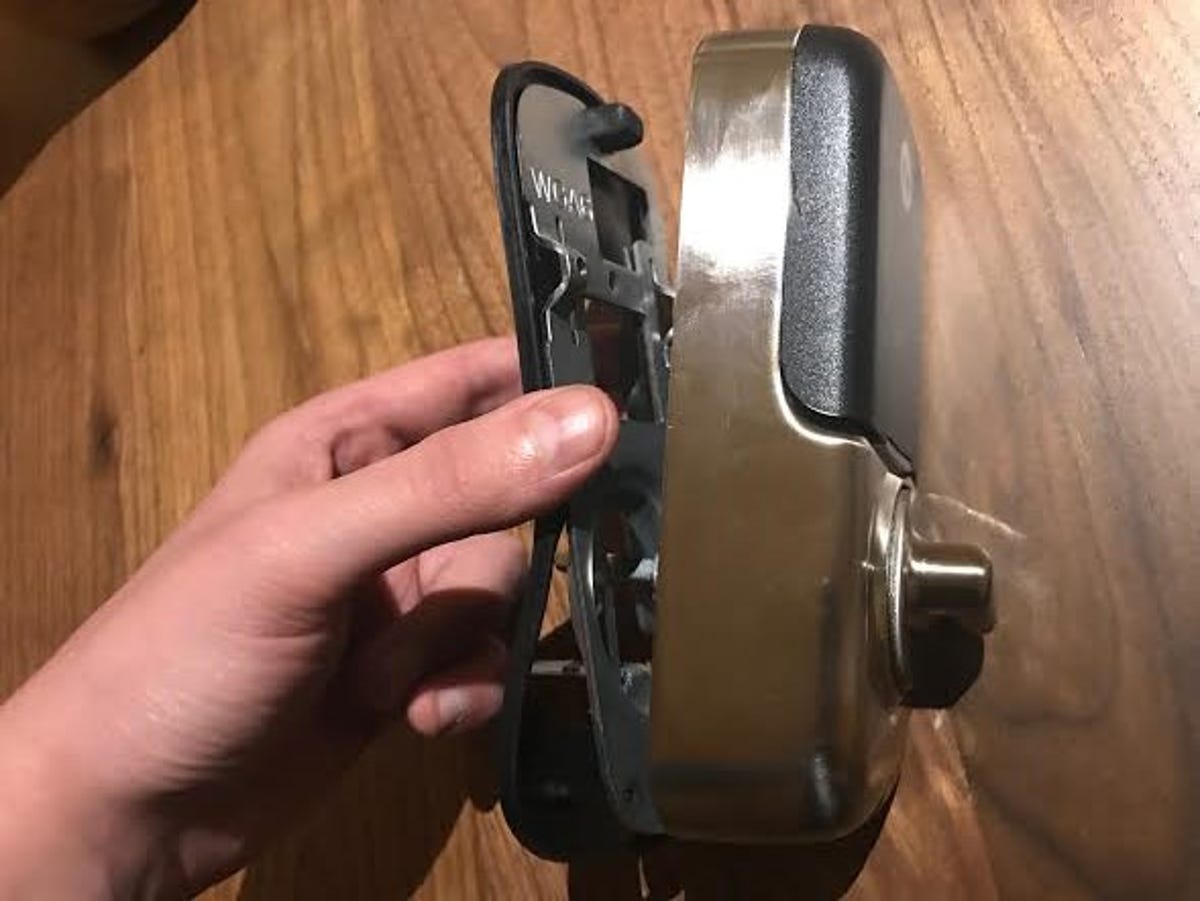
The back of the interior
Now it's time to get the interior of the lock into position. With this Yale lock, you just remove the back plate of the lock interior and screw it into place.
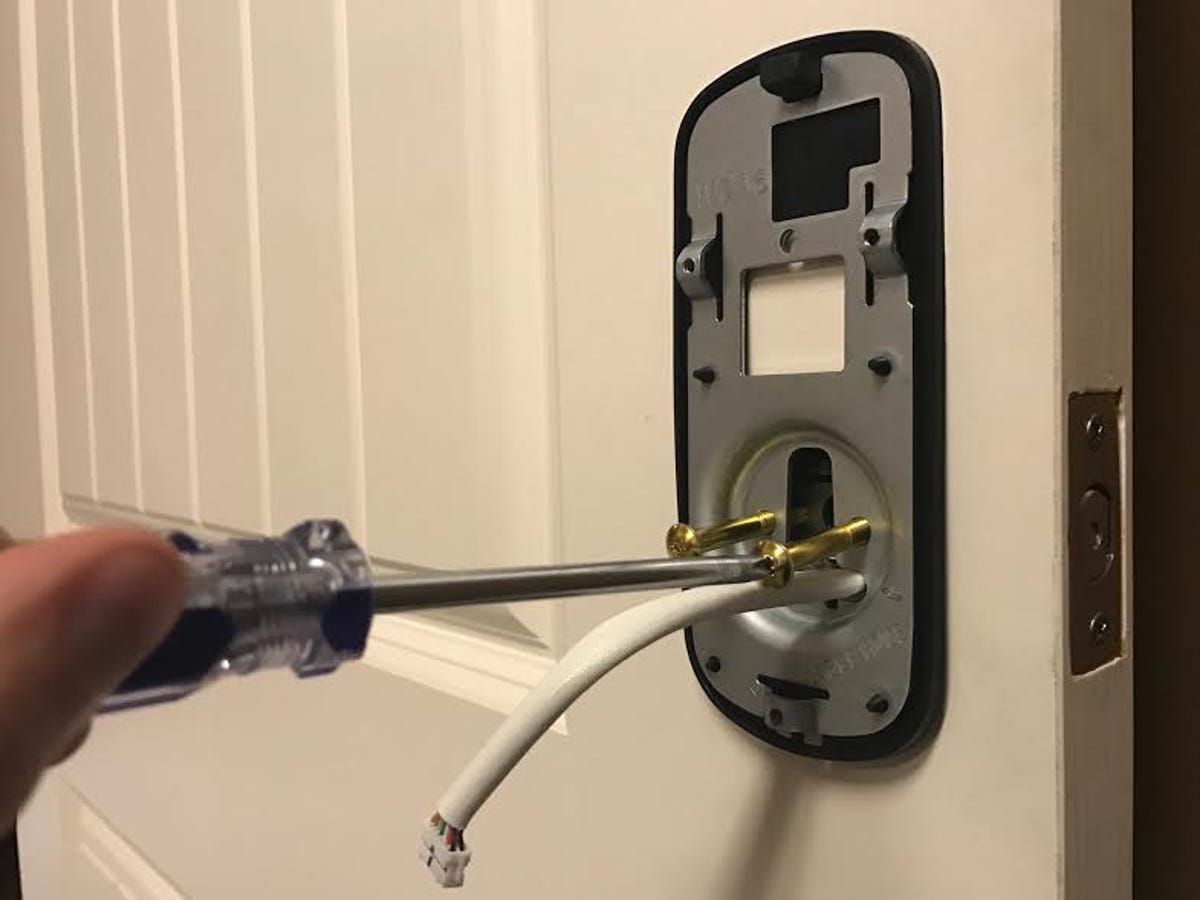
Nice and tight
Once it's affixed to the inside of your door, you'll slide those big brass screws into place. They feed through the bolt and into the exterior half of the lock. You'll want to get them nice and tight.

Give it a pinch
It helps to hold the door and lock like this as you're screwing those bolts in -- otherwise, they'll just push the exterior half of the lock out of place.
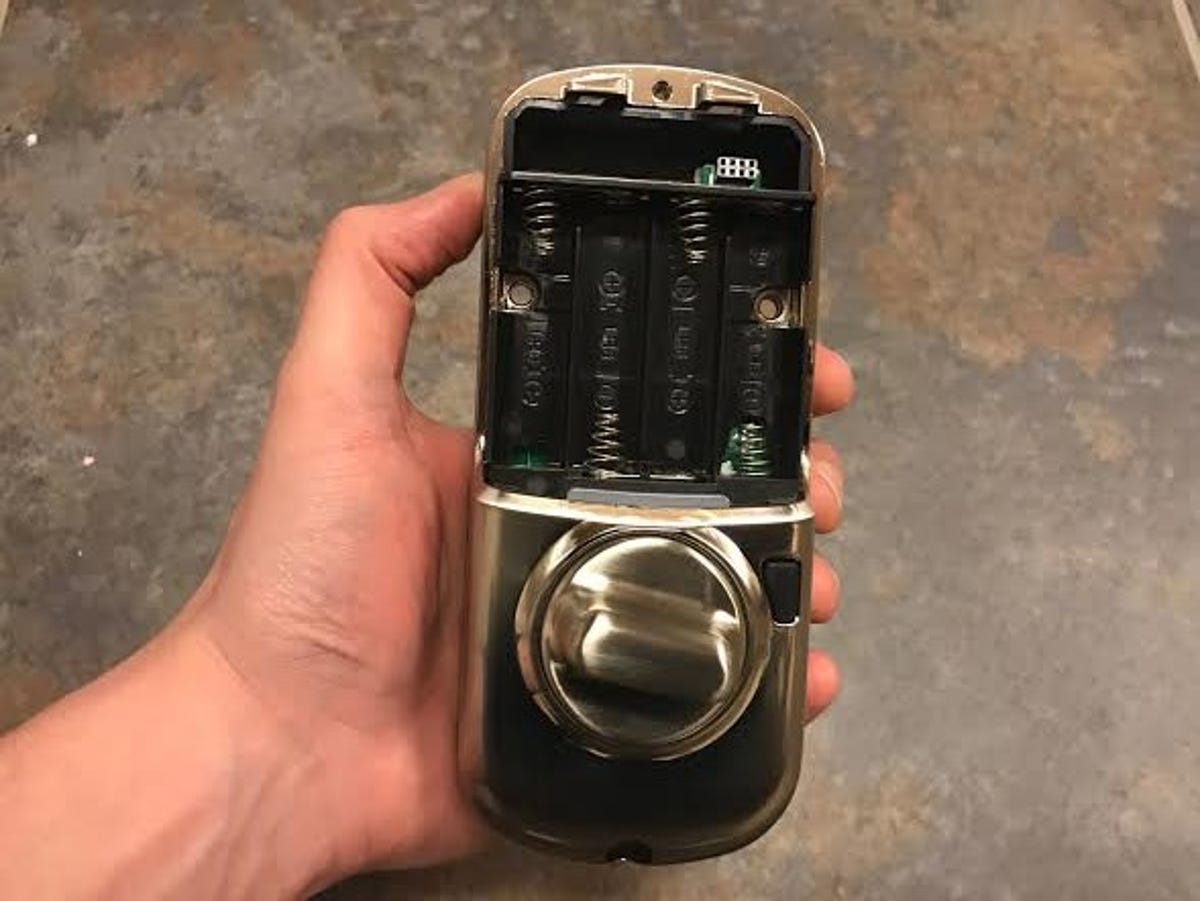
Prep the exterior
Go ahead and remove the battery cover from the exterior of the lock, but don't put the batteries in yet.

Get connected
Connect the cable to the interior of the lock, then grab your screwdriver.
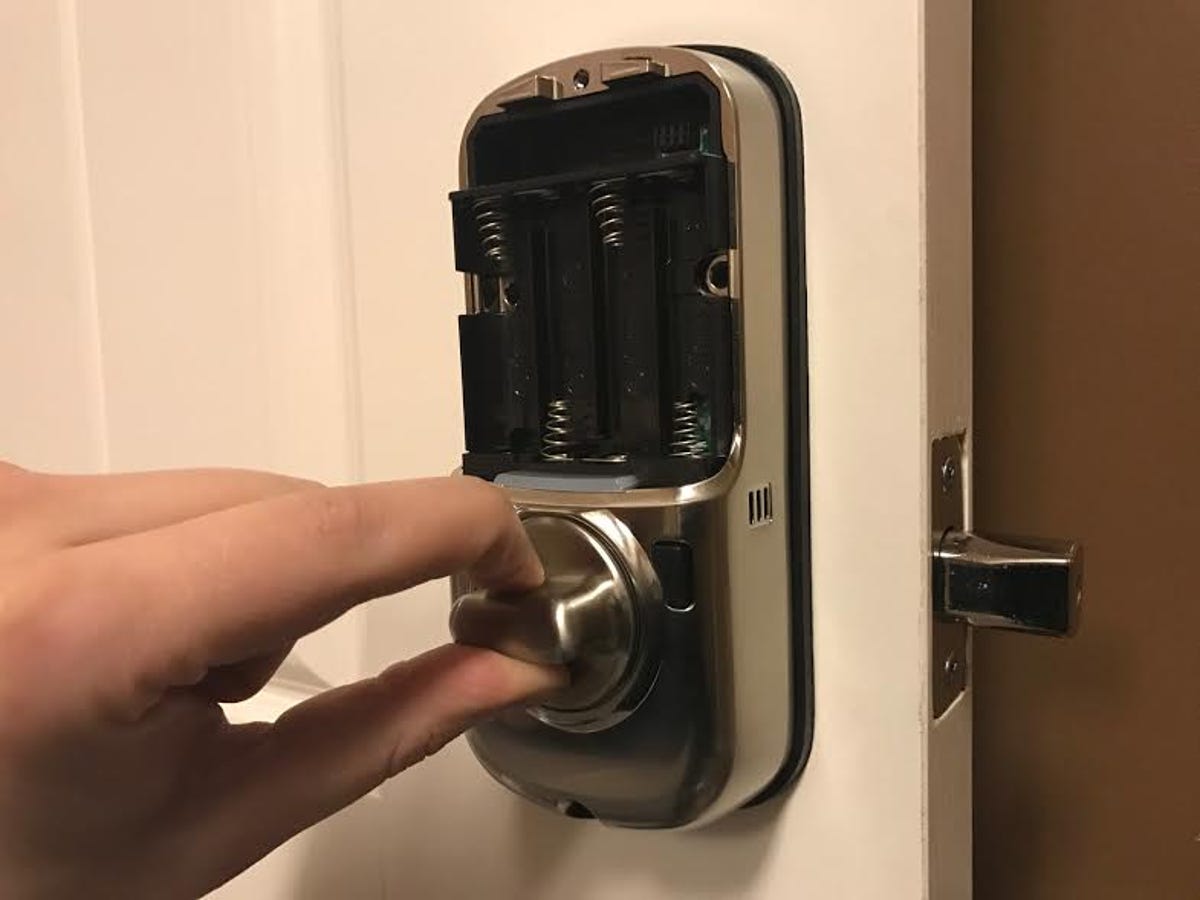
Quick test
This is a good moment to give the lock a quick test turn to make sure that the bolt is turning smoothly.
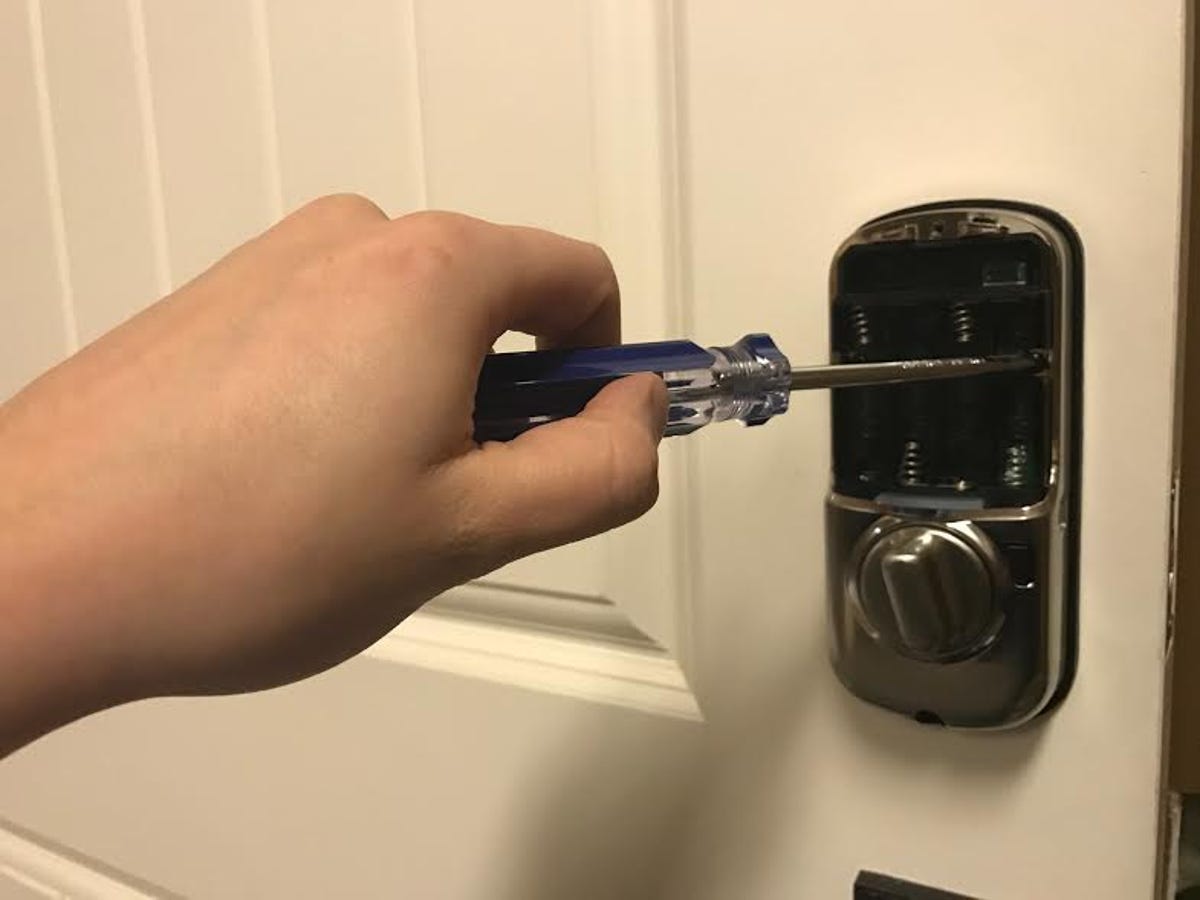
Screw it in
A couple of screws later, and the exterior sits snugly in place.

Battery time
Next, get those batteries in.
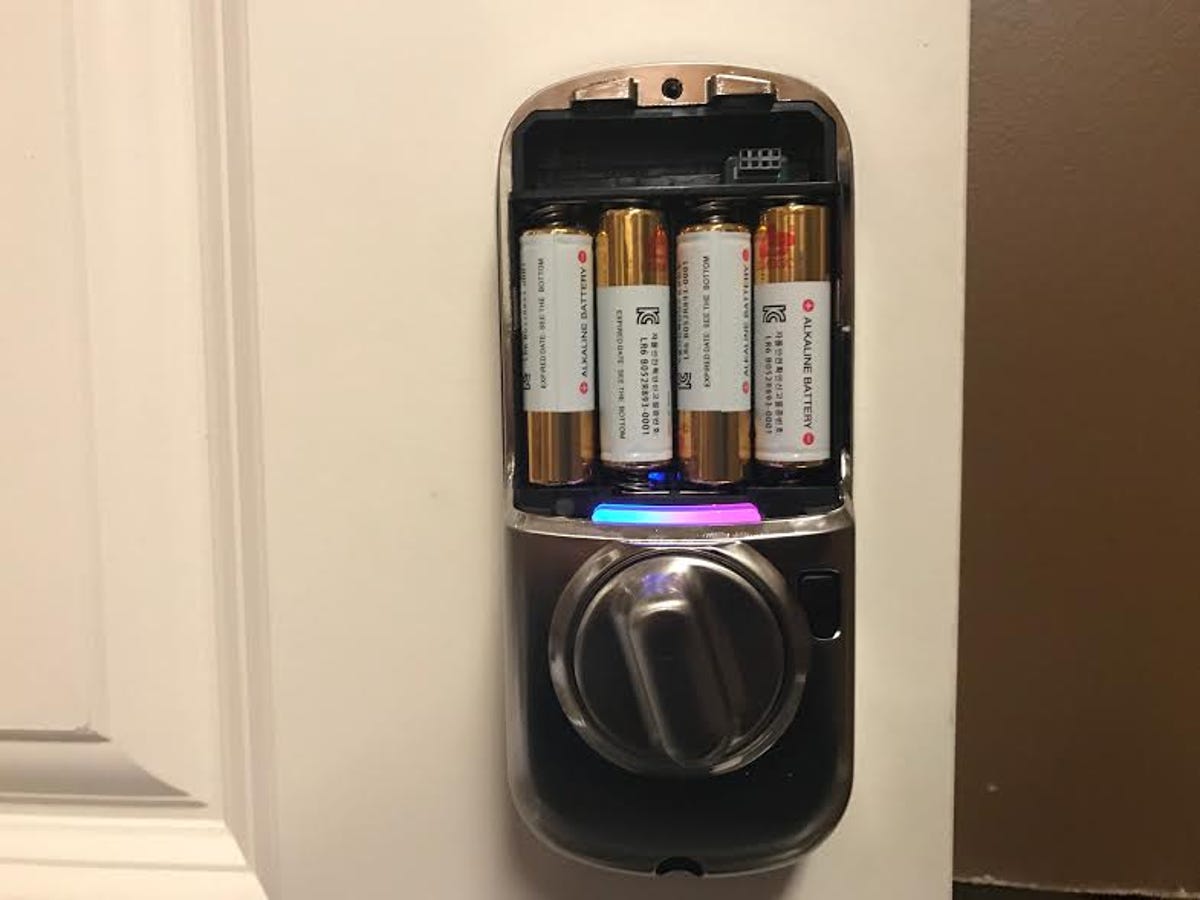
Lights
Once you do, the lock should beep, light up or give some other indication that it's correctly powered.
Battery cover
Screw that battery cover back into place, like so.
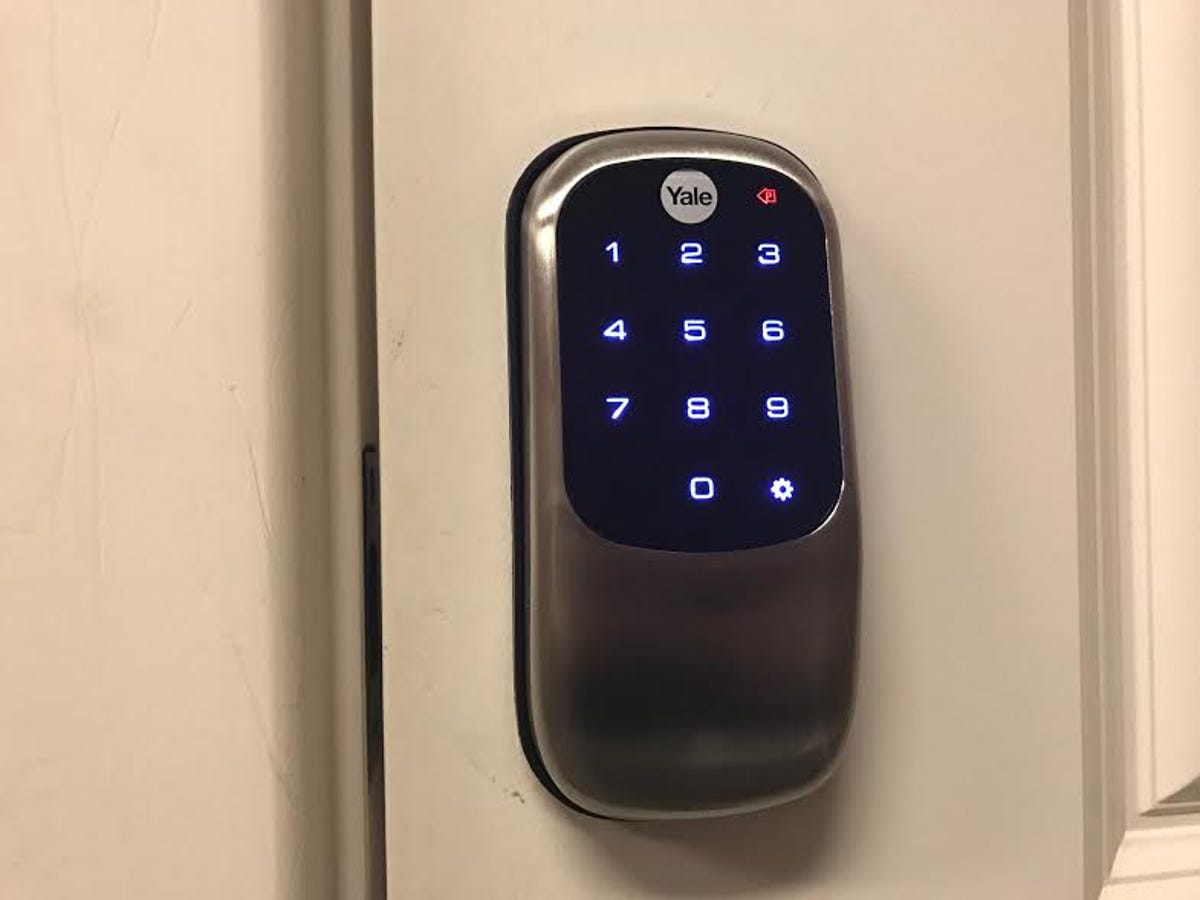
Voila!
There you go! You're now the proud owner of a correctly installed smart lock. To set it up, you'll want to download the lock's app and follow the pairing instructions, which will vary from lock to lock.
More Galleries

My Favorite Shots From the Galaxy S24 Ultra's Camera
20 Photos
Honor's Magic V2 Foldable Is Lighter Than Samsung's Galaxy S24 Ultra
10 Photos
The Samsung Galaxy S24 and S24 Plus Looks Sweet in Aluminum
23 Photos
Samsung's Galaxy S24 Ultra Now Has a Titanium Design
23 Photos
I Took 600+ Photos With the iPhone 15 Pro and Pro Max. Look at My Favorites
34 Photos
