Cracking open the iPod Shuffle (photos)
Sister site TechRepublic tears down the newest version of the iPod Shuffle to see what makes it tick.
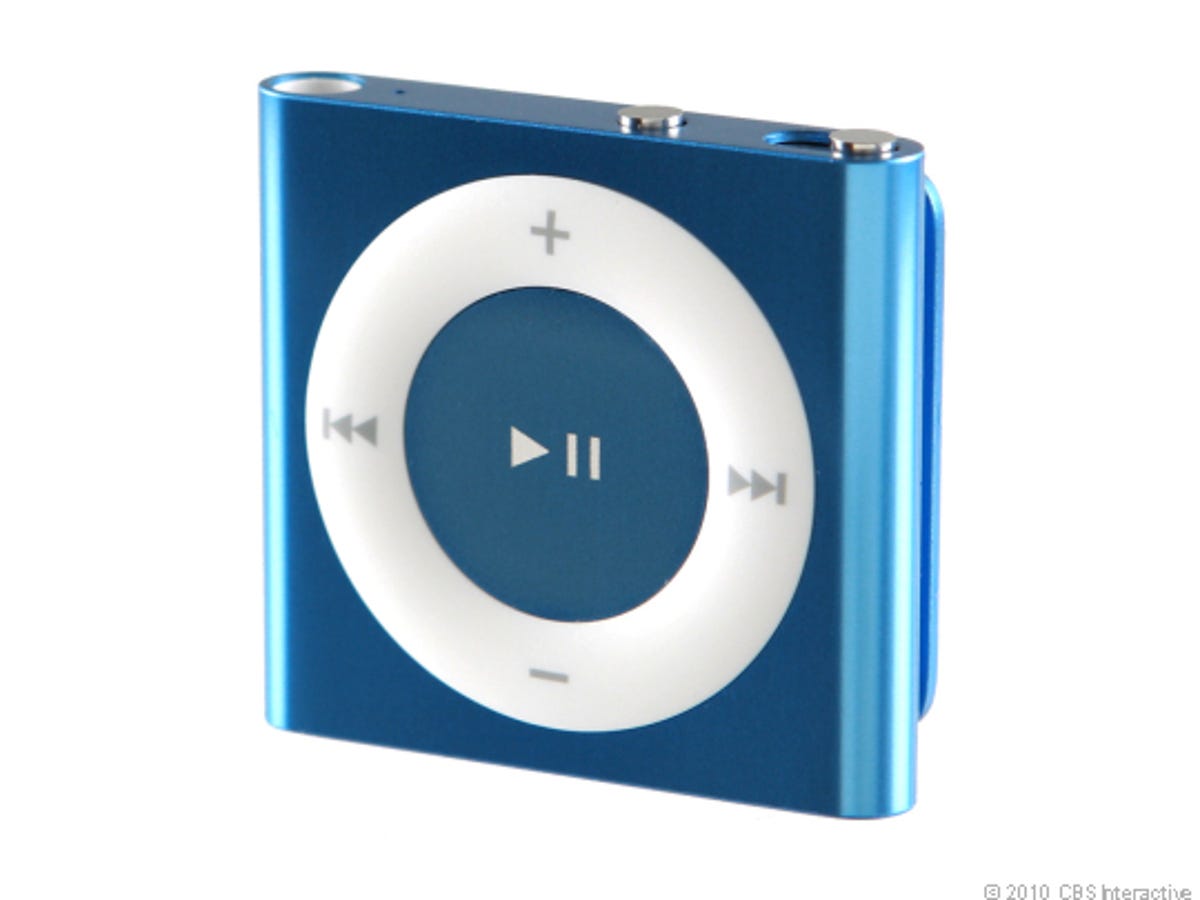
iPod Shuffle
In September 2010, Apple unveiled the forth-generation iPod Shuffle. The music player has the basic design of the second-generation iPod Shuffle, with the large control pad and postage stamp shape.
Unlike most of the computers, smartphones, and gadgets I disassemble, the iPod Shuffle isn't designed to be taken apart and put back together. And with a price of just $49, most people will opt to simply replace a damaged Shuffle instead of repairing it. But that doesn't mean it can't or shouldn't be done.
If you do decide to disassemble the iPod Shuffle, you'll need a Phillips #00 or #000 screwdriver and a thin metal blade or plastic spudger.
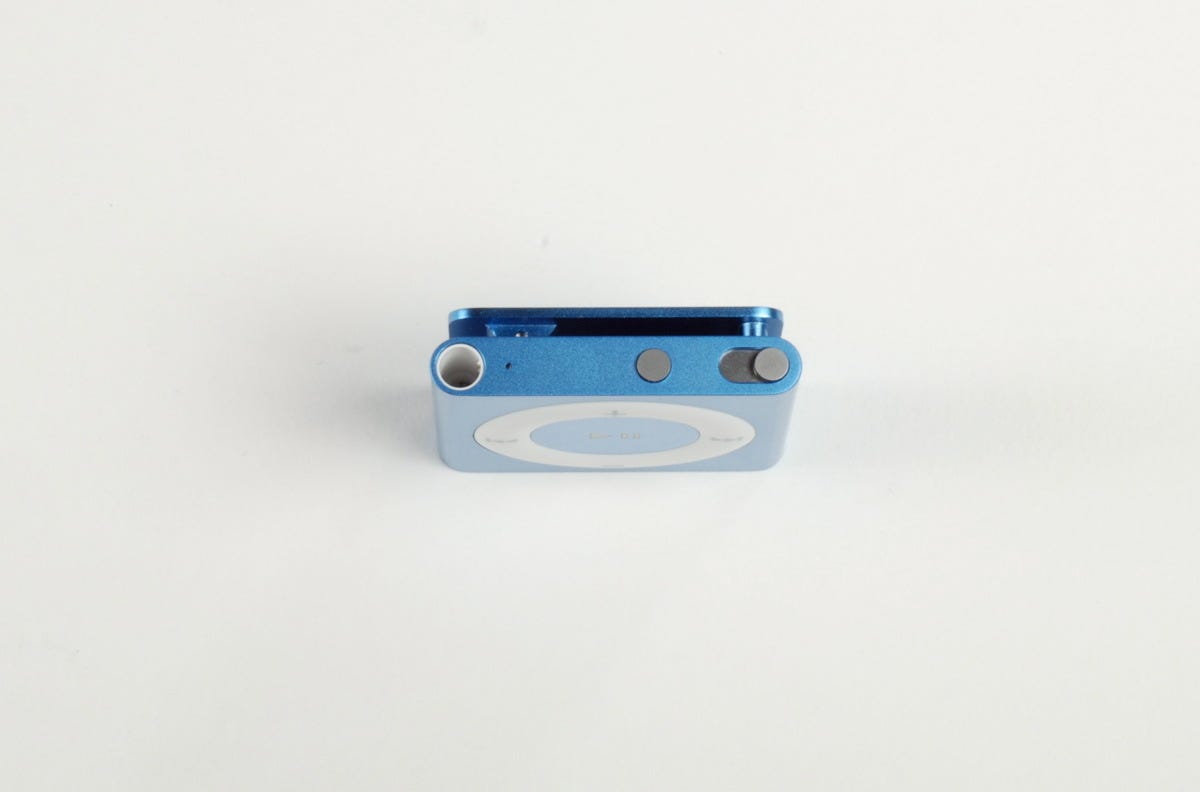
iPod Shuffle top
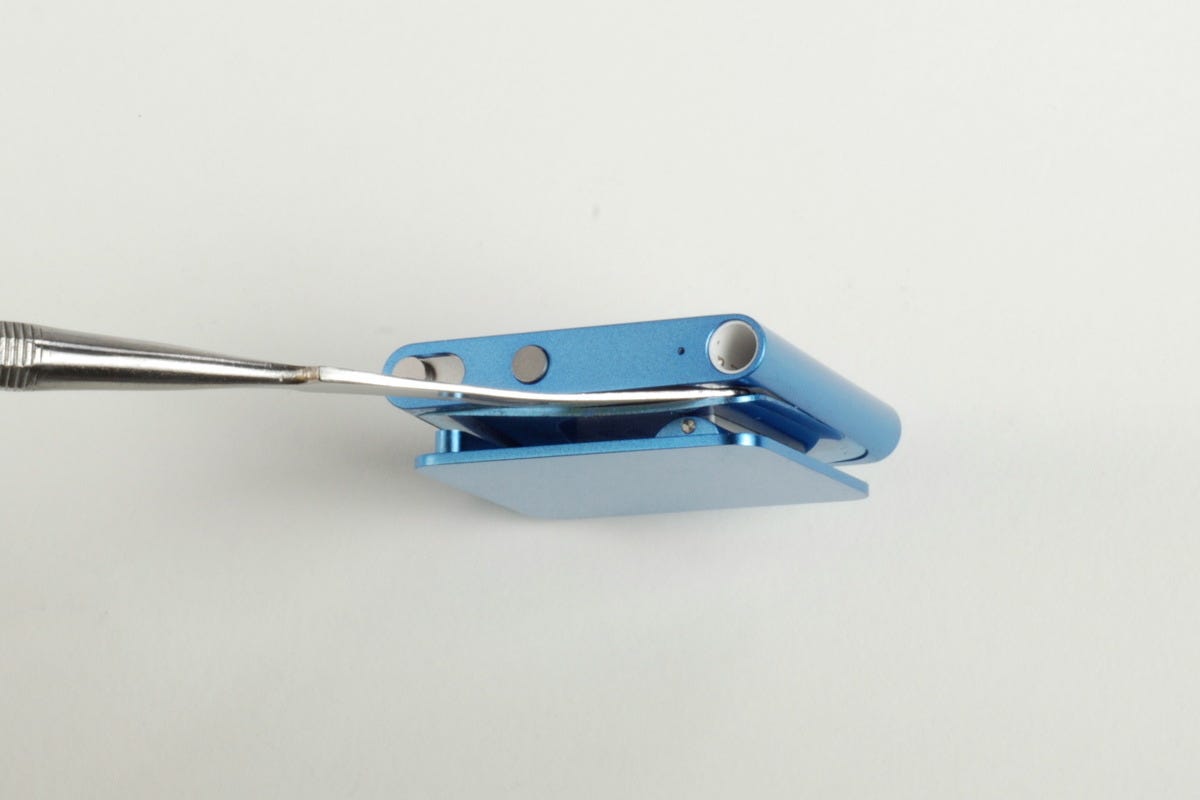
Opening the iPod Shuffle
The fourth-generation iPod Shuffle's case has two parts--a larger front enclosure and a rear panel. The clip is attached to the rear panel.
Holding the clip in the open position, you can see where the edges of the rear panel meet the front enclosure. The joint between the two case sections is extremely tight. To remove the rear panel, I pulled up on the open end of the clip until I formed a small gap between the two sections. I then inserted a thin metal blade and pried the panel free.
The rear panel is held in place with tabs that run along the left and right sides, as well as adhesive. You may bend the panel slightly during removal, but you should be able to pull it free without breaking it.
With one side of the panel free, you should be able to separate it from the front case enclosure. A very thin rubber gasket sits under the rear panel. Take care not to rip the gasket when removing the panel.
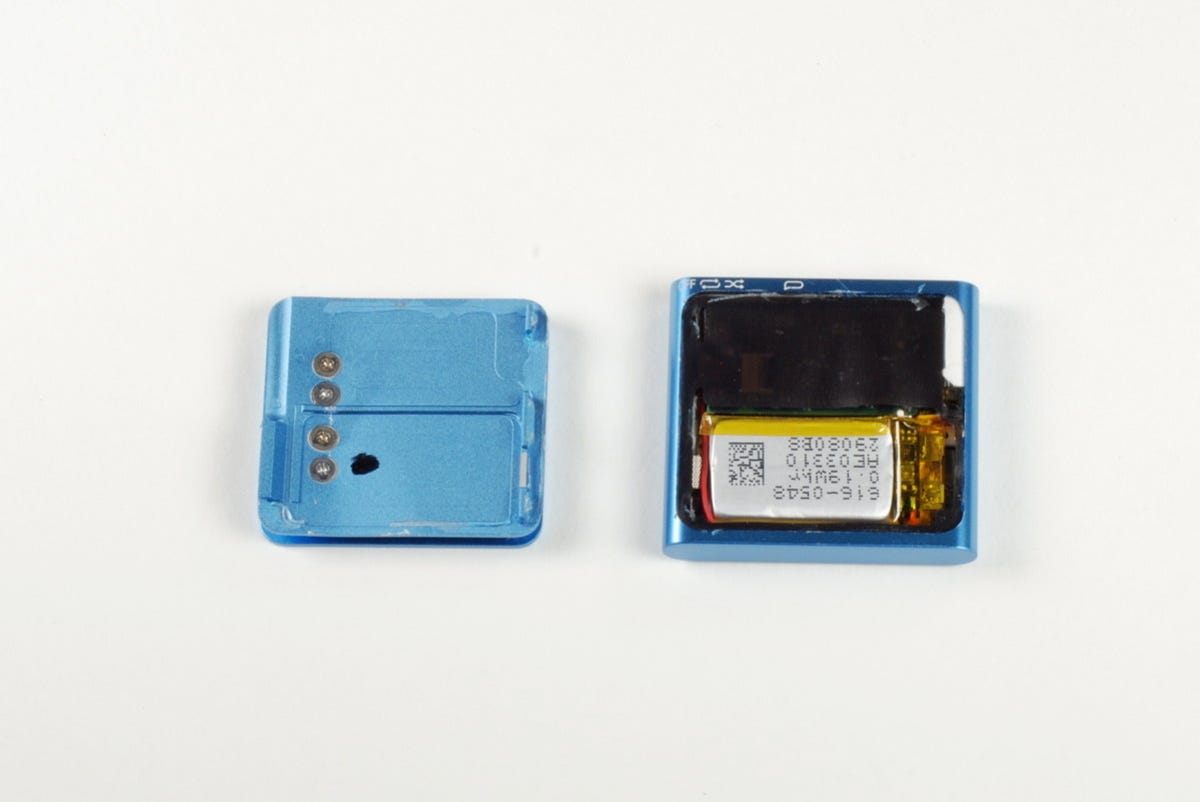
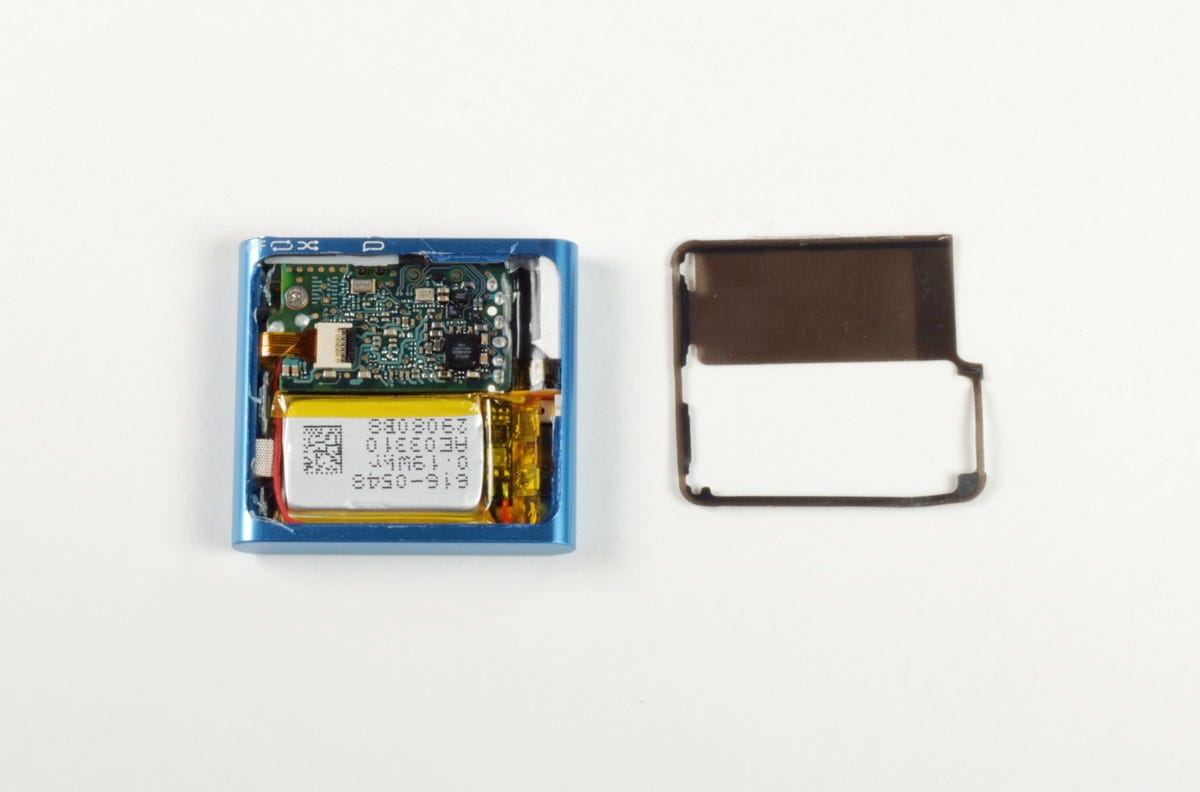
Rear panel removed
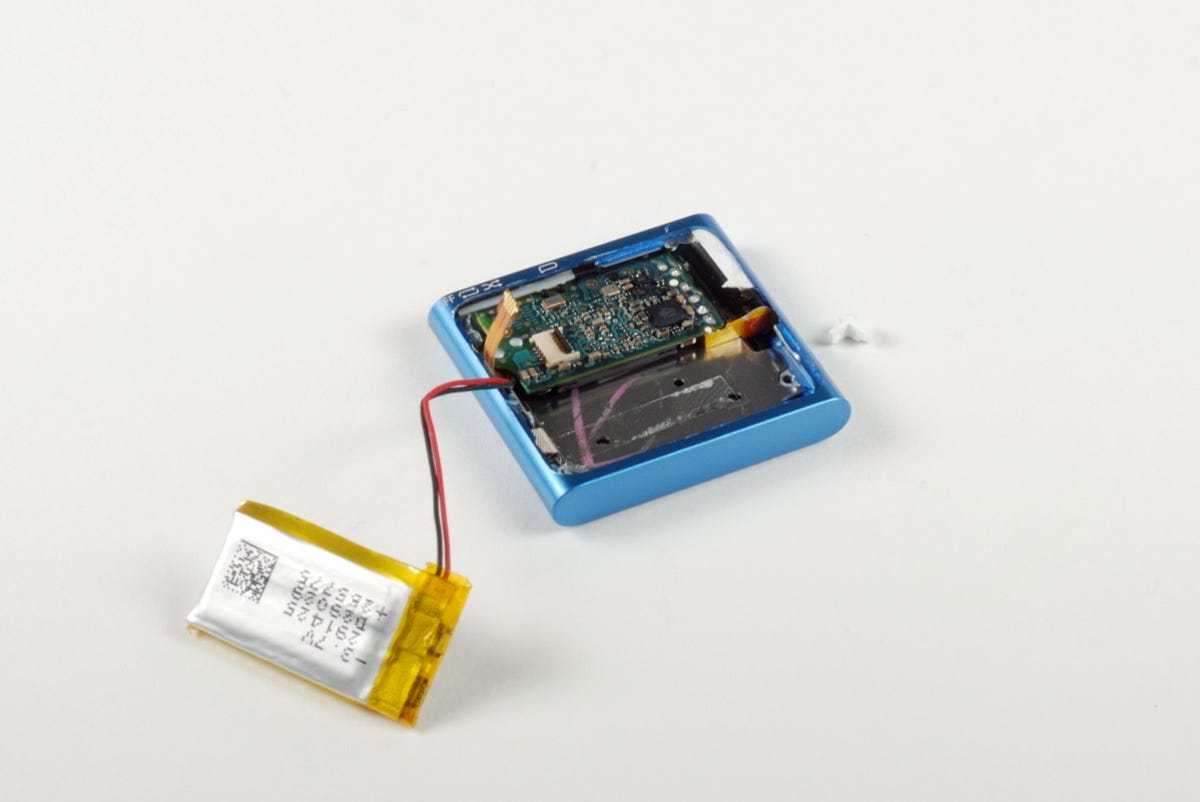
With the rear panel (left) removed, we get our first look inside the fourth-generation iPod Shuffle. The iPod Shuffle's clip and hinge are attached to the rear panel with four screws.
Taking up roughly half the space inside the fourth-generation iPod Shuffle is the 3.7V, 0.19Whr Li-ion battery. On the right, you can see the black, rubber gasket still covers the back of the logic board.
iPod Shuffle gasket
iPod Shuffle battery
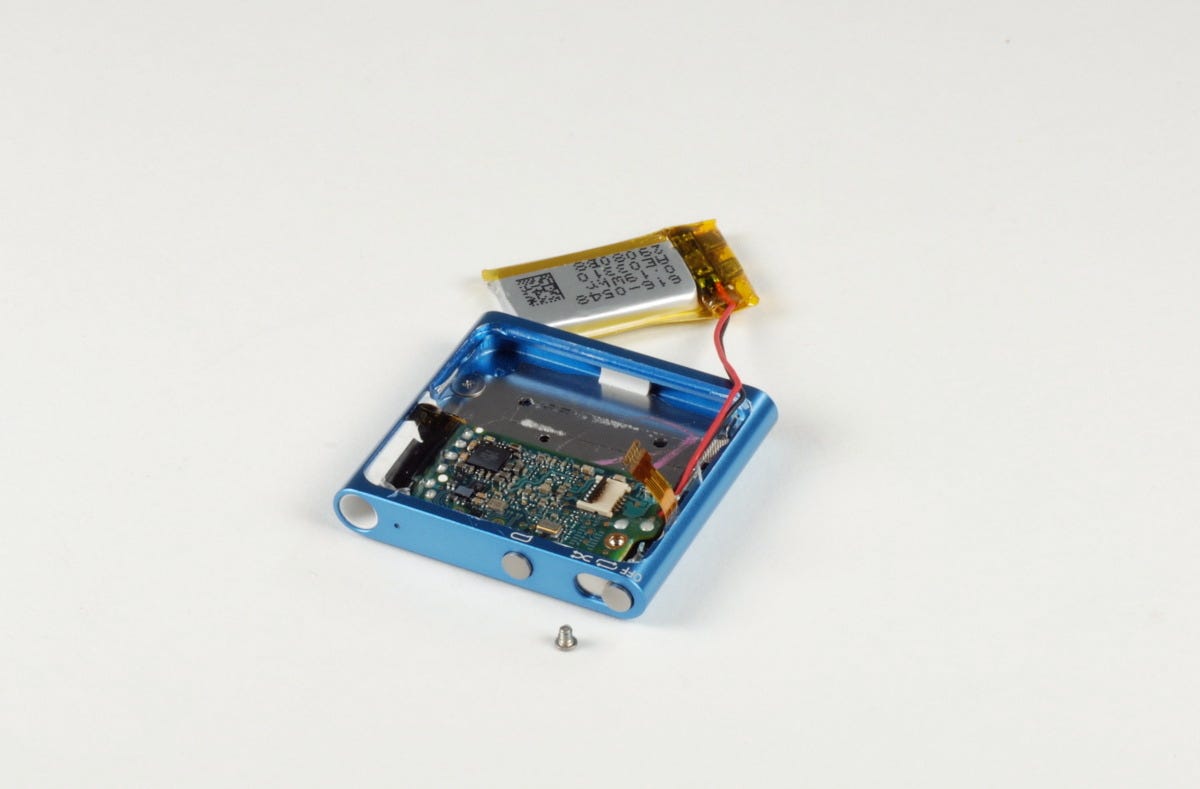
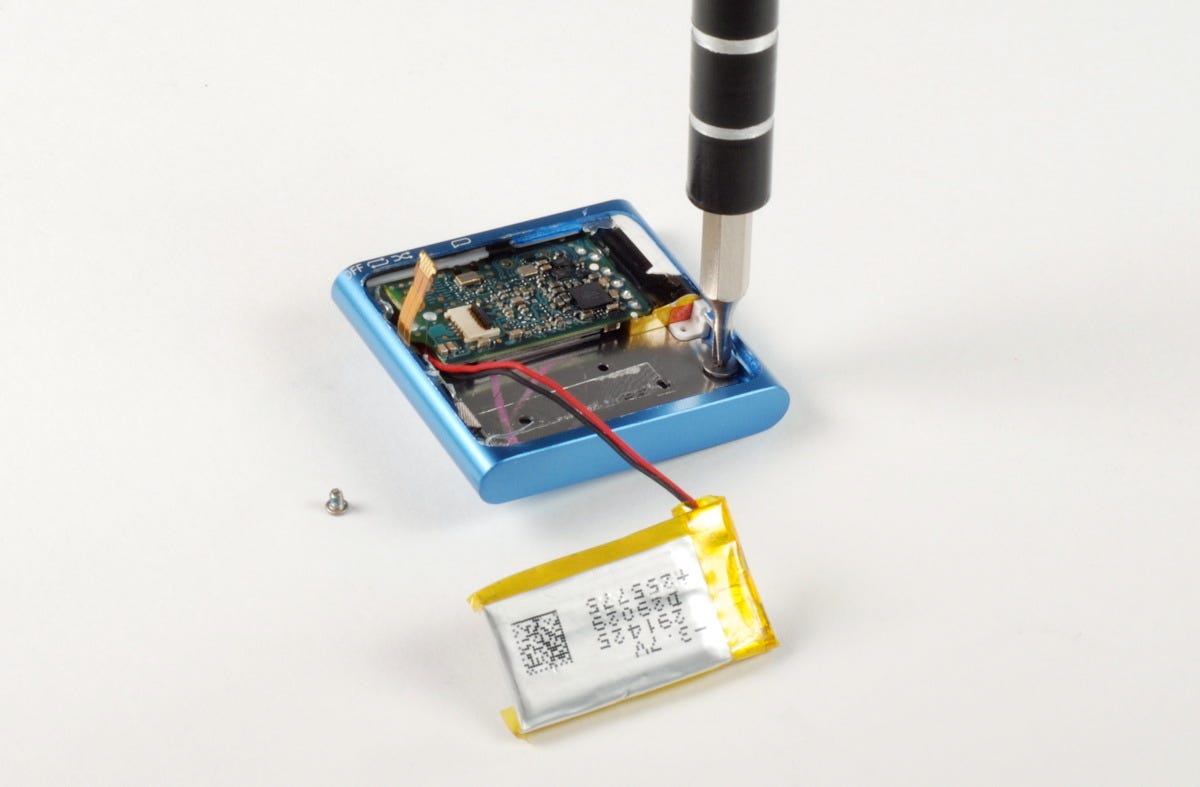
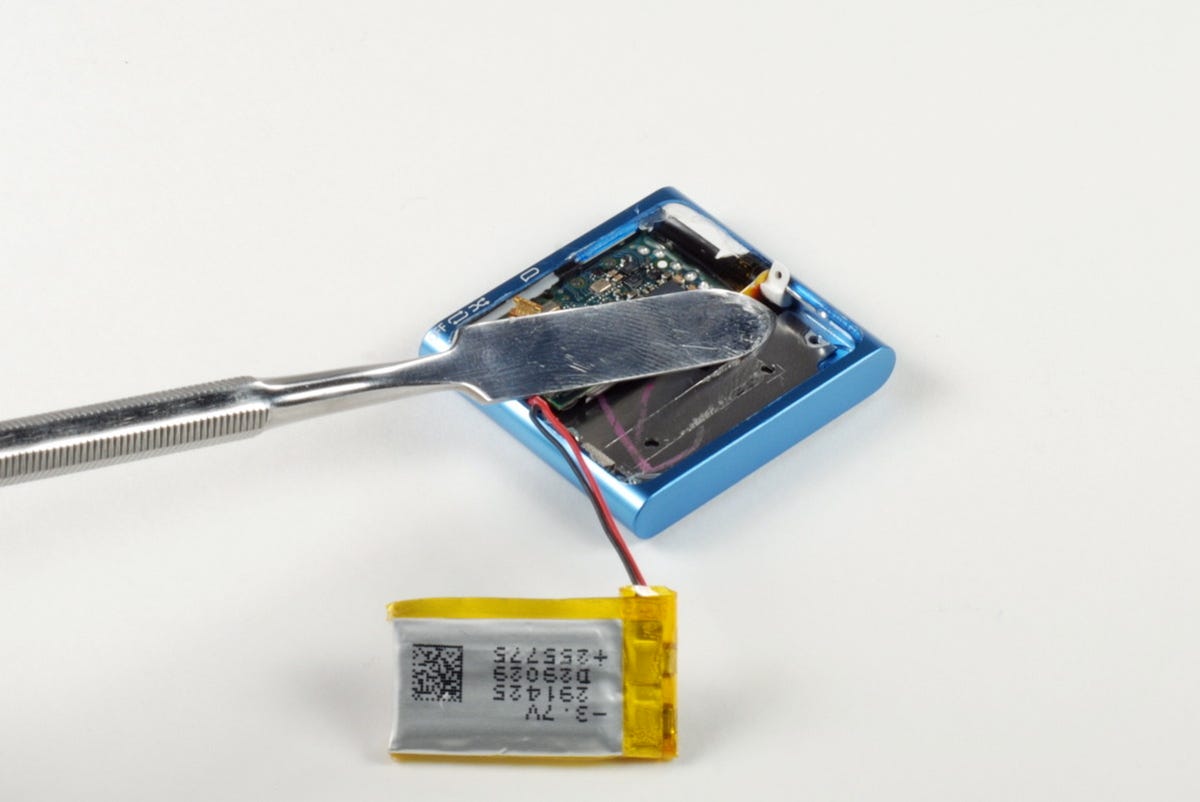
Unfortunately, Apple soldered the iPod Shuffle's battery to the logic board. You won't be replacing this battery without getting out your soldering iron.
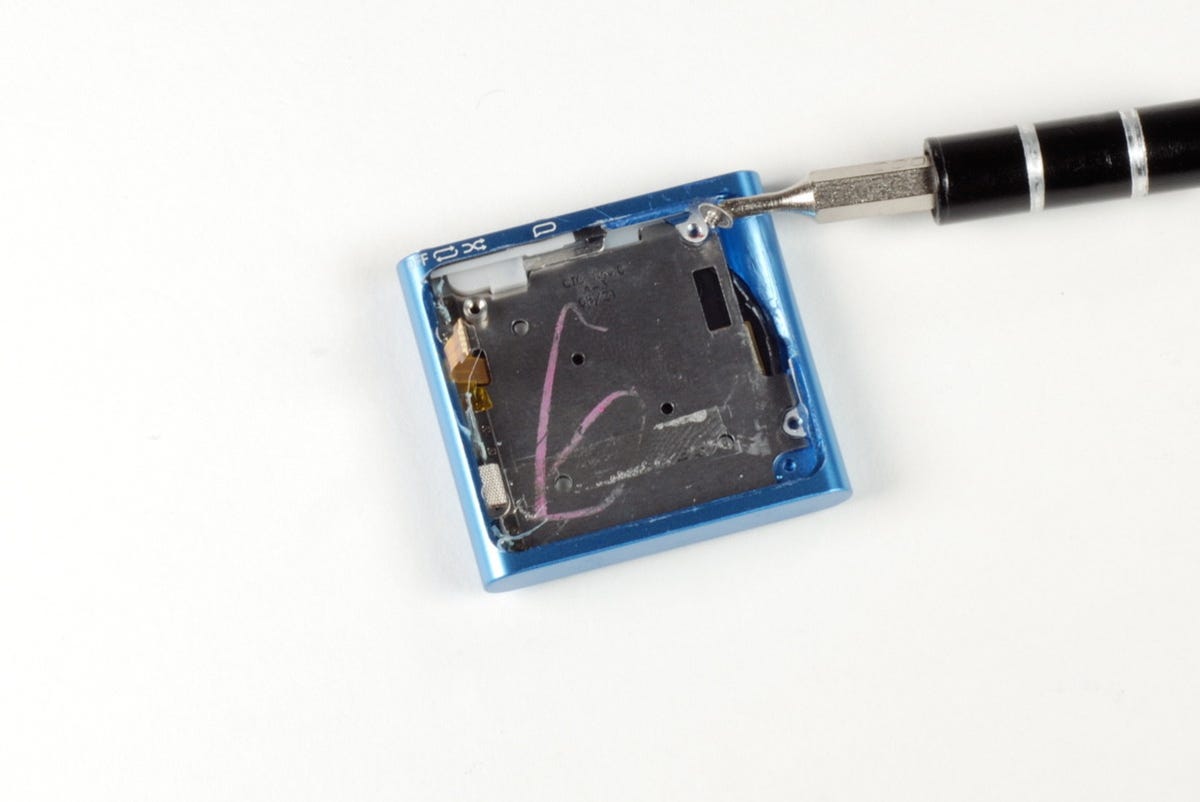
The iPod Shuffle's logic board is held in place with a single Phillips #00 screw. You'll also need to disconnect the small ribbon cable for the control pad.
iPod Shuffle's internal backing
Spacer in iPod Shuffle
iPod Shuffle logic board

Removing logic board
iPod Shuffle control pad
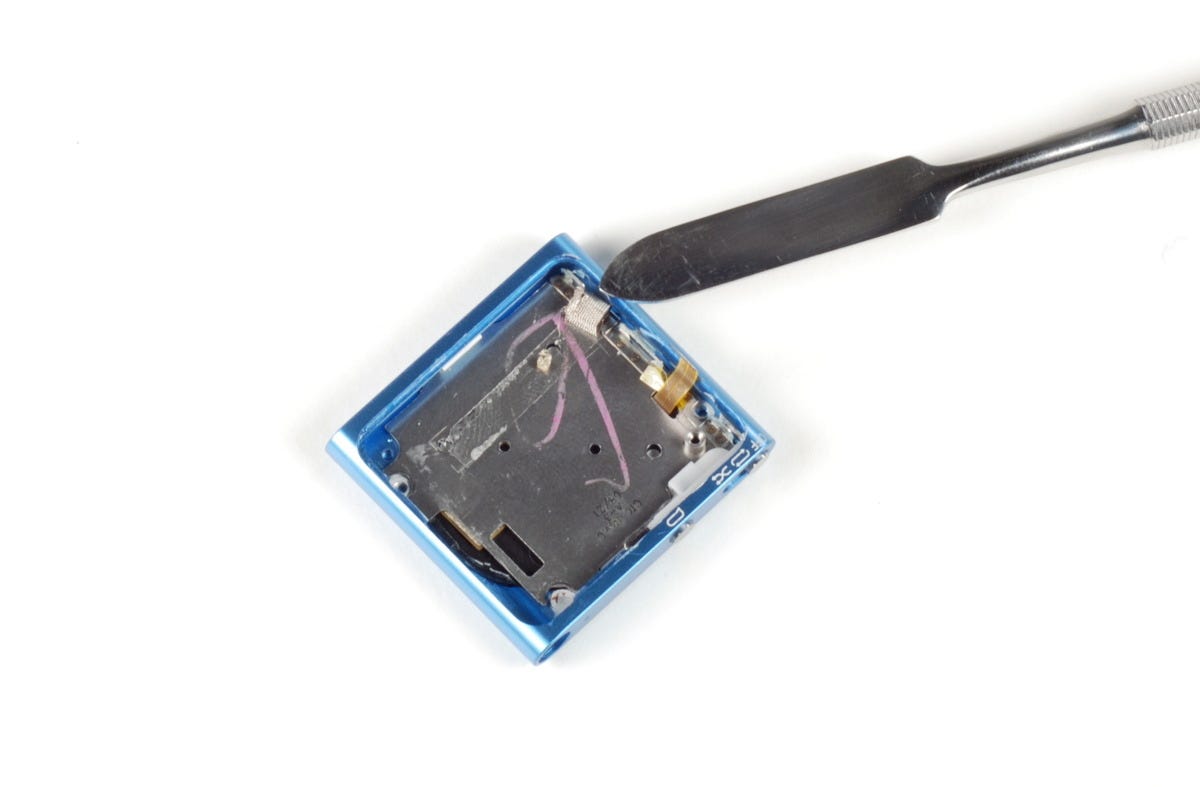
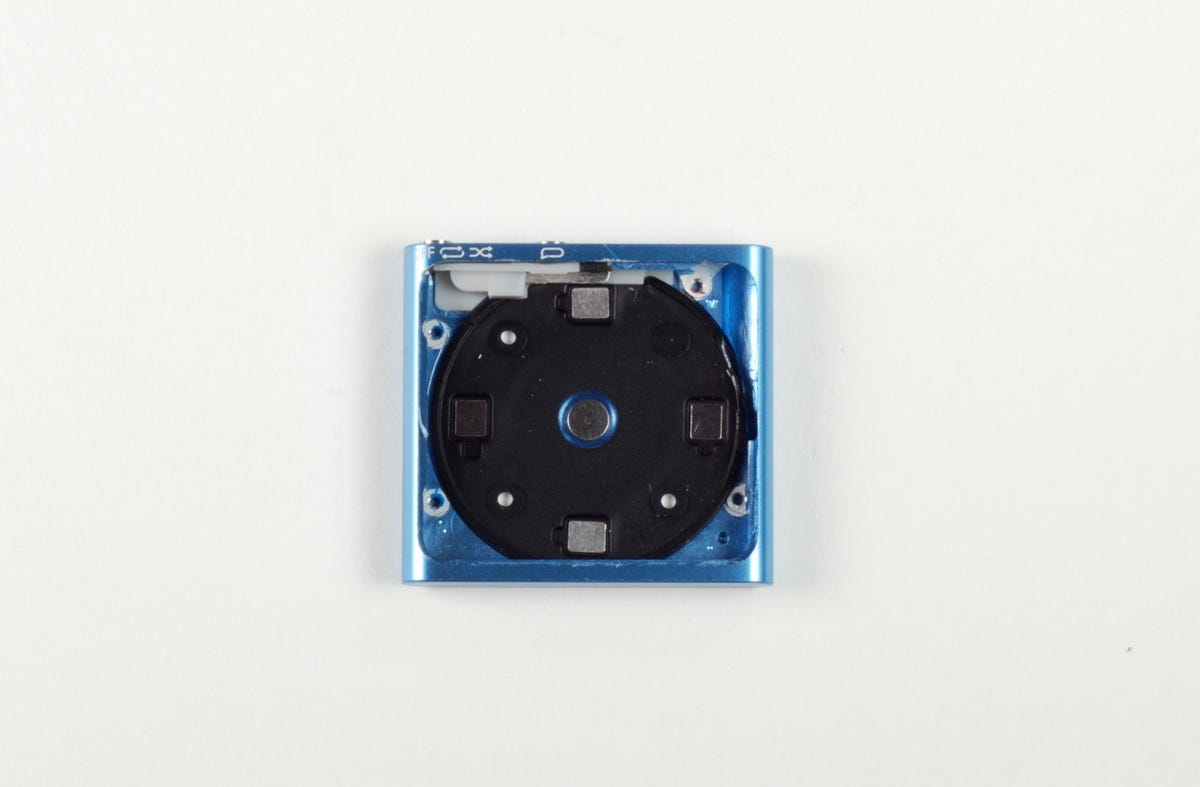
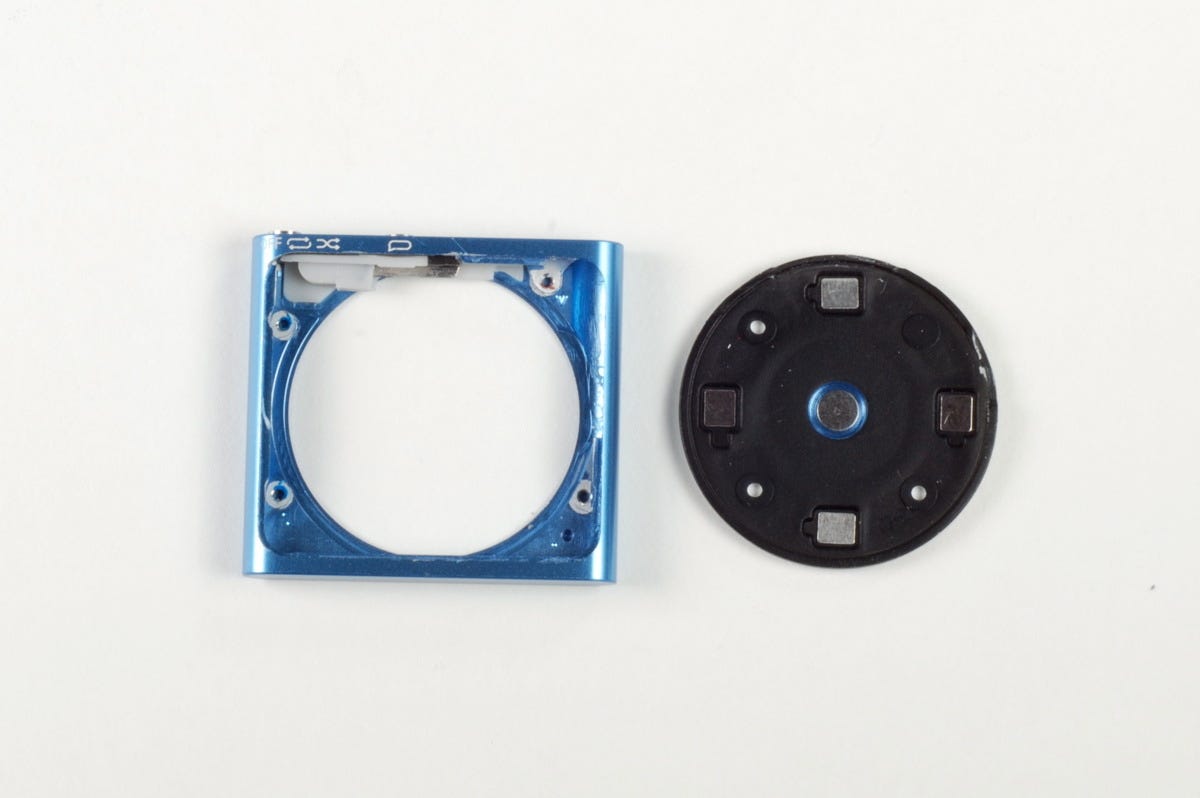
With the logic board and battery removed, we can see a metal plate, which serves as a base for the control pad contacts. It's held in place with four Phillips #00 screws--one of which I removed earlier.
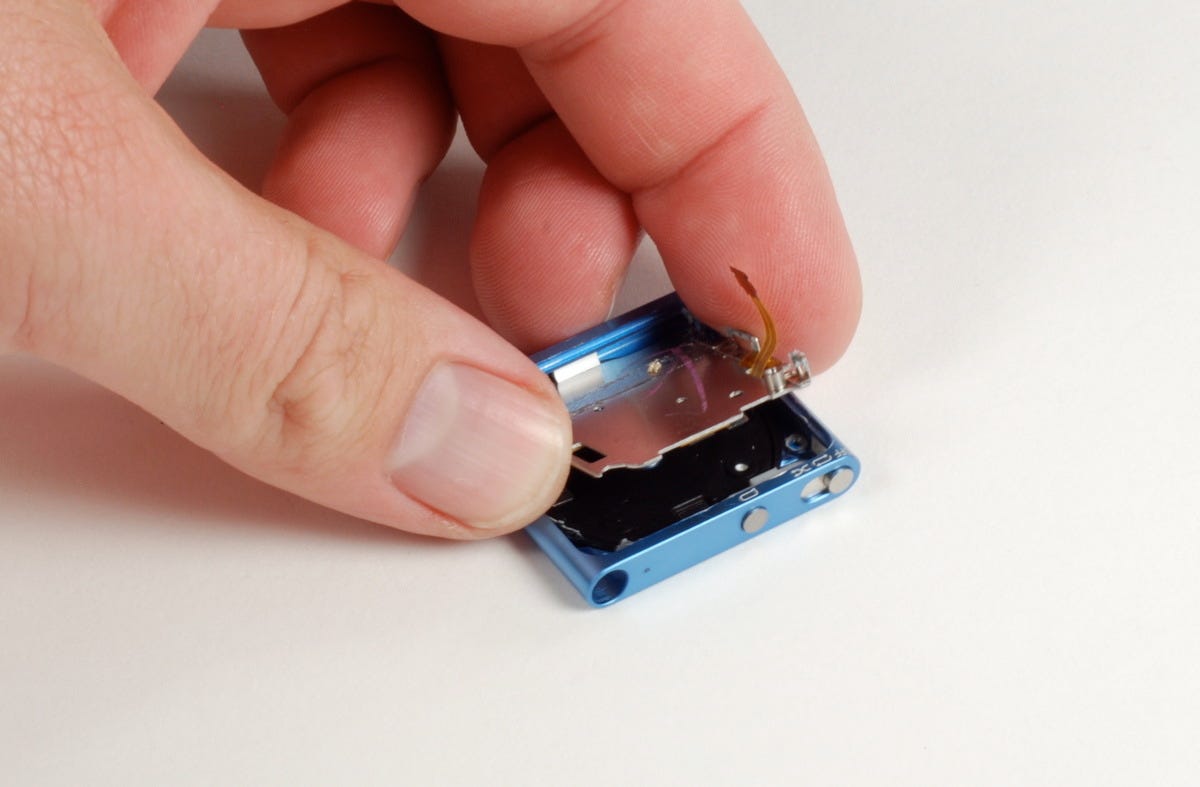
We'll need to remove the three remaining screws before lifting the control pad contact plate away from the case.
Hidden screw on iPod Shuffle
iPod Shuffle contact plate
iPod Shuffle control pad

Metal plate
iPod Shuffle control pad
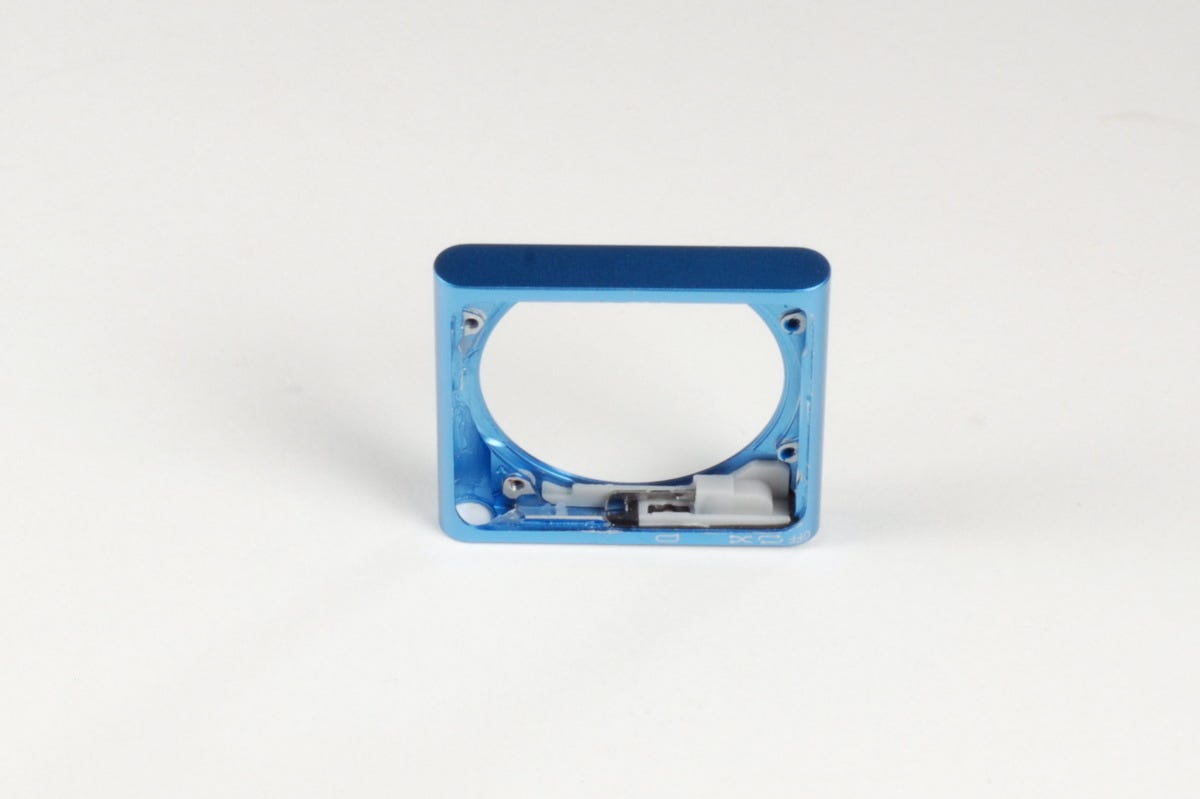
Empty iPod Shuffle case
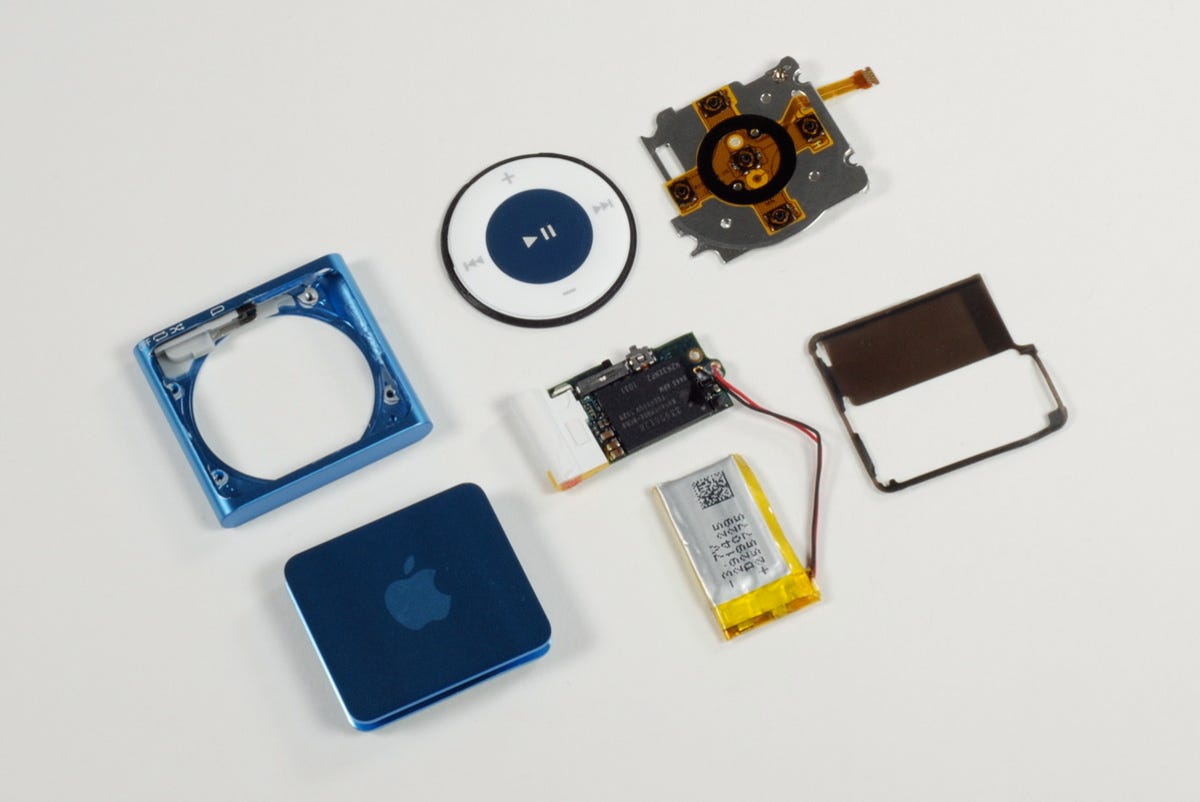
Disassembled iPod Shuffle
More Galleries

My Favorite Shots From the Galaxy S24 Ultra's Camera
20 Photos
Honor's Magic V2 Foldable Is Lighter Than Samsung's Galaxy S24 Ultra
10 Photos
The Samsung Galaxy S24 and S24 Plus Looks Sweet in Aluminum
23 Photos
Samsung's Galaxy S24 Ultra Now Has a Titanium Design
23 Photos
I Took 600+ Photos With the iPhone 15 Pro and Pro Max. Look at My Favorites
34 Photos
