The workout cooldown: How to do it properly
A trainer explains why the cooldown is important to prevent injury and keep your heart healthy.


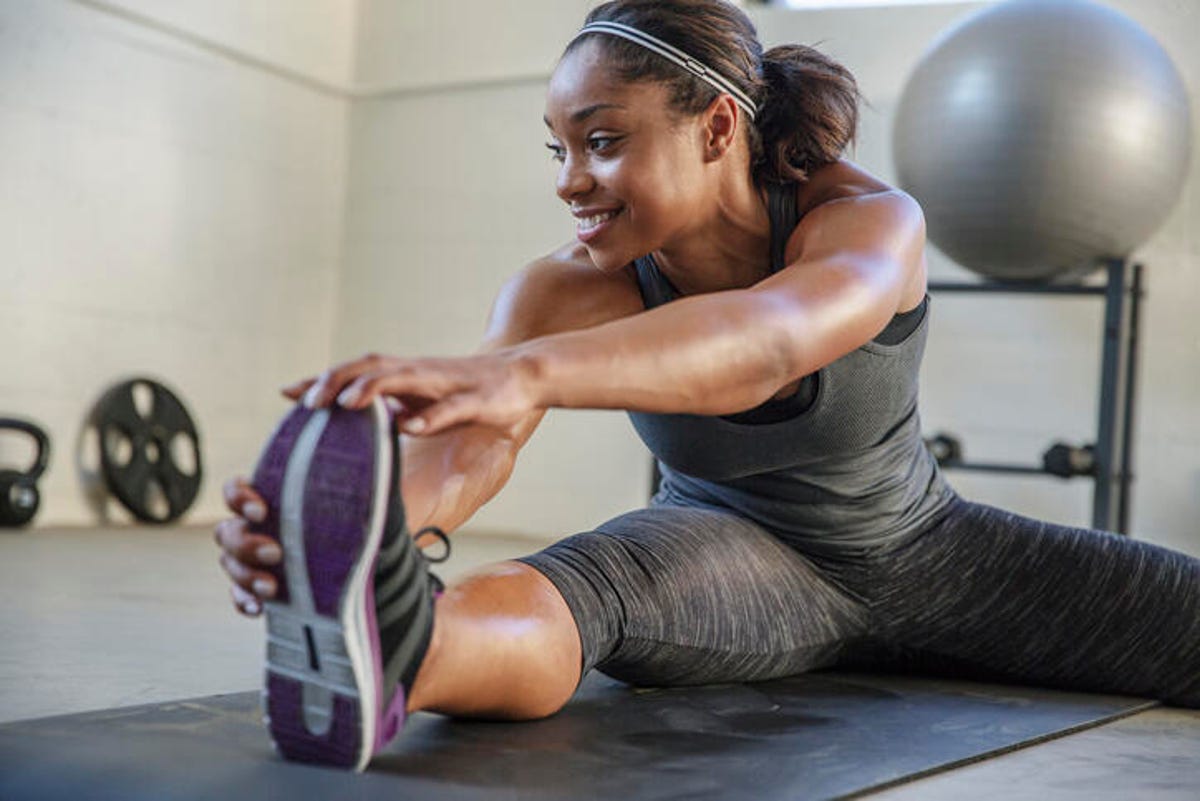
The cooldown is a key part of your workout that you shouldn't skip.
When you make it to the end of a grueling workout, it's tempting to collapse on the couch or immediately hop in the shower as soon as it's over. But your workout shouldn't end just because the hardest part is behind you. Equally important to how you warm up for exercise is how (and if) you cool down, which is arguably the first step in your recovery process.
If you're not taking the time to properly cool down, keep reading to learn more about how to start and some ideas for moves you can add into your workout today.
Why you should cool down after every workout
Cooling down should be a part of every solid workout routine. Exactly what you do to cool down from workouts depends on what you did. If you did a leisurely walk or yoga class, your cool down won't look the same as a 5K run. The more intense your workout, the more time you should devote to the cool down process.
"At the end of your workout, take the time to bring your body back to its natural state. Just stopping is not the best choice, especially if you have just performed a HIIT workout," Brooke Taylor, founder of Taylored Fitness says.
Cooling down properly allows your heart rate and blood pressure to gradually return to normal, which is good especially if you were doing something really intense. Some think that cooling down is vital for injury prevention and to prevent soreness, but according to Mayo Clinic, there needs to be more research on exactly how it works.


"If you suddenly stop exercising without a proper cooldown, the muscles may tighten up due to lactic acid overload and fail to return to a neutral state. This could then cause muscular compensation over time resulting in injury. It can also cause blood pooling to the lower extremities. This occurs when the muscles are contracting at a vigorous rate and stop contracting abruptly, filling up your lower extremities and making it difficult for the blood flow to travel to your heart and lungs. This can cause dizziness and fainting, " Taylor explains.
"Your body needs a chance to gradually elevate your heart rate and at the end, gradually decrease your load," Taylor says. If you use a heart rate monitor or smartwatch, she suggests getting your heart rate back to where it started when you began your workout.
Taylor recommends adding static stretches into your cool down routine.
How to structure your cooldowns
A cooldown can look like many different things, but the most important factor is that you're doing a less intense activity than you did while working out, and you keep moving long enough to get your heart rate down slowly. So if you are running, slow to a jog, then walk. The same goes for cycling or other workouts -- just scale back the intensity of the movement or do something else that can keep you moving and slowly get your heart rate down.
After you get your heart rate back to where you started or at your normal resting rate, you can add some stress-relieving stretches borrowed from yoga you can try at home for even better recovery. "[Static stretches can help] elongate the muscles back to a neutral state which will aid in relieving lactic acid buildup and help break up the adhesions in the body by improving overall flexibility, increasing your range of motion and enabling the body to be mobile," Taylor says.
Static stretches to try
Hip flexor stretch

- Start in a long lunge position with your left foot forward. Line up your left knee over your left foot, forming a 90-degree angle from ankle to knee to hip.
- Squeeze your left glute and focus on lengthening your left hip. Keep your spine straight and shoulders, ribs and hips stacked on top of one another.
- Hold this position for 20-30 seconds. Then repeat on the other side.
Seated glute stretch
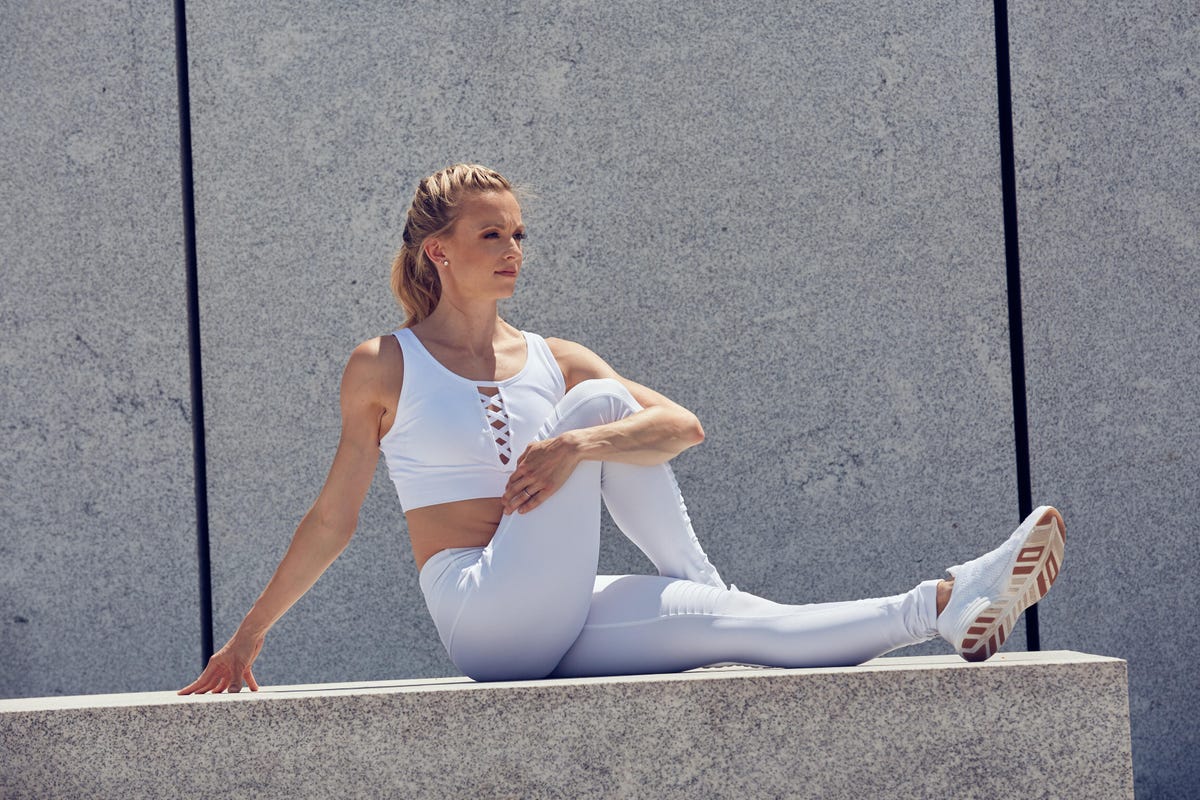
- Start sitting on top of your sitz bones with your legs extended long.
- Take your right leg and cross it over your body aligning your right heel with your left glute.
- Rotate your spine to the right placing your right hand down on the floor.
- Take your left hand and wrap it around your right knee pulling it in towards your chest until you feel a nice stretch in the right glute.
- Draw your navel in toward your spine and deepen the twist hold for 20-30 seconds. Repeat on the other side.
Tip: If you need a base of support, hold onto a wall or a standing pole to assist you.
Seated hamstring and lat stretch
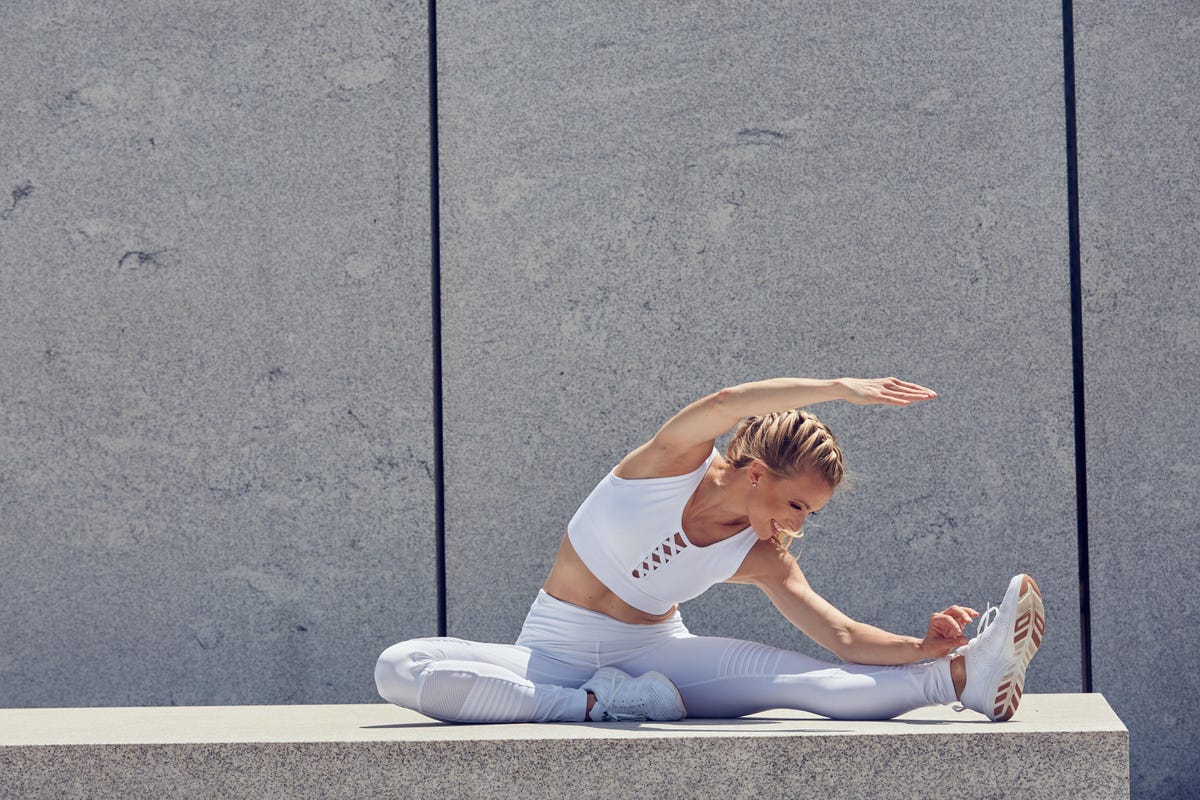
- Sit up tall with your left leg extended out long and flex your right knee pulling your right heel in towards your center.
- Extend your right arm up to the sky and laterally flex the spine reaching to the opposite foot.
- Inhale, take a nice deep breath laterally through the sides and back of the ribcage.
- As you exhale reach further and lengthen through your side body.
- Hold for 20-30 seconds and repeat on the other side.
Forward bend hamstring stretch
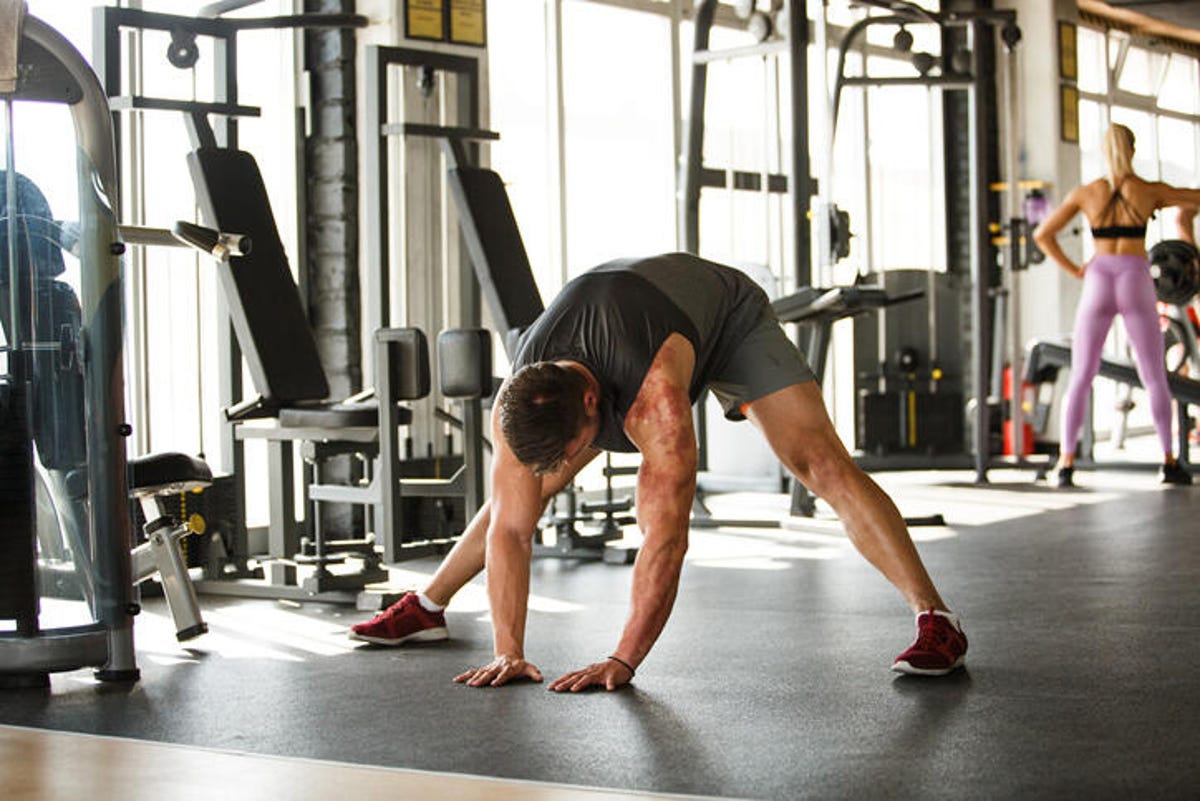
- Start standing with your legs in a wide lateral stance.
- As you exhale, hinge at your hip joint sending your sitz bones back and round your spine forward reaching for each foot.
- Inhale and take a nice deep lateral breath east to west and exhale to allow your weight to sink into the floor.
- Focus on lengthening your hamstrings and breathing through the back side of your body. Hold this position for 20-30 seconds.