How to podcast, Part 2: Recording your show
You know what a podcast is, you've got your idea, and you've even picked out a great name. Now you can get to the business of recording.


In part 1 of this series, you found out how to get started in podcasting. Now you're fired up and ready to share your wonderful thoughts with the world. Here's what you need to know to get your voice recorded.
Equipment for a one-person podcast
The most straightforward route to recording your podcast is getting a microphone and recording your show to a sound recorder. Most laptops have built-in microphones at this point, so if you're strapped for cash, you could use that particular mic. However they usually don't isolate sounds very well and will likely pick up room noise as well as any typing or clicking you may do on your computer. Sometimes, they even pick up fan noise.
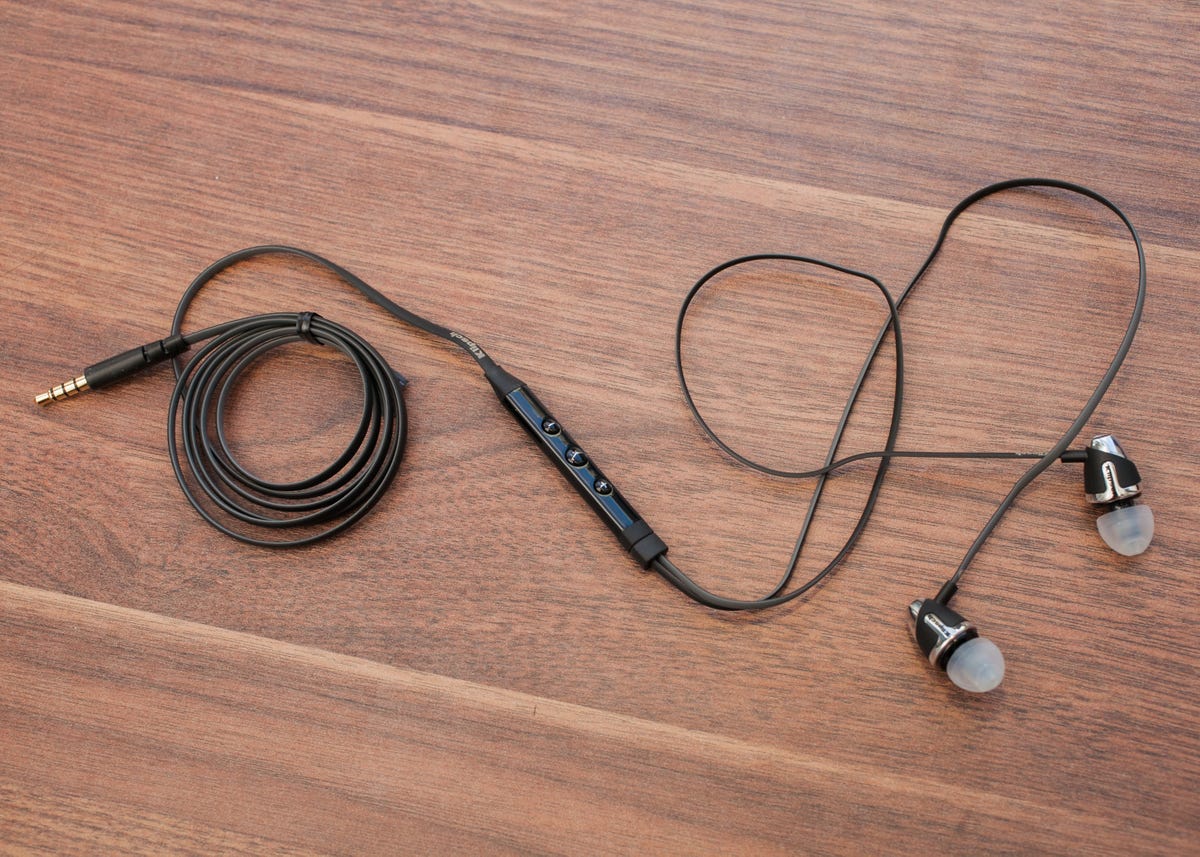
The next step up from the built-in microphone is grabbing a pair of headphones that have an in-line microphone. If you've bought a smartphone in the past year or two, there's a good chance you've got a pair of headphones like these lying around. You should be able to use them as your mic if your PC or Mac has a combined mic/headphone port. These microphones do a slightly better job than the built-in mics, but sonically don't expect to sound like your favorite podcasters with this set up.
If you're willing to plunk down some money to pick up a new microphone, check out the Audio-Technica 2005USB, which comes recommended from the International Association of Internet Broadcasters. This microphone allows you to grow since it has both XLR and USB outputs. When you set up whatever microphone you choose, do some tests to see if any unwanted audio is being picked up -- tabletop microphones sometimes pick up sounds like tapping on the table surface.

Windows and Mac OS X machines come with sound recorder programs, but they're not exactly the best for editing audio, so go ahead and download Audacity. It's free and it runs on pretty much any operating system (even Linux). When you open up Audacity, you'll see a splash screen with links to tutorials on how to record with the app. Follow those links to understand the program better. Now you should be all set to record your one-person show.
Additional people means additional equipment
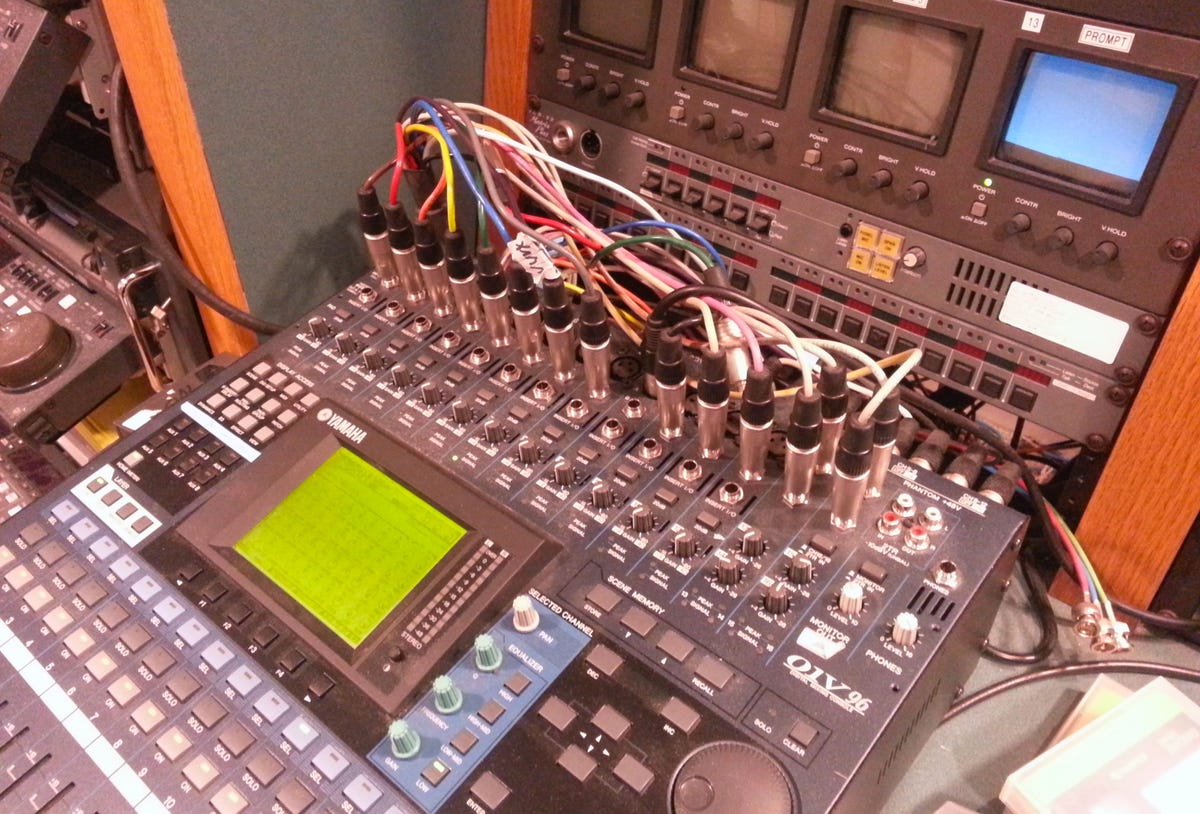
If you want to record a show with a friend or two, now's the time to get a mixer. Your mixer should have at least as many inputs as the amount of people you'll have on the show. You'll attach each microphone to the mixer. If you're seated around a table, try to get some separation so you aren't being picked up by the other person's microphone.
You'll output your mixed audio to your computer's built-in line-in and record with Audacity.

What about online hosts or guests? If your cohost can't make it to your place to record, you can always call up your friend using Skype. How do you record the audio of both sides of the conversation? If you're on Windows, you could try out Pamela. The free version lets you record for up to 15 minutes. It'll even give you the ability to record video for up to five minutes. If you like the software, you'll have to pay for a license at about $20.
On Mac, one of the best tools for recording calls is Ecamm Call Recorder. You can try it out free and a license costs about $30. Call Recorder lets you record both sides of the conversation and comes with a bundle of tools so you can tweak your recordings.
Next time
So at this point, you've recorded your audio show either by yourself or with a pal who may or may not be in the same room as you. What's next? Editing your work to get it ready for the world to see. That's he topic of part 3 of this series.