An Easy Guide to Installing a VPN on your Mac
VPNs can sometimes be complicated, but setting it up on your Mac computer shouldn't be an issue. Here's how to do it.


Why might you want a VPN on your computer? Maybe you're all about having anonymity when you're surfing the web. Maybe you might want to access content that's restricted because of your location. Or you want to better protect your laptop when using Wi-Fi out in public.
If you're an Apple computer owner, and you're considering a virtual private network service, you might also be wondering how to set up a VPN on your Mac. Sure, you can download VPN apps from the App Store, but how exactly does that process go? Do you need to pay? What settings do you need to configure? Does it stay on all the time?
If you have questions about setting up a VPN on your Mac, here's everything you need to know. If you want to learn more, check out the best VPN services of 2023 and the best VPN services for the iPhone.
1. Sign up for a VPN service
You can find many free VPN options out there, but we don't recommend most of them -- for a long list of reasons. Most have weak encryption, data caps, slow speeds, limited features, ads or pop-ups. And that's not to mention that they may collect and sell your browsing data to third parties to generate revenue. As they say, if you're not paying for the product, you are the product.
Read more: Best Mac VPN for 2023
The best overall VPN we recommend for MacOS users is ExpressVPN for its combination of speed, security features and price. It's not the cheapest VPN out there, but it offers fast speeds and great security. If you want something more affordable, SurfShark is a great option. And NordVPN is the fastest VPN we tested. All three are great VPNs for Mac users.
Once you choose an option you're happy with, sign up by entering your contact and payment information on the respective website.
ExpressVPN is the best option CNET recommends for Mac.
If you're looking for some other capable options, we also tested out Proton VPN (the only free option CNET recommends), Private Internet Access (budget-friendly) and IPVanish (simple and user friendly).
2. Download the VPN app to your Mac
Next, after you've made your choice, you'll want to download the VPN app onto your Mac. You can do this in one of two ways.
You can download directly from the website. If you signed up via the VPN's website, and already have the page open, you'll most likely see an option to download the VPN app directly to your Mac. This isn't always the case, but if you download an application via a website, you may get a few more features (due to App Store security policy) and quicker updates (the developer may push out updates faster via its website). Also, app developers typically get a bigger piece of the purchase price by selling outside of the App Store. Finally, you may be able to download a legacy version of the VPN app for older Mac computers.
You can also download from the App Store. You can also get the VPN service from the Mac App Store by searching via name or by clicking a link to the VPN and then being redirected. This is a more friendly way to do things: Updates can be toggled on automatically and you'll be more easily able to use the VPN service on all your connected devices.
Most of our top picks offer seven-day free trials if downloaded through the app store, alongside 30-day money-back guarantees.
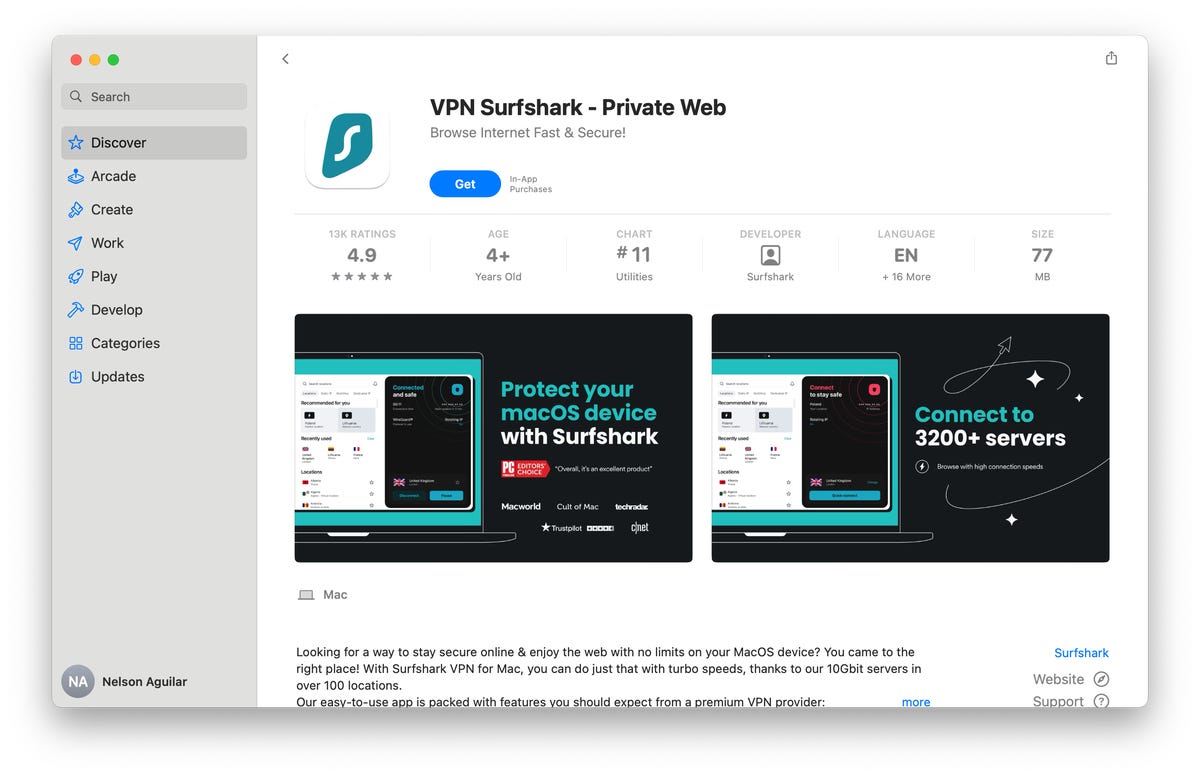
You can get the Surfshark VPN app from the Mac App Store.
3. Log in to your VPN app
After you download the VPN application, agree to any terms and conditions and log in using the credentials you signed up with. If you created an account via Google, Apple or another third-party service, you may be able to use a sign-in button to log in. And if you haven't created an account, you should be able to within the VPN app.
4. Browse through VPN app and configure settings
Now that you're logged in to the service, feel free to browse through the various features and settings within your VPN application. You may want to set up auto-connect to connect to your VPN every time you boot up your computer, block advertisements and trackers whenever you're connected to your VPN and enable a kill switch, which cuts your internet access if you drop your VPN connection to guard against your data being exposed.
If you don't know much about what a VPN can offer, check out our VPN FAQ.
Also, look for a specific server to connect to. If you're in another country, you may want to connect to a server in the US, and vice-versa. If you don't want to choose a server, you may also have the option to quick-connect, which quickly connects you to a recommended server.
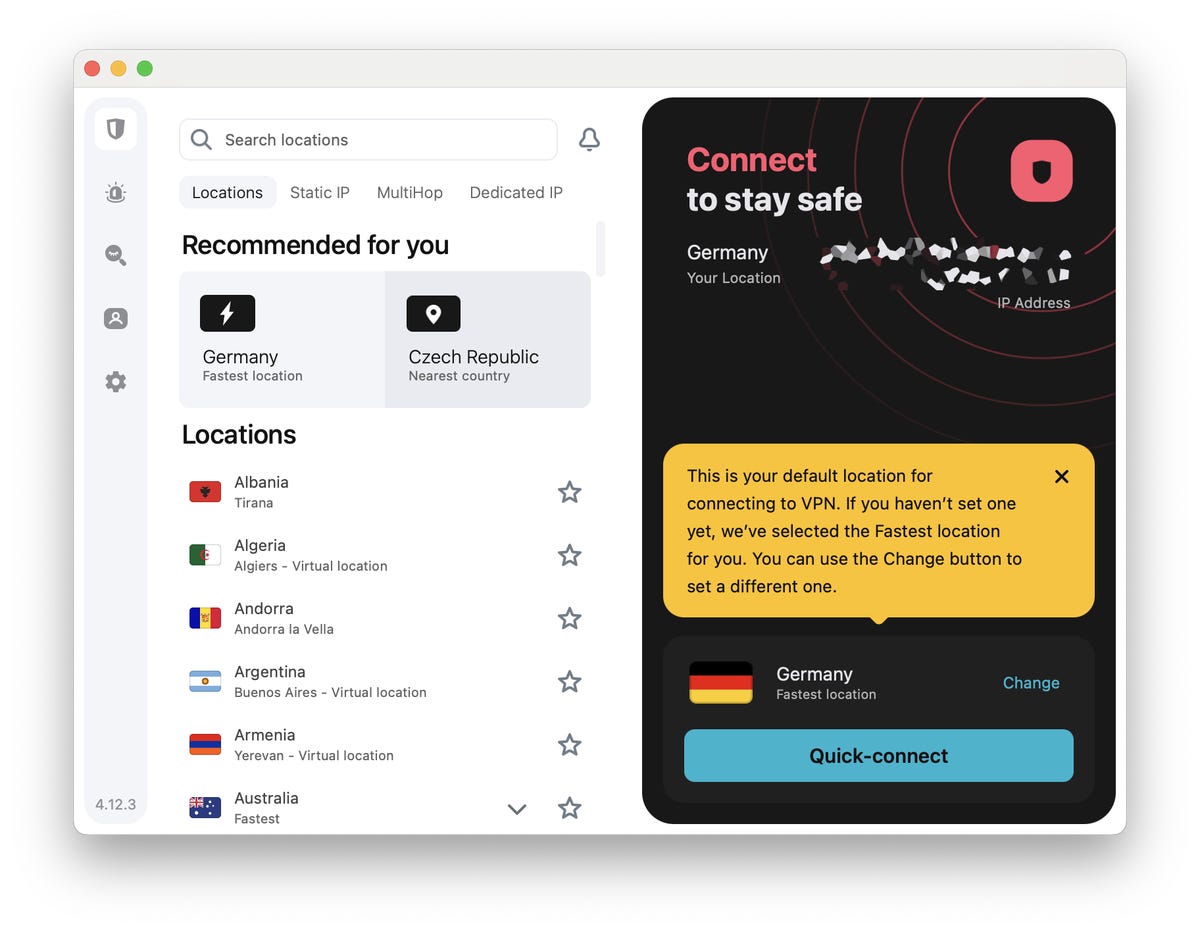
Browse through locations to choose a server to connect to.
5. Finally, connect to VPN
Once all your settings are configured to your liking, it's time to connect to your VPN. Inside of the VPN app, you should see a button to connect to a VPN server. The first time that you click it, you'll be asked to give the VPN permission to add VPN configurations to your computer. Click Allow -- you'll only be asked to do this once.
After a few seconds, you should see your VPN connected to your Mac. A connected VPN should encrypt your internet traffic, mask your IP address, allow you to bypass certain geo-restricted streaming content and protect you when connecting to public Wi-Fi networks.
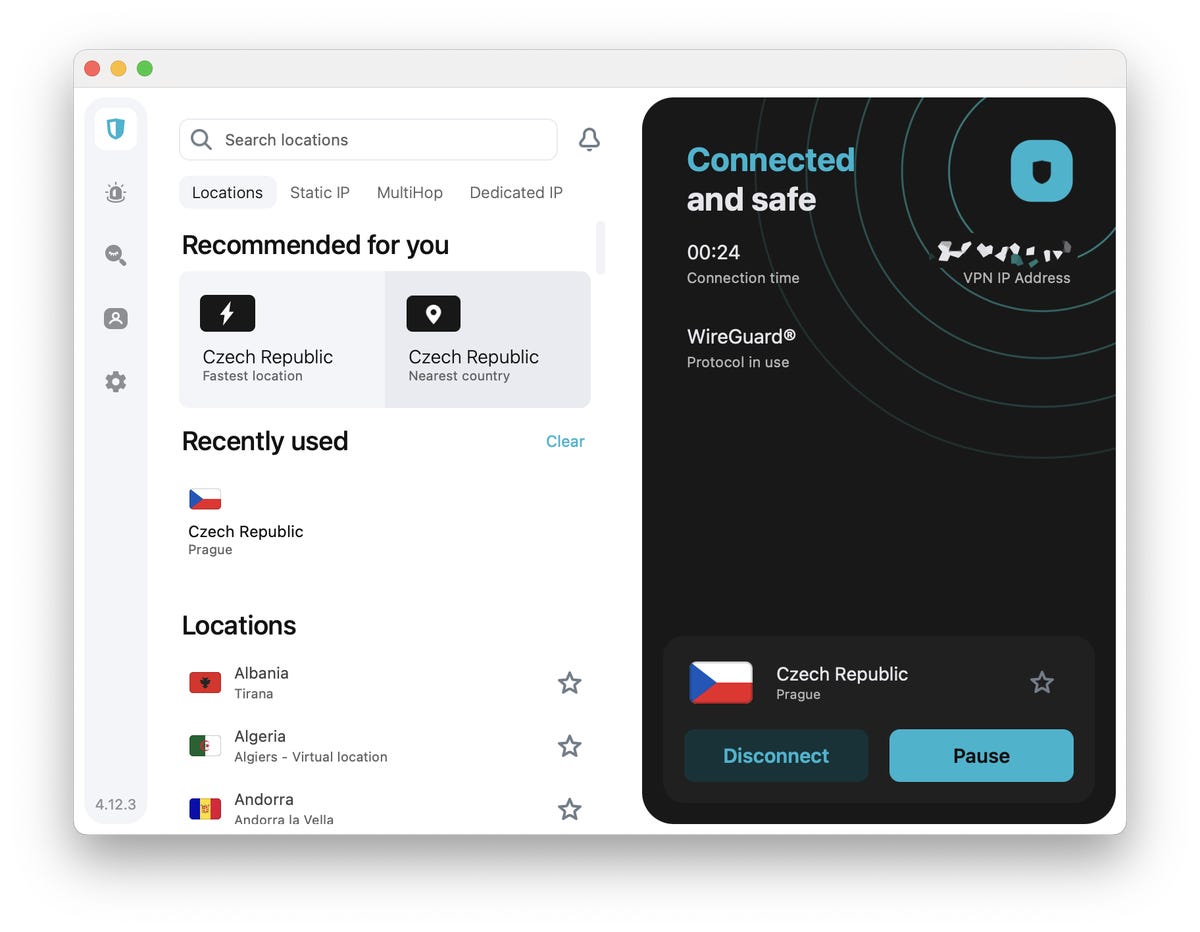
Once connected, the VPN should encrypt your data, mask your IP address and hide your browsing activity -- providing you with a more private online experience.
If you want to disconnect from your VPN, you can go into the application and hit either Pause or Disconnect. Pause temporarily disconnects you from a VPN, while Disconnect will permanently disconnect you from the VPN until you reconnect. There may also be an option in the menu bar at the top of the screen to connect and disconnect to the VPN, depending on the service.