Free tools repartition Windows disks simply
The disk partitioning utility built into Windows 7 doesn't let you extend partitions to the left, so to enlarge your leftmost partition, you need a free repartitioning program.


One of the best ways to maximize your PC's storage capacity is to create drive partitions that separate Windows system files from your data and programs. Partitioning makes backups faster and simpler. It can also improve overall system performance on machines with little unused storage space.
Related links
• Stay safe, save time by partitioning your hard drive
• Ultimate Defrag maximizes your disk-management options
A serious limitation to the disk-partitioning utility built into Windows 7 is that you can't extend whichever partition is the farthest right. For some reason, partitions can only be extended to the right. Unfortunately, the rightmost partition on my dual-boot laptop was down to 7 percent free space, while another partition about the same size was more than 90 percent unused.
Poor planning on my part, I know, but it happens. Since the laptop dual-boots Windows 7 and Vista, it would be much simpler to extend the crowded Windows 7 partition by running a disk-partitioning program under Vista. But not many people run two operating systems on their PCs, so I decided to try expanding the Windows 7 partition from within Windows 7.
The two disk-partitioning programs I tried are free for home use. Paragon Software Group's MiniTool Partition Wizard Home Edition required several attempts and reboots to resize the Windows 7 partition when I ran the program under that OS.
Things went much more smoothly with Easeus Partition Master Home Edition, which required only a single reboot to adjust the Windows 7 partition when running under Windows 7.
Similar interfaces, but different results
The two programs resemble each other so much that it was difficult to remember which one I was using as I moved between them. Both list information about the PC's disks in the main window: format, total capacity, used and unused capacity, status (boot, system, active, etc.) and type (primary or logical).
The top menu bars and left sidebars list the options available in the programs for copying, deleting, formatting, hiding, and otherwise working with partitions. Below the main windows are graphical representations of each disk's partitions, much like those used in Windows 7's built-in disk partitioner.
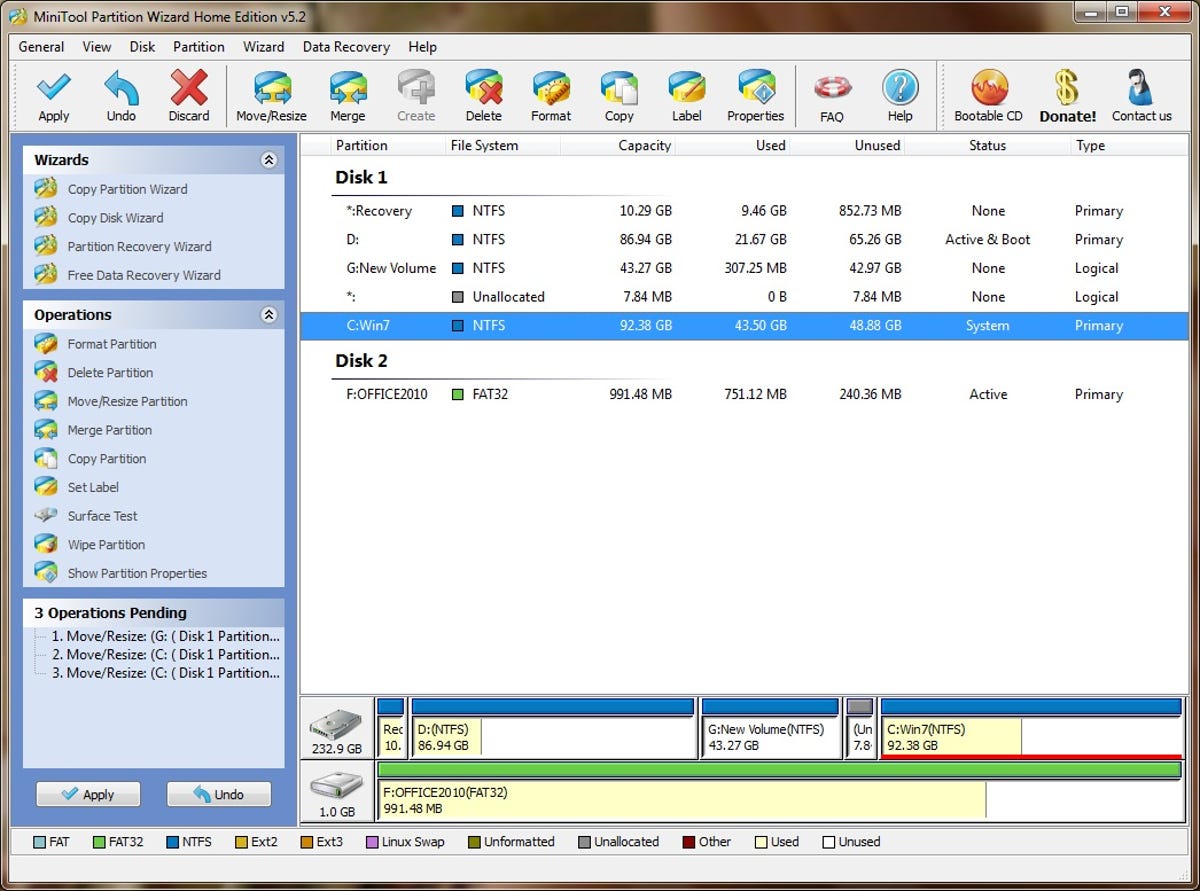

Both apps also feature wizards to step you through the process of copying and recovering disks and partitions. Many of the other options listed in the left sidebars and top menu bars of the two programs lead to pages on the vendors' sites for downloading their other free and fee-based disk-management tools. These include backup programs and utilities for creating bootable CDs.
Both programs recommend that you close all other apps and back up your data before using them. MiniTool Partition Wizard "strongly" recommended that I disable the laptop's power-saving options before proceeding with the repartitioning. The program shows a status bar as it resizes the partition indicating data about the partition it's working on, including the drive letter, label, and new partition size.
It took less than a minute for the repartitioning to finish, but then a warning appeared stating that the operation could not be completed because the drive was in use. You're then prompted to restart to complete the resizing.
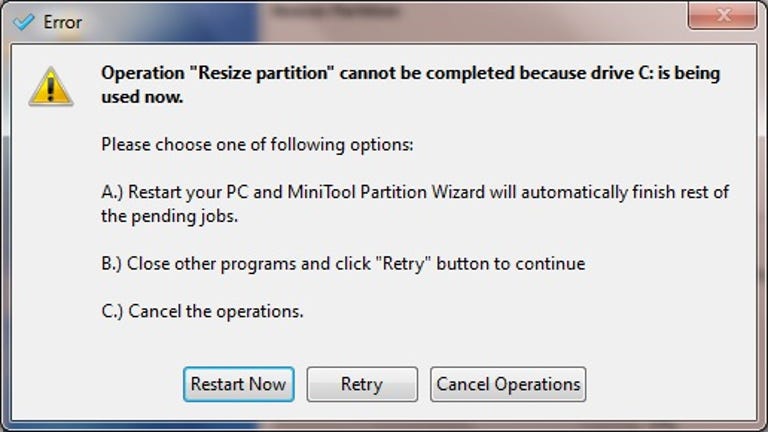
The first two times I restarted Windows 7, the partition's new size wasn't indicated in the program, nor was it shown when I right-clicked the drive in Windows Explorer and chose Properties to view the used-space/free-space graphic. The third attempt was the charm, although I couldn't figure out why the first two tries failed and the third succeeded.
No such back-and-forth with Easeus Partition Master, which places a notice under Operations Pending in the left sidebar that the change is waiting to be applied. Click the Apply Changes checkmark in the top-left corner to set the operation in motion. You're then prompted to reboot the system, and the Easeus Partition Manager boot program makes the changes before Windows loads.
The boot program applied the partition changes in about a minute and a half. Then Windows started normally, and the partition's new size was shown in Easeus Partition Manager and in the drive's space-usage graph in Windows Explorer.
Both MiniTool Partition Wizard and Easeus Partition Master accomplished what Windows 7 itself couldn't--expanding the rightmost partition on the disk--but using the Easeus program was much more straightforward, and the program accomplished the resizing on the first try, while MiniTool Partition Wizard required several attempts.