How to make your own holiday light balls
Give your front yard a little more holiday cheer with these light strand balls you can make yourself on the cheap.


Decorating for the holidays is an unspoken competition. Everyone wants their own Griswold moment with 25,000 tiny lights covering every square inch of their house. But let's be real, no one wants to hang 25,000 lights or even think about the cleanup.
Here's a quick trick that will spice up your own light display on the cheap -- holiday light balls. They're easy to make and add some extra sparkle to your yard during the holidays.
What you will need
To make your own holiday light balls, you will need only three materials. Per medium-sized ball, you need:
- One strand of 200 string lights
- 2 by 4 foot (60.96 by 121.96 centimeter) sheet of 1-inch hex wire mesh
- Two zip ties (optional)
For tools, you should only need a pair of wire cutters or cutting pliers. And you should probably consider wearing gloves for protection. Once cut, the wire will poke and cut your hands with ease.
How to make a holiday light ball
Start by unrolling the hex mesh. It typically comes in a 2-foot (60.96 centimeter) wide roll. For a 2-foot (60.96 centimeter) diameter ball, cut a 4-foot (121.92 centimeter) section.
The biggest mistake you can make when cutting the hex mesh is being stingy and not cutting enough. This will result in a more oval-shaped ball instead of a sphere.
Twist the wire together to make the shape.
Once the mesh is cut, make a cylinder, connecting both short ends of the mesh. To fasten them, square both edges of the wire up and find the two loose ends of wire that match up. Twist them around one another at their bases to hold the cylinder shape.
Now comes the tricky part: bending the cylinder into a sphere. This can take a little bit of practice. Fortunately, if you mess up, you can just unbend the wire and try again.
Hold the wire mesh about 6 inches (15.24 centimeters) down from the top edge and bend in the top using your other hand. Hold the piece of mesh that you bent with one hand while you make a pleat with the mesh adjacent to it. In essence, you're bunching together an open end of the cylinder to make a sphere.
When one end is bent in, place the cylinder on the ground (closed end down) and step on the wire to flatten it as well as help it hold its shape.
Next, bend in the opposite end of the cylinder. You can't step on this end to flatten it, but try to flatten the pleated wire as best you can.
Now the wire likely looks like a slightly more rounded cylinder, not a ball. You must bend and shape it into a ball. This can be tricky, but should only take a few minutes. The more you do this, the faster this part will be.

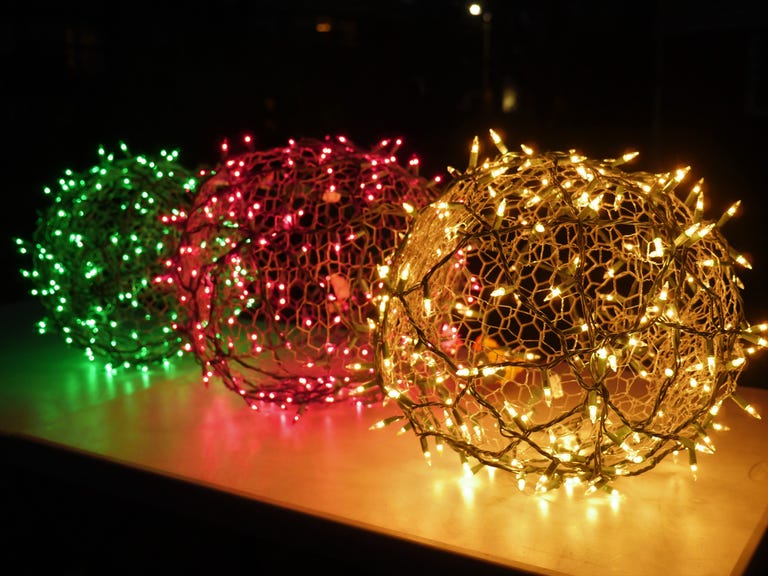
The finished product.
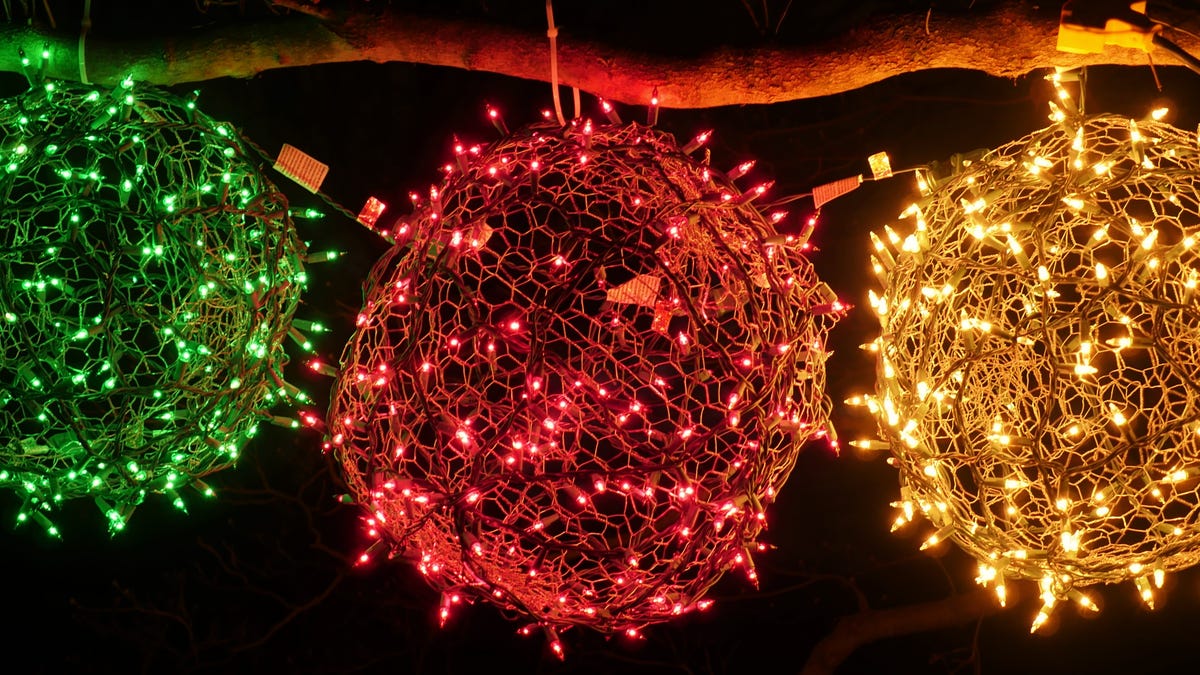
Finally, it's time to wrap lights around the ball of wire. Take the female end of a strand of outdoor string lights and run it through one of the hexagons. Pull it out of an adjacent hexagon to lock it in place. Optionally, you can use a zip tie to better secure the female end in place.
While keeping the strand taught, wind it around the mesh ball as evenly as possible. For a 2 foot (60.96 centimeter) ball, you want to use between 200 and 300 lights.
When finished, lock the male end of the strand in place the same way as the female end, leaving just a little bit of loose cord to make it easier to plug in.
Hang these balls from trees in your front yard, on your porch or place them around the yard. Just keep in mind that you will need to run an extension cord to each ball, which can be a bit of a logistical nightmare. But how jealous your neighbors will be makes it more than worth the trouble.