7 tips and tricks for Samsung's Gear 360
As with any camera, the Gear 360 takes some getting used to.


At first glance, there's not much to the Gear 360. Samsung's camera captures 360-degree photos and videos, and makes it easy to quickly share your favorites while on the go using your Galaxy phone.
Here are a seven tips and tricks to get the most out of the cute little camera.
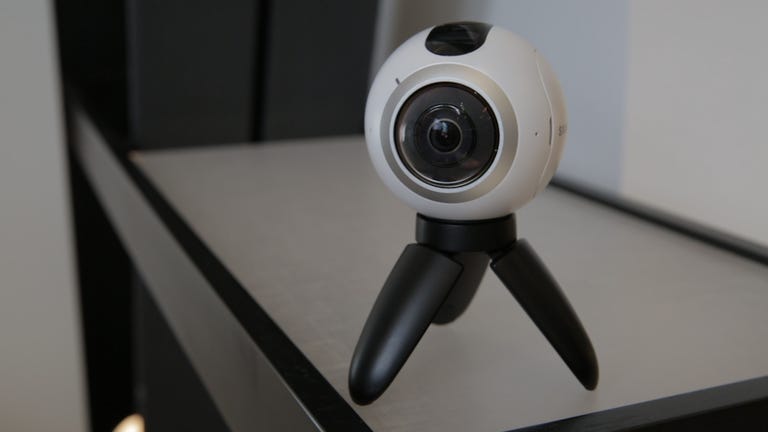
1. Get a (real) tripod
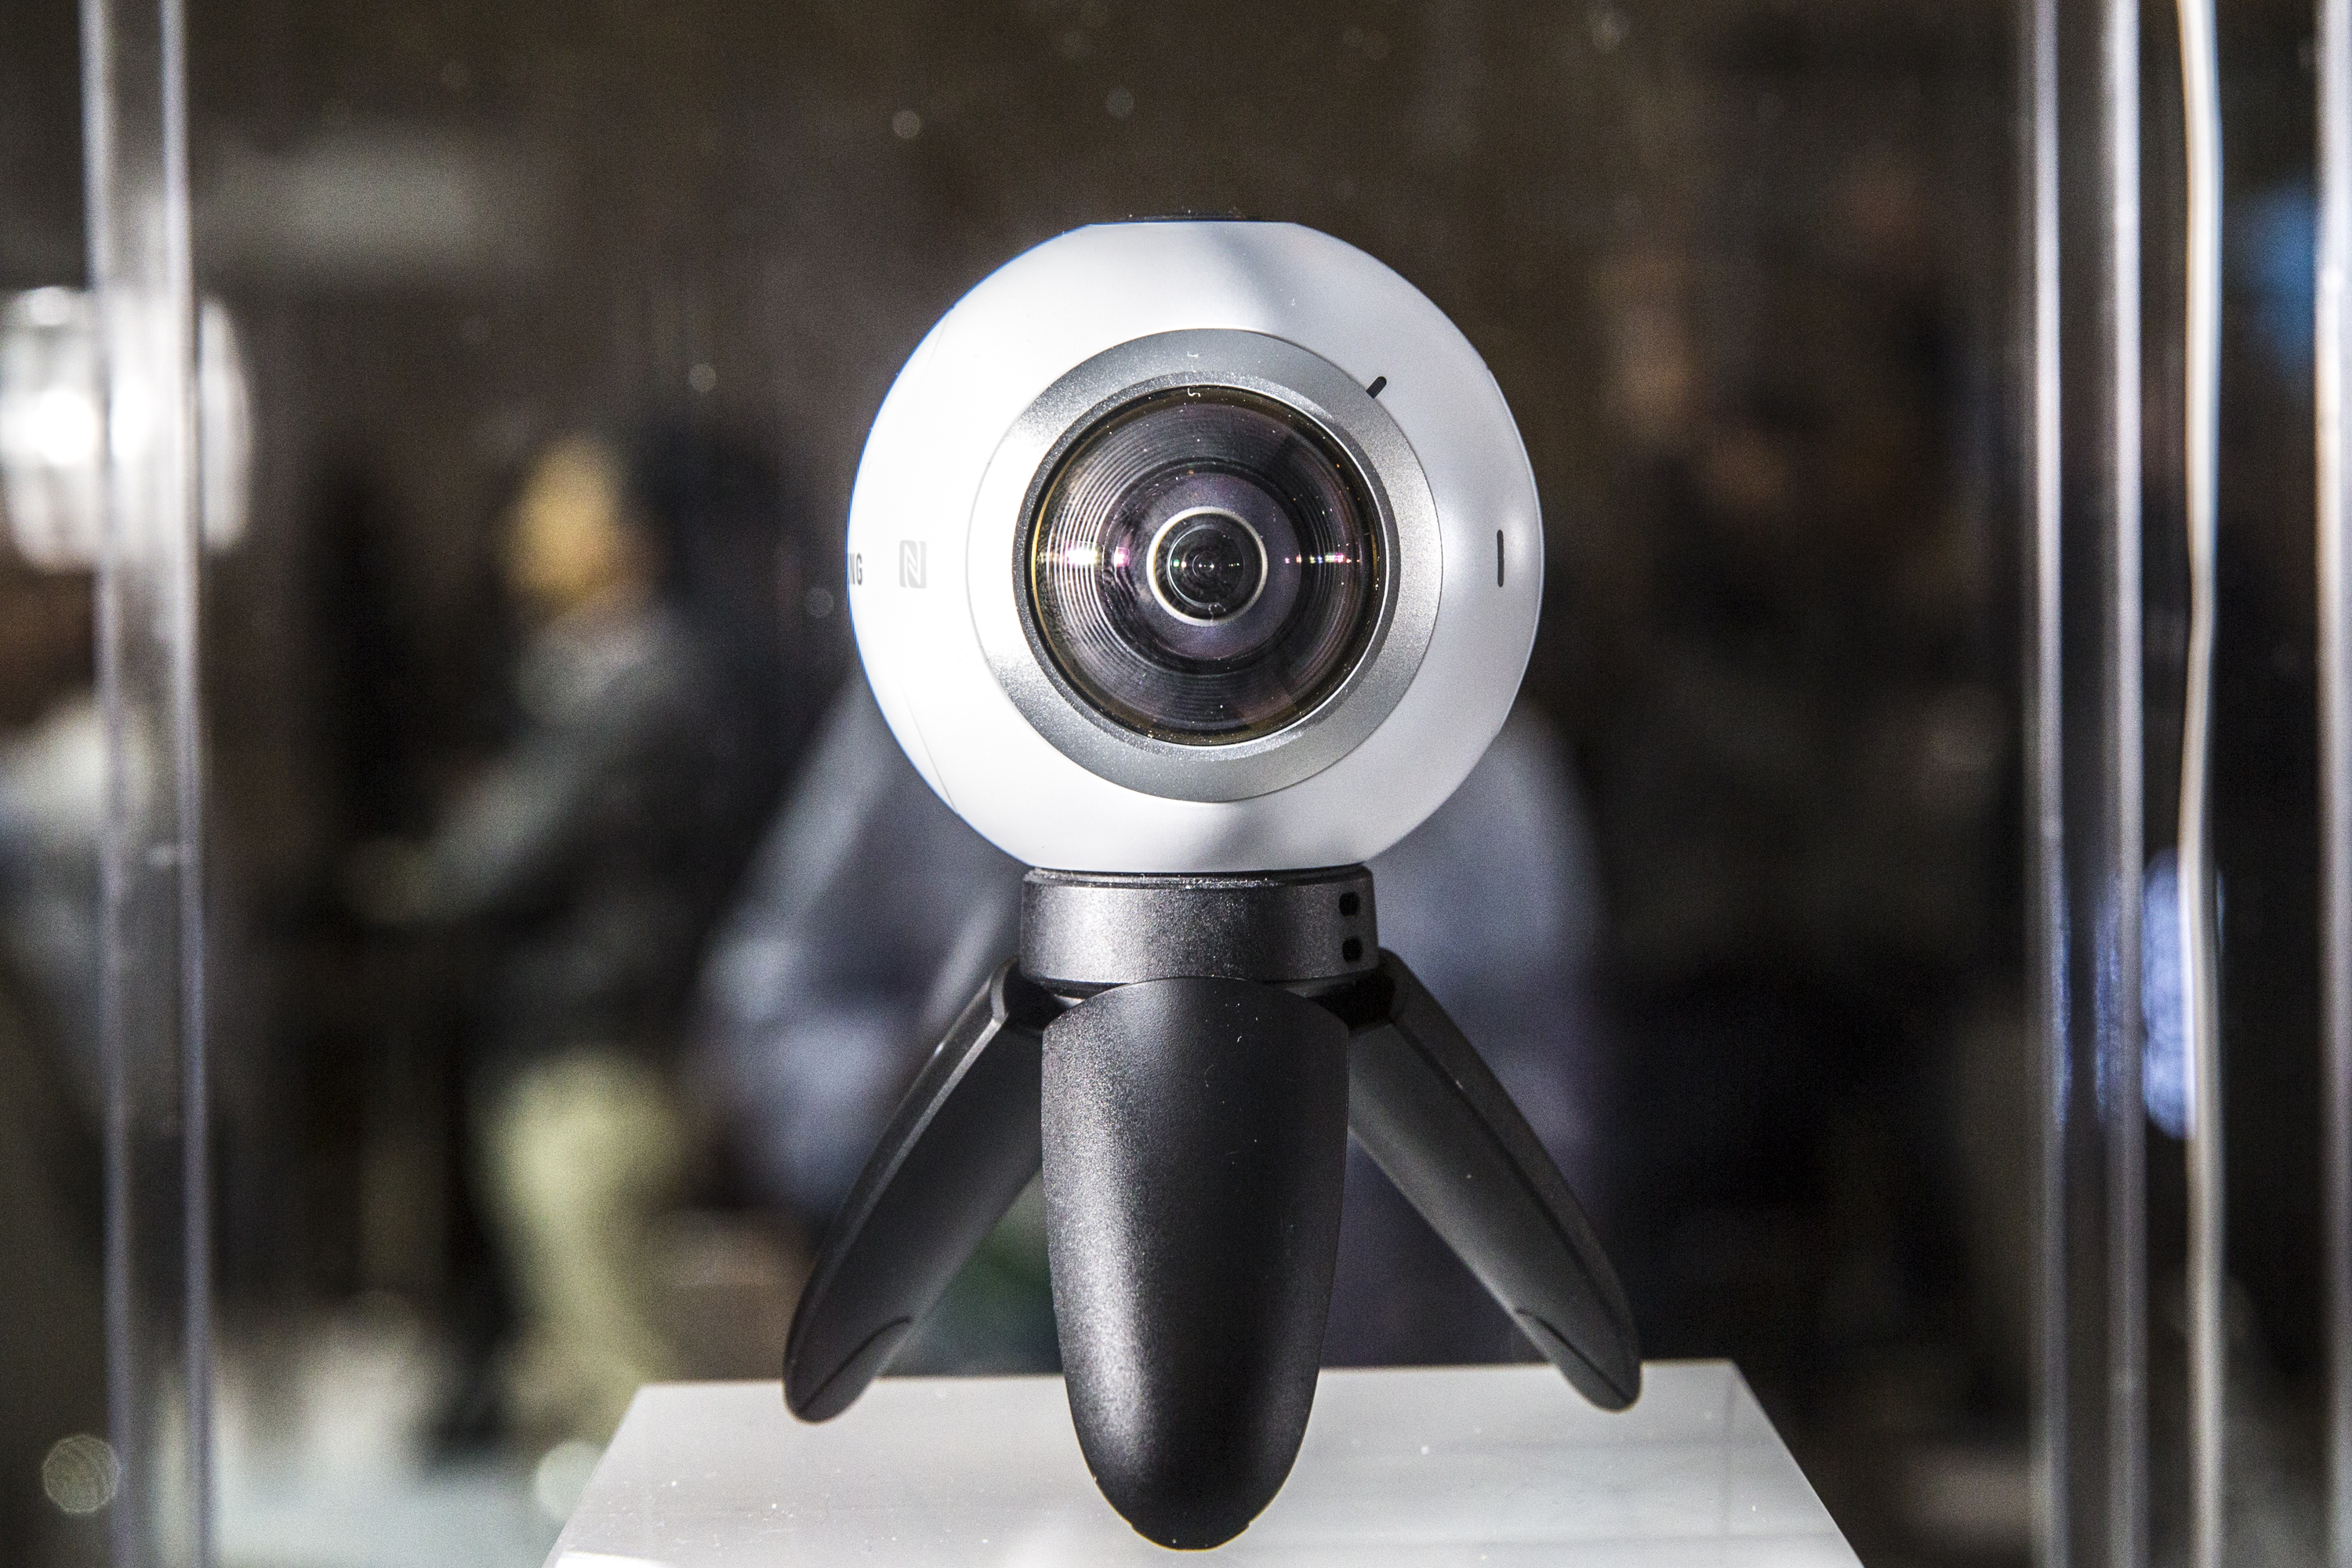
Samsung includes a small tripod with the Gear 360, making it all too easy to set the camera somewhere to get your desired shot. Use it!
Taking 360-degree photos and videos while holding the camera makes your arm look like something out of a science fiction film, and half of your hand is typically cut off by the stitching software used to combine both images.
The Gear 360 works with standard tripod mounts, so don't limit yourself to the comparatively short stand Samsung includes. Heck, using a selfie stick to hoist the camera up in the air would be better than holding it with your hand.
You can use your Galaxy phone to control camera from afar, or set a timer if you'd rather use the controls on the camera itself.
2. Create a timelapse
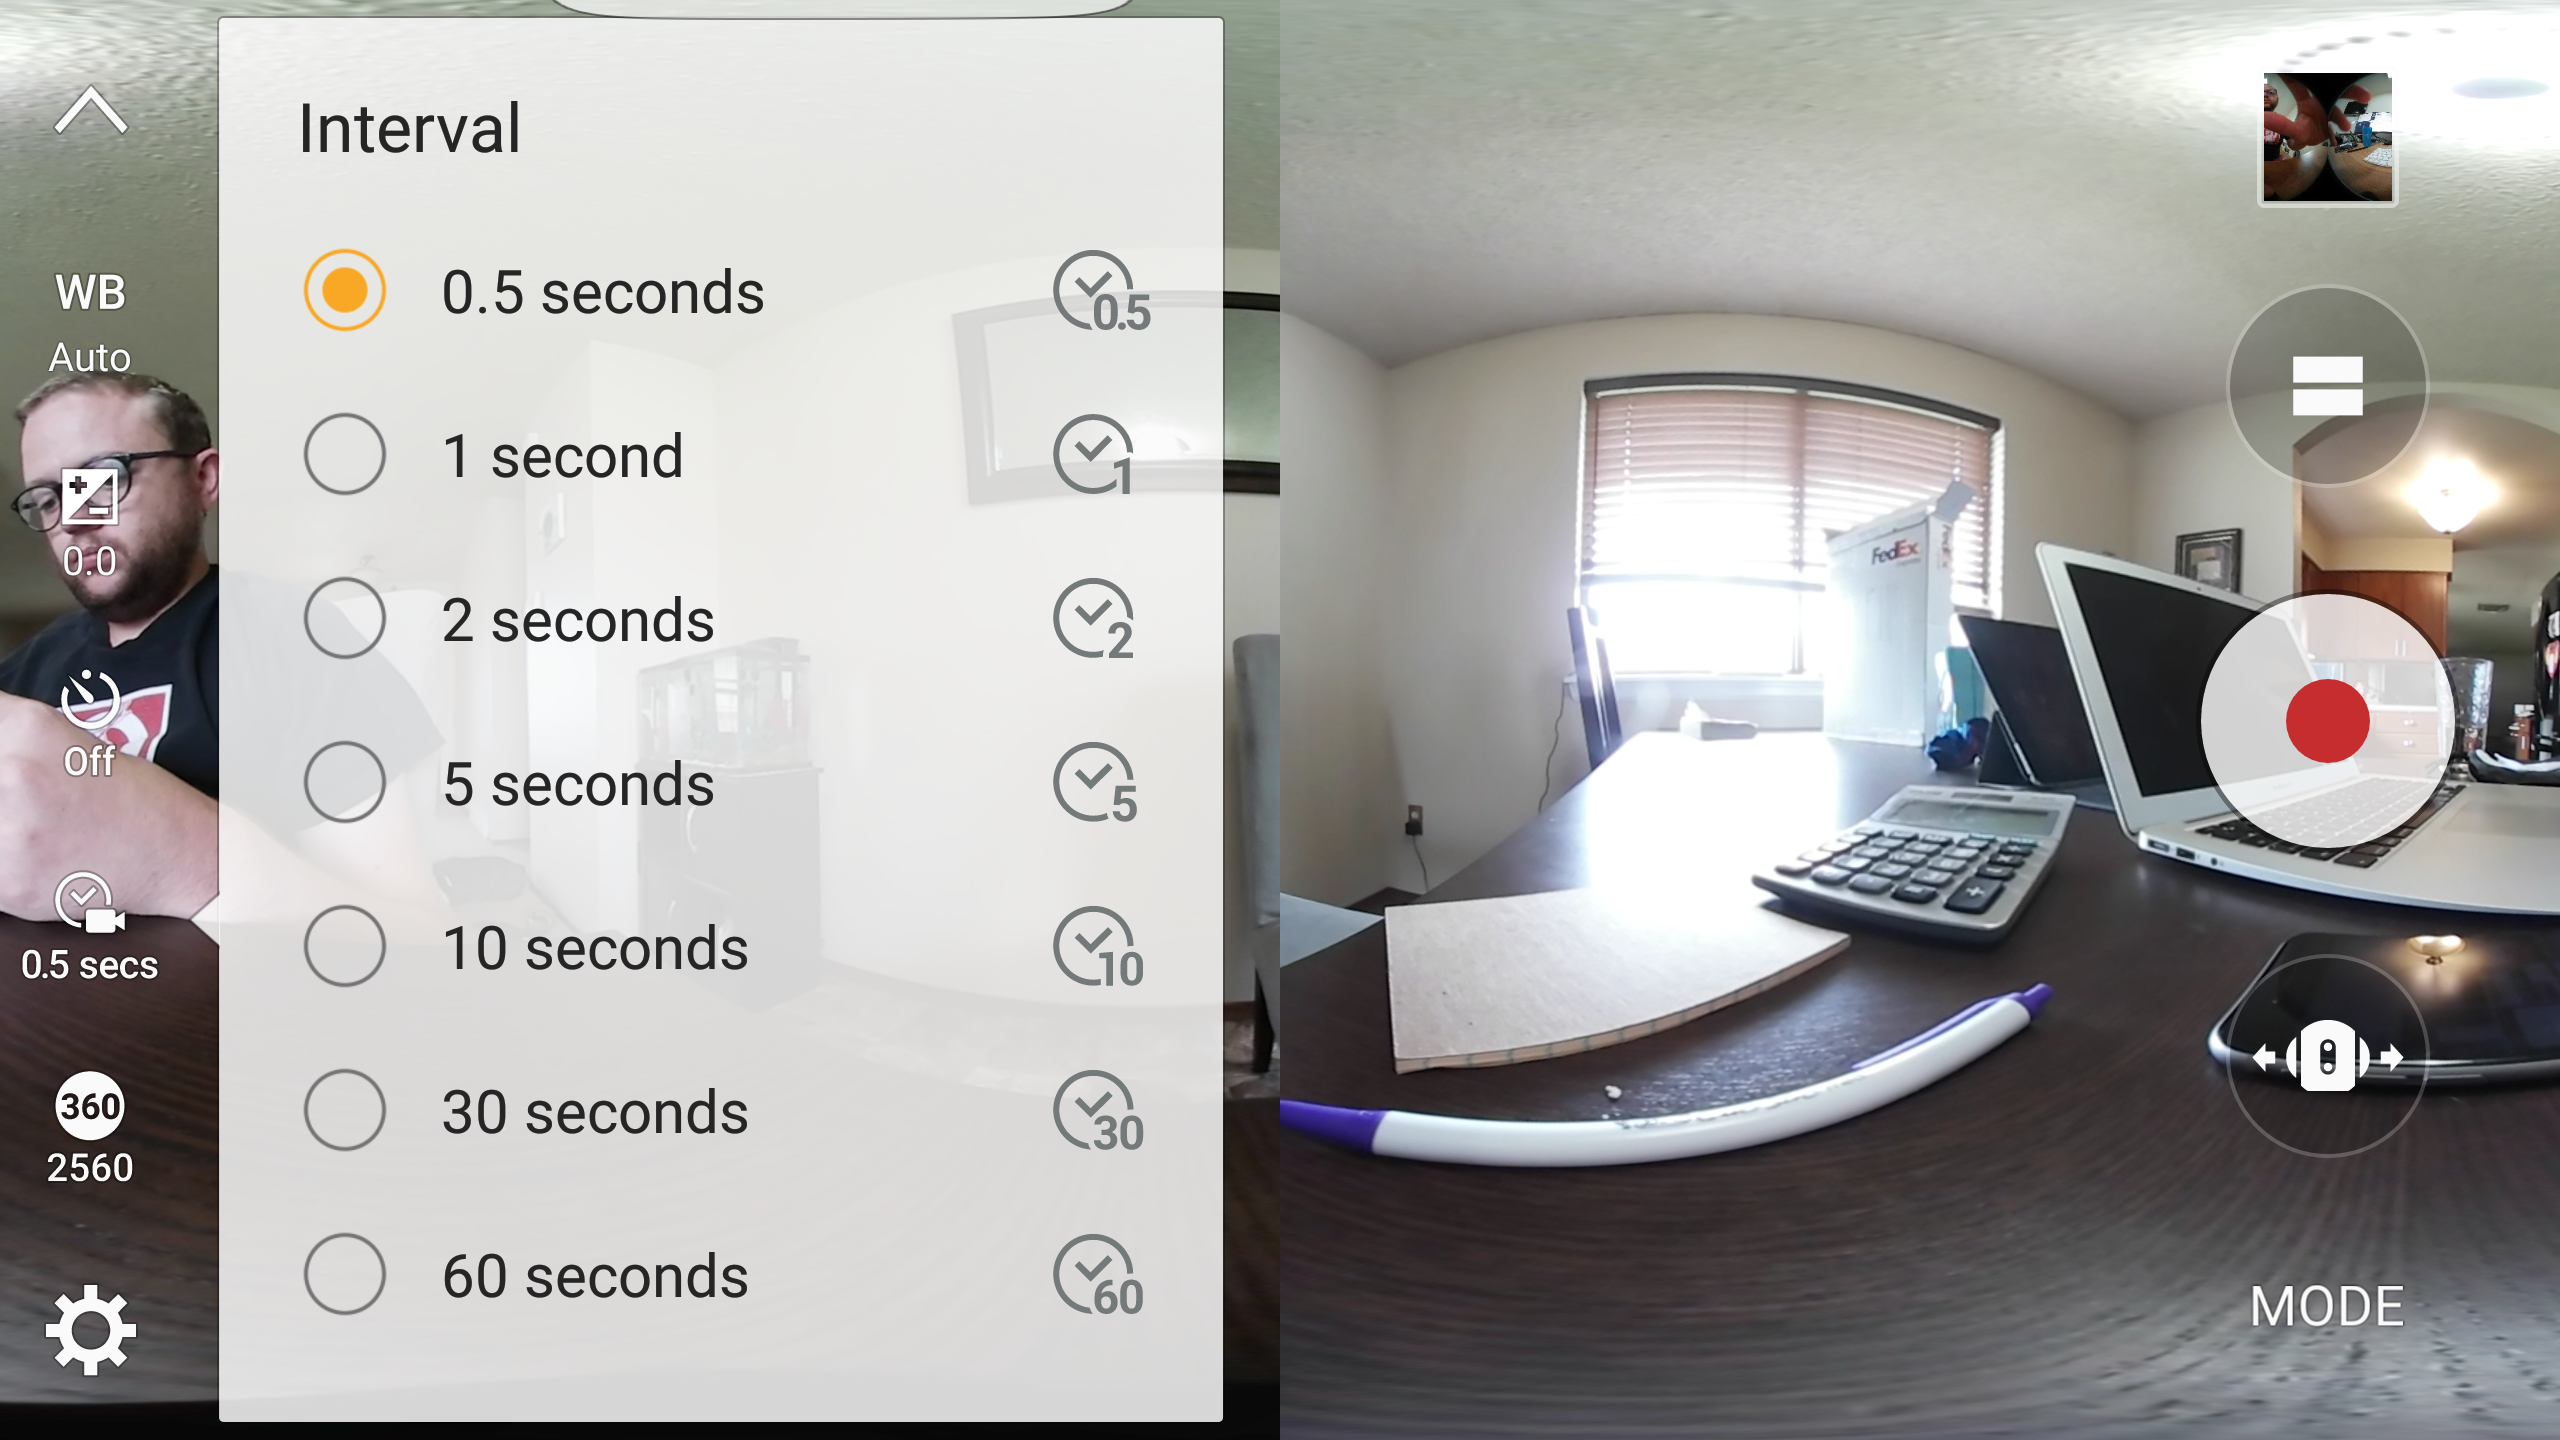
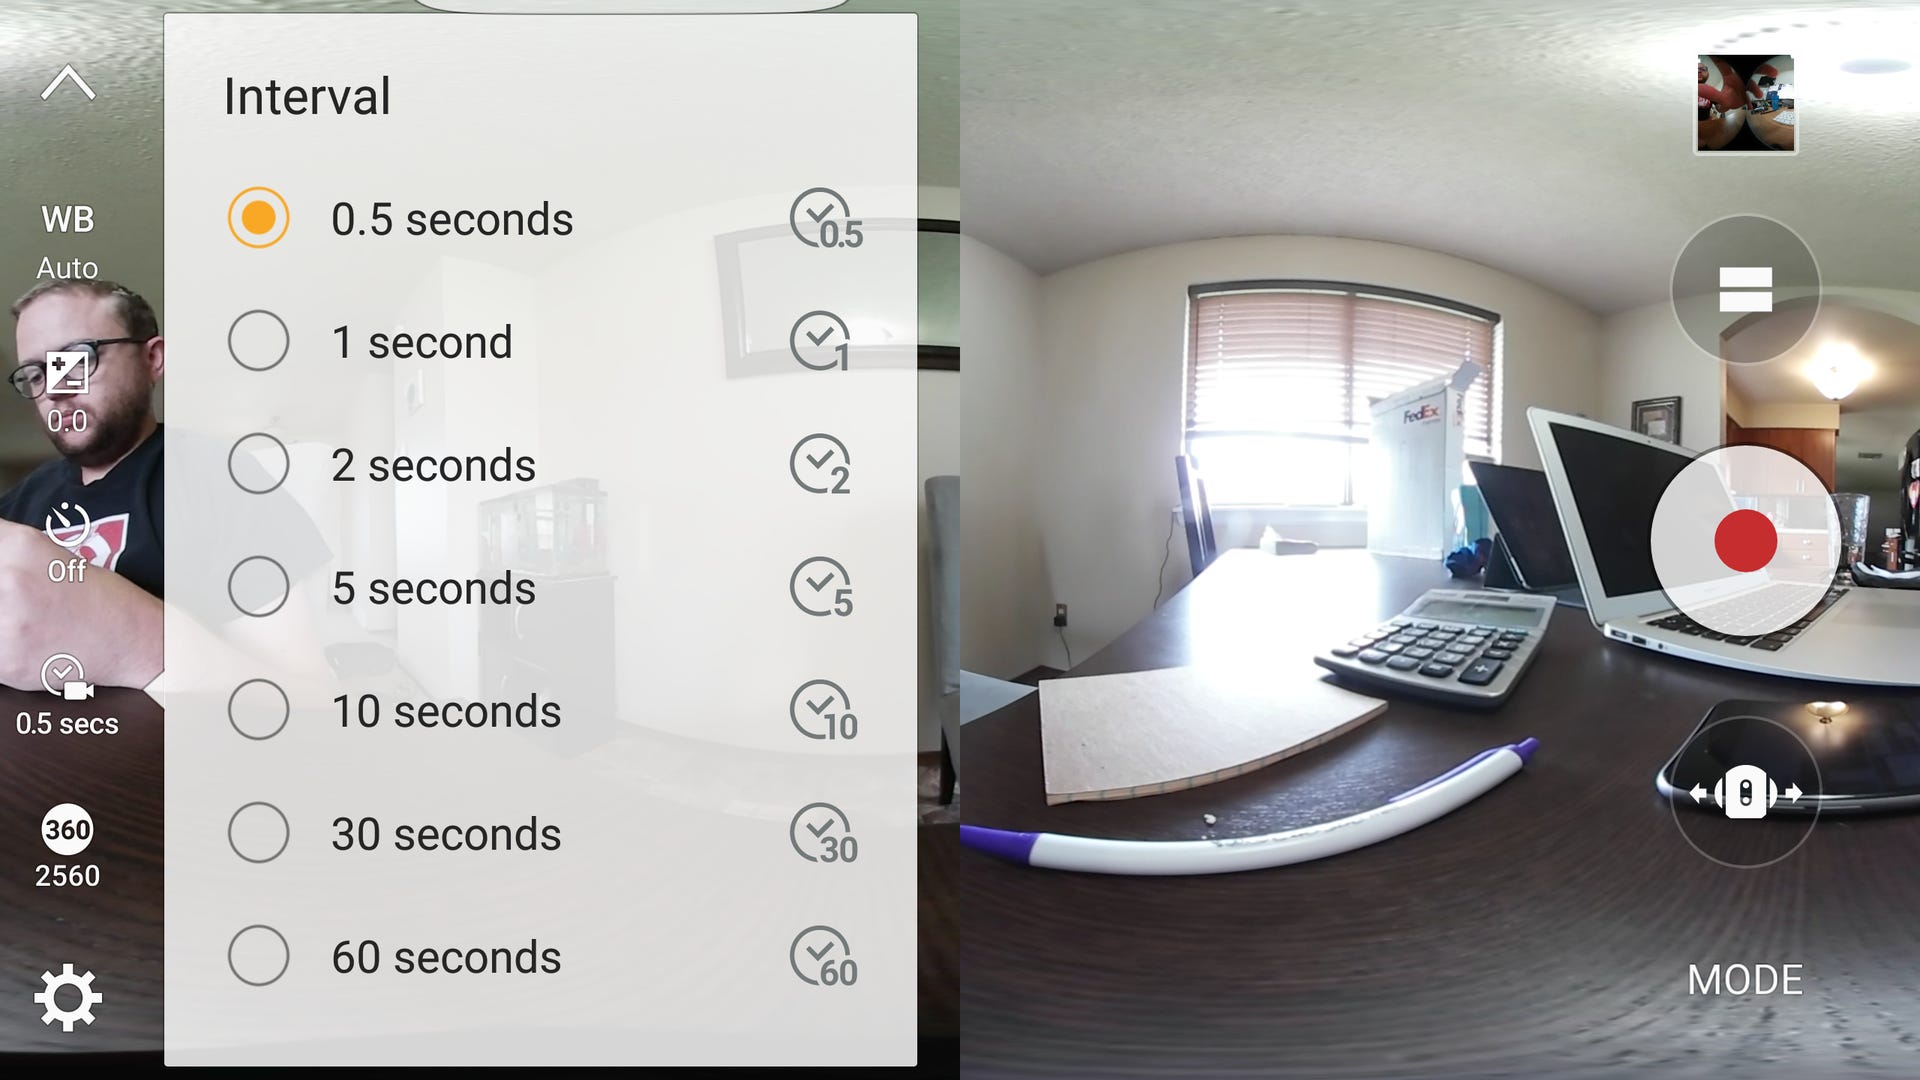
A very simple, yet very creative way to put the Gear 360 to work is to create a timelapse video.
You can start capturing a timelapse using the Gear 360 app on your phone, or directly on the camera itself. When you hit record the camera will start capturing photos, placing them together to create a video when you stop recording.
Tap on Mode then Timelapse using the Gear 360 app on your phone. Then you can adjust the amount of time between photos from 0.5 seconds to one minute as well as set the video size and quality.
3. You don't have to use both lenses

Just because the Gear 360 has two lenses doesn't mean you have to use them both. In fact, you can opt to use just the front or rear camera to capture 180-degree photos and videos with just a few taps.
In the Gear 360 app, you can change lenses by tapping on the lens icon and cycling through the options. On the camera itself, press the Menu button until Settings is displayed. Select it by pressing the Record button, then select Switch Lens.
You can quickly check if a lens is turned on by looking for a red light - or lack thereof - next to the lens.
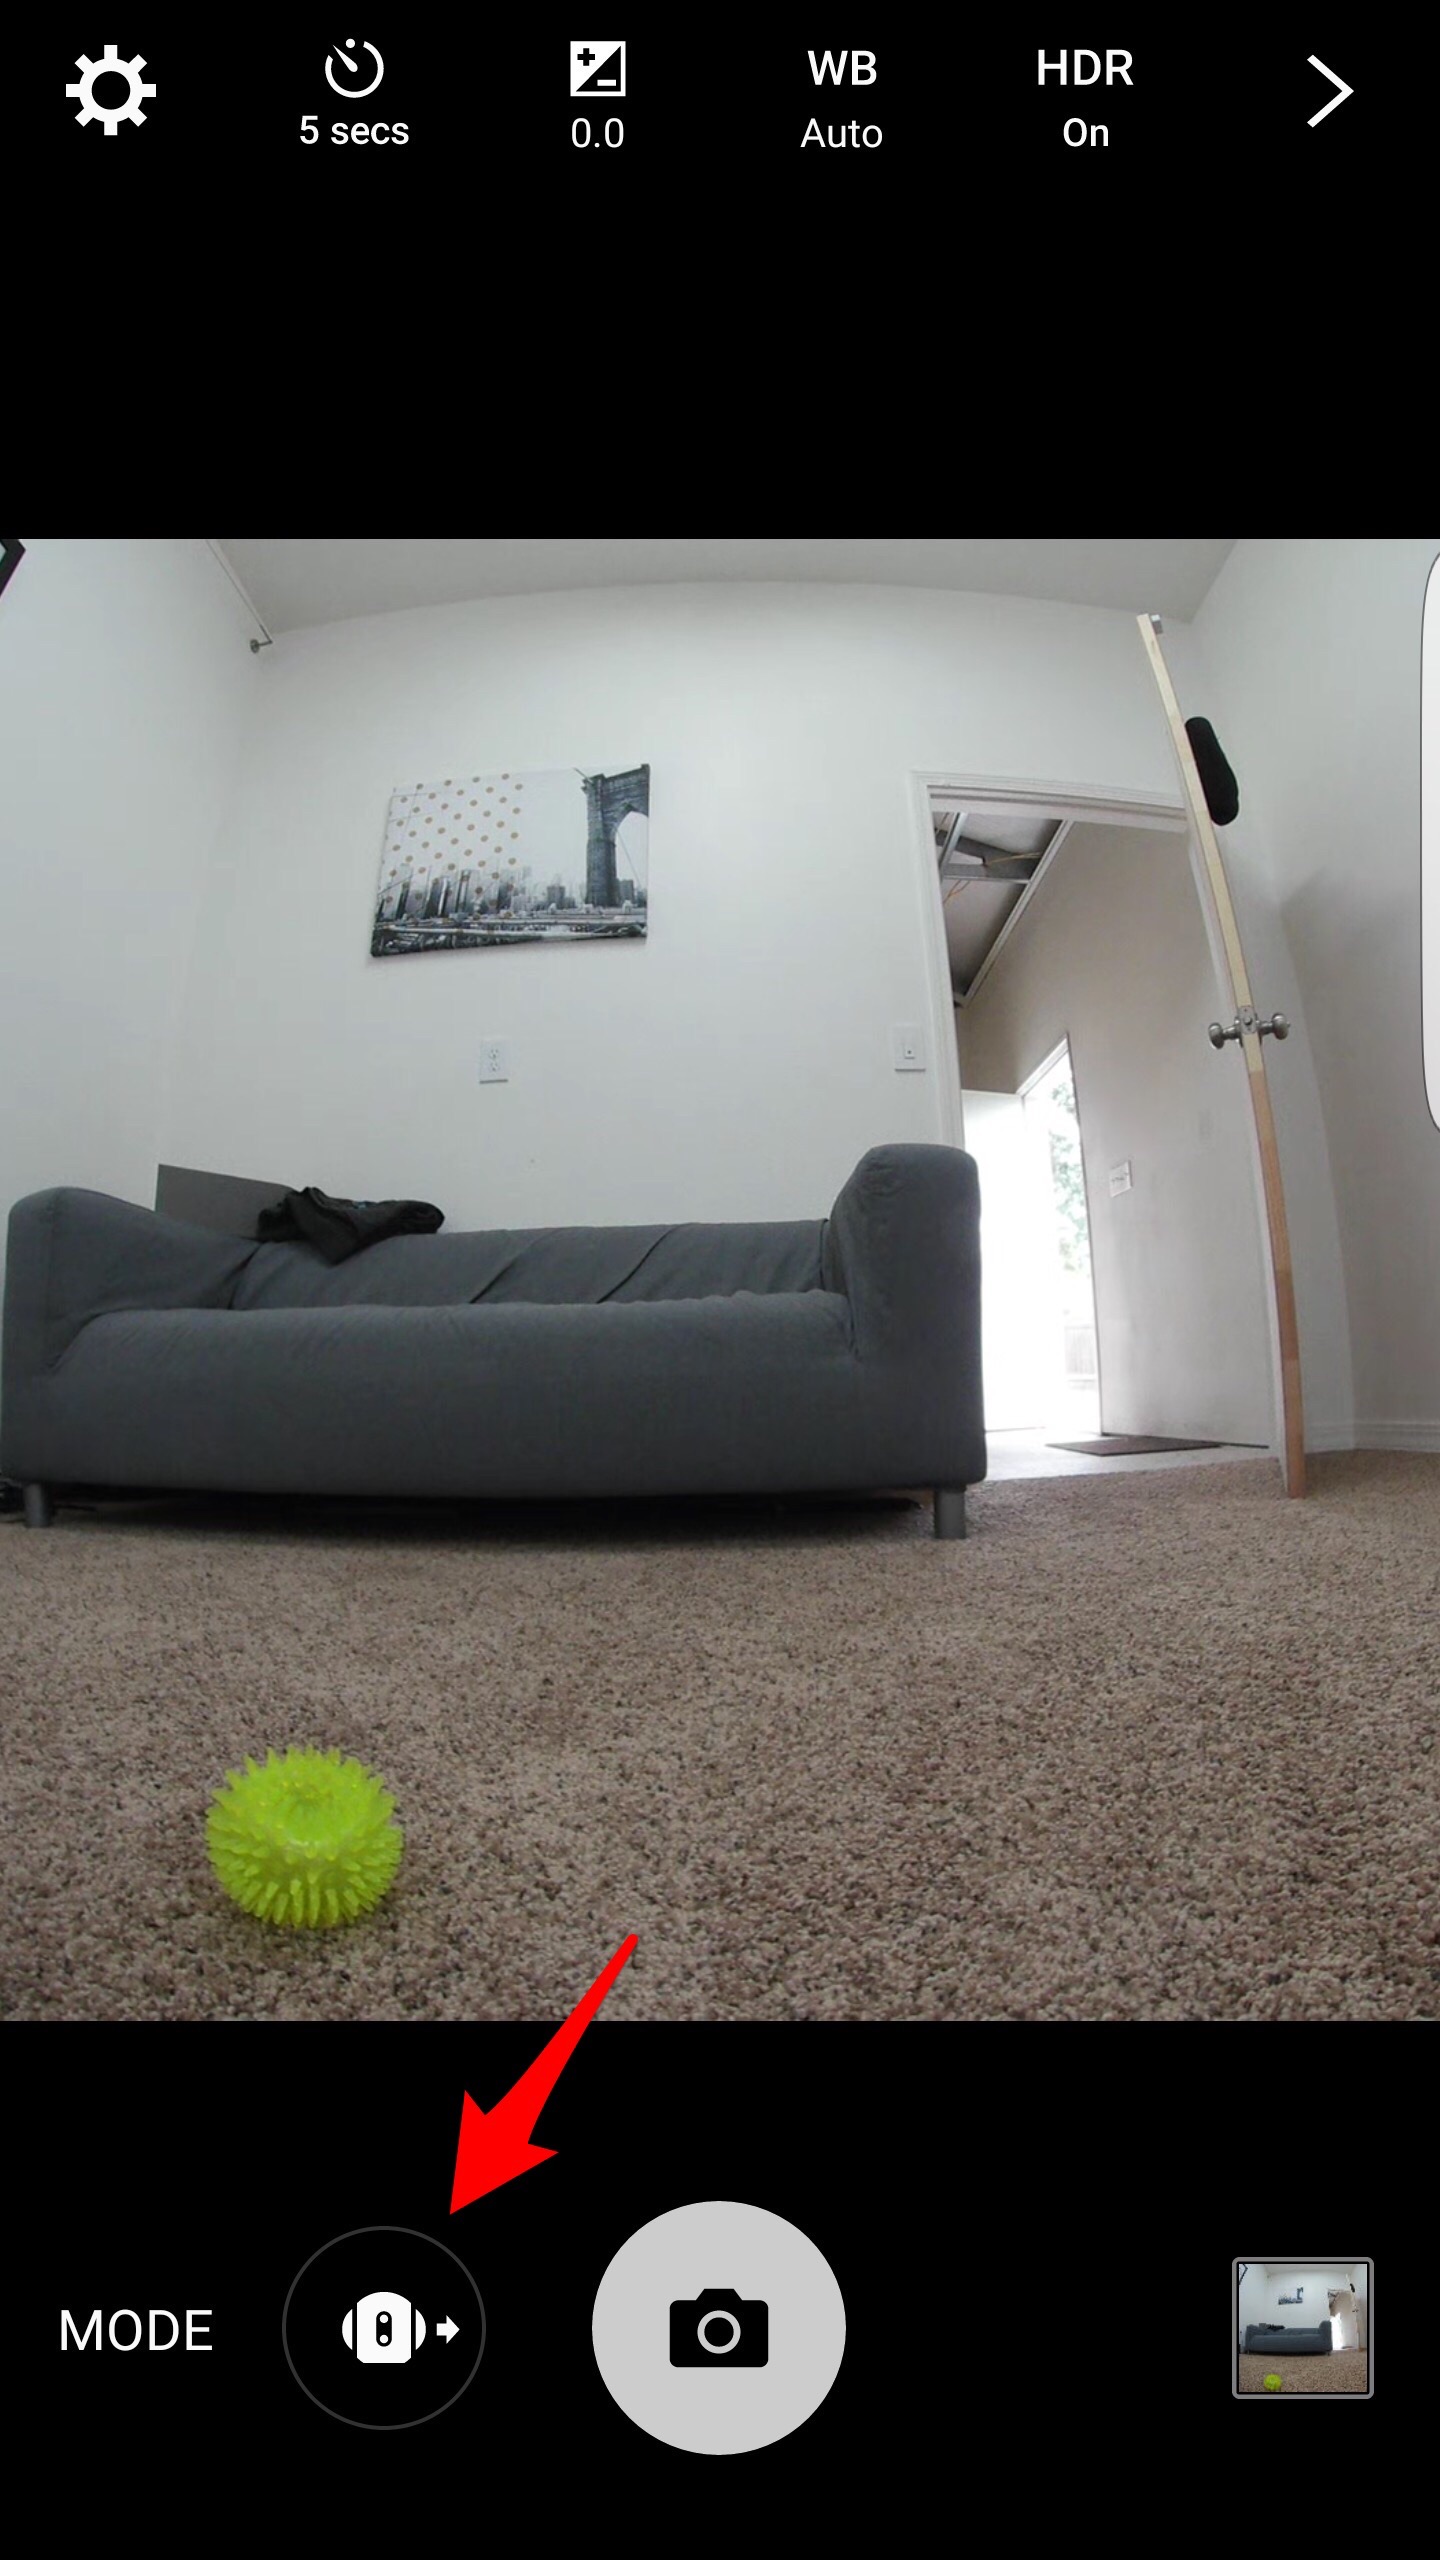
4. Tap to get a better preview
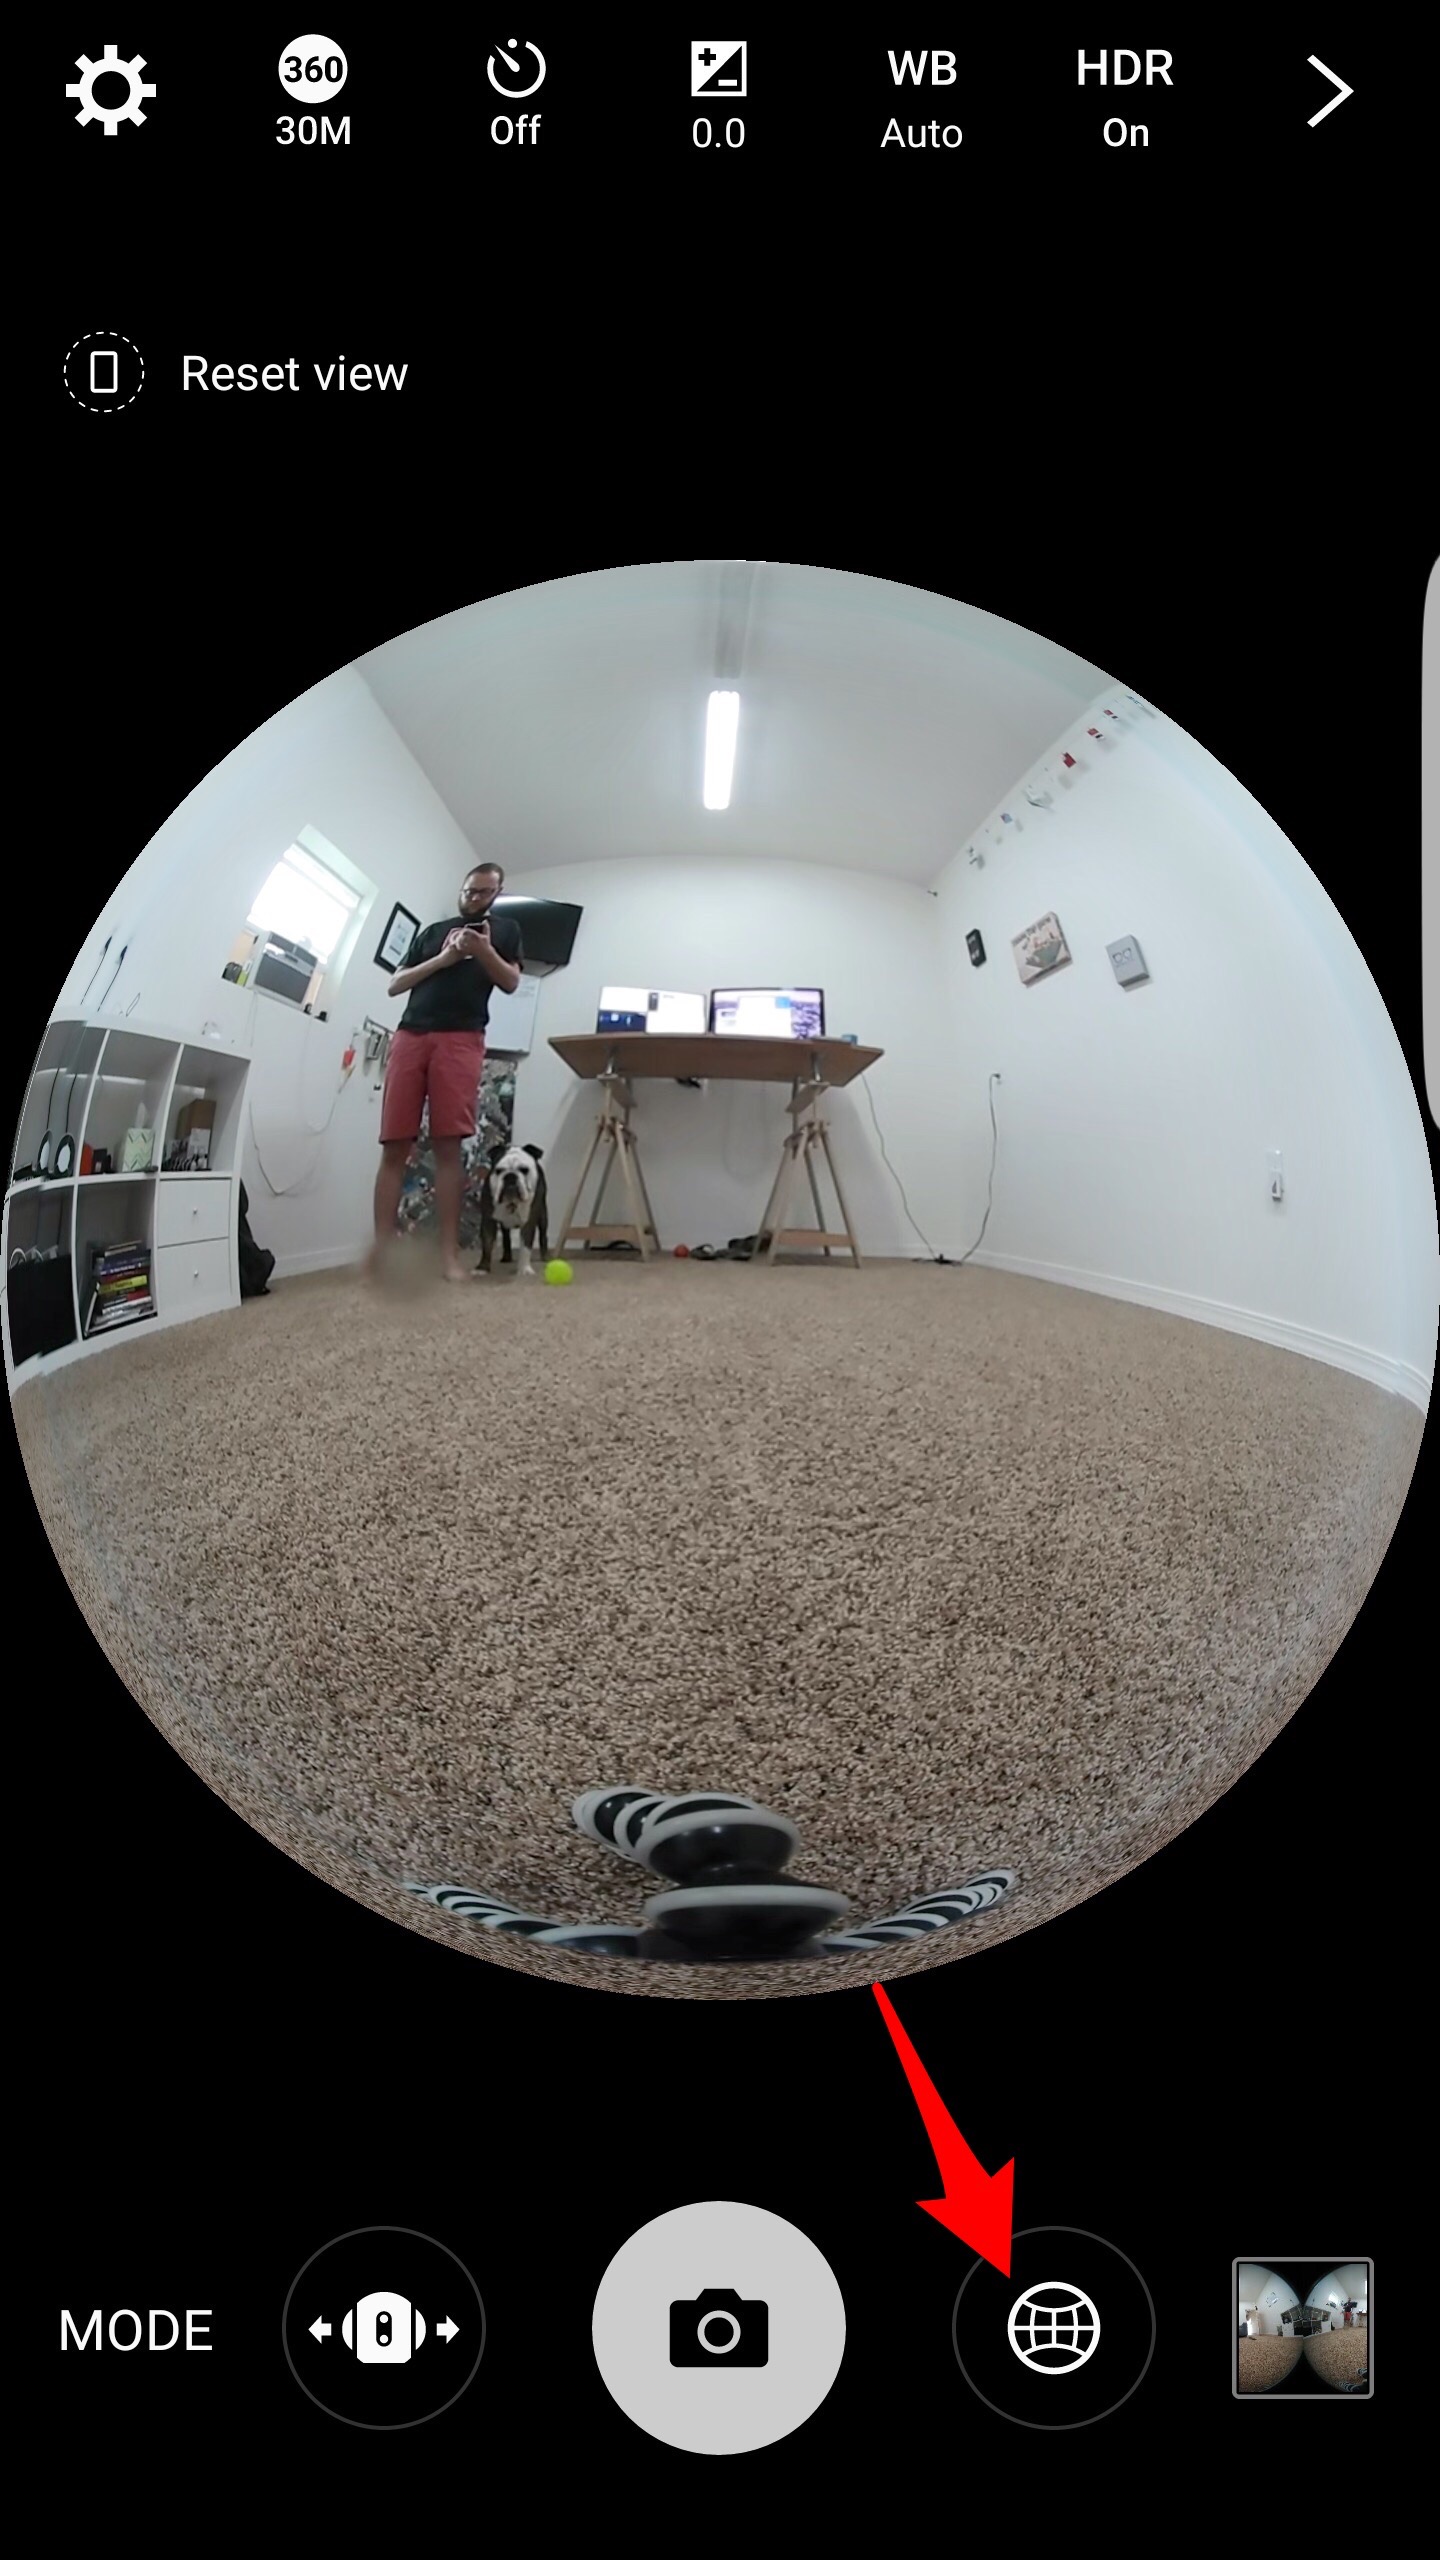

When using the Gear 360 app to set up your shot, it can be difficult to line everything up just as you want it due to the default split screen preview - with one lens shown on the top, the other on the bottom.
Tapping on the button to the right of the shutter button will cycle through three different views: panoramic, a 360-degree and the default dual view.
Regardless of the view, you can pinch-to-zoom and use gestures on the screen to pan and zoom in or out of a shot before hitting the shutter button.
5. Watch your videos in VR
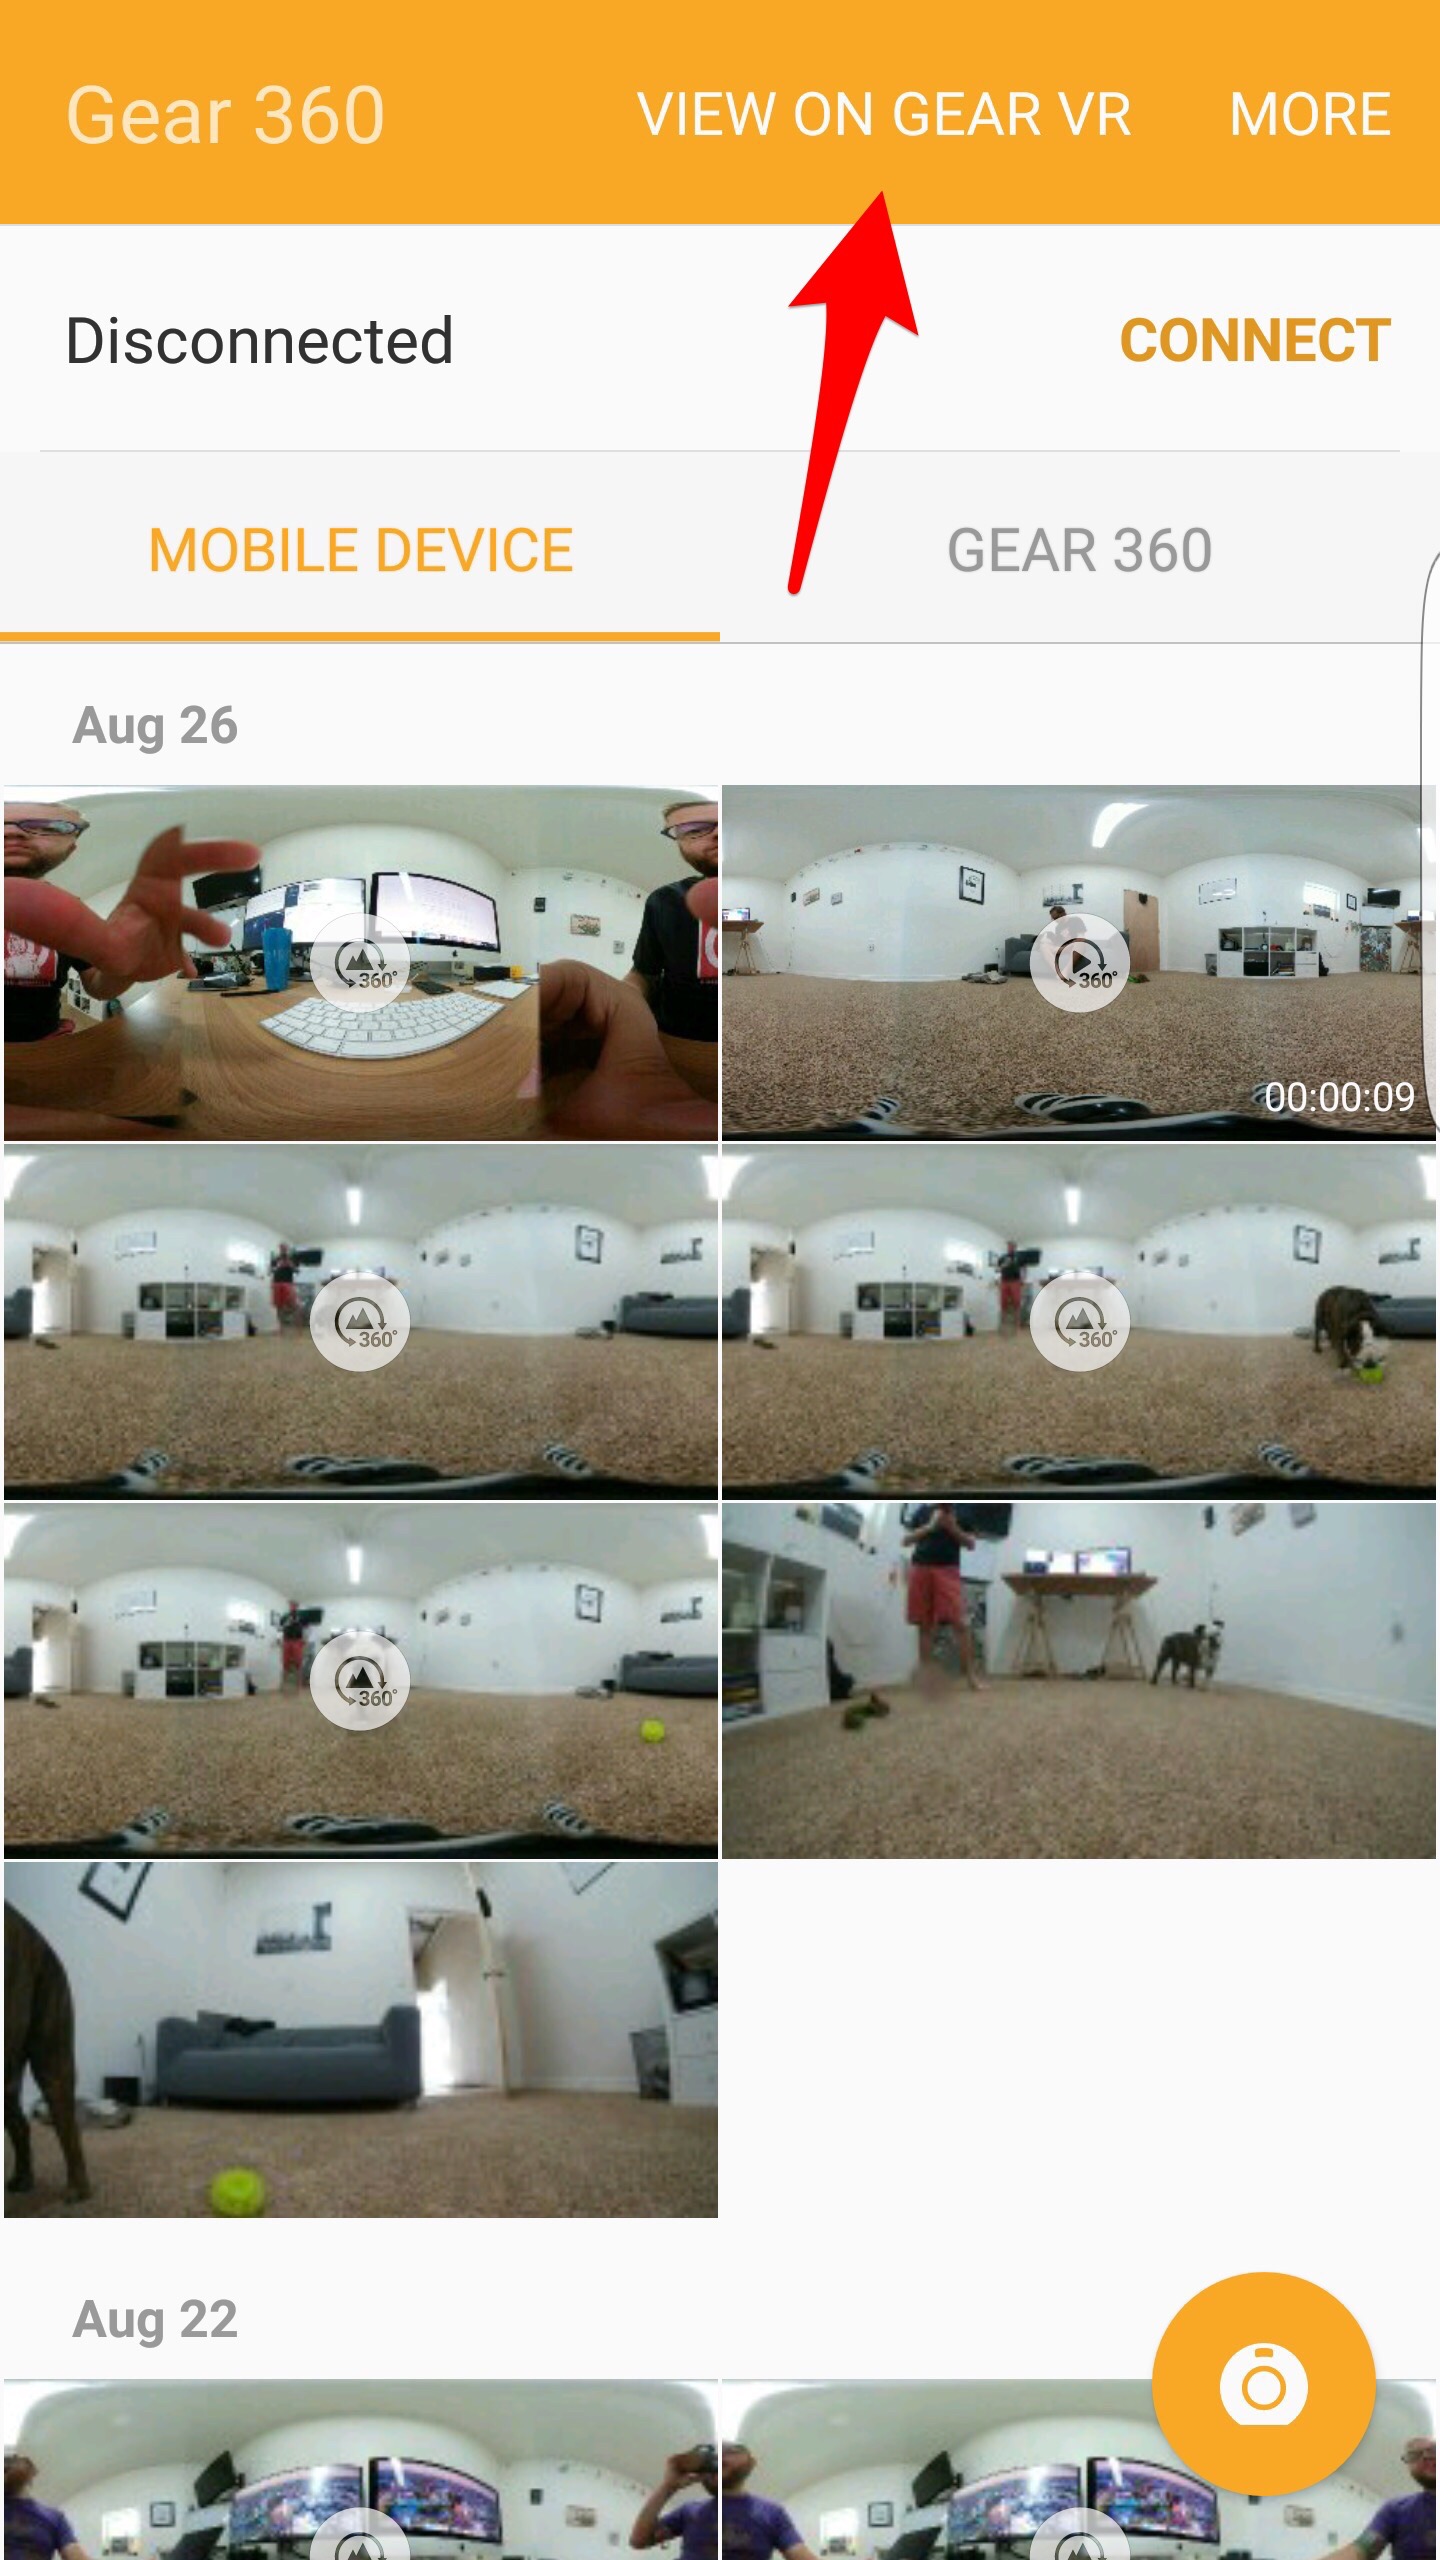
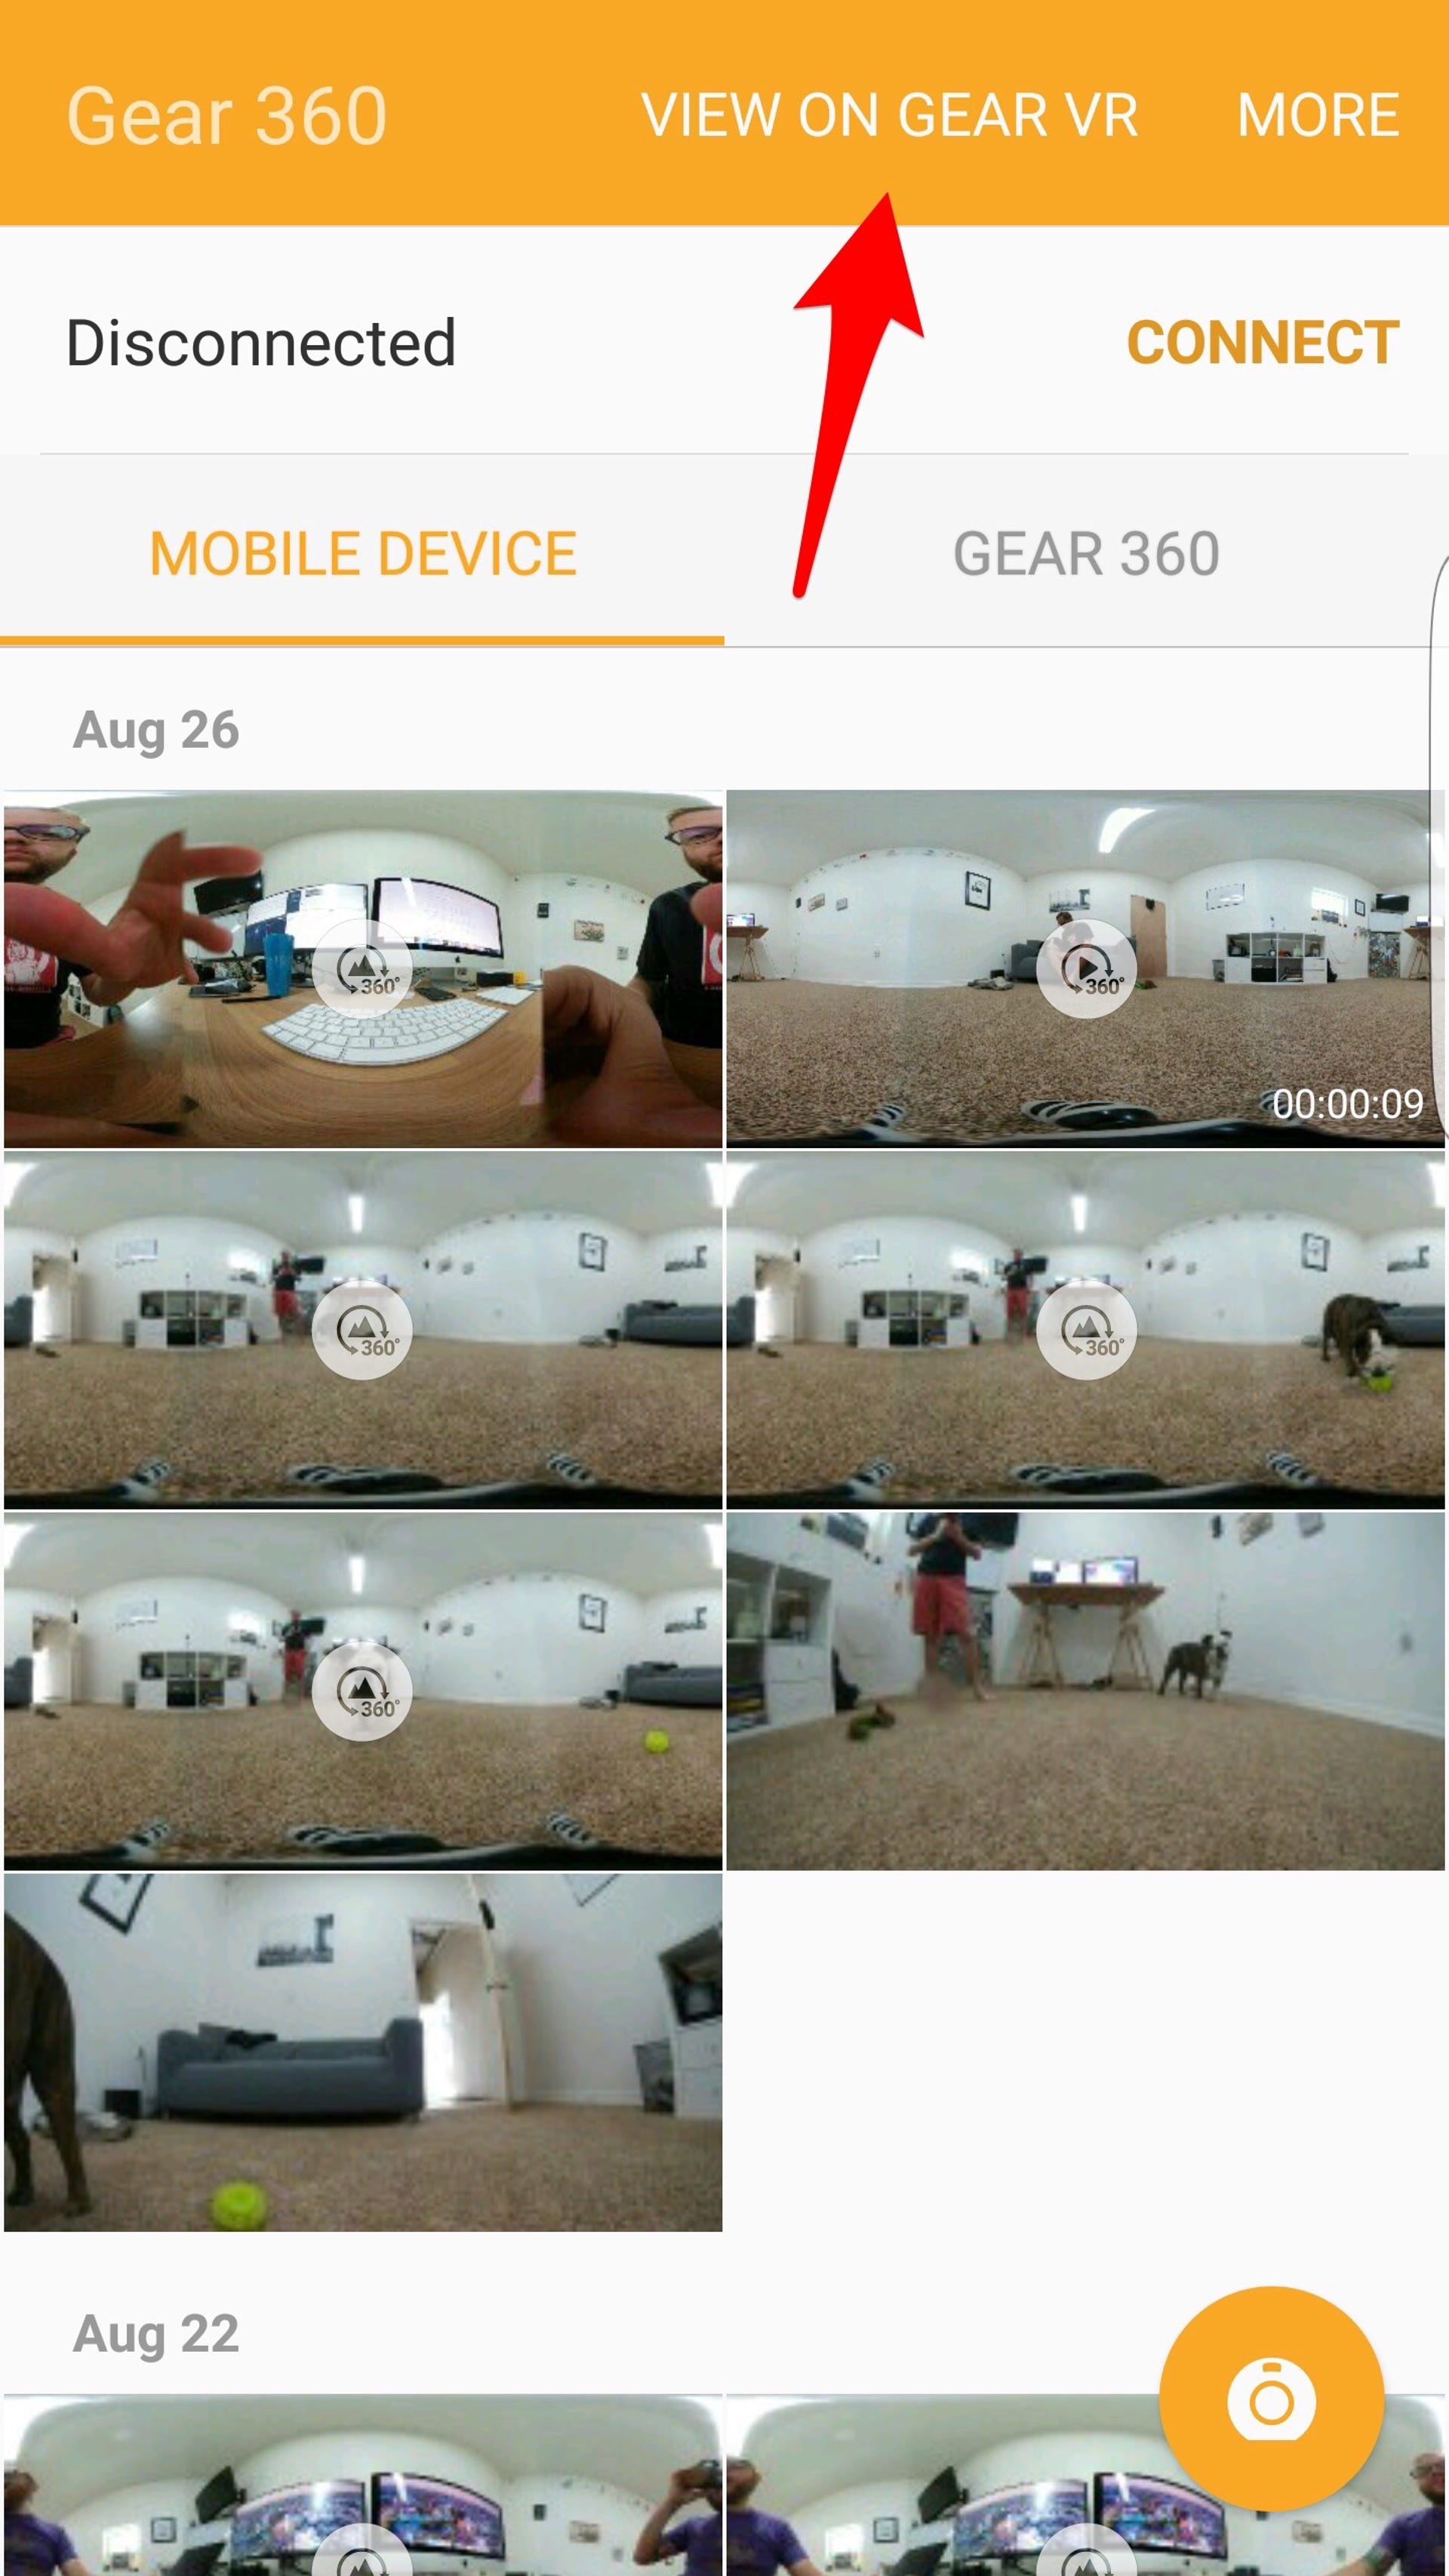
Sure, it's fun to hold your phone up and spin around to see your photo or video from every angle. But the camera's capabilities really shine when viewing your creations in VR.
If you own a Gear VR and have previously used it with your Galaxy Phone, the "View on Gear VR" option will show up at the top of the screen when viewing your Gear 360 camera roll. Tap on it, put on your headset and browse through your 360-degree gallery.
If you just bought a Gear VR, close the Gear 360 app and set up your headset before trying to view your photos and videos in VR.
6. Add photos to Google Street View
It turns out you can connect the Gear 360 to Google Street View, and use it to submit 360-degree photos directly to Google Maps.
If you press and hold the Menu/Bluetooth button on the camera for a few seconds, it will give you three options: Gear 360 manager, Remote control and Google Street View.
Google has posted instructions for connecting your camera to Street View here. It's a simple process, taking just a few seconds of your time. Once complete, you will use the Street View app to control and upload photos which can then be featured on Google Maps.
7. Don't lose your product key
Tucked away somewhere in the Gear 360 box is a small piece of paper with a product key on it. Do not throw it away or lose it. Actually, take a photo of it right away to ensure you have a copy of it.
The key is for Samsung's Action Direct program for your PC. Using Action Director, you can trim, edit and splice 360-degree content on your computer instead of having to use your phone. Without this key, you can't use the program.