How to take better photos in low light
Don't settle for blurry photos in low-light conditions. Here are a few tips to improve your images.


- Webby Award honoree, 2x Gold Telly Award winner
Low-light photography doesn't always mean taking photos at night. There are plenty of situations where your eyes may be able to adjust to lower light easily, such as in a restaurant, but your camera has trouble seeing as well as you do.
Wherever you may be, taking images in low light doesn't have to be tricky. Here are a few tips to keep in mind when making photos in challenging lighting conditions.
Slow down the shutter speed
Understanding how exposure works is important to taking better photos in all lighting conditions. One part of exposure is shutter speed, or how long the camera shutter stays open to take the image.

Using a faster shutter speed will increase the chances of your image being sharper, but because the shutter is not open for a long period of time, not as much light reaches the sensor. In low-light conditions, you will generally want to choose a slower shutter speed and adjust the other exposure parameters to make sure you get a sharp, well-exposed image.
Use a wider aperture
The next element of exposure is aperture. To help gather more light, you can open up the aperture of the lens to its widest value (smallest f-stop number). If you are using a dSLR, most kit lenses will only stop down to f/3.5 or thereabouts. If you do a lot of low-light photography, consider investing in a lens with a wider maximum aperture such as f/2.8 or f/1.8. Lenses that have this capability are often prime lenses (or fixed focal length) such as a 50mm.
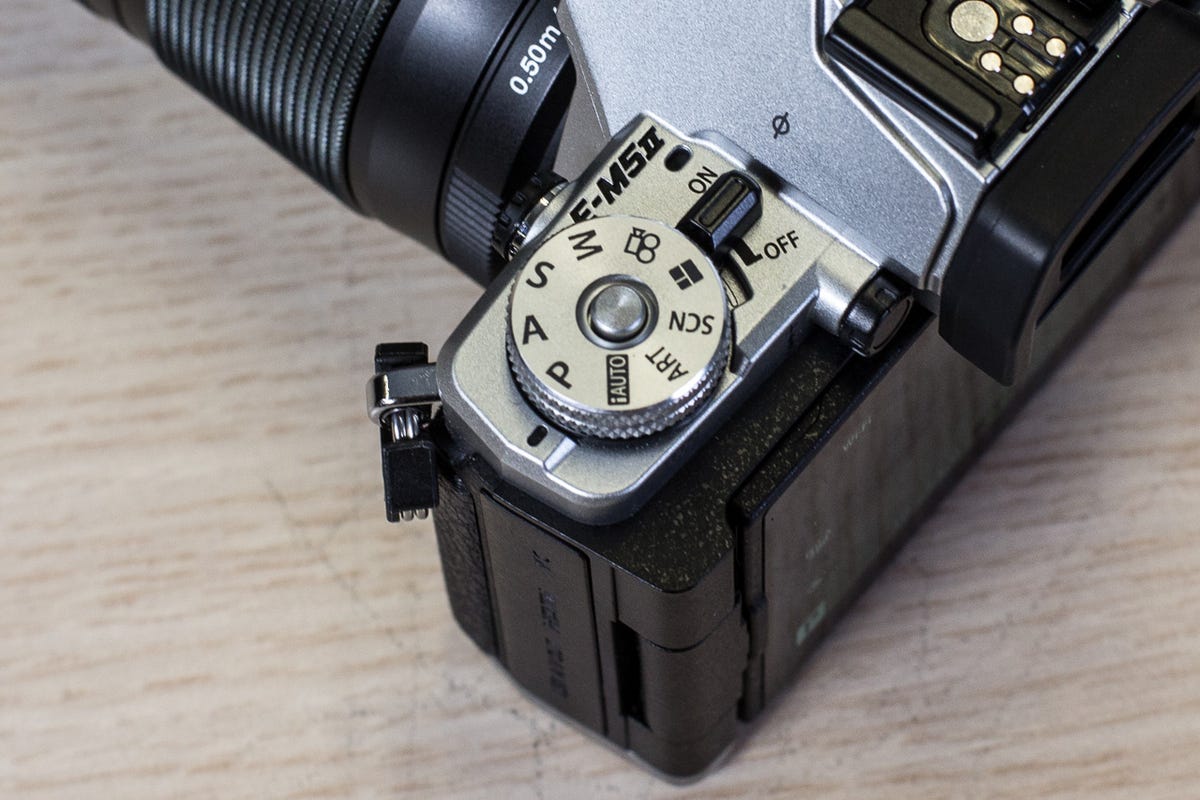
For photographers just starting out, use aperture-priority mode if your camera has this available. Then select the smallest f-number your lens can reach.
Note that when using a smartphone you have no control over the aperture of the lens. Smartphones generally have fixed apertures, so adjusting the shutter speed and ISO is the only exposure control available.
For long-exposure photos, however, you will more often than not need to use a smaller aperture to help avoid blowing out the scene when leaving the shutter open for a long time.
Increase ISO
The ISO value is how sensitive your camera is to light. A lower ISO value such as 100 means that the sensor is not very sensitive to light, so you would use this in bright conditions. In lower light, you may need to crank up the ISO to a level like 800 or 1600 to ensure the sensor is gathering enough light for a proper exposure.
Often when you increase the ISO on your camera, noise is introduced into the image. This generally appears as speckles or grain across the photo. Newer dSLRs or cameras with larger image sensors may have a higher threshold before noise starts to appear. Whatever camera you use, noise reduction software is available to help reduce the appearance of this grain.
If you use Adobe Lightroom, there are noise reduction sliders available from the Develop module. Otherwise, there are many other solutions available such as Neat Image and Photo Ninja.
Stabilization
Using a slower shutter speed to gather more light leaves your photos susceptible to camera shake. A tripod or monopod will help keep everything nice and stable while the shutter is open, particularly useful if you want to experiment with long-exposure photography.

In situations where a tripod isn't an option, make sure to turn on image stabilization (either in the camera body or on the lens). Alternatively, find a stable surface to rest the camera on top of to act as a makeshift tripod. The photo above was taken without a tripod, simply by resting the camera on a concrete handrail for the duration of the exposure.
You may also want to use your camera's self-timer option or a remote release when taking longer exposures to avoid any shake introduced by physically pressing the shutter button.
For smartphones, plenty of options exist to help keep your handset steady while taking photos.

Shoot in raw
A raw image is the photo produced by a camera before any processing is applied. They capture a lot more detail than JPEG files processed in-camera. JPEGs lock in parameters such as white balance, sharpening and lens corrections.

When you choose to shoot raw images with your camera, you have a lot more latitude to process the image in whatever way you choose after it has been taken. For example, you can bring back detail in areas of underexposure, particularly useful for low light photography.
For those new to working with raw images, read through this guide to help process and edit these files.
Only a few current smartphones have the ability to capture raw images. This is CNET's guide on what you need to know.
Get your focus right
Autofocus often struggles with finding the right subject to lock onto when taking photos in low light. Try to use manual focus where possible, and inspect photos after they have been taken to ensure your focus is in the right place.
Alternatively, some dSLRs and compact cameras will have an AF assist light which can be activated from the menus. This will throw a short burst of light to help the lens focus before the photo has been taken. If this isn't available on your camera, consider using your smartphone's LED torch to light up the subject so you can grab focus.
What about flash?
This short burst of light will illuminate your subject so the shutter doesn't need to stay open as long. However, it may not always deliver the most flattering results for portraits, or the flash is not strong enough to light up subjects in the distance.
Using flash certainly has its place in low-light photography, such as when taking group photos in dark situations. An external flash unit can also be useful when shooting with a dSLR as you can bounce the light off a wall or ceiling to create a more natural look.