How to rollback the MacOS Sierra beta to OS X El Capitan
Get rid of the Sierra beta and return to the warm embrace of El Capitan.

If you installed the public beta of MacOS Sierra to give it a spin but have now satisfied your curiosity, you can return to OS X El Capitan while you await Sierra's final release this fall.
If you followed my earlier advice to install the Sierra beta on a partition, then it's easy to erase and remove that partition. And if you took the bold step to install the Sierra beta right over El Capitan, then you'll need to roll back the clock and use a Time Machine backup that predates your installation of the Sierra beta. Hopefully, you followed my advice to create a Time Machine backup before installing the Sierra beta.
Erase and remove partition
Before you remove Sierra, make sure you move any files you may need from that partition to an external drive or a cloud service, including iCloud Drive. (I had a few files I wanted to save from my Sierra partition and simply opened Finder and dragged them to the iCloud Drive folder.)
To erase the partition on which you installed Sierra, you first need to restart your Mac and while it's restarting, hold down the Option key so you can choose which partition to start. Choose the partition with El Capitan.
- After El Capitan boots up, open Disk Utility
- On the left panel, select the partition you created for the Sierra beta
- Click the Erase button at the top of Disk Utility
- When the confirmation window pops up, click Erase to confirm your intentions.
With the data erased from your partition, you still need to delete the now-empty partition in order to reallocate its space to the rest of your hard drive.
- Select the top-most drive from the left panel
- Click the Partition button at the top
- On the pie graph on the left, click the wedge that represents the partition you just erased.
- Click the "-" button and then click Apply.
After a minute or so, Disk Utility will finish applying changes to your drive and deem the operation successful. Click Done to complete your work here.
Time Machine backup
If you installed the MacOS Sierra beta over El Capitan, it's time to dig out your Time Machine drive and get to work.
- Connect the external drive you use for Time Machine backups.
- Restart your Mac and hold down Command-R as it boots up to enter recovery mode.
- From the Utilities window, select Restore From Time Machine Backup.
- Select the most recent OS X 10.11 backup and click Continue.
- Select the destination for your backup, which is usually Macintosh HD unless you renamed it.
Time Machine will restore your Mac to this point and you'll again be running OS X El Capitan.
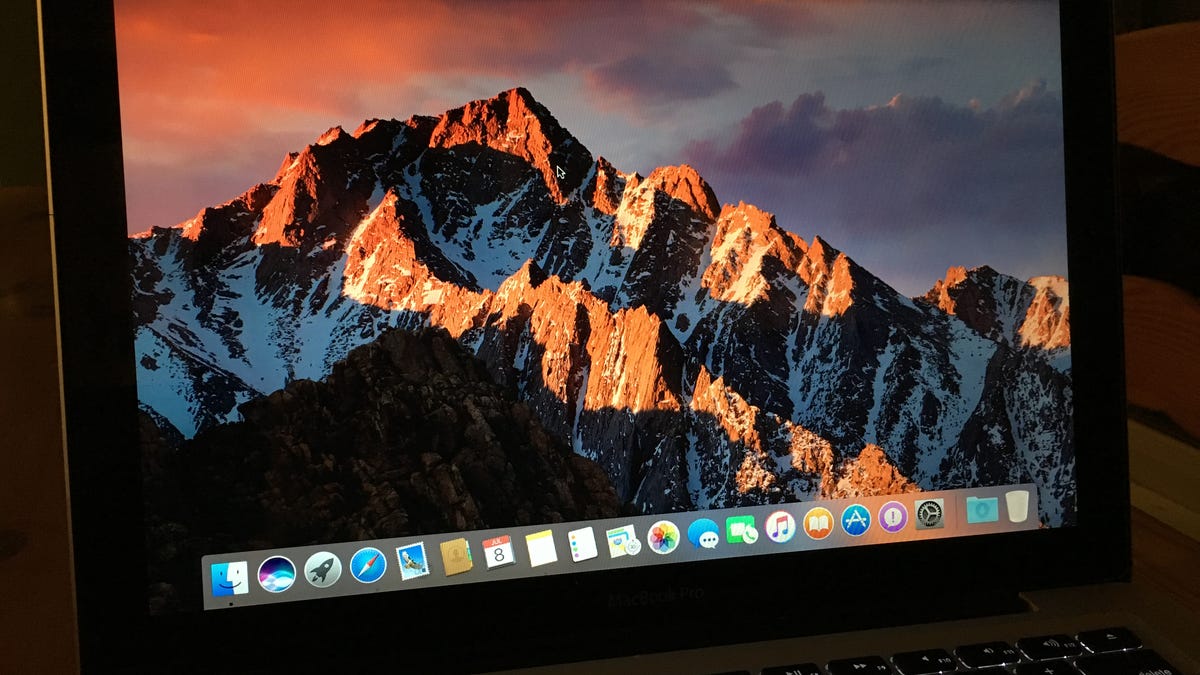
While you await Sierra's final release this fall, you can get Sierra's beautiful wallpaper on your desktop.

