How to photograph the supermoon
Here are some tips to help take photos of the upcoming supermoons in all their glory.


- Webby Award honoree, 2x Gold Telly Award winner
In 2014, the moon will appear unusually bright and full on the following dates:
- Saturday, July 12
- Sunday, August 10
- Tuesday, September 9
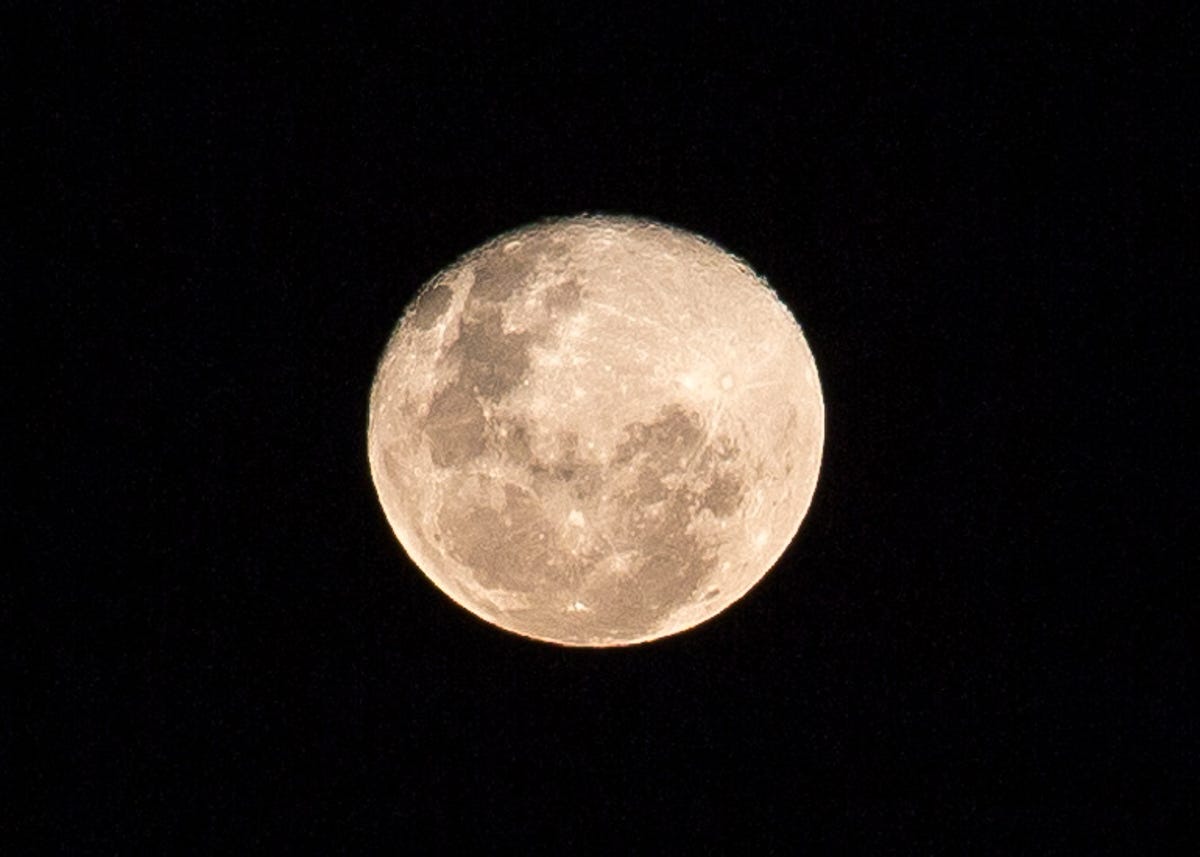
The true supermoon in 2014 will occur on August 10, when the moon will 221,765 miles or 356,896km from Earth. It's a great excuse to get out, take some photographs and experiment, as the moon may appear bigger and brighter than usual.
To work out the exact time when the moon will be closest to the Earth in your timezone, use this site and enter your location.
Here are some tips to photograph the supermoon in all its glory.
Switch out of automatic
Automatic mode probably won't achieve the results you desire from moon photography. Instead, switch out of automatic mode and flick to manual or shutter priority exposure mode.
Set your ISO sensitivity to a low level, such as 100 or 200, in order to minimise noise. Your chosen shutter speed will depending on the ambient light and the effect you want to achieve.
Despite what you might think, the moon is a bright light source and requires a short shutter speed to avoid blowing things out. Try using the Sunny 16 rule in this case: at f/16, shoot at the reciprocal shutter speed to your ISO.
For example, if you're shooting at ISO 100, try 1/100 second (or 1/125, depending on your camera). Experiment by varying your shutter speed depending on the brightness of the moon.
The sharpest results will be achieved when using a narrower aperture, upwards of f/8.
Use manual focus
Autofocus and low light generally don't work together very well. Using manual focus will help pinpoint exactly where you want to achieve focus.
Switch into MF mode on your lens or camera body. Activating expanded focus on your camera screen in Live View mode will help find the exact point you want to target without needing to squint through the viewfinder.
For tack-sharp photos, focus stacking is another technique that can come in handy for photographing the moon. Read up on how to get started with focus stacking in this tutorial.
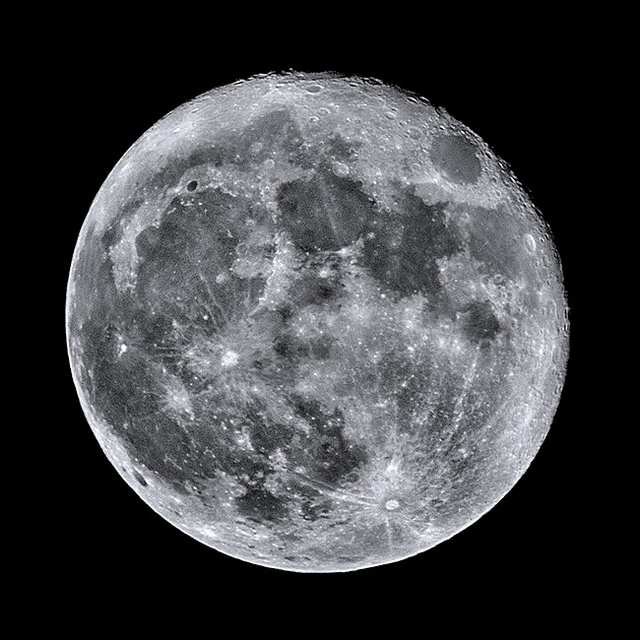
Use spot metering
Want to get a shot of the moon all on its own against a stark black sky? Spot metering will help you achieve this look, as it measures the light from only a very small portion of the scene - usually the centre of the viewfinder, but this can vary from camera to camera.
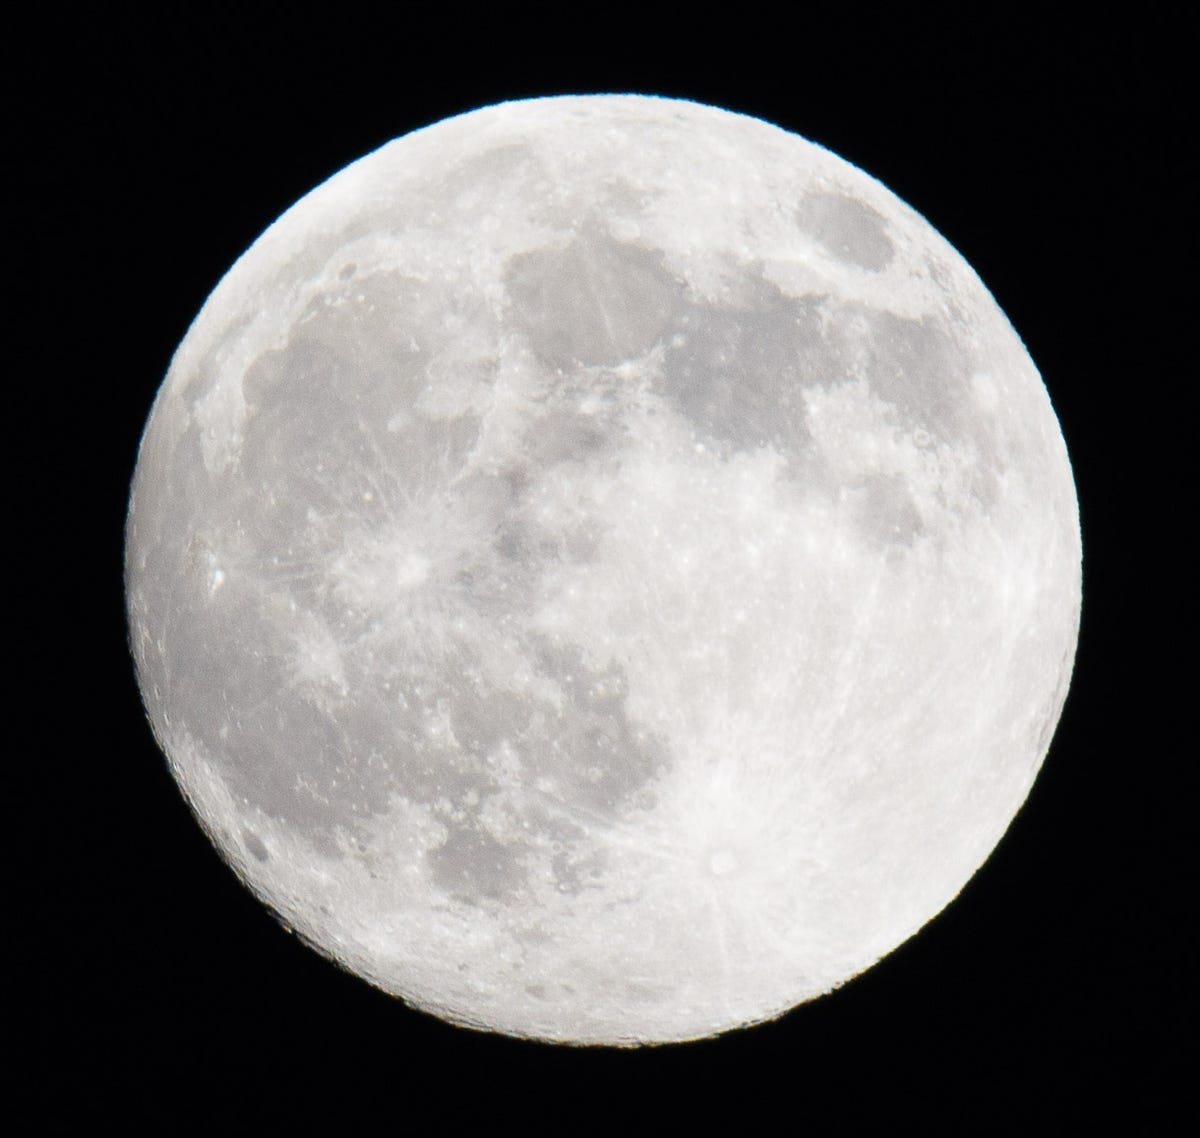
Spot metering will work best when using a long lens. The exposure will not be affected by the other areas of the frame, such as any ambient light from the sky surrounding the moon.
If there are other elements in the frame, evaluative or matrix metering will work best unless you are trying to achieve a silhouette effect. Bracketing your exposure a few stops either side will also be valuable, especially if you are in a hurry and want to ensure that one photo will be usable.
Get close with a telephoto lens
A telephoto lens or long optical zoom on a point-and-shoot is an absolute must for getting in close to the moon. With such a long lens, you will also need some sort of stabilisation device, like a tripod. It's possible -- but not ideal -- to take an image handheld.
Don't want to buy a new zoom? A teleconverter can turn a humble zoom into something a bit more far reaching. While teleconverters give you an effective focal-length boost, many also exacerbate any issues with the lens you attach it to, so the final result may not be as sharp as you expect.
Mobile phone photographers don't need to feel left out. Consider investing in a telescope adapter such as the SteadyPix for iPhone. Naturally, you need a telescope as well.
Take out any form of shake
Apart from using a tripod to stabilise the camera, the way you trigger the shutter can also introduce shake into photos. A remote shutter release is one option that can be used to take the photo that avoids you having to physically touch the shutter button.
Alternatively, simply set up the camera on a tripod, and use a self-timer mode to take the image. Set everything up in terms of exposure and focus, then press the shutter button to start the self-timer.
For dSLRs, the simple movement of the mirror flipping up and down to let light hit the sensor can introduce shake.
Using mirror lock-up mode will help alleviate the vibration by holding the mirror up on the first shutter press, then exposing the image on the second shutter press and subsequently releasing the mirror. Your SLR may operate slightly differently, though, so do check the manual.
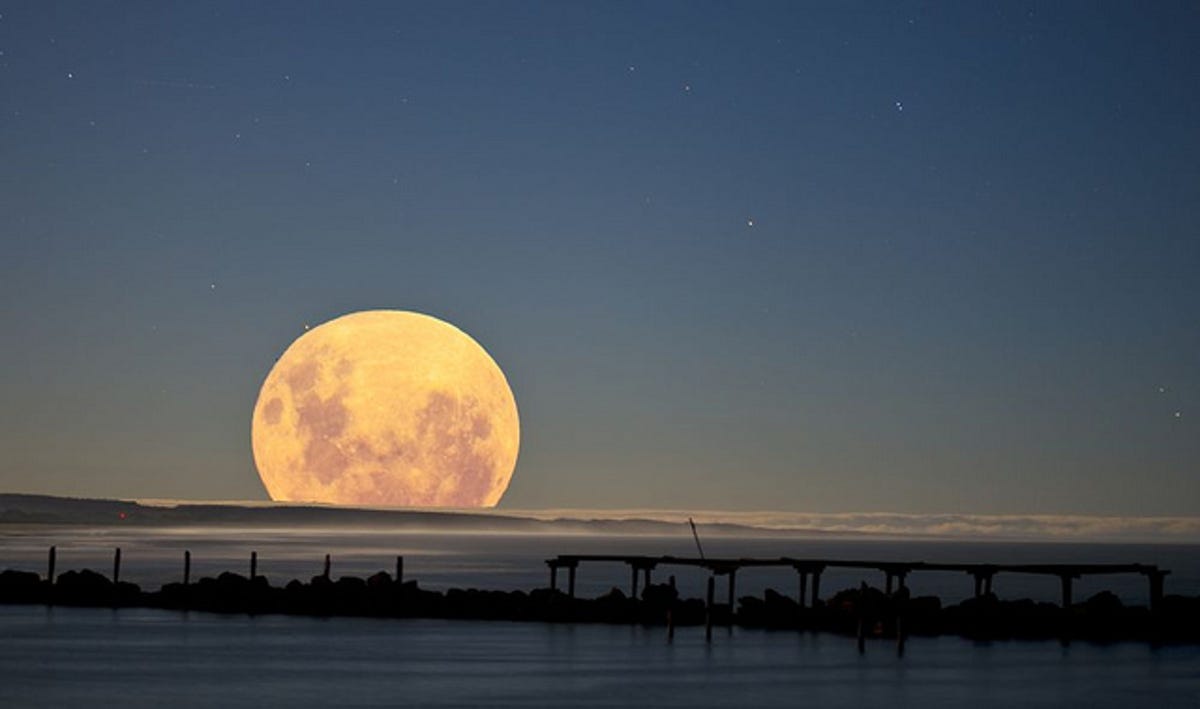
Play around with composition
The moon against a dark sky is beautiful in itself, but you may want to try a more creative composition. Think about capturing the moon at the beginning of the supermoon phase, picturing surrounds such as buildings, trees and people in the photo as well.
For inspiration, this full moon rising video shows just how effective silhouetting against a full moon can be.
There are no guaranteed hard and fast exposure rules for photographing the moon, as its luminosity and position always change. However, the tips above should help you get started to achieve the photo you're after.
Feel free to share your moon photography tips in the comments below, as well as your best shots.