How to digitise your vinyl
Your smart phone's a clever gadget but it can't play your vinyl collection (yet). You'll need to record it to MP3 first. Here's how.

You've just saved your dad's cache of prog rock from the skip and your mate's slipped you a rare 12" vinyl of that uber-obscure nu-gaze band you've been hunting down. Great. But if you want to carry that new-found self-congratulatory glow away from your armchair and onto the bus, you'll need to convert these crackly gems into MP3s for listening to on your phone.
There's an easy way to recover your records and import them to a media player of choice. Turntables such as the Audio Technica AT-LP120-USB offer an inexpensive, simple means of converting your cherished vinyl to MP3 or even WAV. Here's how to breathe new life into your old classics by digitising your vinyl.
What you'll need
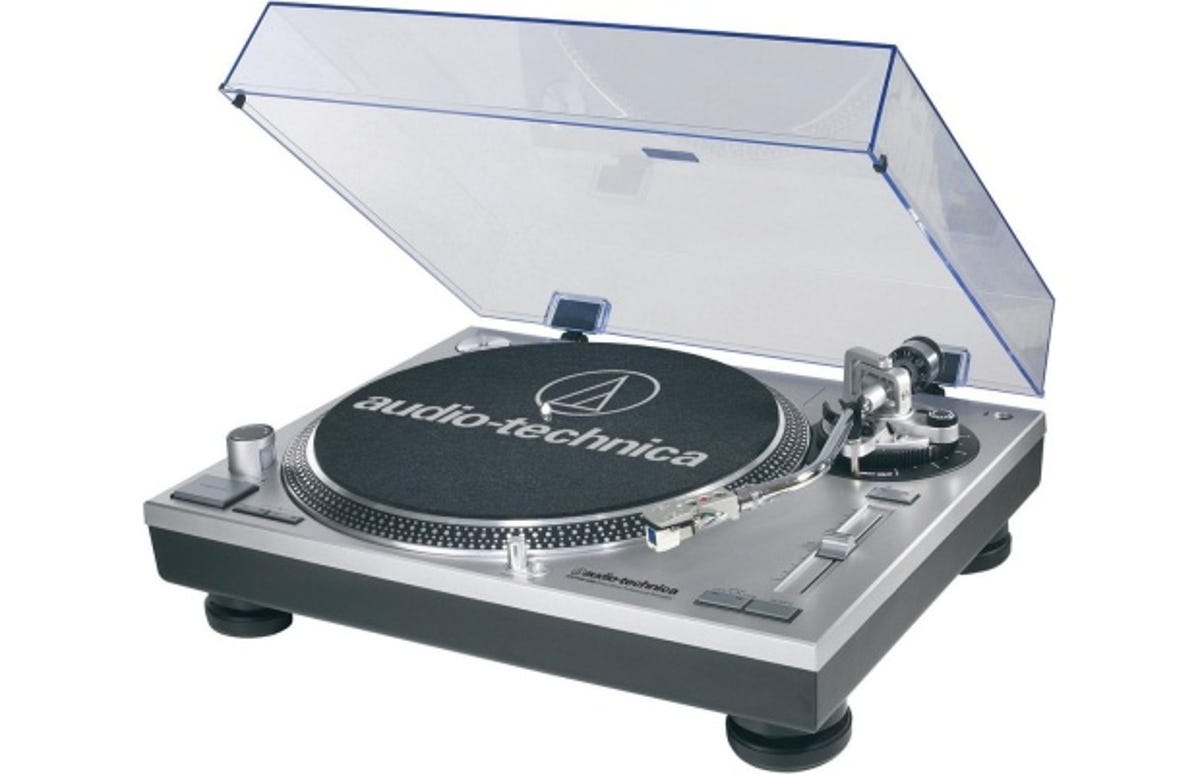
As well as your dusty vinyl collection, you'll also need a computer or laptop and a turntable with a USB output -- I'm using the Audio Technica USB AT-LP120-USB in this tutorial (pictured above).
One of the most versatile models on the market, it offers the high-quality sound and tank-like build expected by DJs and audiophiles, as well as a USB output for digitising LPs. Throw in the option to upgrade the all-important cartridge and the AT-LP120-USB is an impressive all-rounder at £225.
First steps
After setting up the record player, the next step is to upload the digitising software to your laptop or PC. The Audio Technica uses the popular open-source Audacity, so there's no shortage of support on Mac or PC. After a few clicks you'll be ready to prepare your vinyl for the process.
To get the best sound, make sure your vinyl is in optimum condition, devoid of dust or other particles that could harm sound quality. For light dust, a carbon fibre brush will do, but for caked discs, there are many tutorials online that show how to get them back into tip-top condition.
Once your chosen records are pristine, it's time to start digitising.
Digitising
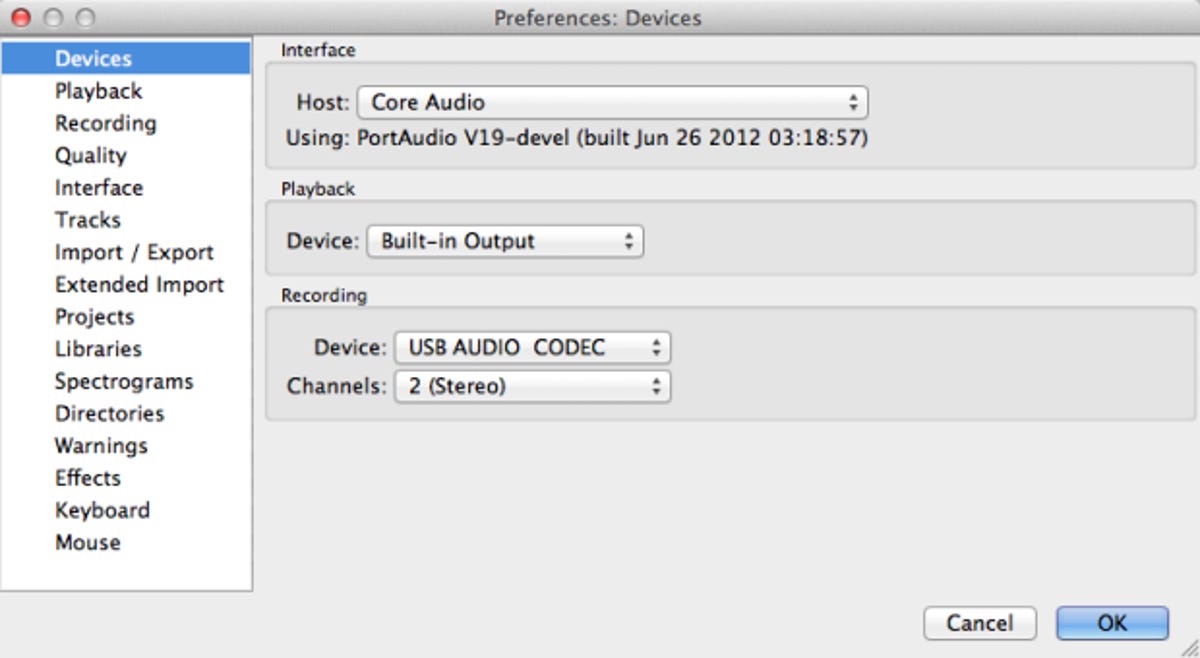
Your first port of call should be connecting the turntable via USB and then sorting out your recording input. Simply select your recording input as 'USB AUDIO CODEC' and Audacity will read and save any audio coming from your USB Port. Once this is done, you're ready to get down to playing records.
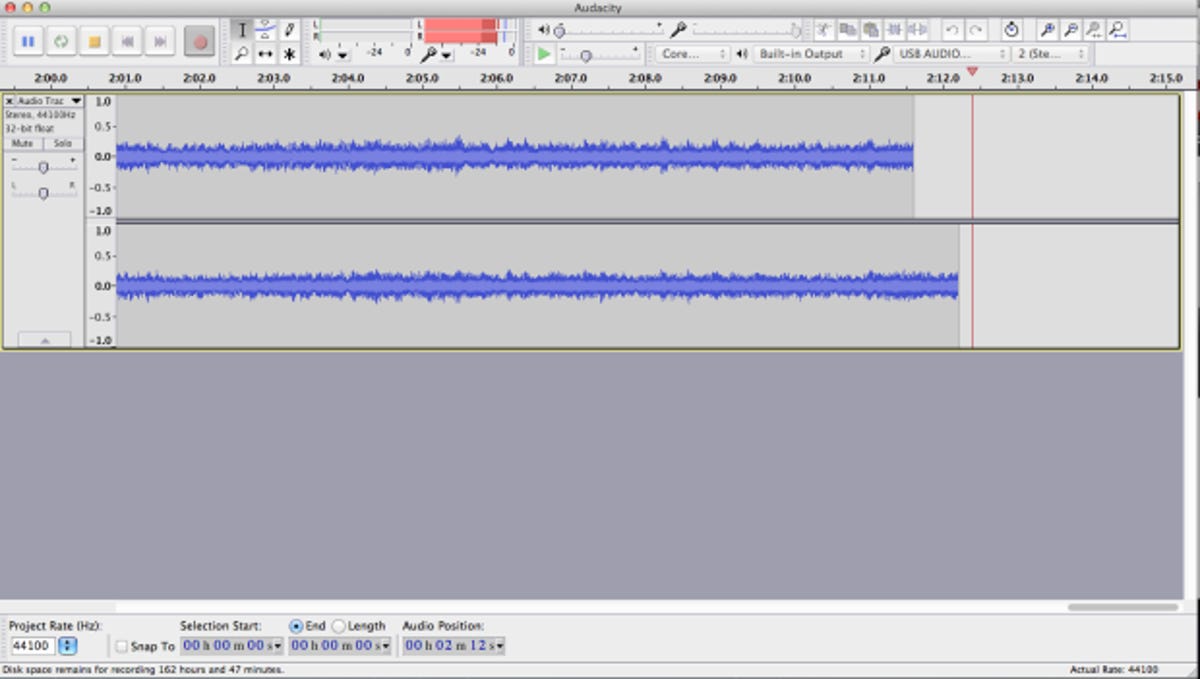
A painless process, converting your records into digital files is as simple as pressing play and watching the waveform appear on your screen.
Once the track has finished, converting your audio is a matter of exporting to the relevant file format and repeating the process for each track. When exporting files, it's best to opt for the highest quality available and then downgrade if needed -- this way you won't have to dig your vinyls out again if you've recorded to a low-quality MP3 and then crave the crispness of a better-sounding WAV or FLAC file.
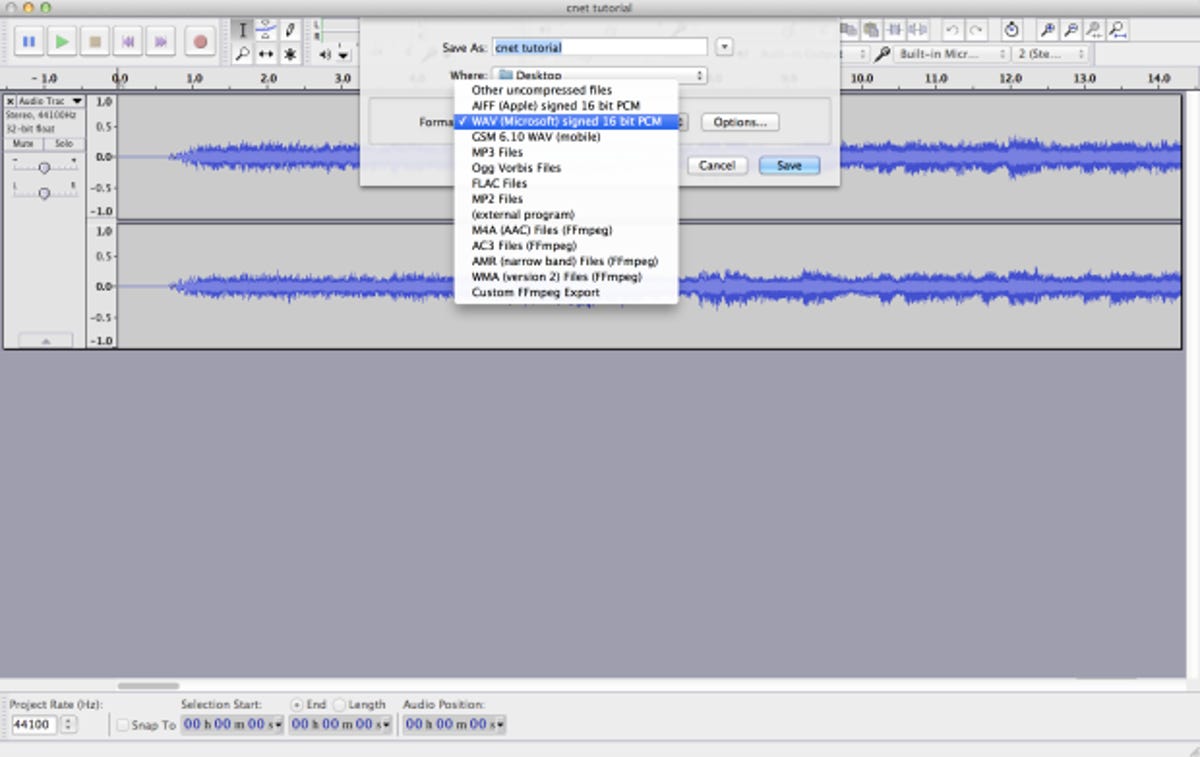
If you're set on MP3s then you will need to download a LAME MP3 Audio Encoder. After your files are ready and converted, import them to your media player as you would any other sound file. Now you can listen to your vinyl collection on your laptop, phone or MP3 player.
Alternatives
The Audio Technica AT-LP120-USB is great if you don't have a turntable already, as it offers all the quality and sound of a proper turntable with the added bonus of digitising -- but there are other options for those with existing turntables.
Companies such as ION Audio offer cheaper standalone products geared to the sole purpose of digitising vinyl. Offering stripped-back controls, less connectivity and simple software, the ION Audio represents a great alternative if you own a turntable and don't want to invest in the Audio Technica.
