5 ways to eject an external drive from a Mac
Pick your favorite way to eject disk volumes from your Mac and put an end to the Disk Not Ejected Properly warnings.


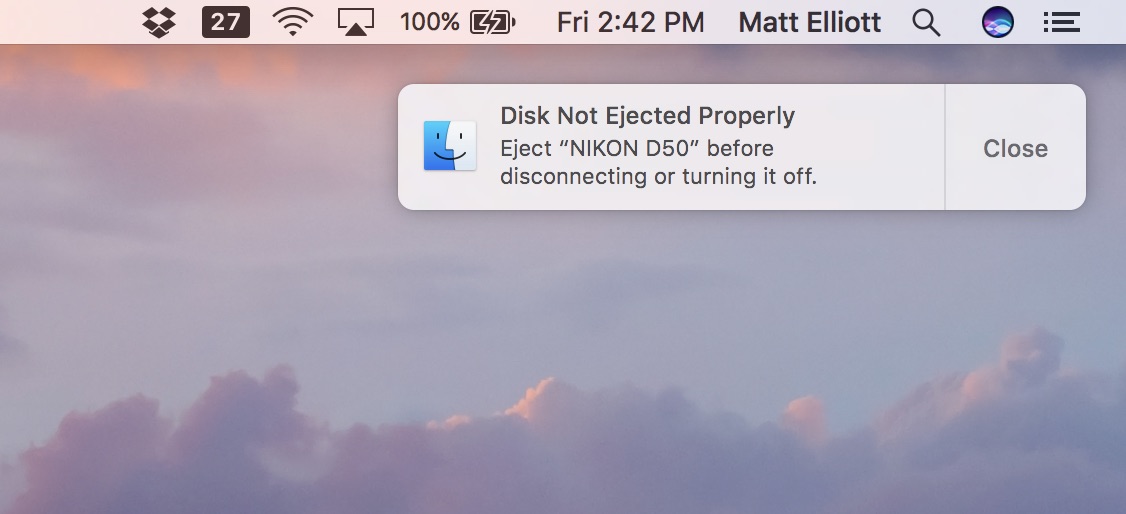
Whenever I connect my Nikon dSLR to my MacBook to grab photos off of it, the Photos app doesn't let me eject the drive. It offers a small eject button on the Import tab but the button rarely if ever registers my furious clicks. Thankfully, there are other ways to eject an external storage device from a Mac. I count five, to be exact. Any of which will help you avoid this stern warning from MacOS:
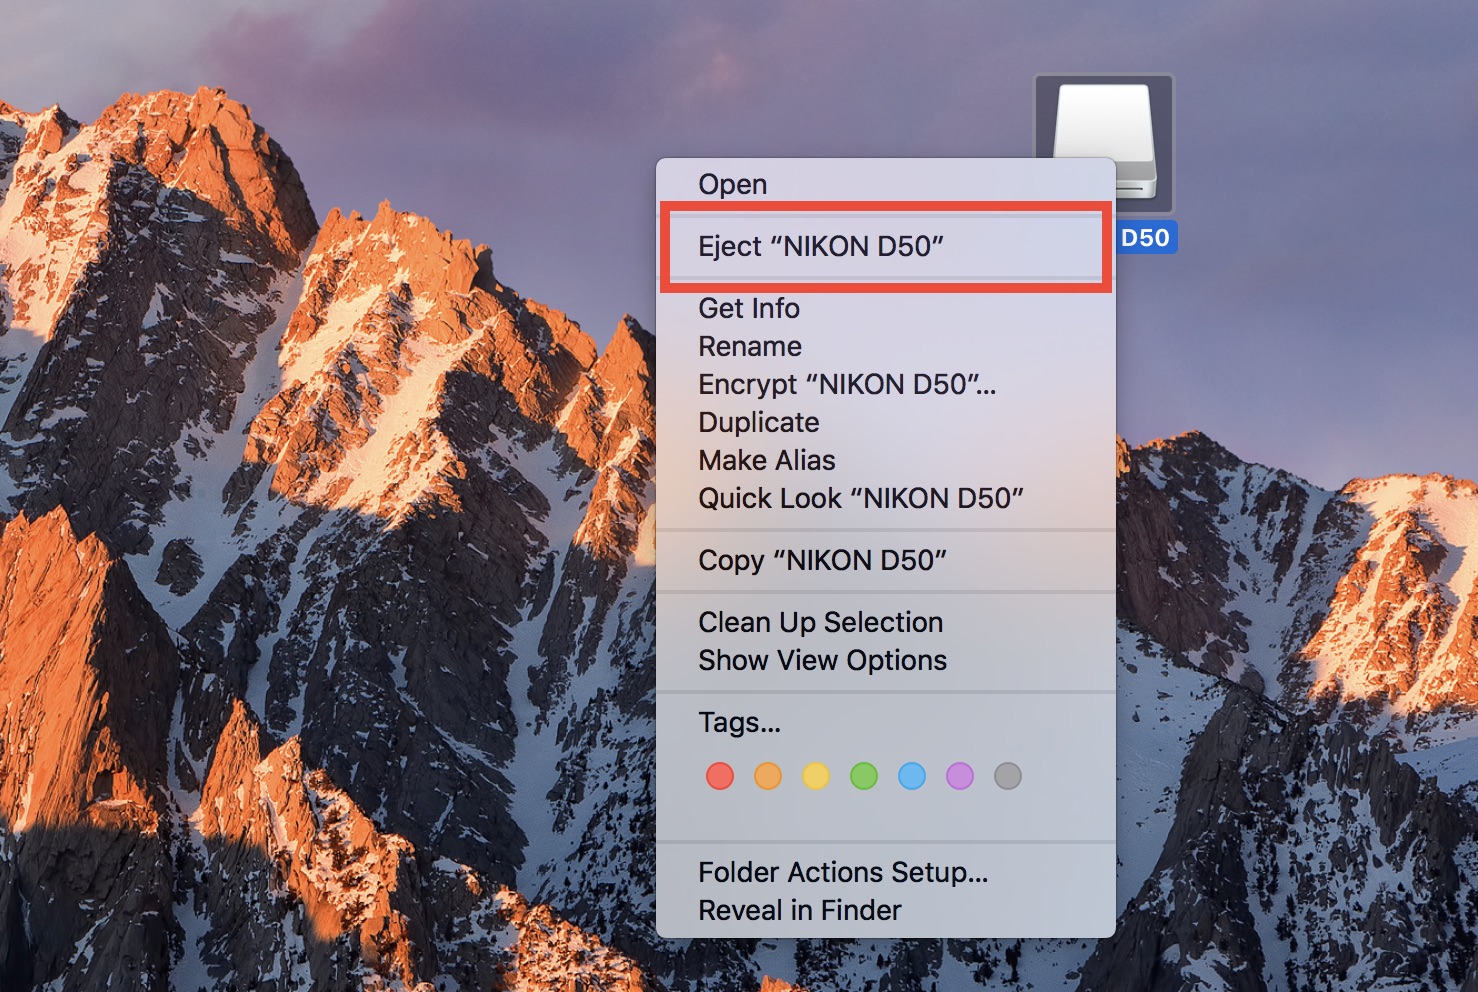
1. Right-click desktop icon
Any external volume connected to your Mac shows up on your desktop. Right-click the volume and choose Eject "volume name."
2. Drag to trash can
You can drag the desktop icon for an external volume and drop it on the trash can in the Dock. The trash can turns into a giant eject button when you start dragging the volume across the desktop to show that you aren't trashing its contents but merely ejecting the volume from your Mac.
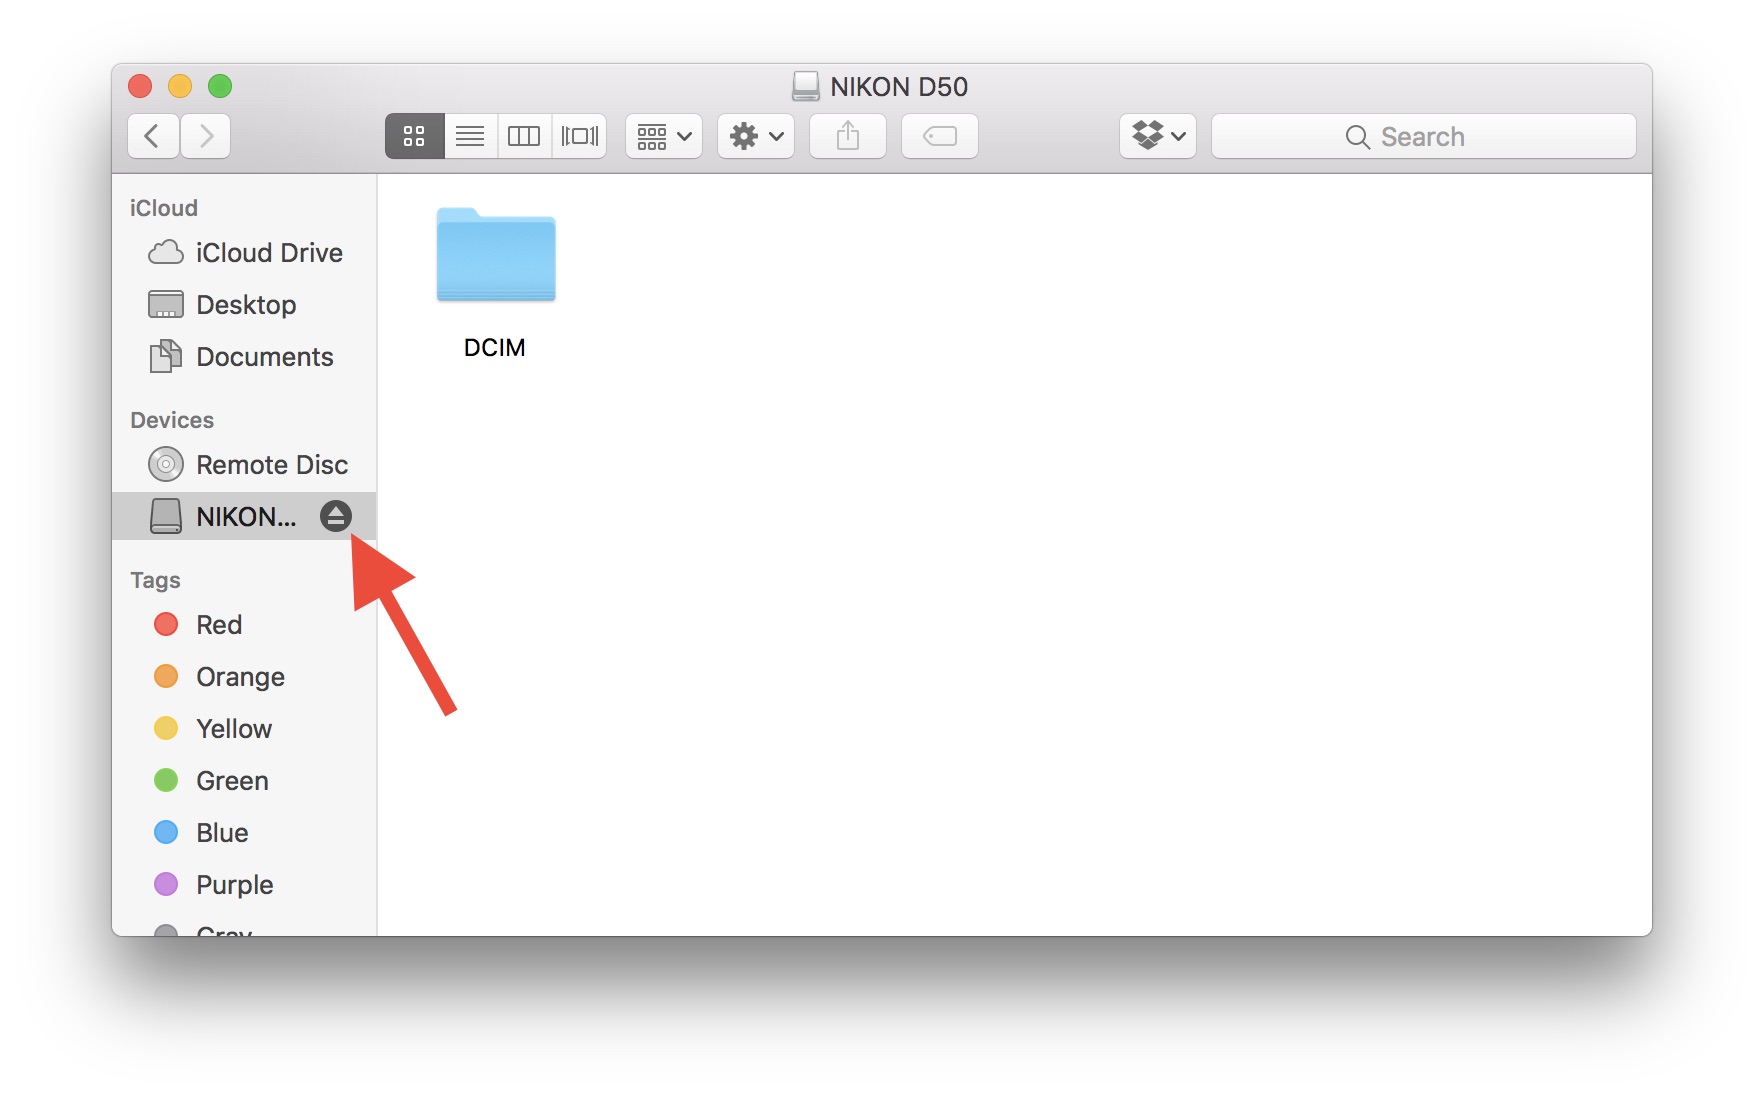
3. Finder sidebar
An external volume connected to your Mac also shows up on the Finder sidebar under the Devices header. If you are already using Finder and want to eject an external volume, just click the little eject button next to the volume listed on the sidebar.
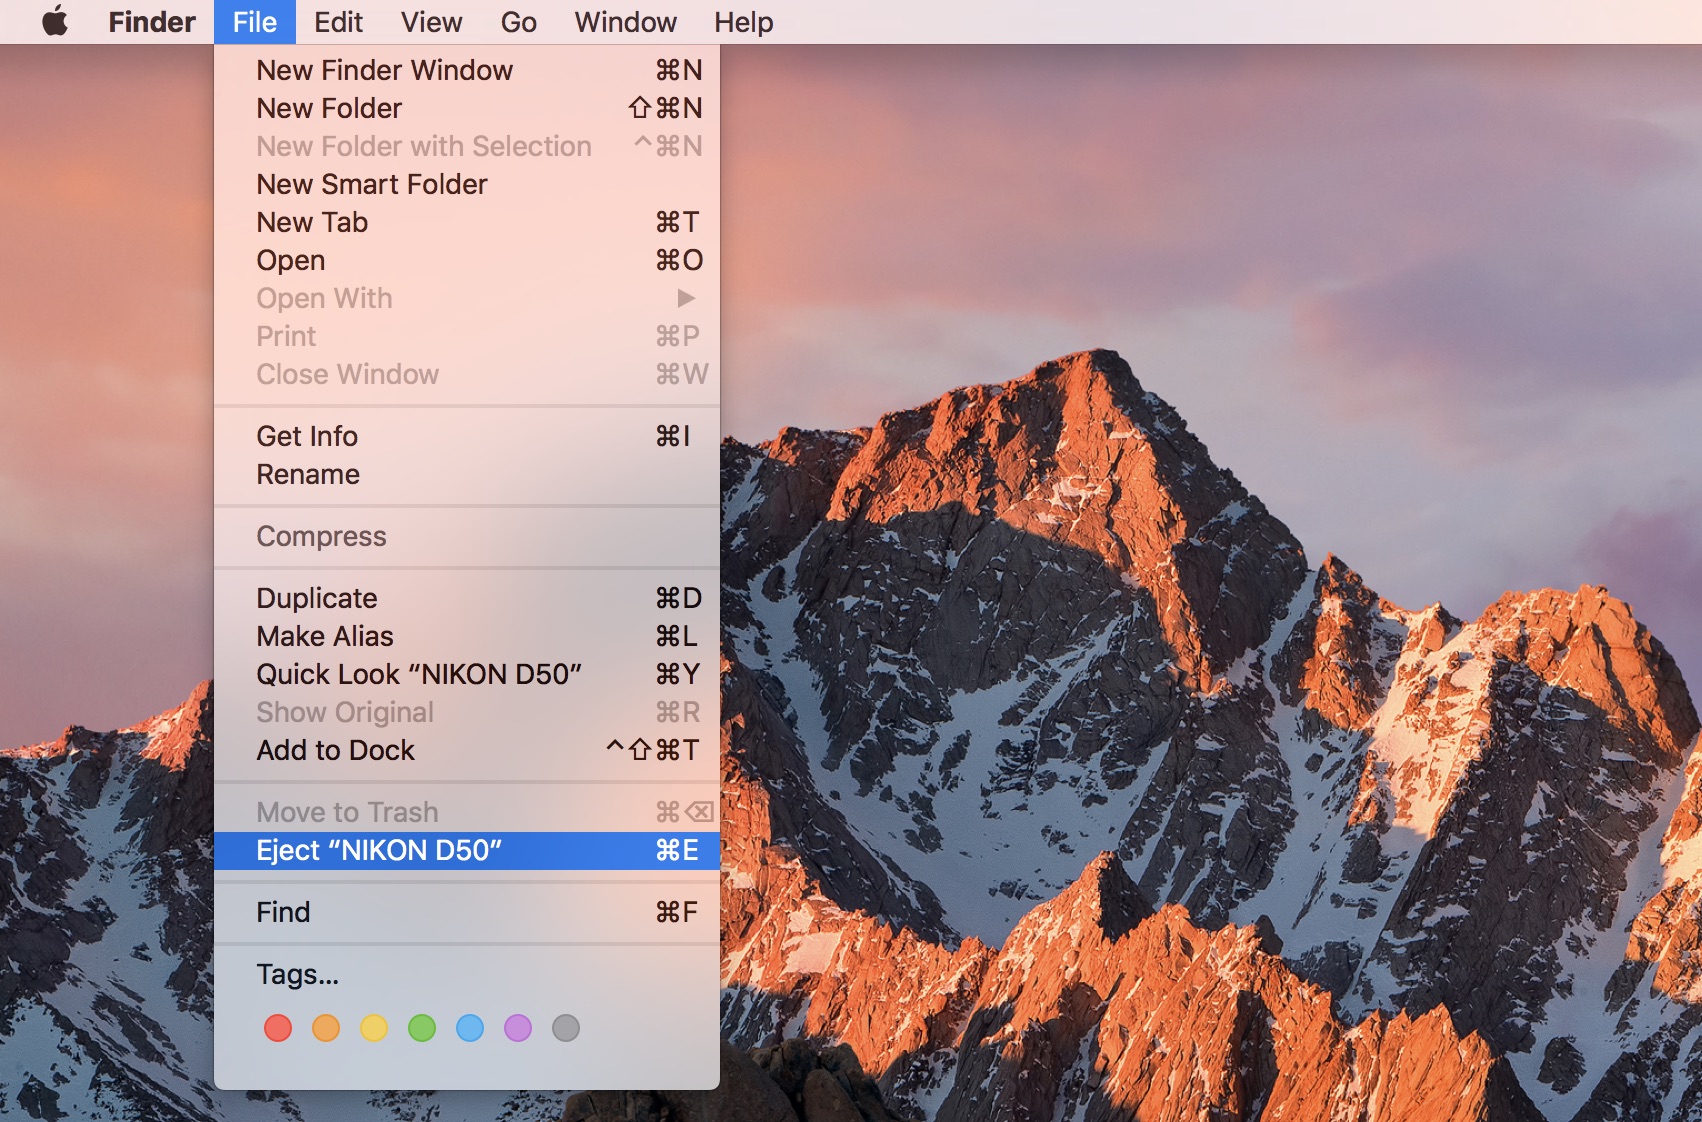
4. File > Eject
Select the volume and from the Finder menu, choose File > Eject "volume name."
5. Command-E
With the volume selected, you can also use the keyboard shortcut Command-E to eject it.
For more, here's all you need to know about MacOS Sierra.