A beginner's guide to taking pictures of the northern lights
If you're braving the frigid Arctic weather to see the aurora borealis, make sure you have the correct camera settings right to avoid fumbling around in the dark and cold.


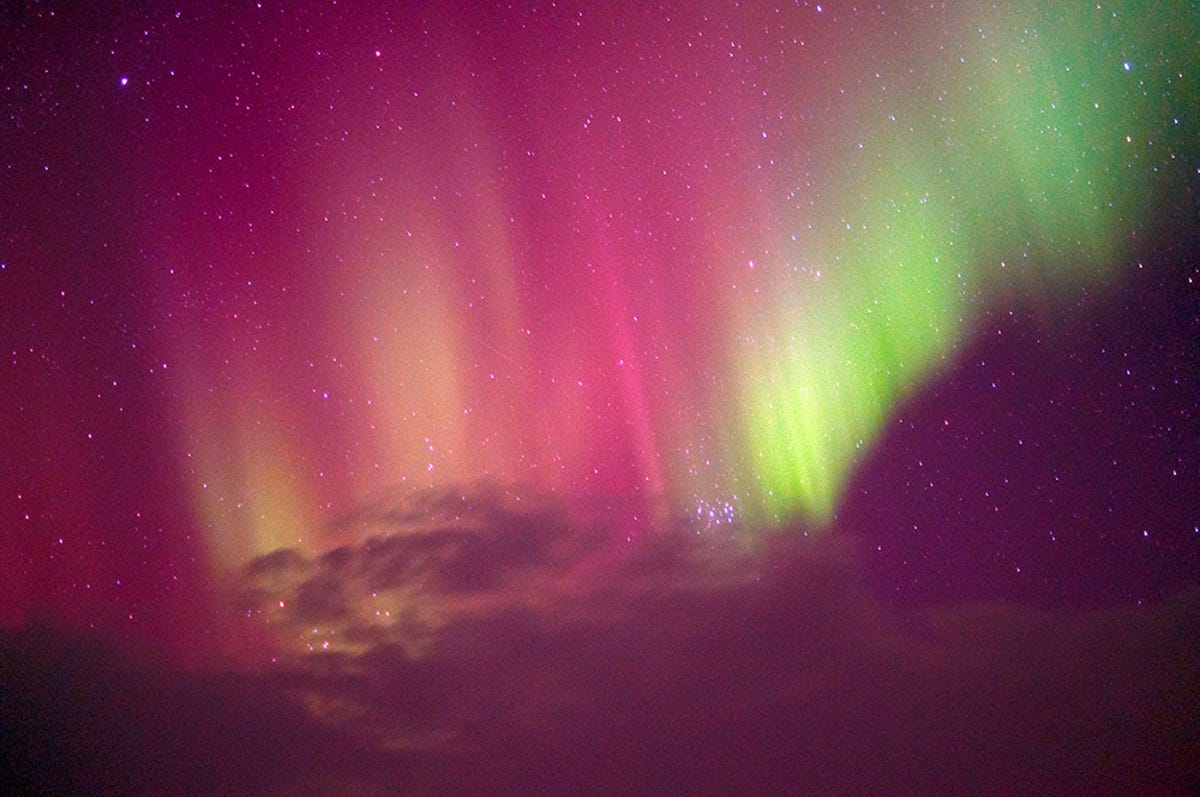
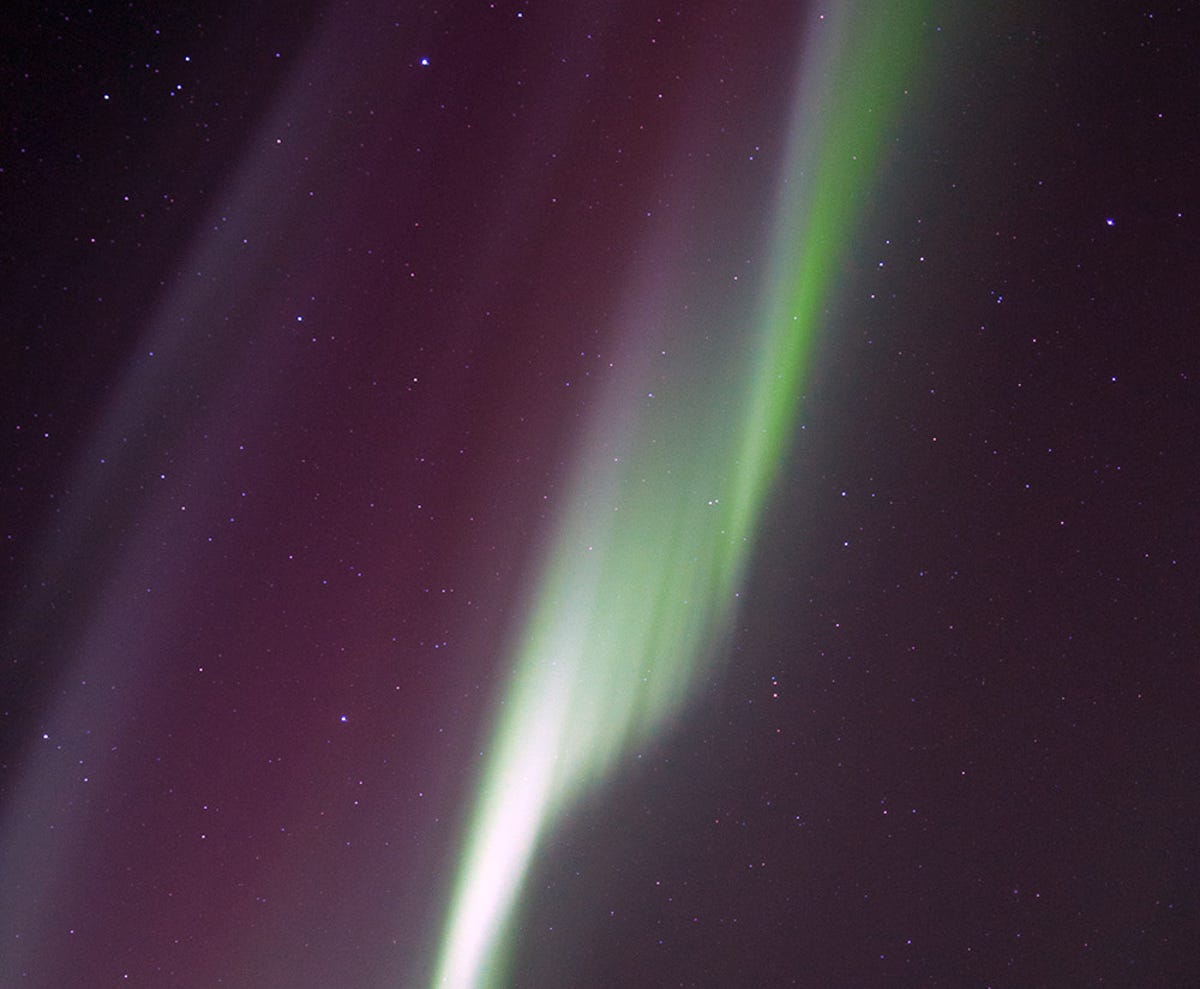
Watching the Aurora Borealis with my own eyes was a huge thing on my bucket list, which is why I traveled recently to a small town called Tromsø in northern Norway to catch the spectacle before the season ended.
If you're planning a similar trip, you want to make sure you at least get a picture of the event. There's an incredibly detailed tutorial here by Patrick J Endres, but if you're not an experienced photographer, or you just want it kept really simple, I'm here to help.
Getting started
Before you begin, make sure you have a plan in mind -- you'll need to at least rent a car, because it's really hard to take pictures of the northern lights while you're around the light pollution of the city. The best and easiest way is to hire a guide (I went with these guys) who know where the best spots are and will drive you there and back (most trips usually end around 2:00 a.m. to 3:00 a.m.). And, obviously, dress warmly.
Of course, nothing beats being prepared, so start by preparing your camera. You'll only have a few hours to see the lights if they do blaze across the sky, and you'll want to try to capture every moment.
Equipment
Tripod
You need to take long exposures, so you'll need a sturdy tripod to keep the camera still. It can also be windy, so don't extend the tripod legs all the way out if possible. Instead, keep it low to the ground so it doesn't topple.
Camera
A dSLR is great, with full-frames or smaller (APS-C) ideal. Mirrorless cameras are good, as well. I wouldn't rely on a compact shooter -- you've spent too much heading north to take a chance on a camera with simple features. So, if you have to, beg or borrow a dSLR from a friend!
Lens
The wider the lens, the better. You'll be able to capture more of the sky. You'll also want a faster lens, but you may be able to make do with the kit lens that came with your camera. If you have, say, a prime F1.8 35mm (or less) lens, bring that along as having two lenses will help.
Battery
In cold weather, batteries tend to discharge faster, so make sure it's fully charged. If you have a spare, bring that along.
Preparation
When taking pictures of the aurora, remember that because you're actually taking pictures of something very far away, you'll need to set your lens' focus to infinity. For most lenses, you'll need to make some adjustments beforehand. Make sure to set your lens to manual autofocus, and if your camera has a switch, turn that to manual, too.

After you've made those changes, look through the viewfinder of your camera and find an object in the distance. Something else in the sky, like Jupiter or another bright planet is ideal, but something far off in the distance works too.
Once you have the object in your focus, switch on the Live View mode of your camera, and then zoom in to the highest level. From there, adjust your lens until the image is sharp. The star should be a clear dot, and not something that looks like a lens flare.
After this, you're almost ready. Take a small piece of duct tape and stick it over the focus ring to lock it into place. This should help prevent accidental movement of the ring while you're out and about chasing the lights and ruining your focus (it happened to me).

Camera settings
There's a lot of tweak here. Ideally, you'll want to set the ISO from anything between 200-800, though I found 800 to be just right for my APS-C camera. Play around and see what works for you.
As a rule of thumb, you don't want the ISO to be too low, as the sensor won't be absorbing enough light for the picture. You don't want it too high either, or you'll end up with a lot of noise in your image.
You'll want to choose a slow shutter speed of around two to eight seconds, though brighter auroras likely won't need as long. Next, tweak your camera to shoot in RAW as well as JPG, as the RAW file will be easier to edit.
Lastly, set your camera shutter to use a timer, as you don't want to shake the camera and ruin your image when you press down on the shutter button.
Manage your expectations
You're almost ready to go, but be warned that even if you do head out, the lights may be a no show when you're there. So be sure to plan to stay a few days and check the weather reports to improve your chances. Good luck!