 Why You Can Trust CNET
 Make your fire pit even warmer with the Swedish torch fire method
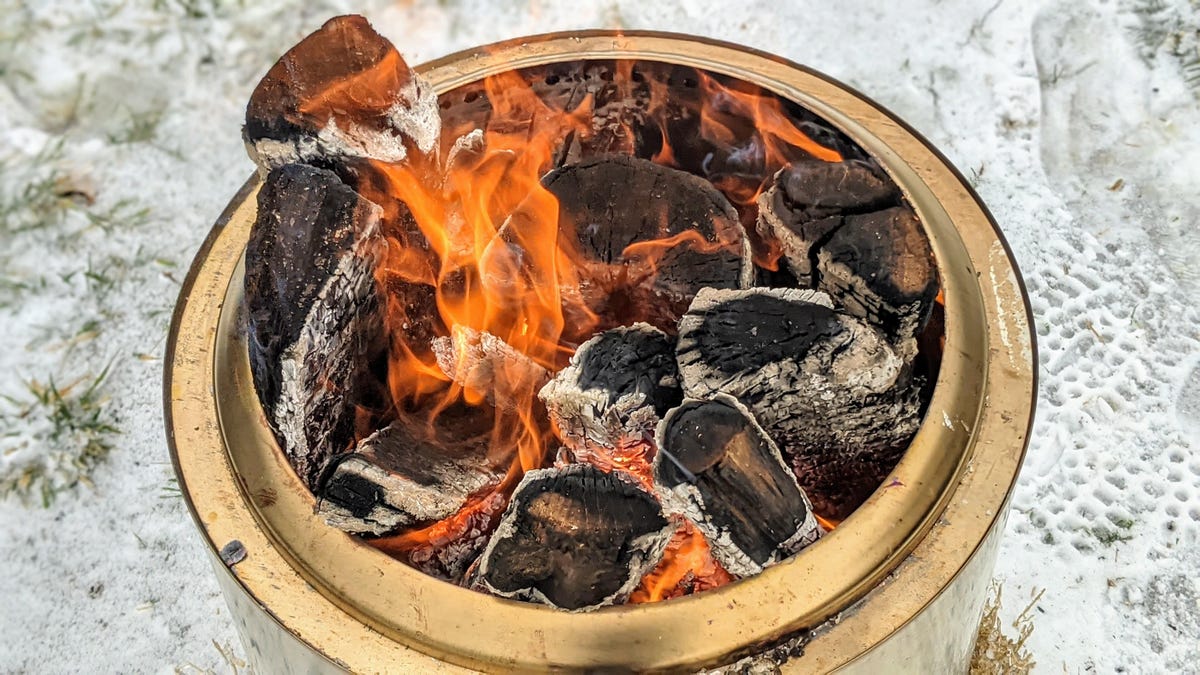
A Swedish torch fire in your smokeless fire pit can keep you warm in the heart of winter.


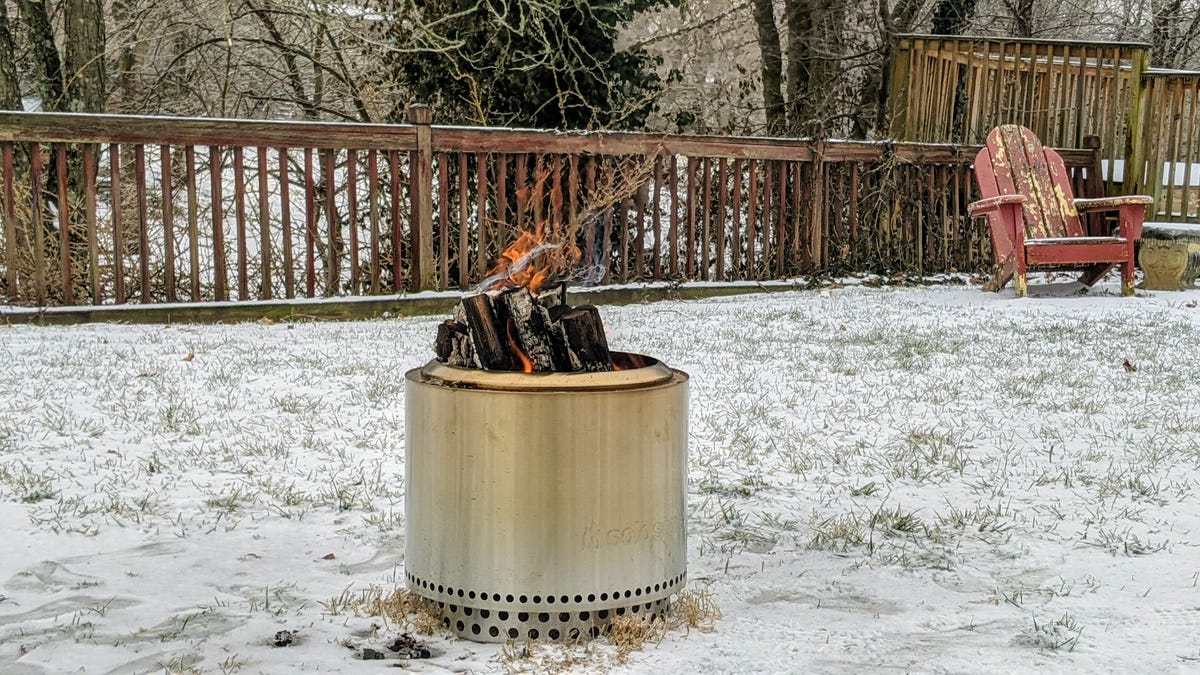

Portable fire pits are fun, soothing and can transform your backyard into a comfy space to lounge with family and friends. Still, even the fanciest smokeless fire pit requires tending, at least when you build a traditional fire in them. Due to their sophisticated air flow systems, smokeless fire pits also radiate less heat than regular pits. That's a drag during cold winter months when staying warm by an outside fire can help beat the cold weather blues.
The Swedish torch is an alternative fire-building method that solves this problem. Follow the instructions below and you'll be able to get your fire pit going with less kindling and it will also put out a ton of heat. Best of all, a Swedish torch fire needs almost no looking after. Here's how it works.
Read more: Best fire pits for 2021: Breeo, Solo Stove, Tiki, BioLite and more
The Swedish torch
The traditional fire building technique calls for thick logs on top, typically arranged in a pyramid or stacked square in the familiar log cabin style. You put smaller pieces of wood and kindling underneath, then you light the kindling and wait for the larger logs to eventually catch. Then you add big logs one at a time once you've established a bed of hot coals.
The Swedish torch technique is completely different. The original method uses one thick log, even a tree stump. You then cut out sections of wood, both from the top down and bottom sides. This essentially creates vents for improved air flow through the center of the log. A Paraffin fire starter is used to ignite the torch.
The style of torch I suggest is much easier. Since smokeless fire pits already have good ventilation, the missing piece is fuel, and a lot of it.
Step 1: Gather what you need
Here's a quick rundown of the supplies you'll need:
- Smokeless fire pit
- A lot of firewood (enough to fill your fire pit)
- Fire starters
- Lighter, matches, or other ignition source
- Water or fire extinguisher
Step 2: Arrange your fuel
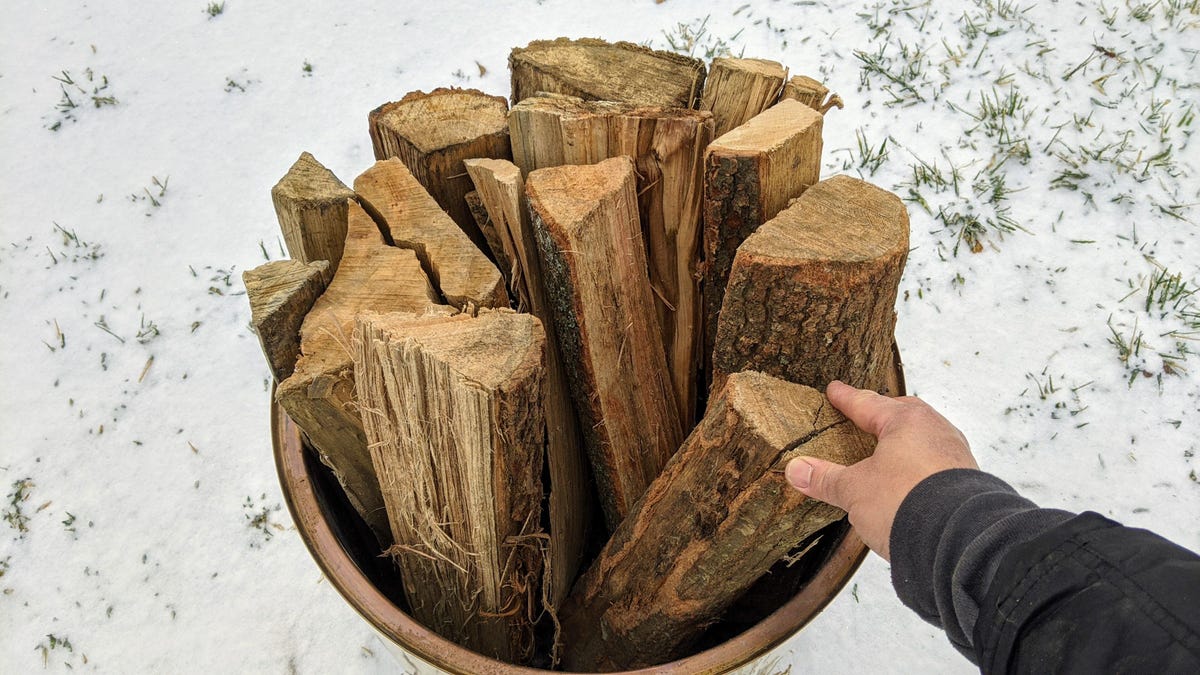
Assuming your fire pit is clean and free of debris, the first step is to fill it with wood. Stack your wood logs vertically (lengthwise) inside the pit. The idea is to fill it with as many logs as possible, and pack them as tightly as you can.
The exact amount you use will depend on the particular size and diameter of your fire pit. In my case, it took 13 logs to fill my Solo Stove Yukon test pit, which has a 23-inch diameter mouth. The wood I used was a mix of kiln-dried oak and hickory sourced from my local Kroger supermarket.
Step 3: Do a safety check
It should go without saying, but fire is dangerous. Make sure to place your pit well away from flammable materials and structures. Also be careful not to be near low-hanging tree branches or other obstacles above your flame. Sparks and embers are a particular risk for torch-style fires since their flames are large, hot and consume a lot of fuel.
Step 4: Light it up
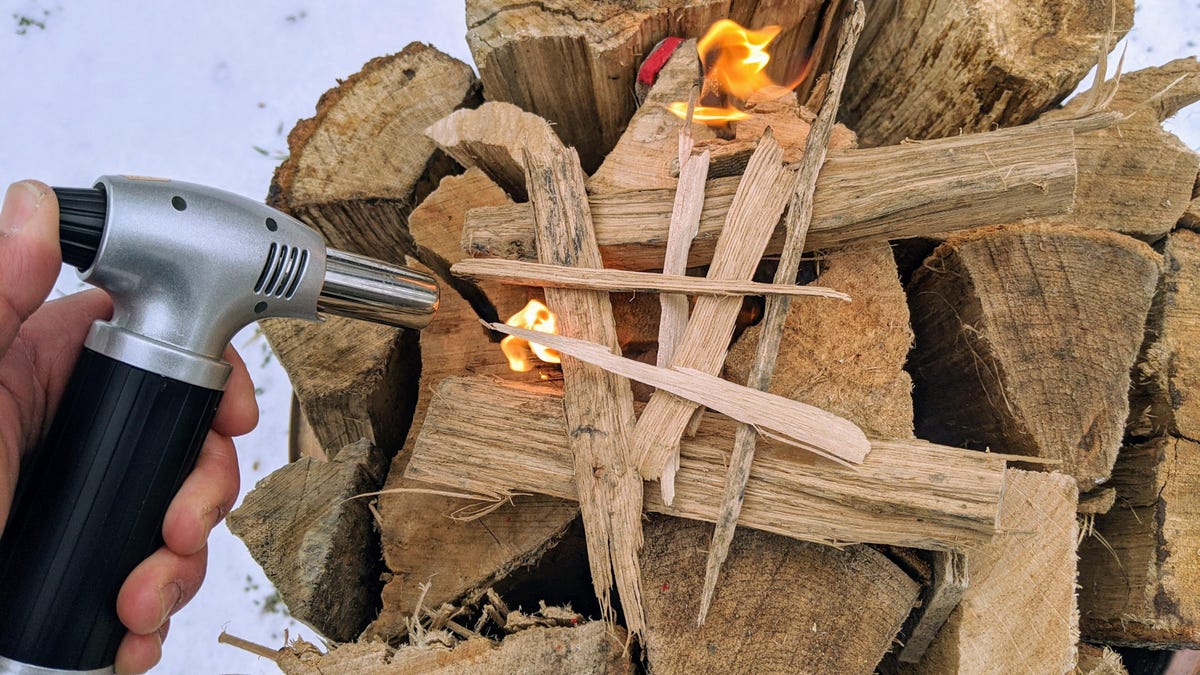
Place fire starters at the center top section of your firewood. Next lay small pieces of kindling on top of that. I stacked mine in a loose log cabin formation. Now comes the moment you've been waiting for -- ignition.
I lit things up with my handy butane hand torch but a lighter or match will do just fine. Within about 15 minutes the center logs were fully caught.
Step 5: Kick back and enjoy the show
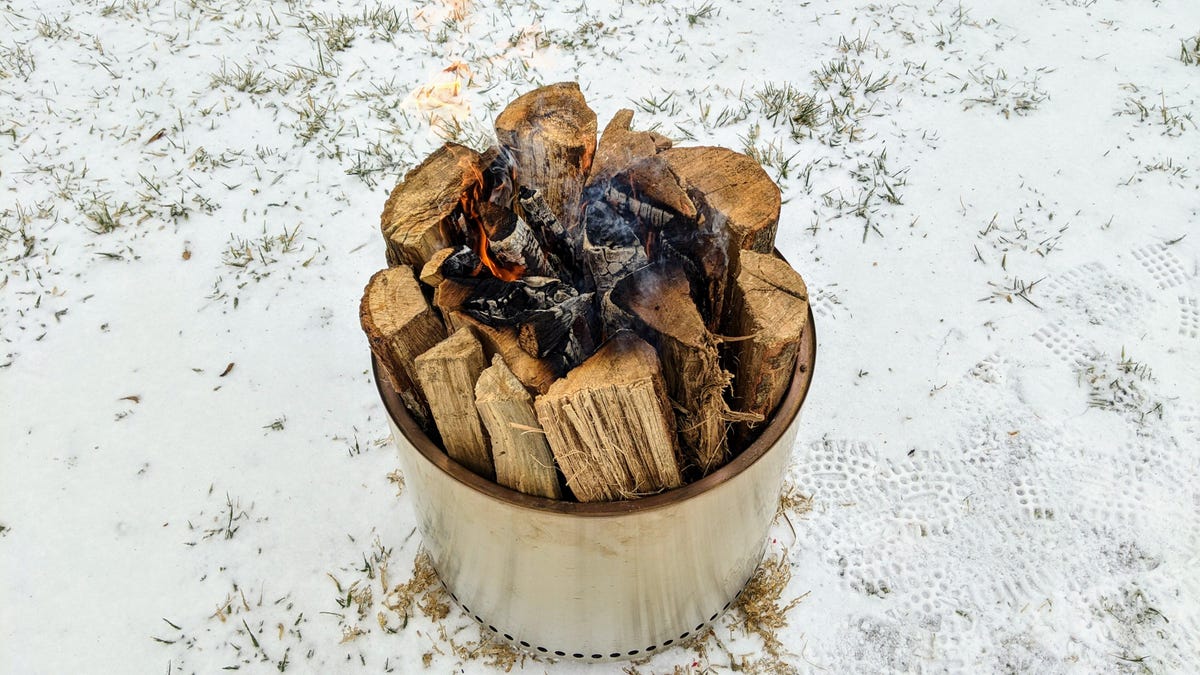
The beauty of this fire-building method is that I had little to do after the initial ignition. The flames slowly traveled from the top of the firewood downward. They also spread outward from the center to ignite any adjacent logs. I didn't need to add extra wood for hours. I really didn't need to do anything.
And for much of the burn time the firewood extended outside of the pit's mouth. That meant the fire threw off a lot more heat than usual. It also produced a little more smoke too but that's a minor complaint. Especially this deep into winter after being stuck inside all last year, the odd puff of smoke is a fair trade for being able to stay outside even when it's cold.