How to take time-lapse photos on Android
Share a series of photos with friends and family--time-lapse style. Just follow these steps.


Time-lapse photos are a fun way to document a series of moments happening around you with a camera.
And now there's an awesome app available for Android that lets you bring this same method to your smartphone or tablet. All you need is a quick download and a bit of setup to get started.

Step 1: Download Lapse It from the Android Market. There is a free version that will only allow lower-resolution photos and a Pro version, which allows images up to 720p.

Step 2: Open the app and press the Start new capture button.
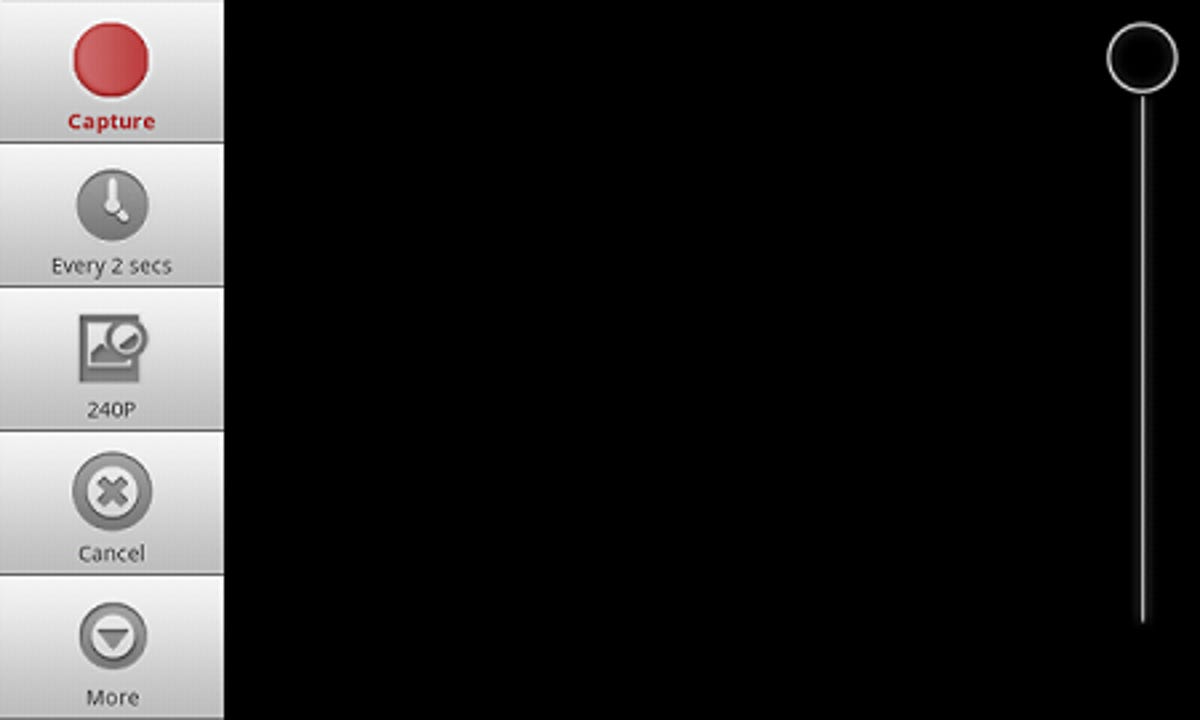
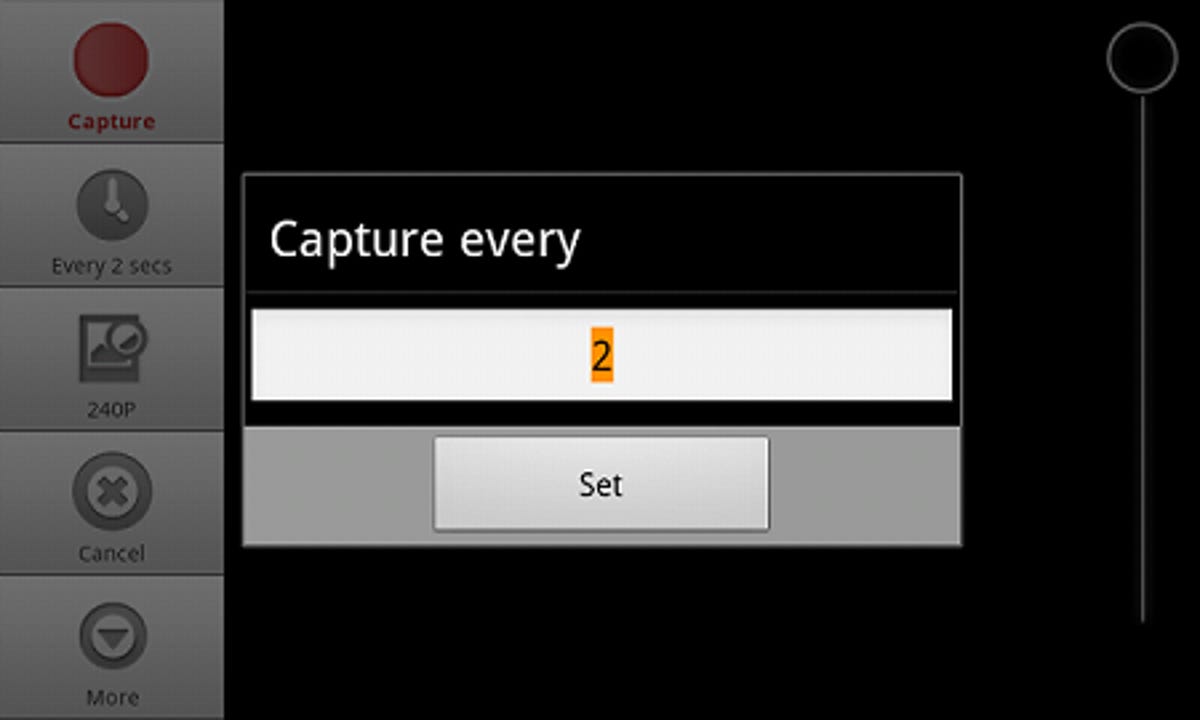
Step 3: Set the time interval of your photos by pressing the timer button on the left, and then enter the interval in seconds. This example will work with 2 seconds as the interval.
Step 4: Press the Capture button (big red dot in the top left-hand corner) to start taking pictures!
Hint: The menu will be hidden when you start taking pictures. To get it back so you can stop the camera, slide your finger along the left side of the screen (when holding horizontally). A pause button is located at the top, with Stop just a few choices down.
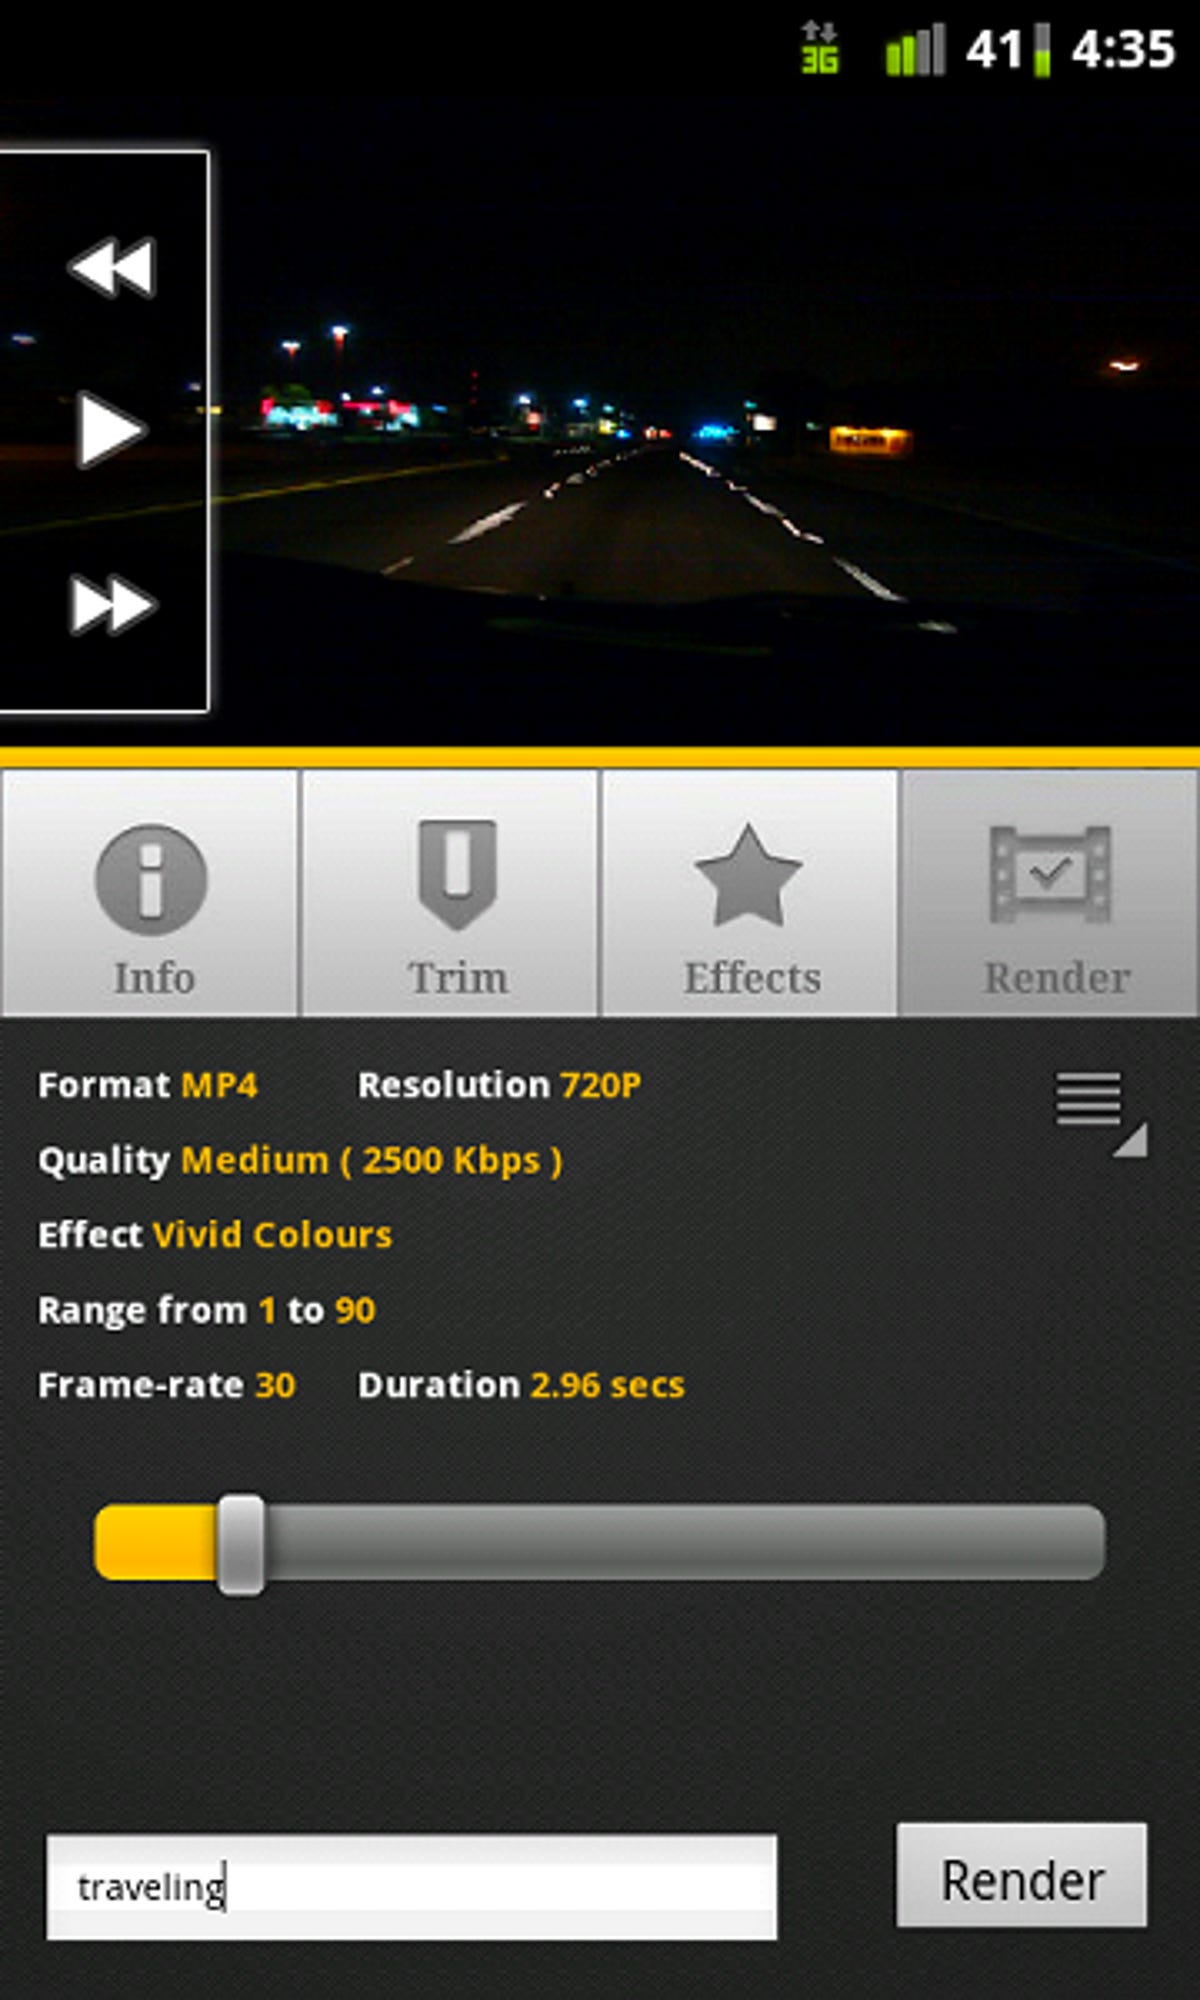
Step 5: Press play to preview your set of pictures. To edit these pictures, turn the device back into portrait mode and you will see options for trimming, adding effects, or rendering. Rendering will create an MP4, MOV or FLV (your choice in settings) from the photos, so you can share it with friends or family.
If you forgot to render one of your photo sets when you created it, here's how to get back to it:
Step 6: Head to the main menu of the app and press the List captured button.
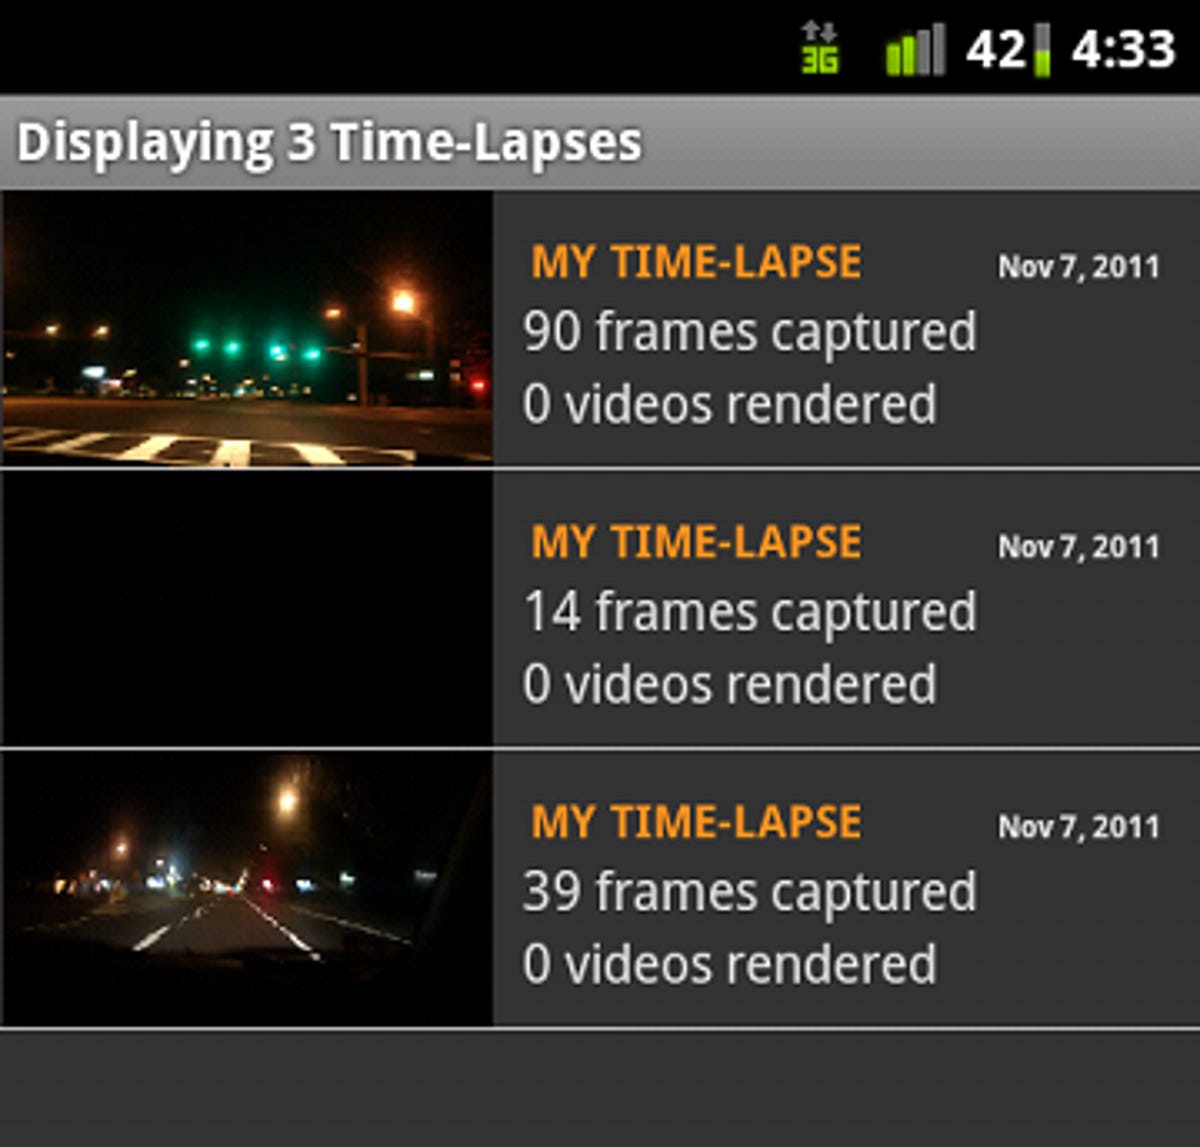
Step 7: Tap the series you want to edit or share, and select View Details from the pop-up menu.
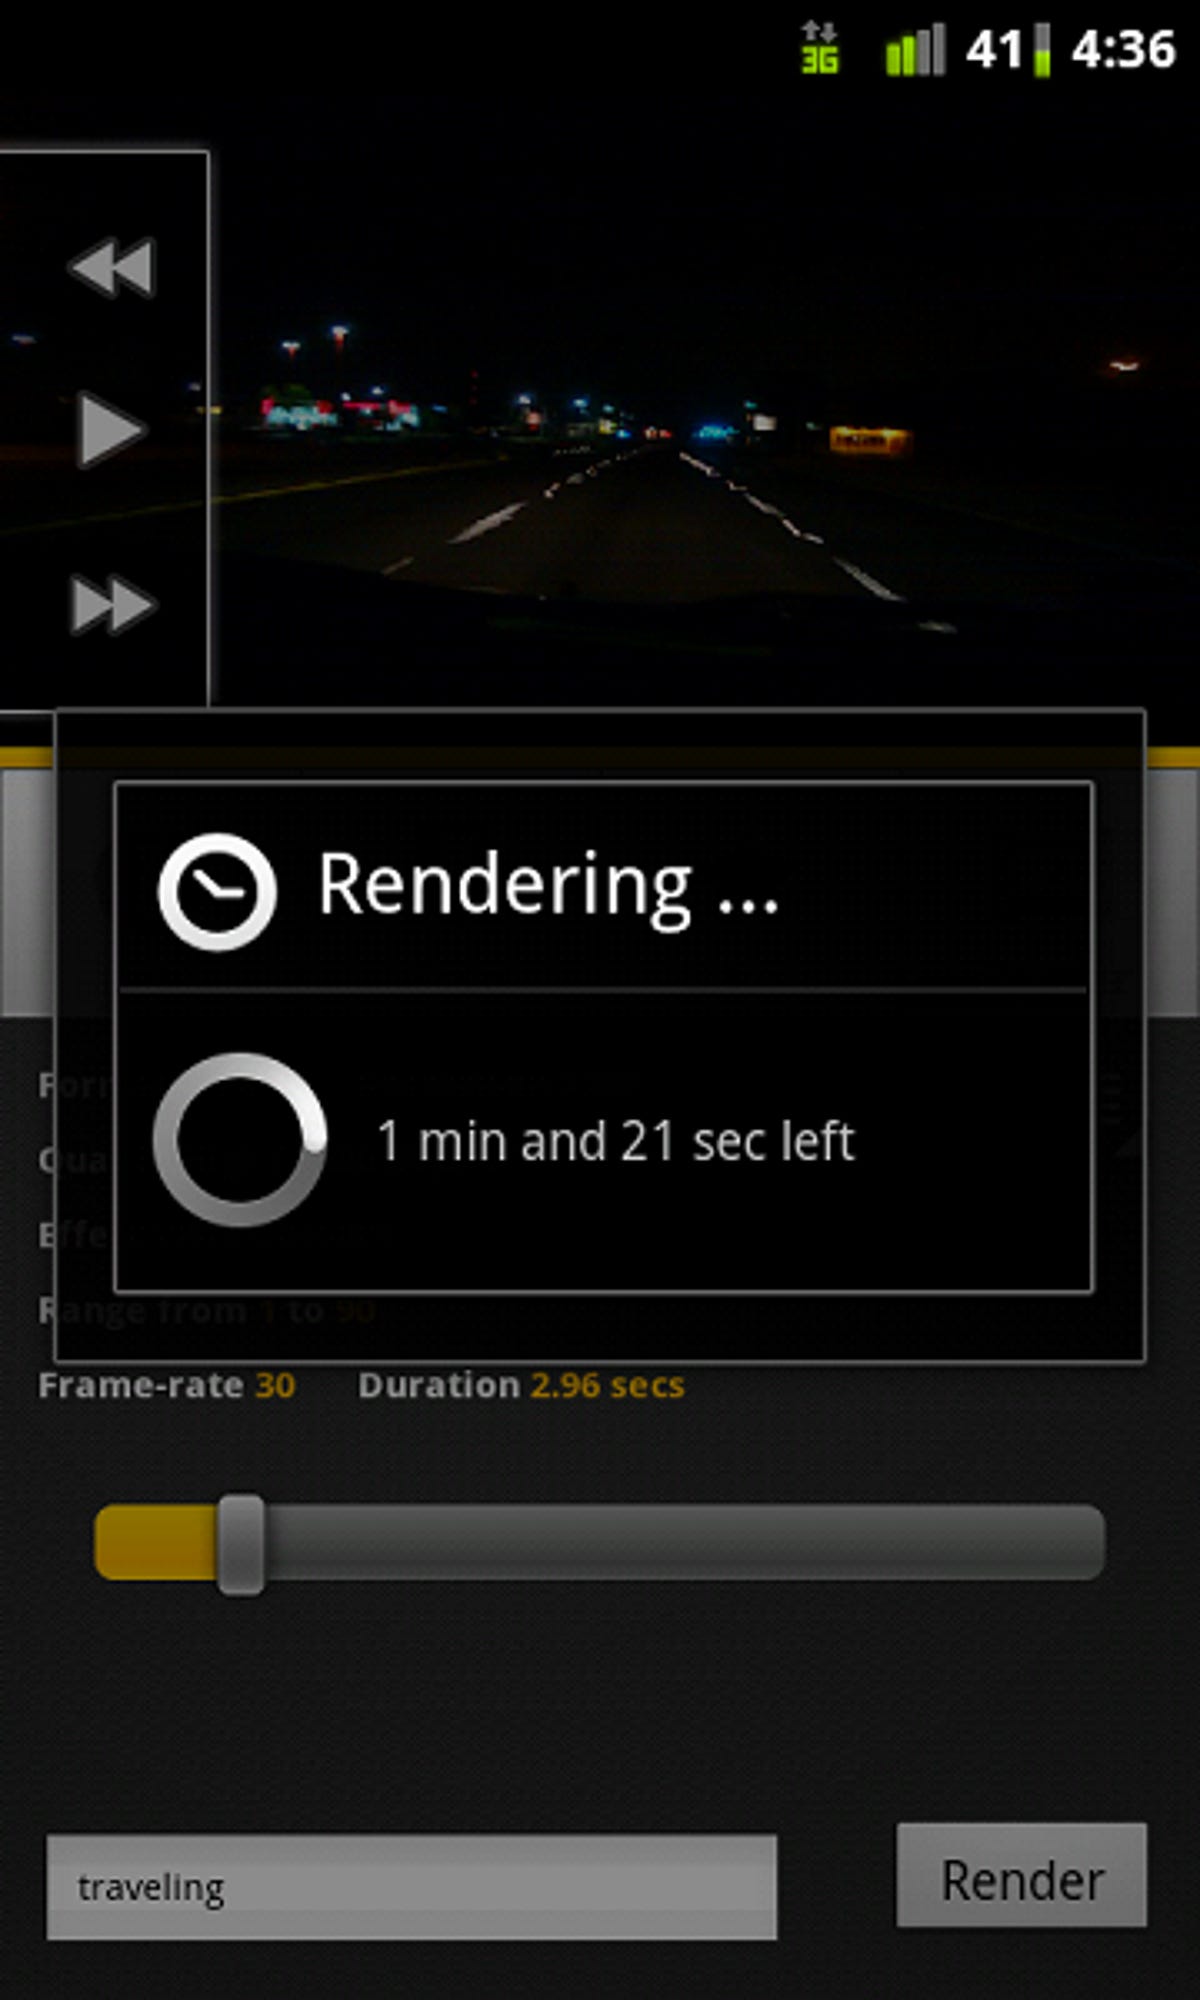
Step 8: Click the Render button on the right and type in a name at the bottom and click the smaller Render button in the bottom right-hand corner.
Step 9: Play or publish (share) the video through your social network of choosing.
If you created a time-lapse movie you want to share, add it in the comments.
Here's one of mine: https://www.youtube.com/watch?v=GS0uNvXuhY8
via Addictive Tips