How to Install a Portable AC Unit
Learn how to set up your portable air conditioner in no time.
Follow this simple six-step process.
No matter where you live, at some point in the summer, you'll probably want air conditioning. You have three options for cooling your home -- central air conditioning, window air conditioners and portable air conditioners.
You can use portable air conditioners as stand-alone machines or they can supplement central air conditioners with cooling to specific rooms. They're much easier to move from room to room than window air conditioners. They're also a good alternative if you rent in a building that prohibits objects from protruding out of your windows. Check out the landlord-tenant laws in your state to learn more about your options as a renter.
Read more: Best Portable AC Units of 2022
How it works
The portable air conditioner takes air from the room, cools it and delivers the cool air back into the room. It vents warm air outside through an exhaust tube you install in a window. If you haven't bought your portable air conditioner yet, read our guide about how to buy the right one.
How to install your portable air conditioner
1. Choose a location near a window and outlet
Your portable AC needs several feet of unobstructed floor space so it receives adequate airflow. You also need to have easy access to the water reservoir. While you may have a long ventilation hose, your portable air conditioner will run more effectively if it's closer to the window. This will allow more of the warm air to be vented outside instead of back into the room. If your portable air conditioner comes with a hose that lets it drain continuously, you may need to place it near a sink or tub, or use a bucket.
2. See if the portable air conditioner's adapter kit creates a good seal in the window you've chosen
The adapter kit should create a good seal in most standard windows. However, if the window is too small, you may need to trim the window adapter. If the window is too large, you may need to purchase a piece of plexiglass to fill the gap.
3. Install the adapter kit
Now that you've determined your adapter kit fits the dimensions of your window, put it in the window. You may need to screw it in place. Additionally, you could choose to seal it with duct tape. This will keep your cool air from seeping out the edges.
4. Connect the ventilation hose
Attach your hose to the window adapter kit first. Make sure it fits well. If it's a little loose, wrap a piece of duct tape around the connection point. Then, connect the other end of the ventilation hose to the portable air conditioner. Add duct tape if needed.
5. Attach the drainage hose
If your portable air conditioner comes with a drainage hose for continuous drainage, you want to attach it to the unit and secure it to its drainage point. Whether it's draining in a sink, tub or bucket, secure the hose with tape so it doesn't become dislodged and drain on the floor.
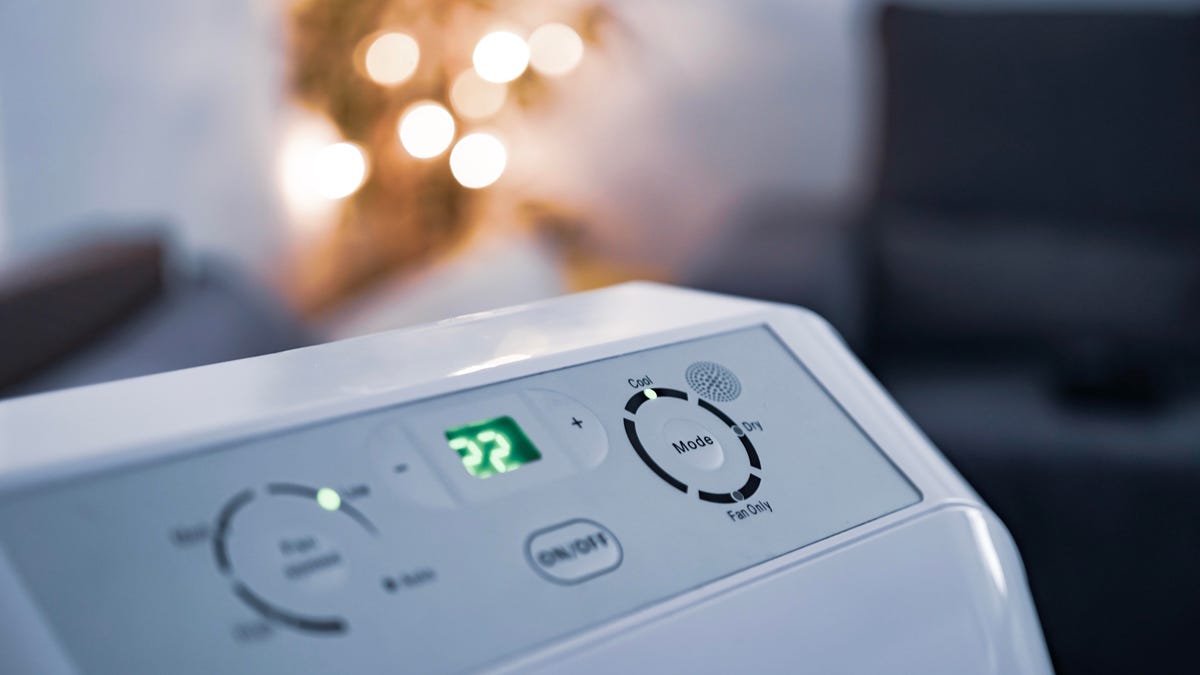
6. Plug your portable air conditioner into the outlet
Once everything is attached, you can plug your portable AC in and turn it on.
Moving your portable AC to another room
If the windows in your house are the same size, you can simply unplug your portable AC, remove the window adapter kit and roll the device into the next room. Then you just install the window kit in the same manner as described above, plug your unit in and turn it on in the new room. But make sure you drain the water reservoir before you move your unit.
A portable air conditioner may be the solution to your cooling issues. Whether you're going with a central unit, a window unit or portable AC, you may want to learn ways you can save money on your air conditioning. And, if you're on the go, you can even build your own portable air conditioner out of an ice cooler.