How to take screenshots on your Samsung Galaxy Tab 10.1
The Samsung Galaxy Tab 10.1 lacks a native screenshot app. If you don't want to root your Android Honeycomb tablet but still want to take screenshots, we'll show you how.


The
USB drivers, JDK and Android SDK
Step 1: Download and install the the Samsung mobile USB drivers.
Step 2: Download and install the Java Development Kit (JDK) from Oracle.
Step 3: Download and install the latest Android Software Development Kit.
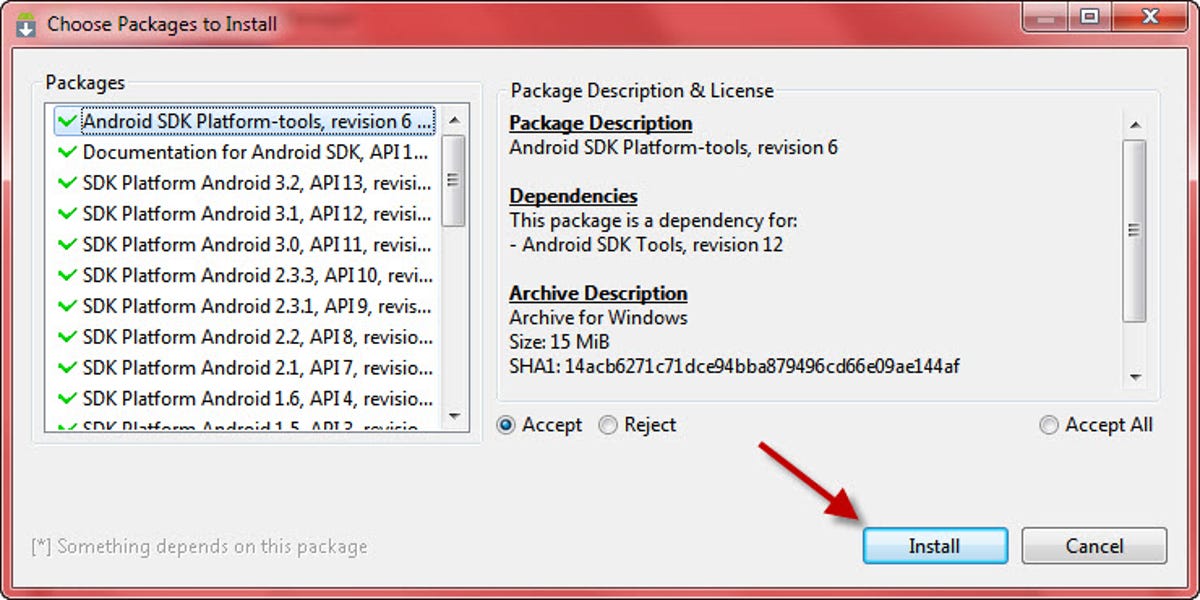
Step 4: At the end of the Android SDK installation, choose to start the SDK Manager. After it's done searching for packages, click the Close button.
Step 5: Click the Install button to install the packages. This will take several minutes or more to complete so you may want to go grab a refreshment and come back.
Enable USB debug mode and take a screenshot
Step 1: On your Galaxy Tab, go to Settings, Applications, Development.

Step 2: Check the box next to USB debugging.

Step 3: On your computer, click Start, then in the search box, type C:\Program Files (x86)\Android\android-sdk\tools\ddms.bat and hit Enter. You can also navigate to it using Windows Explorer and double-click on ddms.bat.
Step 4: Plug your Samsung Galaxy Tab 10.1 into a USB port on your computer.
Step 5: When your Galaxy Tab appears in the top, left-hand box, click on it to highlight it.
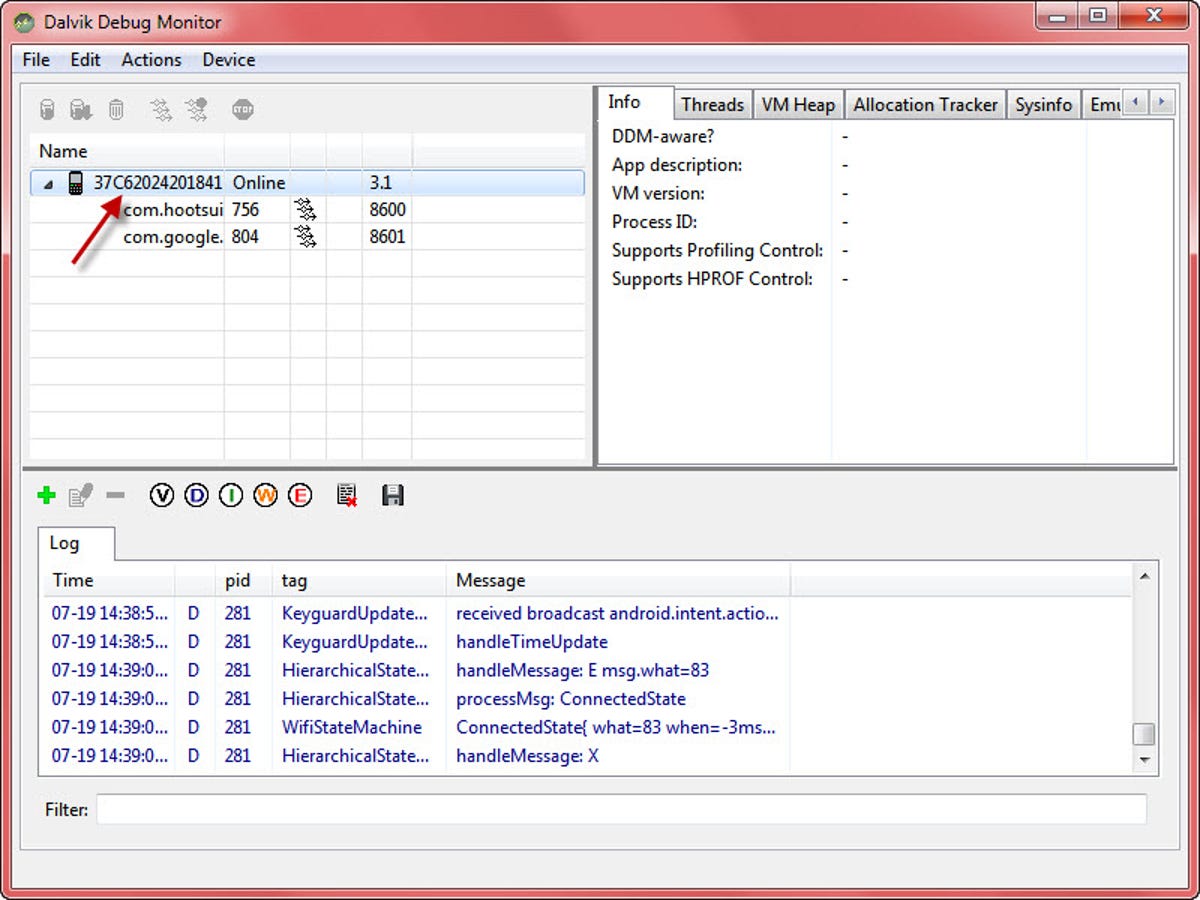
Step 6: Hit Ctrl-S to take a screen capture.
Step 7: The Device Screen Capture window will pop up with your screen capture, allowing you to refresh, rotate, save, or copy it.

That's all, folks. Now you know how to take screenshots on your Samsung Galaxy Tab 10.1 without having to root it first. Enjoy!