[MUSIC]
Hello, and welcome to CNET's The Fix.
The show about do it yourself tech and how-to's.
I'm Eric Franklin.
And I'm Donald Bell, I'm super excited about Halloween, and we have a lot of great ideas to share with you.
That's right, I'm not really into the whole dressing up thing but I love the trick-or-treat aspect, you know, giving out candy, that kind of thing.
[MUSIC]
And we got a do it yourself project that every trick or treater in your neighborhood will totally be into.
If your not around on Halloween to give out candy first of all, your a horrible human being.
But he least you can do is keep a bowl of candy out for the local monsters.
As a extra flare I'm gonna show you how to make an inexpensive, interactive Halloween decoration, that will light up your candy bowel, as people approach your house.
[MUSIC]
So here's what you're gonna need.
You gonna need a motion activated floodlight, some colored bulbs to put in it, the socket adapter, this is just like 2, 3 bucks.
A box to mount it all on, this is a deluxe $14 craft tissue box.
It works perfect for this project, but you could probably go a lot cheaper.
You're gonna need a whole big candy bowl to put the whole thing in.
An extension cord, a couple of screws, hopefully you just have these around the house.
And of course lots of candy.
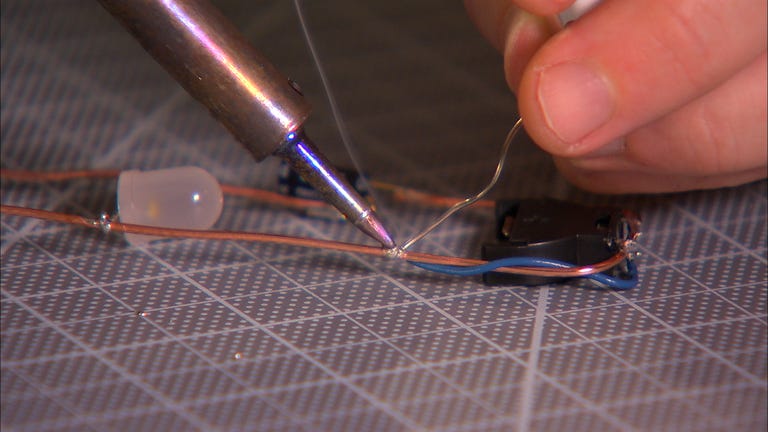
So the first thing we're going to wanna do is wire up our flood lights so that we can plug it in to our extension cord.
Right now we're just dealing with bare wires so we're gonna use the socket adapter, we're gonna pop out the little blades and then wire up each blade to the bare wire and have this all ready to plug right in.
So I'm going to thread the wire to the back of the adapter.
Pull it through.
Clamp it down.
Do the same thing with the other wire.
[MUSIC]
Good enough not to get electrocuted.
Place the blades back into the adapter.
Finally use this little wedge here to keep the wires separated and no one gets hurt.
All right.
So now this $8 floodlight is a motion-activated lamp.
To test it out, we're gonna have to plug in our lightbulbs.
I use these color-changing LED bulbs because one, they don't get hot like incandescent bulbs will.
And also they came with a little handy color-changing remote control.
So I can dial in exactly what spooky color I wanna use.
[MUSIC]
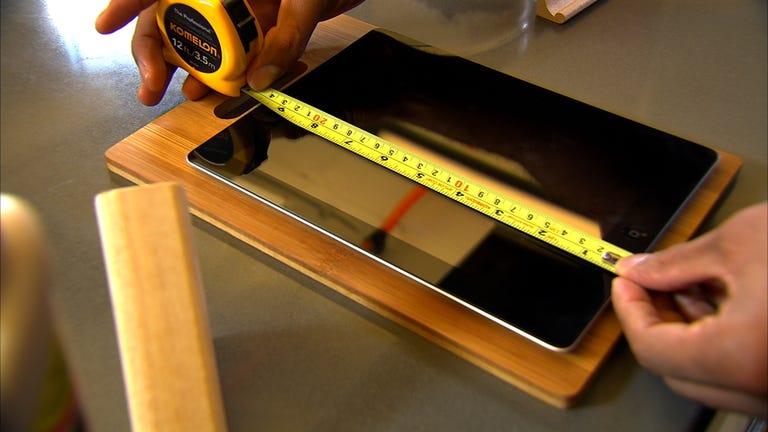
All right now it's time to mount the flood light onto the box.
We're gonna do these for two reasons, one we want the extra stability the box is gonna give.
A little platform to raise it up above the candy.
We're also gonna do this to conceal all the cables that are inside the box.
And we don't exactly want prying fingers to find.
[MUSIC]
All right.
There we go.
Got our knife light fixture here.
Got the cables inside concealed.
Now if we were really doing this properly we'd probably paint the box up a nice black or orange color to make it thematically appropriate.
But for the sake of this demo this is what you're getting.
Here we go.
I've got my bowl.
I've got my light fixture in here.
First step is I'm gonna plug it in to the extension cord.
Stand it up.
Get it nice and centered.
Alright.
Now for the fun part, pouring in the candy.
Alright.
Come and get it kids.
Get the name-brand candy.
Get the good stuff.
All right, and then for the last part, adjust these lights down, let them give the candy a good spooky glow.
We're all set.
[MUSIC]
Okay lets give this thing a shot, see if it works.
It works!
Alright so there you go that's how to make your own monster detecting candy illuminator.
A fun simple project and one that's affordable enough that your not going to work if it gets stolen by vampires.
That was actually pretty cool.
Thank you.
I'm pretty proud of that one.
You can go high end with it.
You can go low end and cheap out or you could like, put it on top of a mummy head or something like that.
Why didn't you do that?
Next time.
Next time.
It's time for a quick break.
And when we come back, we're going to show you how to create a one of a kind party atmosphere using.
[UNKNOWN] you already own.
[MUSIC]
Welcome back.
You know I really love entertaining people at my house.
Usually that involves forcing them to watch episodes of The Wire [LAUGH].
[LAUGH]
Well right now we're gonna show you how take an ordinary room, throw in some [UNKNOWN].
And then make that room extraordinary.
That's right we've got a how to that uses.
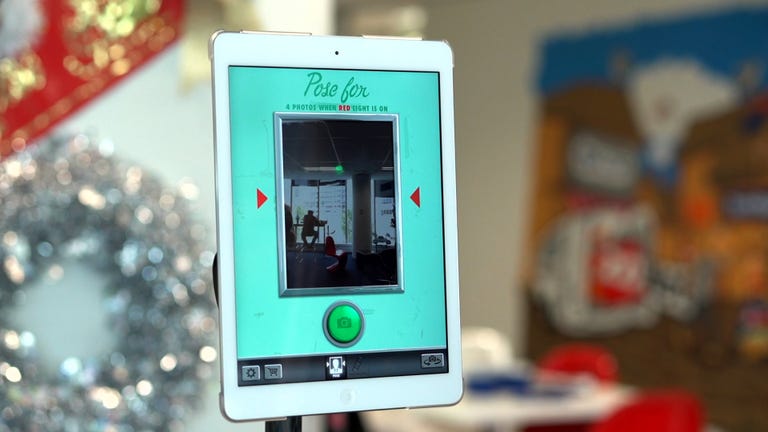
Cool lights, cool music, and your smartphone to create the perfect party atmosphere.
If you wanna have a killer Halloween party, and you already have Phillips hue bulbs, there are a couple of ways to turn them into a fun and spooky centerpiece for your Halloween party.
So I have four Philips 2 bulbs already set up, and I can of course control them from the official app.
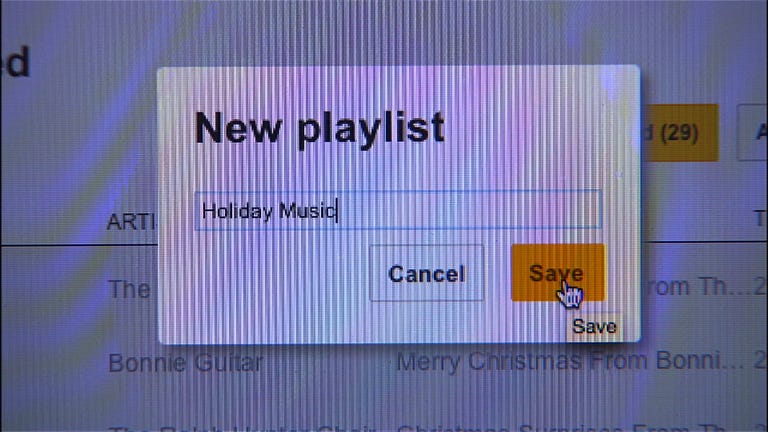
But I also have a couple other apps that let me sync the bulbs with any music or spooky sounds that I'm playing.
The first option is called Hue Halloween, and it's available for iOS and Android.
I love it because it's really simple.
[NOISE].
To get things started, launch the app and then hit the button on your Hue Bridge to get things synced.
Then, hit the lightbulb button to choose which lights you'll use with the app.
So I'll set the mood, in this case piano music.
Creepy already, but let's throw in some sound effects.
[MUSIC]
And you'll see that as I change the effect the light sync with whatever's playing.
Like this.
[LAUGH] That one's really creepy.
[MUSIC]
[NOISE]
They also have other moods that you can choose from for background music.
I can put some raindrops in the background.
Hit it with a Zombie sound.
This app is great because of all the built in options, but it does require you to man it.
Now if you want more control over the music, and how the lights react to it, check out Hue Disco.
[MUSIC]
It's available for iOS and Android.
To get started you'll launch the app and then sync it with your Hue just like Hue Halloween.
Then go ahead and choose which light bulbs you wanna work with the app.
Again, the more the merrier or scarier in this case.
Once you do that head over to the Disco tab, and here you can really fine tune the control.
so the most important one is really microphone sensitivity because if you're having a really rowdy party, you want to make sure that the app can still pick up on the music that you're playing.
So if you have a lot of people over, crank up the sensitivity.
The other thing to check out is transition control.
So you can choose between smooth for a smoother transition.
Or Snap which gives you more of a strobe effect kind of like a club feel.
And if you can't decide just choose Mix.
[MUSIC]
And then go ahead and cue up your music and hit Start.
[MUSIC]
Those are just a couple of fun ways to use your smartphone to add a little more flare to your Halloween party.
But you can also use these same tips year round during any other events you're hosting.
[MUSIC]
I think we may have saved the best segment for last.
Oh yeah?
Yes.
Can I get a drop roll please?
We're going to show you how to carve a pumpkin.
Of course!
That's right, Dan Graziano took this task on.
He's going to show us how using templates on line can help you perfect this holiday tradition.
This Halloween I'm going to teach you how to add some extra flair to your pumpkin without breaking the bank.
Some of us, like myself for example, aren't very good at drawing.
Luckily there are a lot of websites out there with free templates that can help you carve the perfect pumpkin.
Sites like Martha Stewart and FaceGeek offer some good templates for beginners.
If you wanna design that's a little more crazy, I would definitely try Googling a specific idea.
To get the job done, you'll need a nice big pumpkin and a template from the internet.
I chose this one of Philip J.
Fry, my favorite character from the show, Futurama.
You will also need a pair of scissors to cut up the design, a big spoon or ice cream scooper to clean out the pumpkin, a sharp knife for carving, some push pins, a marker, tape, and either a candle or an LED light to bring it to life.
We are going to.
Start by cutting up the top of the pumpkin near the stem.
Make sure to place the knife at a 45 degree angle so the lid will have a place to rest when you replace it.
If you cut straight down, the lid will simply fall through the pumpkin.
Once that's done, use a spoon to remove the seeds and the inners of the pumpkin.
I recommend saving the seeds and toasting them later for a tasty treat.
The pumpkin may be a little dirty.
You may have to wipe it down with a paper towel or a napkin.
Print out the template you found outline and use a pair of scissors to cut out the areas you will be cutting into the pumpkin.
Tape the template onto the pumpkin, and use a marker to trace the carving lines.
For the spots you can't get with a marker use the push pins.
Next we're going to remove the template, and begin carving along the pattern.
[MUSIC]
And there you have it.
All you have to do now is place the candle or LED light inside the pumpkin.
The possibilities really are endless with this.
You could use a drill that makes some quick holes in the pumpkin cookie cutters for cook designs.
A potato peeler for extra surface details.
Or even for your next Halloween party, throw a bluetooth speaker inside.
Just have fun with it.
Hm.
Not too bad.
Not too bad at all
[MUSIC]
Little known fact Donald, ->> Okay.
I have never carved a pumpkin before.
That's sad!
I know.
You haven't lived.
I haven't lived.
Pumpkin carving is.
He's the best.
[UNKNOWN]
You've seen the video now.
Yeah.
You're an expert on it.
I expect more from you [CROSSTALK]
That is a really good point.
And I'm gonna try it now.
Okay good.
All right.
That's it for this week's show.
You can reach out to us.
I'm @donald on Twitter.
And I'm @nidopal on Twitter.
We also have our email address thefix@cnet.com.
Email us what you think of the show.
Send us your pumpkin photos.
Yeah
All that stuff
Questions comments anything else
On The Fix