Wiring up the Monster Guts Nerve Center (pictures)
CNET's Donald Bell walks you through the process of creating the custom cables required for the Monster Guts Nerve Center, a Halloween prop controller.
Donald Bell
Donald Bell has spent more than five years as a CNET senior editor, reviewing everything from MP3 players to the first three generations of the Apple iPad. He currently devotes his time to producing How To content for CNET, as well as weekly episodes of CNET's Top 5 video series.
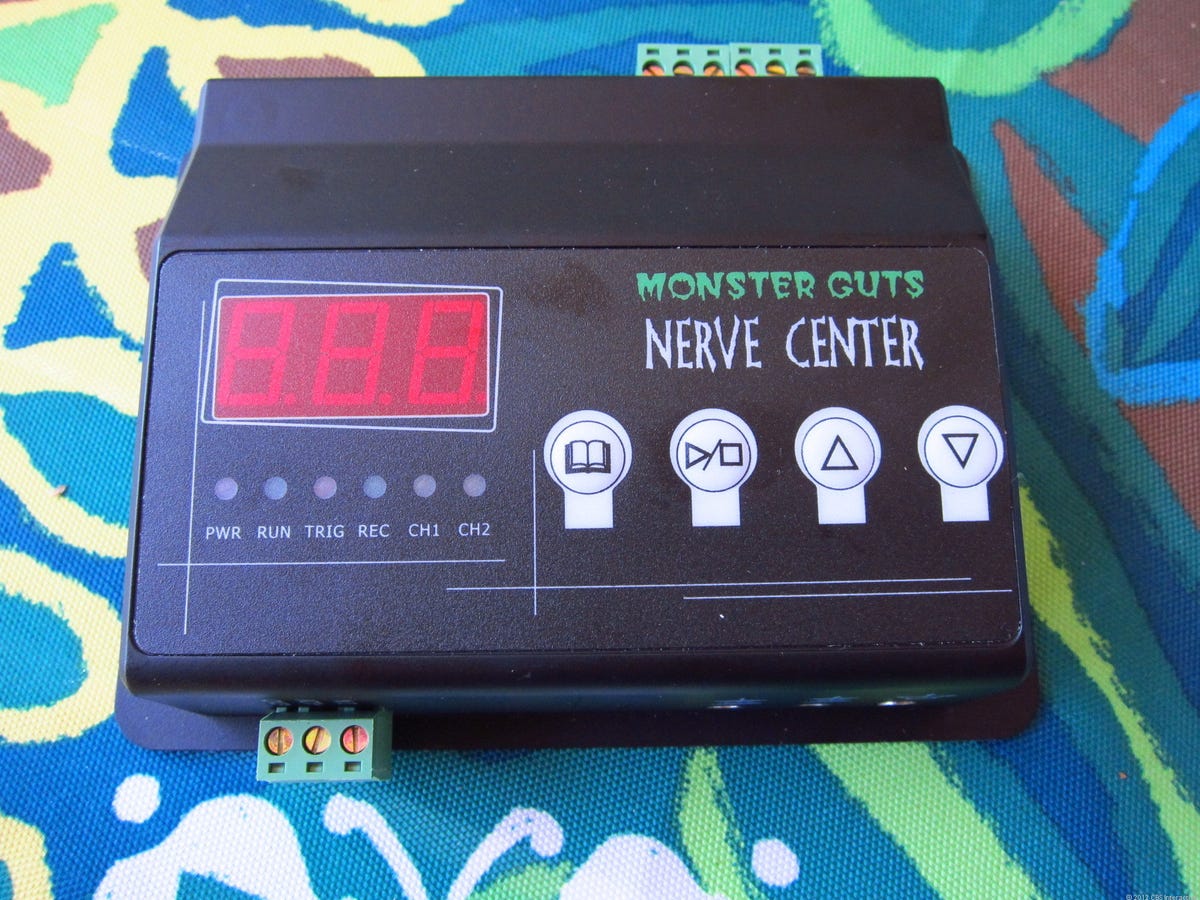
The Nerve Center by Monster Guts is a basic Halloween prop controller. It uses two power relay switches to create animations by switching power on and off to any connected decorations and gadgets.
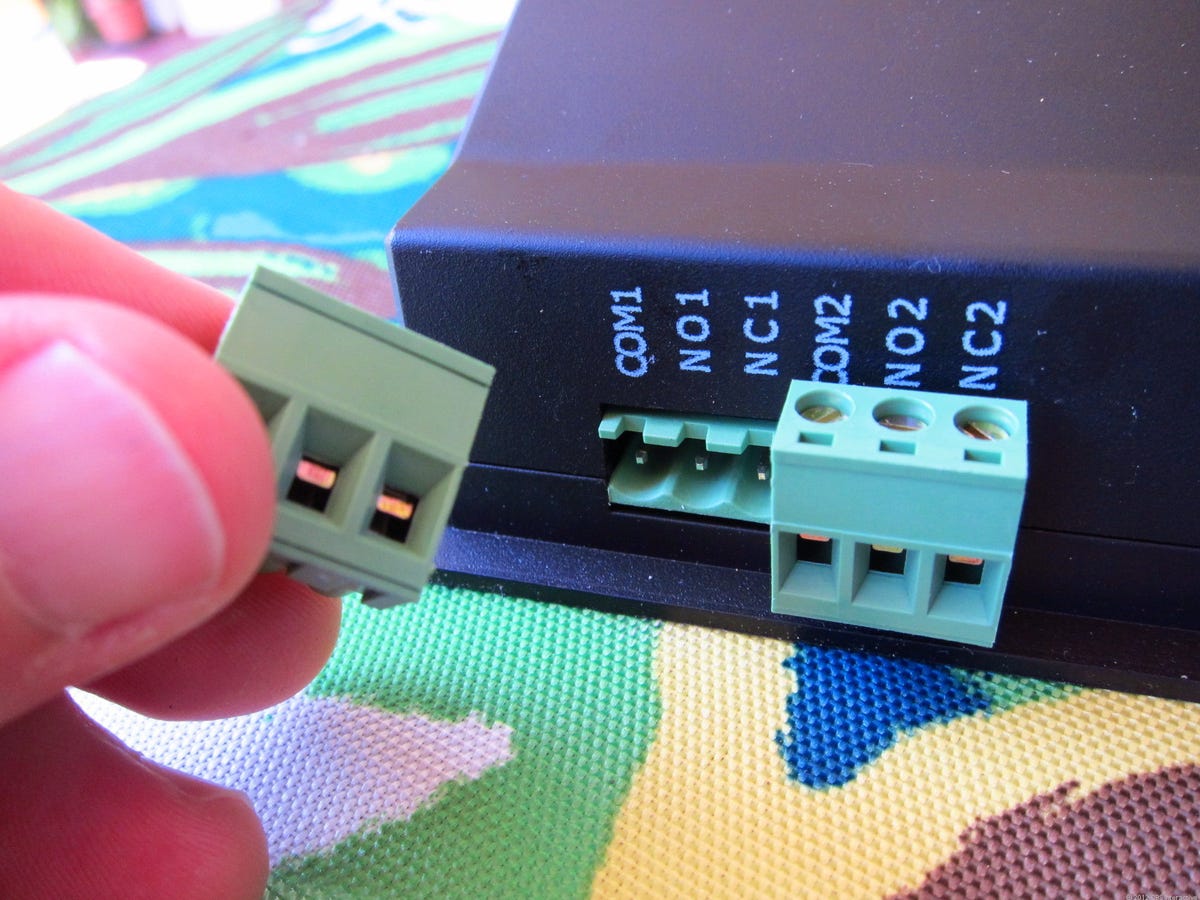
The Nerve Center doesn't include basic AC sockets on the back for connecting your props. Instead, you'll have to splice an extension cord to these detachable sockets on the back.
3 of 8 Donald Bell/CNET
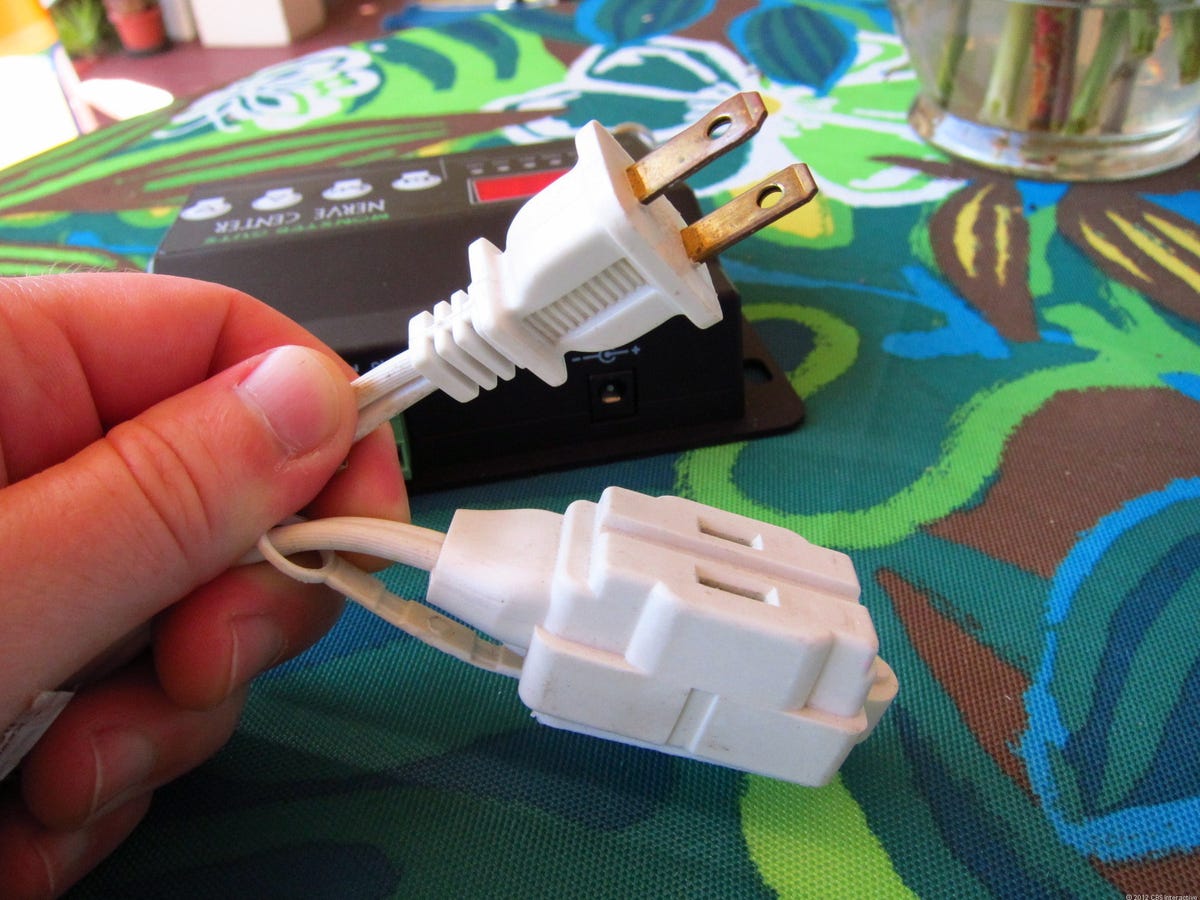
Modding an extension cord
Here's a common extension cord that we'll mod to use with the Nerve Center. Warning: Do not modify your extension cable while connected to power. Your cable should not be plugged into anything.
4 of 8 Donald Bell/CNET
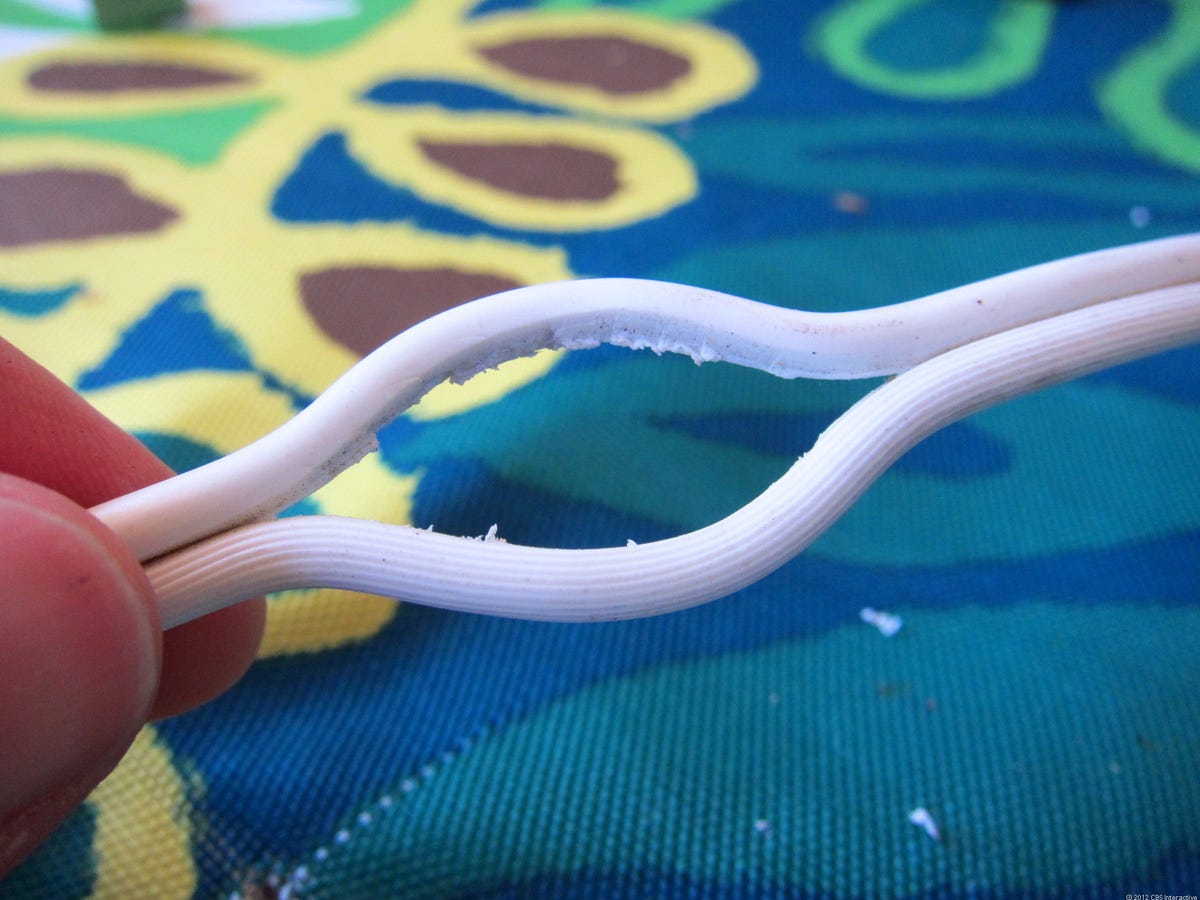
Separating the cable
Warning: Do not perform this modification while the cable is connected to power. For your safety, the cable needs to be unplugged.
The first modification we'll perform is to make a section of the cable where the to sides are separated, creating an inch-long gap. To do this, I located a section near the outlet end of the cable and slowly wedged a flat-head screwdriver between the cable sections and then slid the screwdriver along the opening to expand the gap.
5 of 8 Donald Bell/CNET
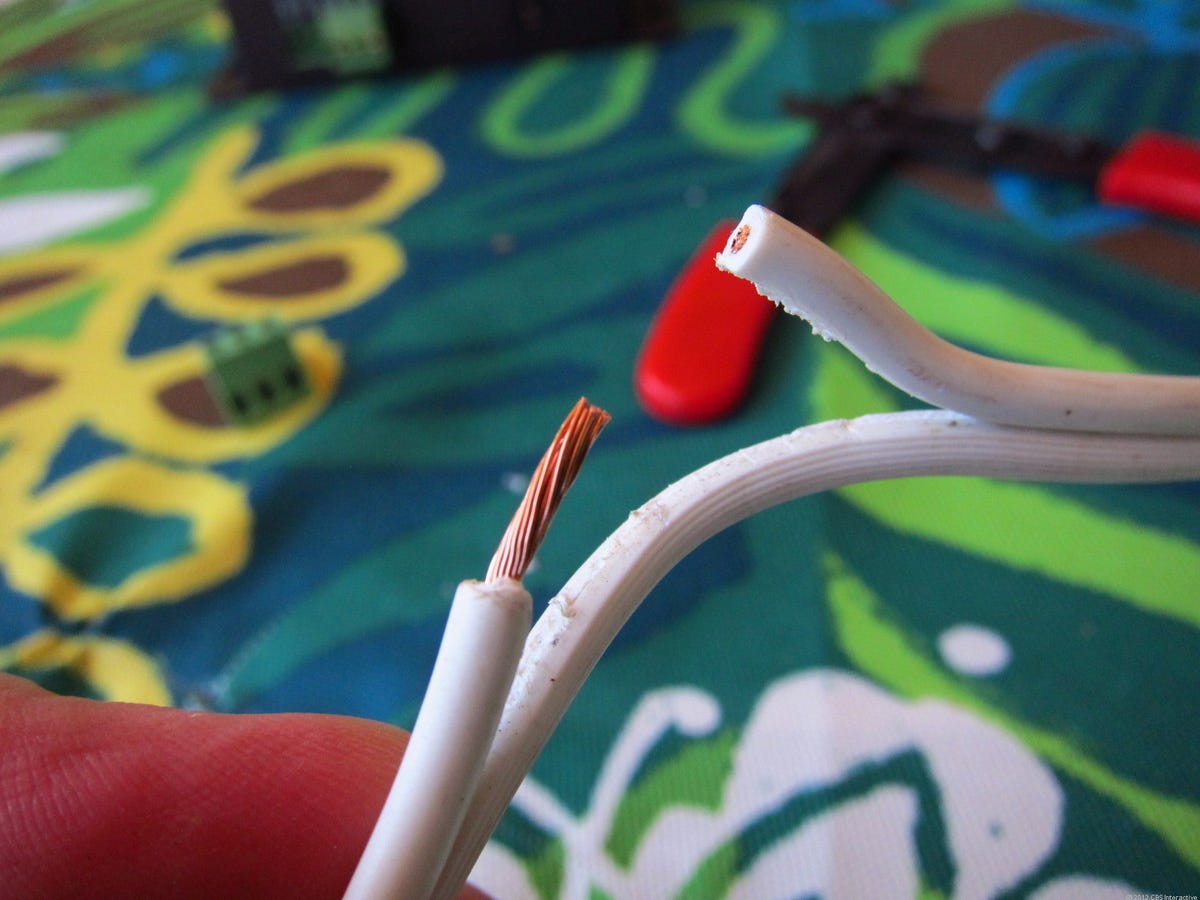
Making the cut
Warning: Do not perform this modification while the cable is connected to power. For your safety, the cable needs to be unplugged.
For the next step, I took one of the two sides of the cord (it doesn't matter which side) and cut it in the middle of the separated section. With a pair of wire strippers I then exposed 1/4-inch of copper from each side of the cut cord (only one side show here for the sake of comparison).
6 of 8 Donald Bell/CNET
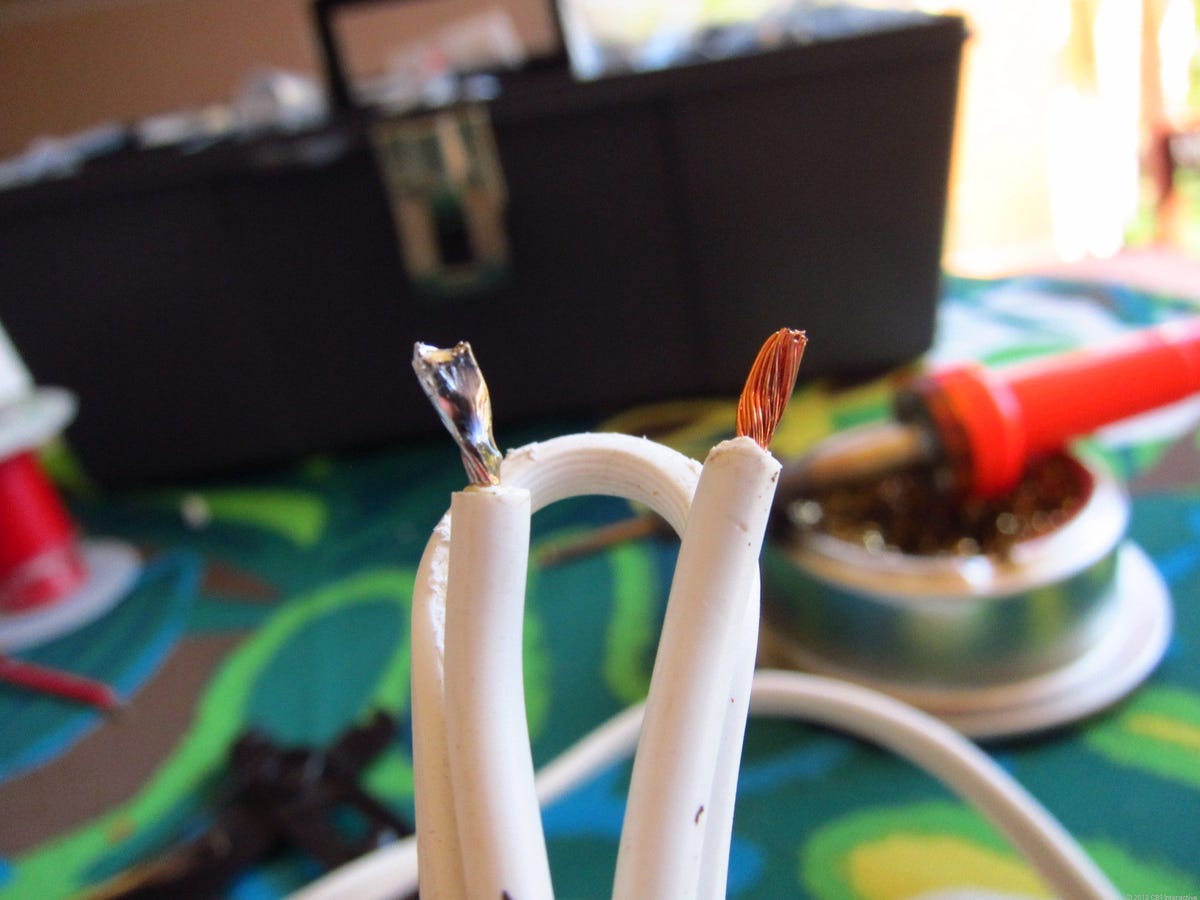
Tinning the copper
Warning: Do not perform this modification while the cable is connected to power. For your safety, the cable needs to be unplugged.
To prevent the copper cable from fraying and possibly causing a short circuit, I took the additional step of soldering the ends of the exposed wire.
7 of 8 Donald Bell/CNET
Connecting to the relay block
Warning: Do not perform this modification while the cable is connected to power. For your safety the cable needs to be unplugged.
Next, I connected the exposed ends of the extension cord the the removable relay block on the back of the Nerve Center. You'll find three connections for each block with can be used depending on the result you want. For our purposes, we wired one cable to the connection marked COM, and the other to the connection marked NO (Normally Open).
8 of 8 Donald Bell/CNET
The finished result
Here's what the finished result looks like once the detachable connection block is attached to the Nerve Center. At this point, so long as the cable sections are firmly screwed down into the block, you can connect both the extension cable and the Nerve Center to power without risk.