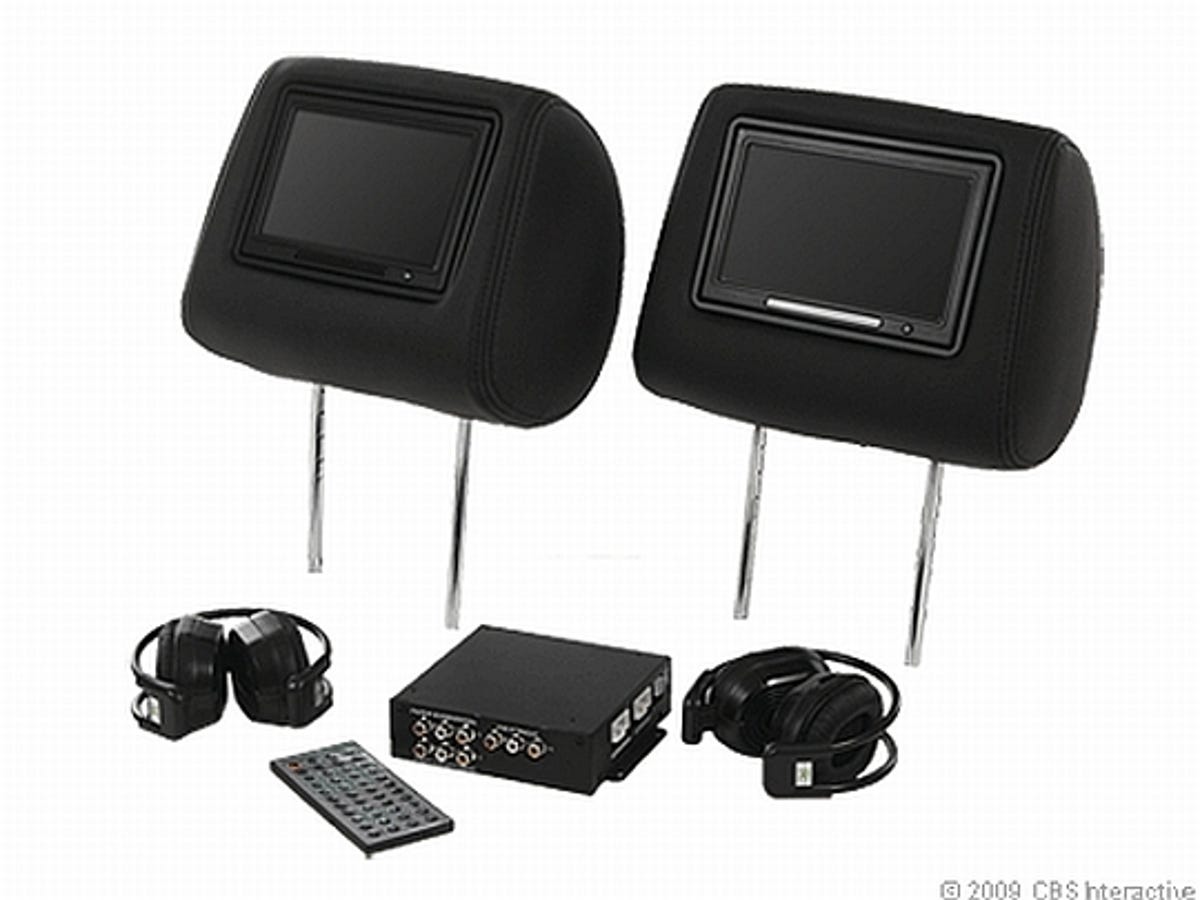
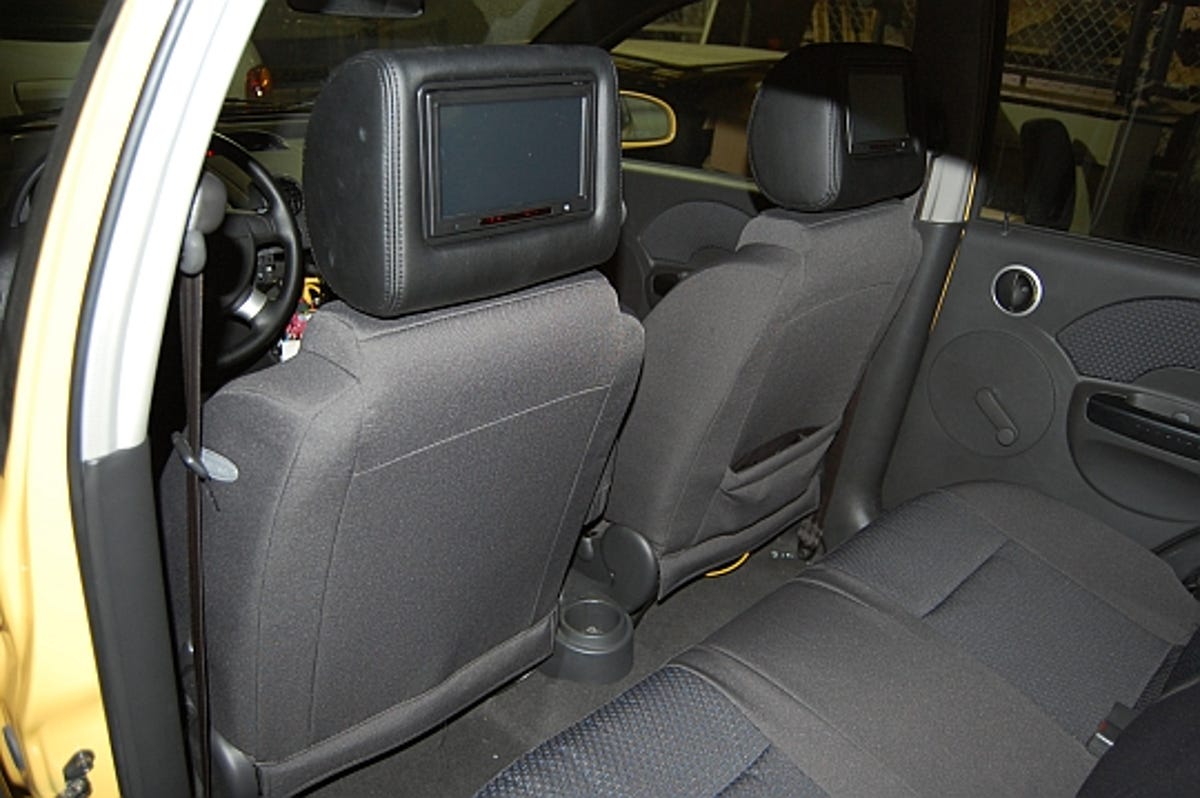
CNET Car Tech installs the Vizualogic Road Trip Universal Dual Headrest DVD System using only basic hand tools and a little know how.
Antuan Goodwin
Antuan Goodwin gained his automotive knowledge the old fashioned way, by turning wrenches in a driveway and picking up speeding tickets. From drivetrain tech and electrification to car audio installs and cabin tech, if it's on wheels, Antuan is knowledgeable.
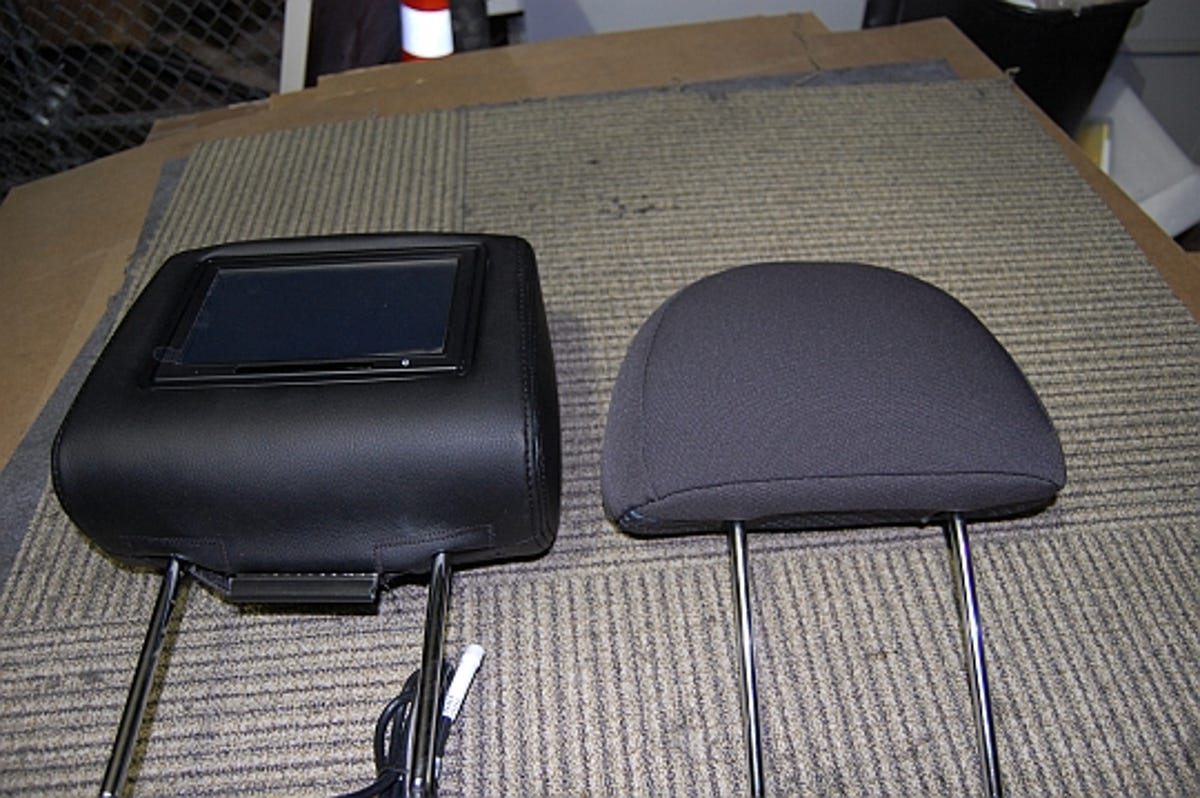
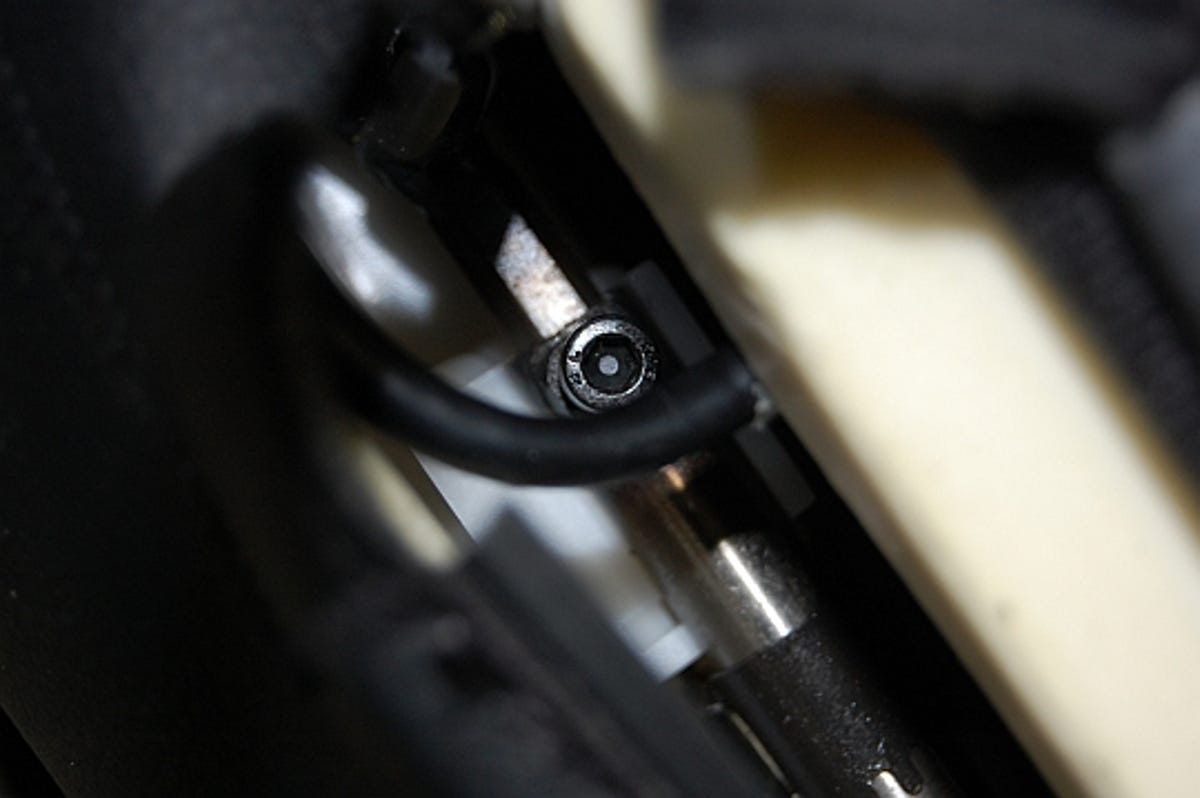
The instructions state that the risers can be adjusted with a phillips tipped screwdriver, but upon closer inspection we found the adjuster required a hex key. Fortunately, we had one of the right size lying around.
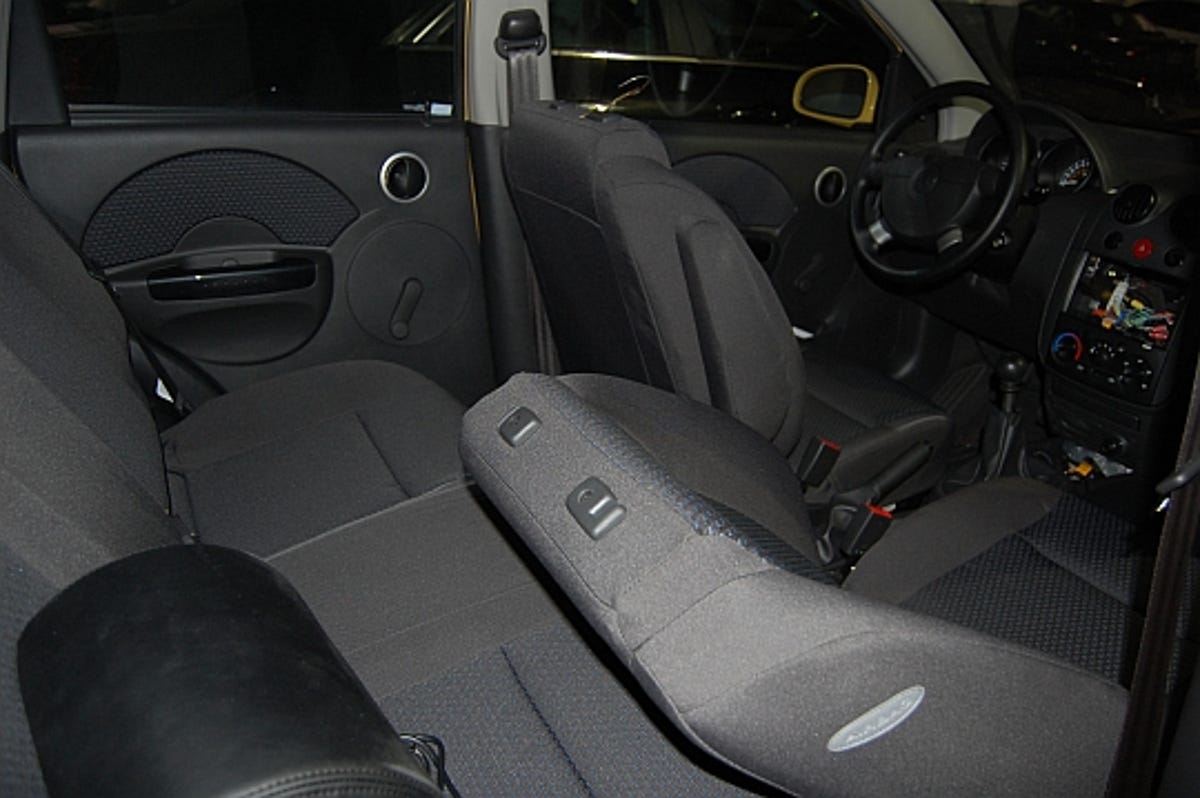
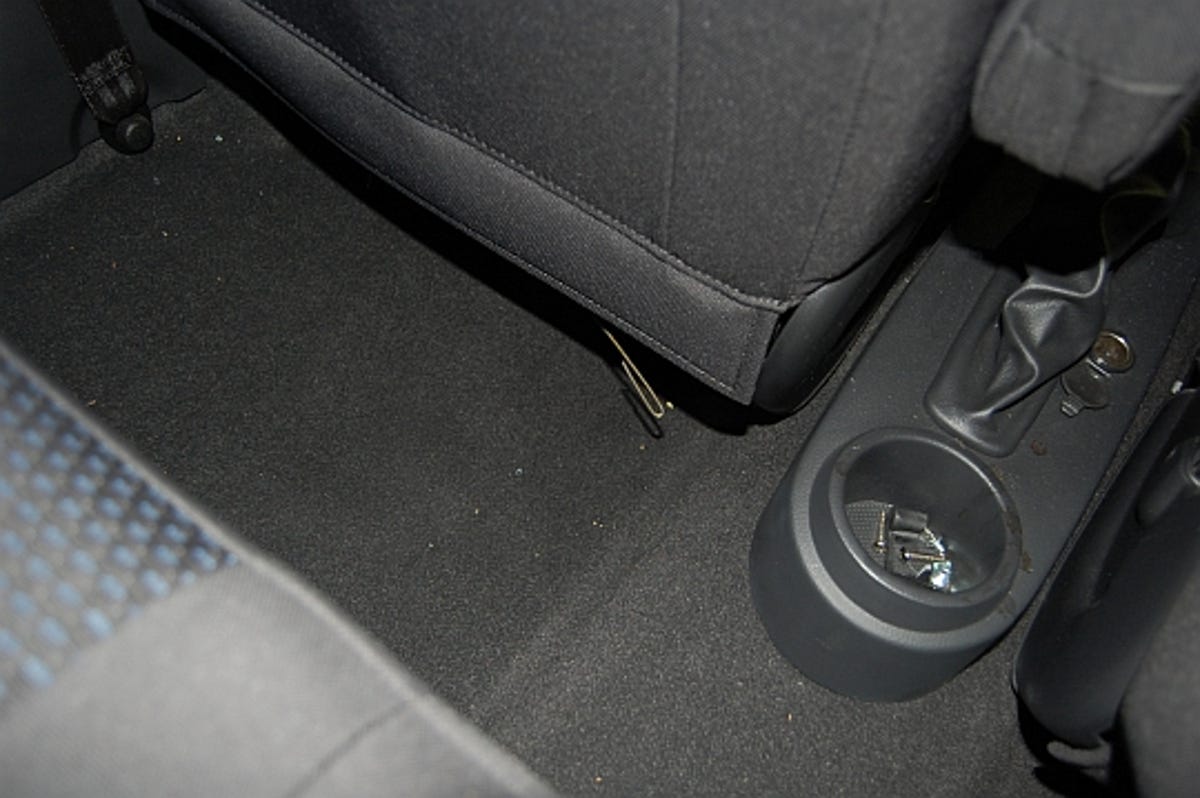
Some seats feature upholstery that can be unfastened and opened for easy cable routing. Ours didn't. We used a straightened wire hanger to make sure the path from the top of the seat to the bottom of the seat was clear.
If the coast is clear, the hanger should poke out of the bottom of the seat. If you encounter resistance, tie a string to the end of the hanger and pull it back through the seat. Then use the string to pull headrest connectors through the seat back and out of the base.
Our Aveo was rather loosely upholstered, so we were able to just run the connections through the seat and pull them out of the bottom with our fingers. Next, settle the headrest risers into the sockets.
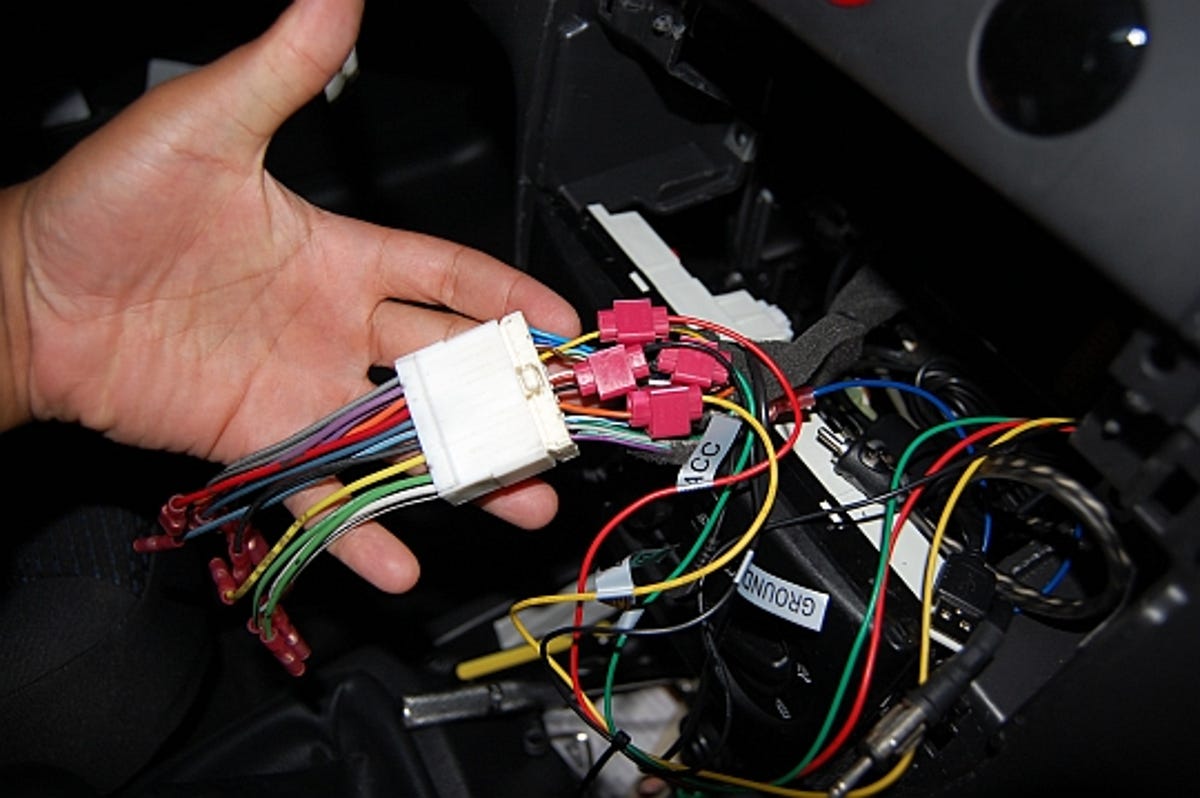
Locate power, battery, ground, and e-brake connections and connect the power wire harness using wire taps. We used the stereo wire harness in the dash, as most of the connections here were clearly labeled and easy to locate.
Tip: If you want the system to work while the vehicle is in motion (like a rear seat system is supposed to), connect the e-brake lead to ground instead of to the vehicle's handbrake. Check your state's laws about rear seat monitors before doing this.