Want to carve your jack-o'-lantern in record time? Here's the drill
Scraping and scooping out a pumpkin is the boring part of making a jack-o'-lantern. Make it faster-- and more fun-- by power scooping it with a cordless drill. If you're feeling particularly creative, you can even decorate your jack with various drill bits. Here's how.


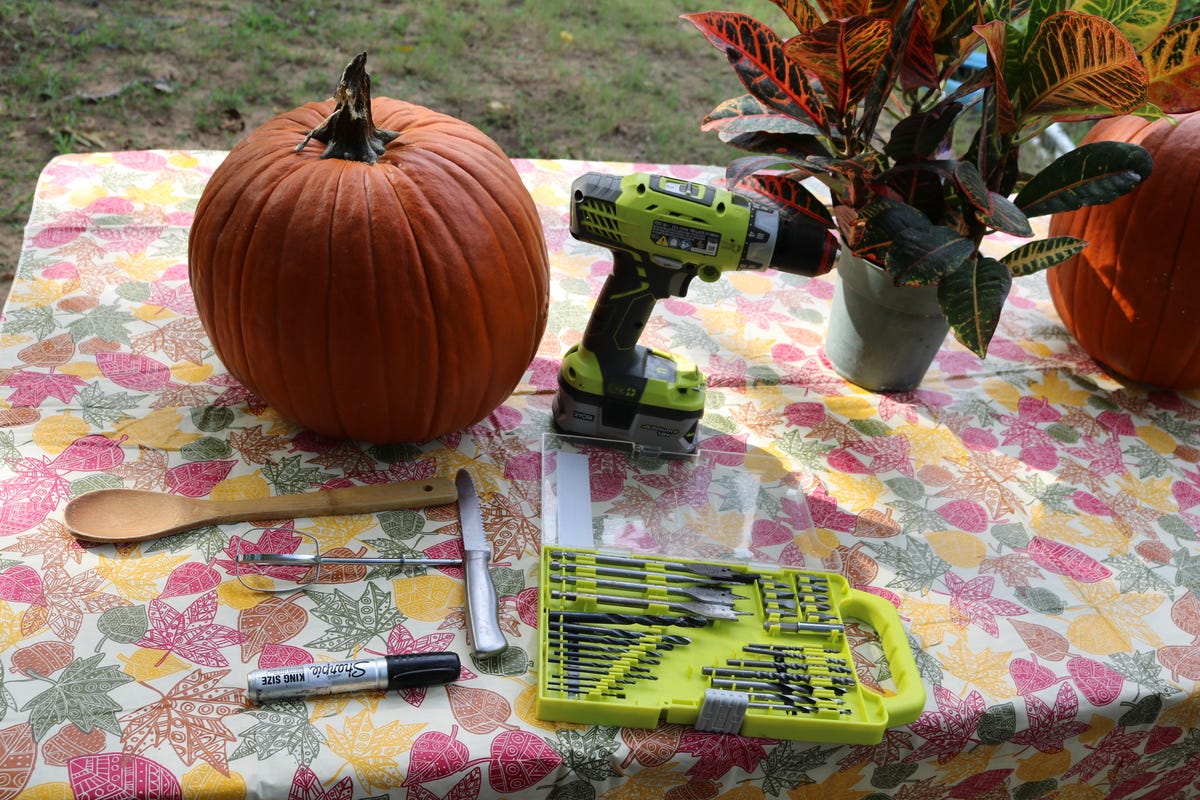
Gather your supplies
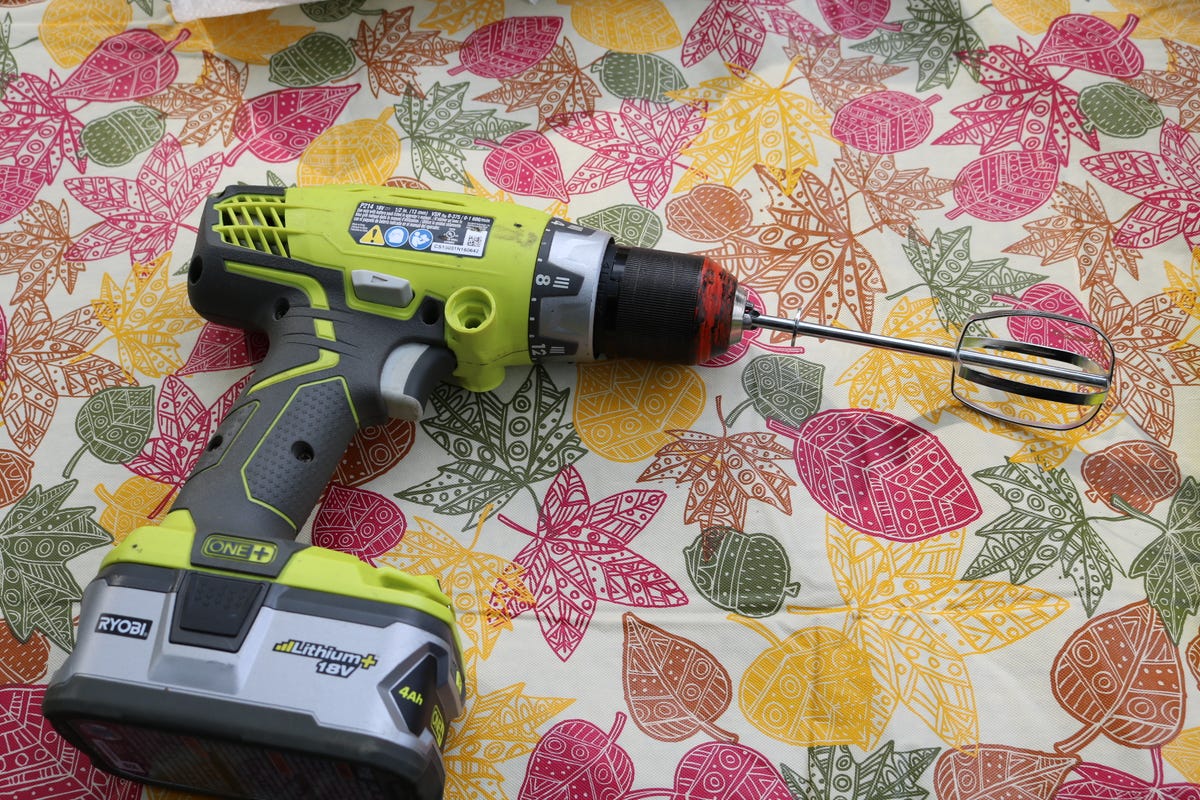
What you'll need to create a jack-o'-lantern with a drill is a permanent marker, cordless drill and various sizes of bits, a wooden spoon (optional), a bowl, a beater from a hand mixer and a serrated knife. And remember to be safe! Put on safety glasses before operating the drill. You may also want to lay down newspaper to protect your table. I went with a cheap vinyl tablecloth because, well, it's festive.
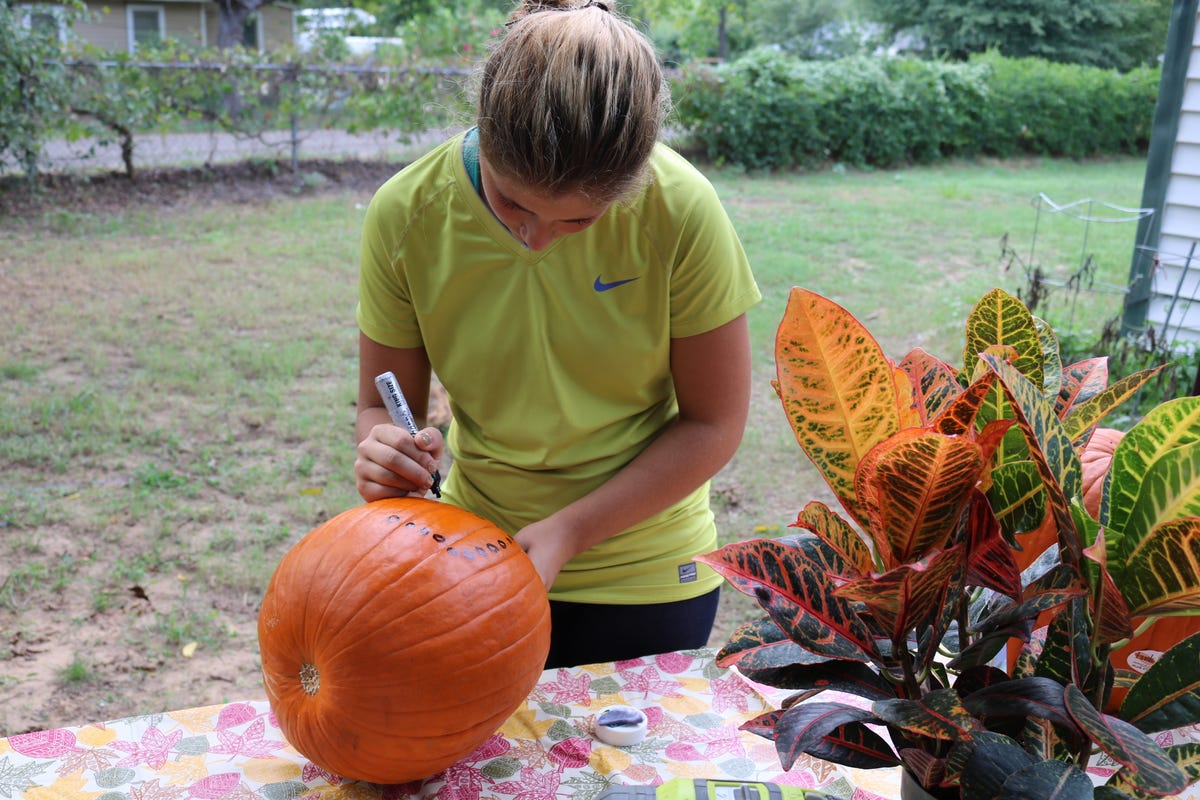
Draw your design
Next, you need to draw your design on your pumpkin. Remember connect-the-dot? This is the same concept, except you won't be connecting the dots, just drawing them. Draw a design made up of a bunch of little dots that are a few centimeters apart. If you're not that creative-- or good at drawing--- take a look at these Pinterest ideas I've compiled.
Tin punch templates are also a great resource for design ideas because they are composed of dots that make a an image. Print out a template and transfer it onto your pumpkin using transfer paper and you're good to go. If you're still stumped, I have a couple of simple ideas for you at the end of this gallery.
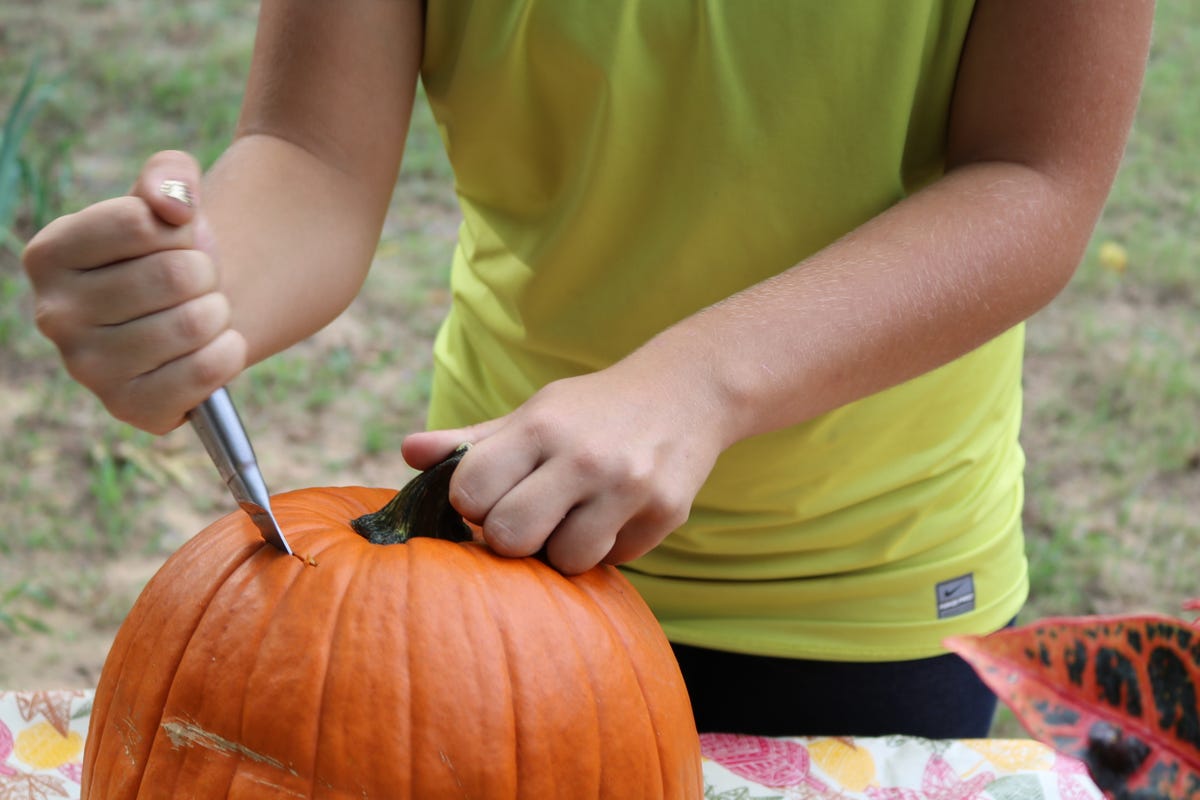
Cut the lid
Use the serrated knife to cut the lid of the jack-o'-lantern. All you do is stick the knife into the pumpkin and saw it up and down to make a circle around the stem.
Trim the lid
Pull the lid off using the stem for leverage. You'll notice that there will be strings of pumpkin and seeds stuck to the bottom of the lid. Slice them off using your serrated knife and set the lid aside.
Get your drill ready
Now it's time to prep your drill. Take your mixer beater and put it in where the drill bit usually goes. Be sure to tighten the drill so that the beater won't pop out.
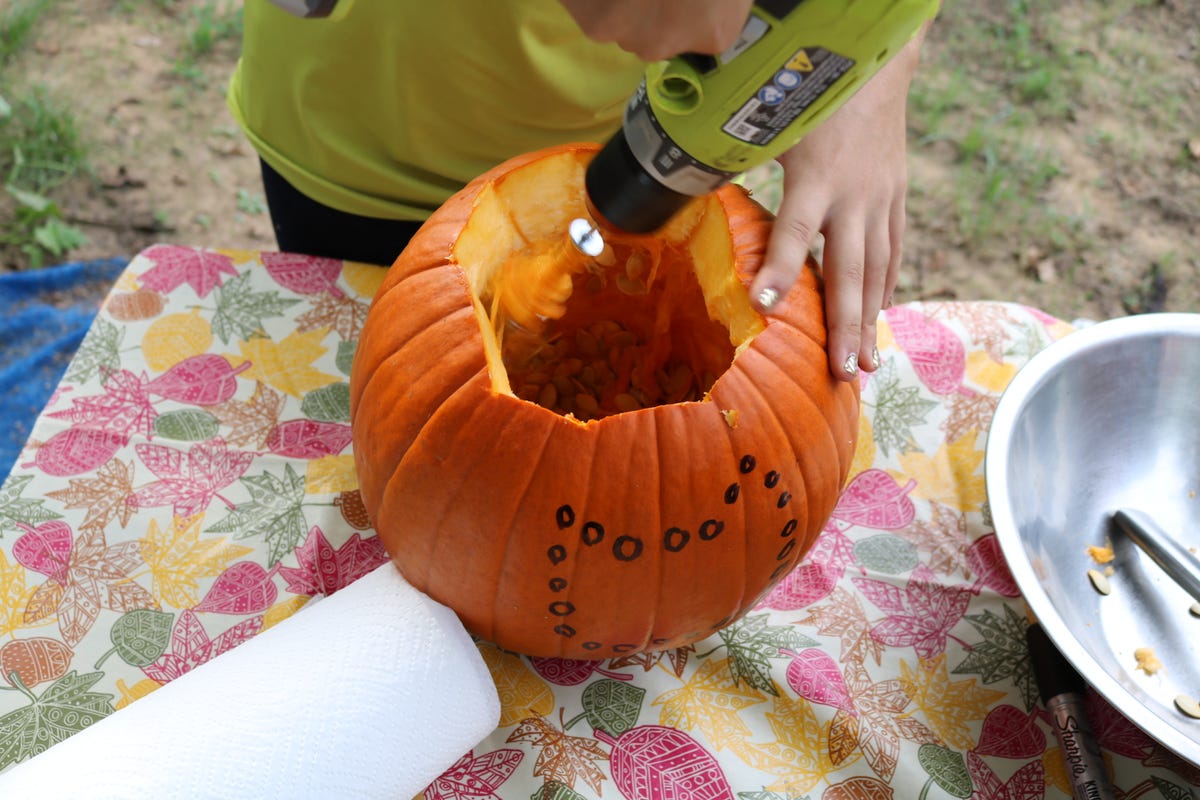
Scrape the inside of the pumpkin
Once you have the beater secure, insert it into your pumpkin and pull the trigger on the drill slowly. Move the beater along the inside of the pumpkin and along the bottom to scrape the inside of the pumpkin.
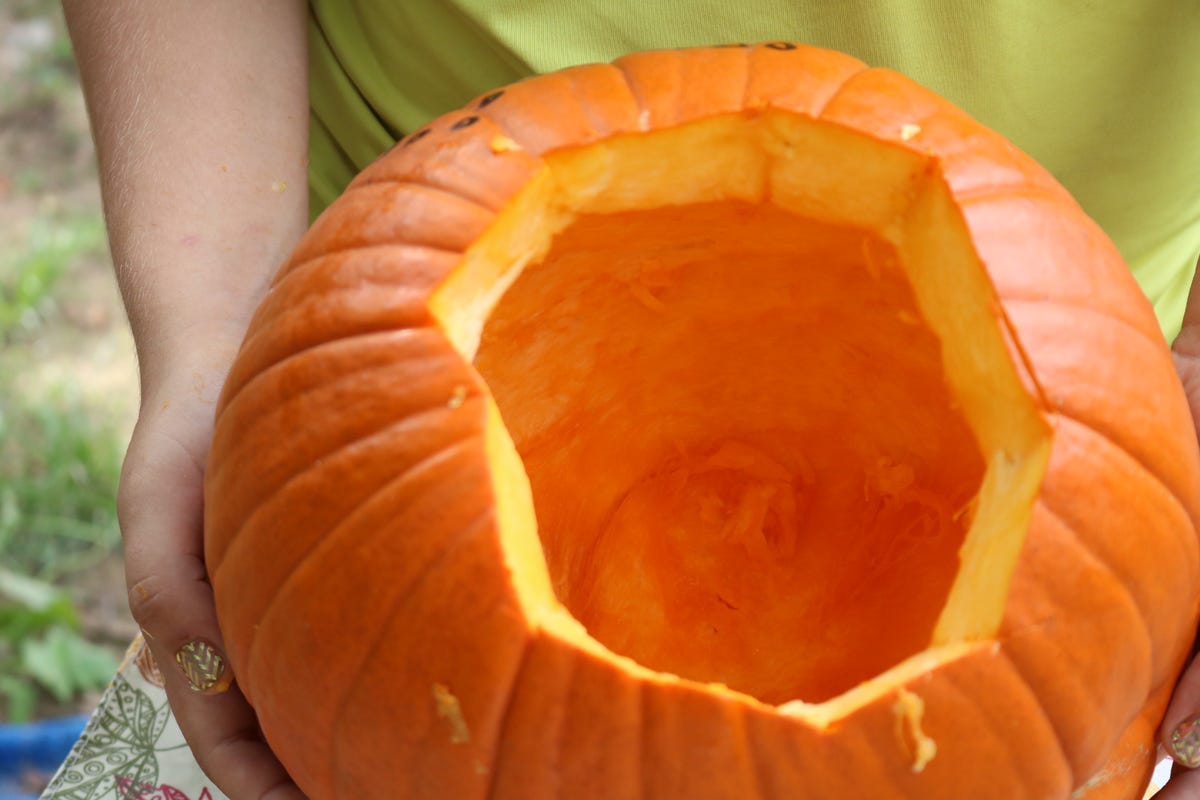
Finishing up the scraping
In less than five minutes or so, the pumpkin should be fully scraped. Be sure to only scrape a little of the pumpkin wall. Scrape it too much and the wall will be thin and flimsy, and the pumpkin may collapse.

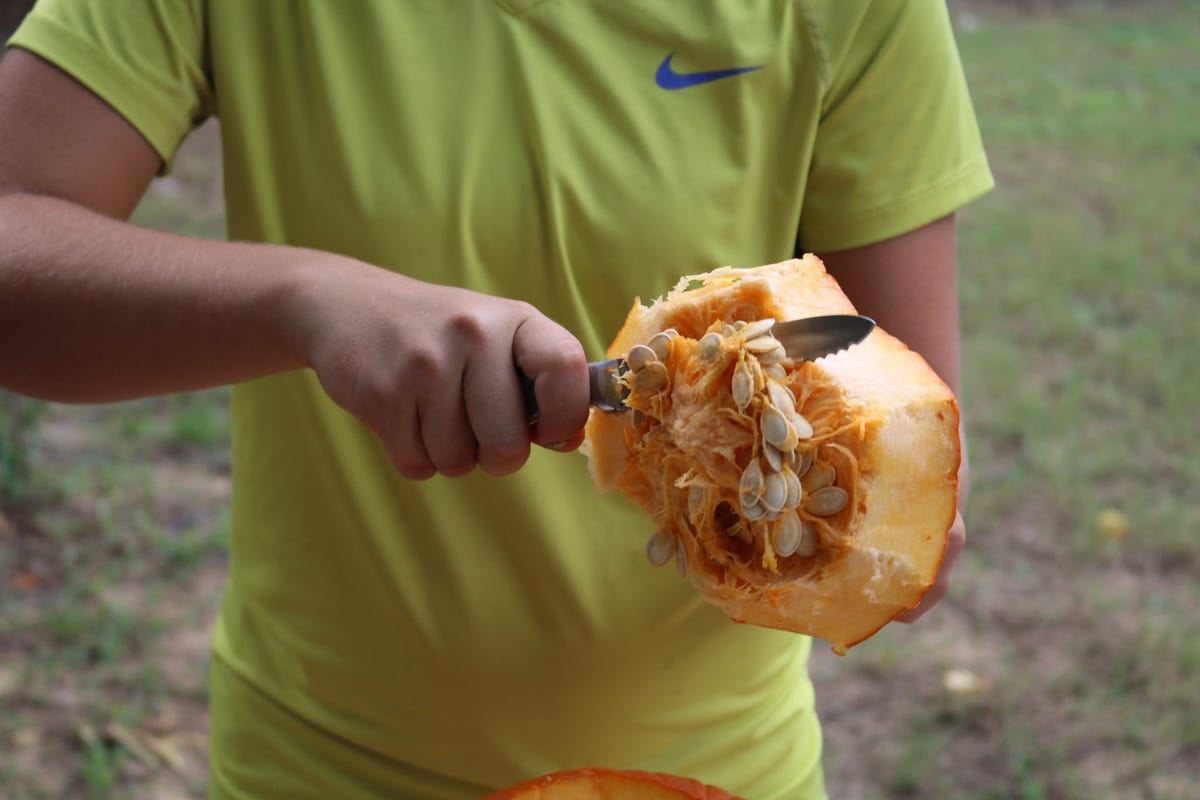
Scoop out the pumpkin
Use your wooden spoon-- or your hands-- to scoop out the strings, pumpkin guts and seeds into the bowl.
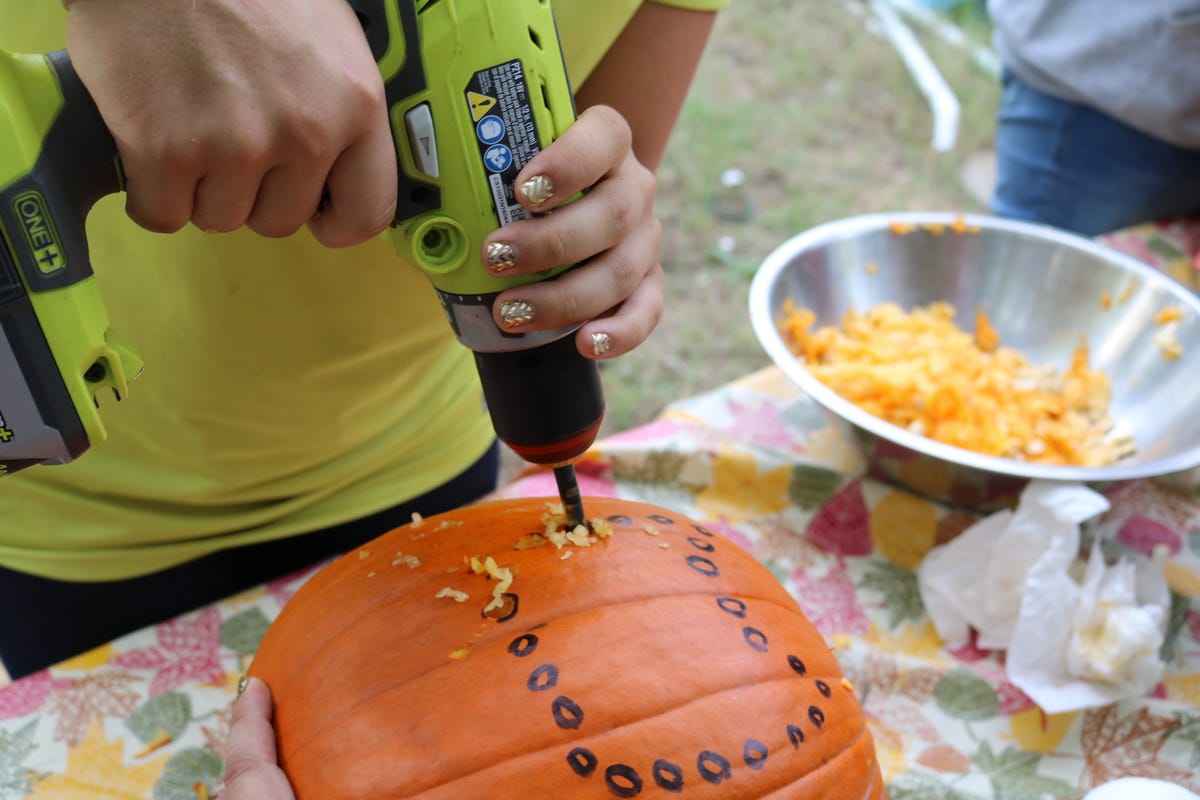
Decorate your pumpkin
Remember the dots you drew? Now it's time to drill them out. Take the beater out of your drill and put in a drill bit. Center the end of the bit on one of your dots, press straight down and drill your hole. Pressure is key. If you don't press down hard enough on your drill while it breaches the skin on the pumpkin, your bit will skid across the skin and leave a gouge. Also, have someone hold the pumpkin steady while you drill.
The bits you choose depends on the size of the dots in your design. Remember though, the bigger the bit, the bigger the hole and thus the more light will shine through.

A flowered pumpkin
Here is an example of a pumpkin carved with a drill. I made a flower pattern by using a 1-inch bit for the center of the flower. Then, I drilled smaller holes using a 1/2-inch bit around the center to create petals. I finished the flower by making leaves using a 1/4-inch bit.

Decorate using your initials
Initials are a simple, easy-to-do idea for pumpkins decorated with drills. On this pumpkin, I drew a B on the pumpkin using dots, then used a 1/2-inch bit to drill the holes.
More Galleries

My Favorite Shots From the Galaxy S24 Ultra's Camera
20 Photos
Honor's Magic V2 Foldable Is Lighter Than Samsung's Galaxy S24 Ultra
10 Photos
The Samsung Galaxy S24 and S24 Plus Looks Sweet in Aluminum
23 Photos
Samsung's Galaxy S24 Ultra Now Has a Titanium Design
23 Photos
I Took 600+ Photos With the iPhone 15 Pro and Pro Max. Look at My Favorites
34 Photos
