Hey, guys.
I'm Sharon Vaknin.
And today I'll show you how to purchase and apply a screen protector for your phone.
Not everyone believes in screen protectors but after seeing how scratch prone Molly's iPhone 5 is, I'm pretty much a fan.
Okay.
So, let's get right to it.
The screen protector you choose will vary depending on your phone.
Protectors
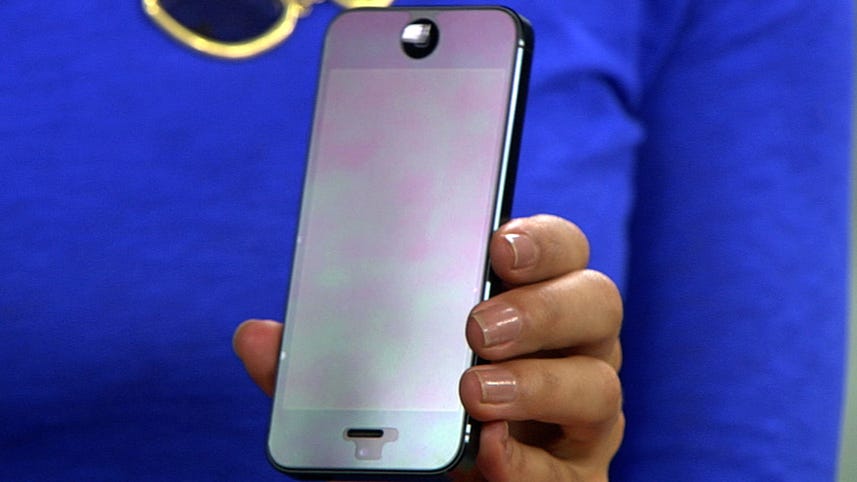
also come in matte finishes or as privacy screens but I would avoid those if you can.
They tend to produce this unavoidable rainbow effect.
With these clear protectors, you'll shield your phone without affecting the display.
So, today I'll be using a clear protector for the iPhone 5 from Sir Lancelot's Armor and it's time to apply this thing.
First things first.
You wanna be a in a dust free environment.
Pick a clean surface in a quite area where no one will bother you.
It's
really important that you get it right the first time.
And one more thing, if you have lotion on your hands, you wanna remove it either by washing your hands with soap and water or wiping them down with some rubbing alcohol.
Now, you'll need to clean your iPhone screen.
First, remove any case you might have on it.
Let's take this one off.
And spray with just a little LCD cleaning solution.
All right.
Give it a good rub down with the micro fiber cloth, and take
your time here.
You don't want any dust.
Okay.
Let's double check to make sure.
See a couple of flocks.
I'm telling you, you wanna take your time here.
Now, we can go to applying our protector.
All right.
So, take the protector, this is brand new, out of its packaging.
And most times, these will come with a micro fiber cloth
and even a card for pushing out the bubbles.
All right.
There it is.
You can start from the top or the bottom but in my experience, you get the best alignment when you start with the home button.
Okay, first, we'll peel the backing of the protector and make sure you're holding its sides.
Do not touch the sticky part.
If you need to, if you have fat fingers, you can use tweezers to hang onto it,
but I'm gonna go ahead and just be really careful here.
Okay, so we'll start by making sure that it's perfectly aligned around the home button.
Again, you wanna take your time with this, it's not a race.
Because if you do it right, it's going to last a long time.
Okay.
That looks pretty good.
Okay, as soon as you found the sweet spot around the home button, grab a
credit card and slowly use it to apply the protector.
Again, really take your time here, that's the secret to not having any bubbles.
So, I'm just pushing, pushing, pushing, keep going up.
All right.
If at any point you see a bubble, you can lift the protector a little bit and go back and push that bubble out.
All right.
So far so good.
All right.
When you have it all smoothed out and in place, it's time to peel back this tab which will expose the actual screen protector itself.
It should look a lot shinier now.
If there are any bubbles you can't quite get out, there's either a scratch or dust under there.
If it's dust, lift the protector with a piece of tape and then use another
piece of tape to remove the dust.
Just like that.
And there you have it.
If you did it right, you should really hardly be able to tell that there's even a screen protector on your phone.
And once you put your case back on, your phone will be totally protected.
Remember, you should apply a screen protector soon after buying your phone.
Otherwise, those scratches will give you unwanted bubbles.
If you have any questions or just wanna tweet me a photo of your bang up job, hit me up on Twitter.
For CNET, I'm Sharon Vaknin.