How to protect your Facebook Timeline privacy
Along with Facebook's design overhaul comes a host of new privacy settings that can protect information you'd rather keep private, and prevent third parties from accessing your information.


- Webby Award ("How To, Explainer, and DIY Video"); Folio Changemaker Award, 2020
Along with Facebook's design overhaul comes a host of new privacy settings that can protect information you'd rather keep private, and prevent third parties from accessing your information.
In classic Facebook fashion, these important settings are hidden beneath a newly designed site, making it difficult for users to control their data.
After some exploring, we found several important Facebook privacy settings that you might otherwise miss on your typical visit. Watch the video for a complete walkthrough and check out the instructions below.
1. Control app permissions
With the new redesign comes an interesting policy called "frictionless sharing," which says that apps only have to ask for your permission once before accessing your info or posting as you whenever they want.
You can't change the policy, but you can control which friends get to see the app activity, change certain app permissions, or hide the activity entirely (without deleting the app).
Follow this guide to modify these settings.
2. Explore your privacy settings
Go to Privacy Settings and check your selections for "How Tags Work" and "How you Connect" to make sure you're connecting with the right people. One suggested feature to enable is Tag reviews (under How Tags Work) so that you can approve photo, place, and post tags before they appear on your Timeline.
3. Hide your Recent Activity
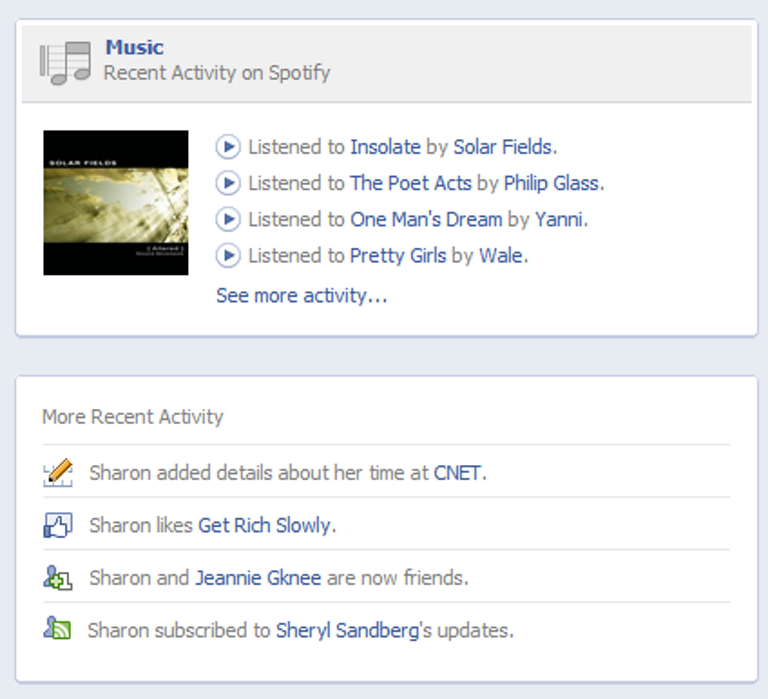
Every time you do minor things like add a friend, write on someone's Timeline, or add a Life Event, Facebook logs in the "Recent Activity" section on your Timeline, exposing the most minute things to your friends.
If you think this is too intrusive, hover over any story, click the X, and select "Hide all..." Do this for each type of activity (like new friendships, like, etc.) you want to hide. To unhide them, click the pencil in the Recent Activity box, select "Hidden Activity," and click the X next to things you want to unhide.
4. Adjust privacy info, friends, and photos
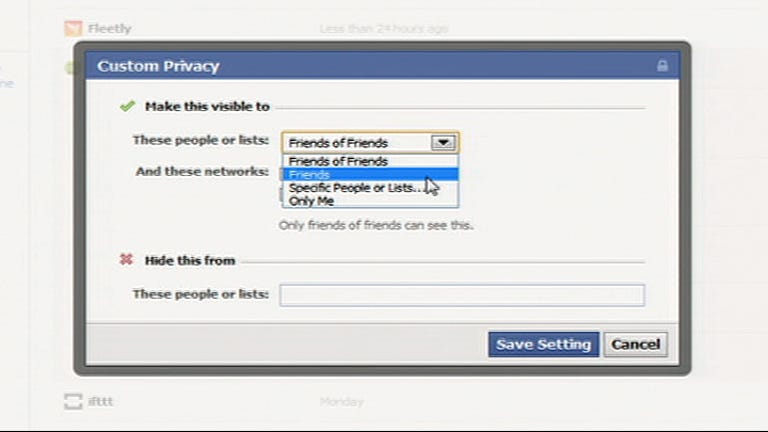
There is probably some personal info you'd like to share with some people, but not others. For instance, you might want to show your current city to close friends, but your hometown to everyone.
To adjust these settings, click the area below your profile photo, and select "Edit" for each module, then use the drop-down menus to select the audience for any item.
To change the visibility of your friends list, click on the box at the top of your Timeline, and click "Edit" at the top. To change the visibility of photos, click the photos box from your Timeline, then change the settings for each album using the drop-down menus next to their titles.
5. Hide your mobile phone number
Remember when everyone freaked out about Facebook exposing their phone numbers? Let's prevent that from happening again.
First make sure that your phone number is set to "Only Me" using the method in Step 4. Then head to Account Settings > Mobile. Uncheck the box next to "Share my phone number with friends." Now your phone number is actually private.
Once you've tweaked the privacy settings to your liking, go to your profile, select the settings button at the top, then "View as" to see what your Timeline looks like to a specific friend, or click "Public" to see what it looks like to everyone else on the Internet.