Photos ApplicationOne of my favorite features of the Pre is the camera and pictures. They are easy to use, and the camera takes great photos. There is no video camera capability yet for the Pre, but that 'could' just be a software update away like on the G1 (this is pure speculation).
Taking Pictures
Launching the Camera application brings up an easy to use camera mode. At the bottom of the screen (or one of the sides, depending on how your holding the camera) is a preview of the last picture you took, the 'take picture' button, and a flash button, which you can set to auto, always flash or no flash. Taking pictures is as easy as pressing the green camera button. It appears to have a fast response/shutter time, and you're ready to take a subsequent picture almost immediately.
Photo App
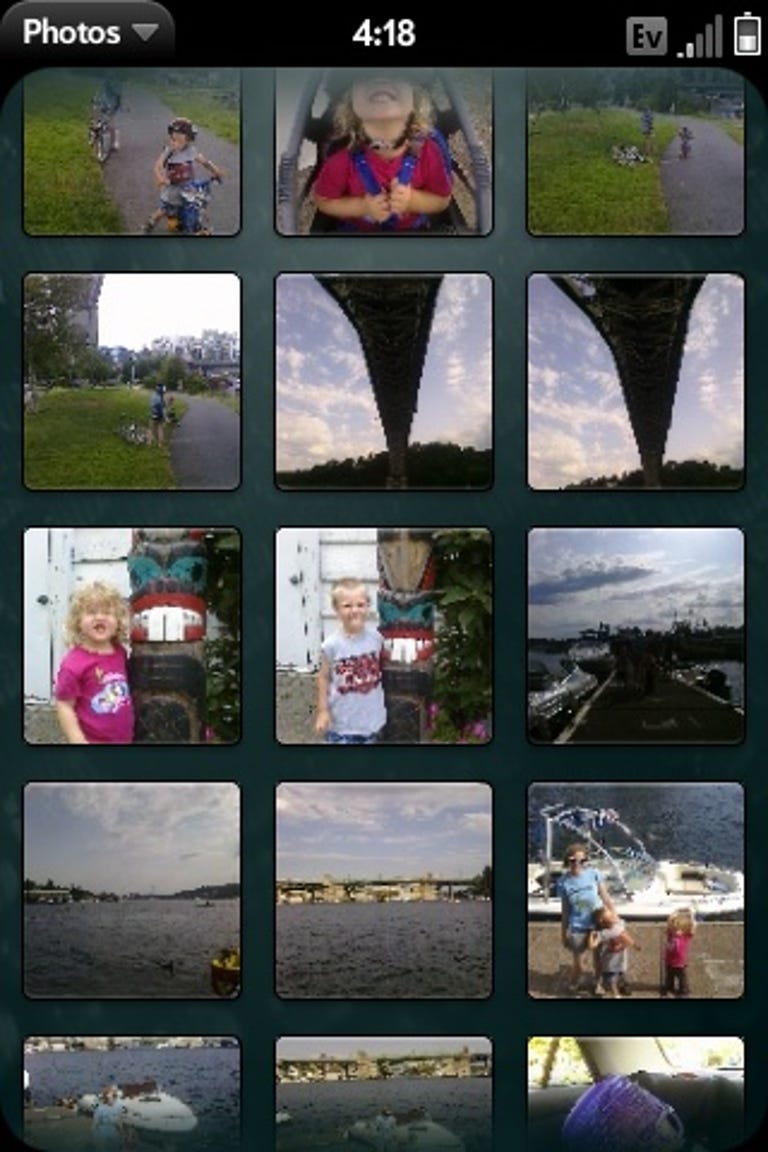
Image ThumbnailsAfter taking a photo, you can click on the 'last picture taken' icon in the camera viewer, or later launch the "Photos" application. Launching the Photo application presents you with a number of options, depending on what you've used so far on the phone. Here I have All pictures (which I believe includes all the photos in all folders), Photo Roll, which is all of the pictures taken with your camera, Screencaptures and wall paper (which came pre-loaded on the phone). Choosing one of the folders or albums brings you to a page of thumbnails for all of the pictures in that album, which you can easily scroll through and select a picture by tapping on it.
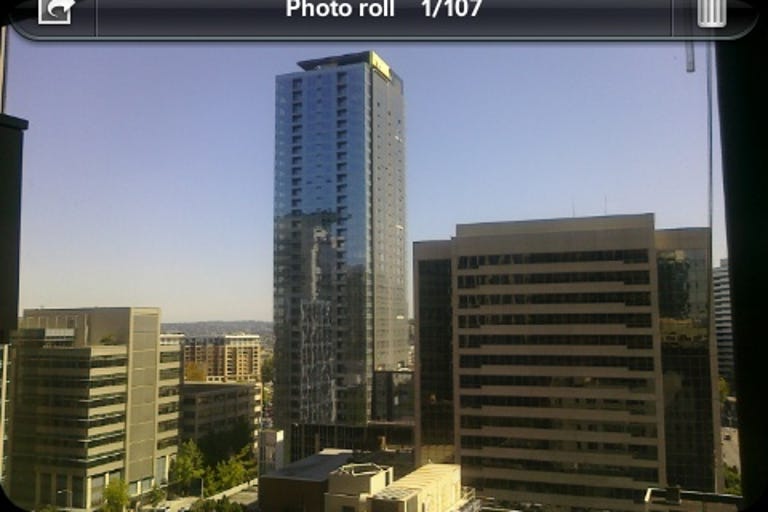
Viewing Photos Photos are presented full screen, rotate to stay rightside up when you rotate the phone, and are easily scrollable by swiping left or right with your finger. When you tap on a picture, the menu appears at the top for options for that photo. Double tapping the photo will zoom into the location you double tapped, and double tapping again will zoom out to see the full picture again.
Picture Options
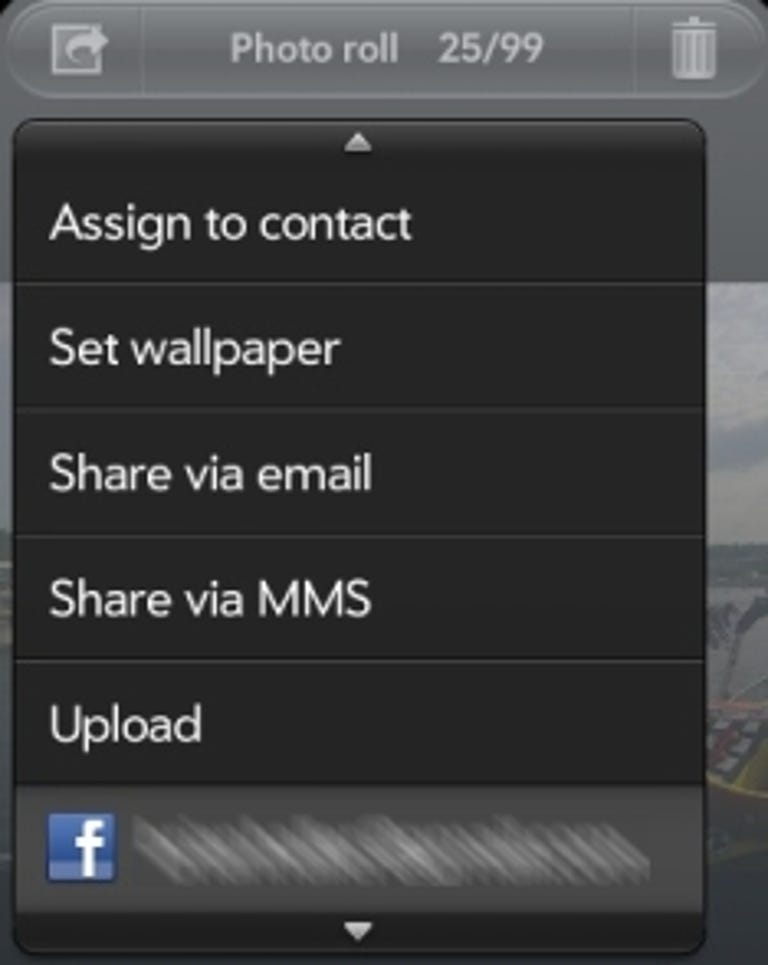
By tapping the left side of the bar above the picture, you will get options for what to do with the picture, set as a contact photo, as the wall paper or share via email, mms, or upload. Currently, the only upload options are to Facebook or Photobucket. I use the facebook app regularly (note, this is the ONLY facebook interface on this phone outside of the mobile website). There is no tagging or commenting ability for photos uploaded, but at least it gets the photos there. Emailing the photos is also pretty easy, although I've noticed you should limit this to one or 2 photos. When trying to do more than this, the email just sits in the outbox and errors out. I found, however, that by connecting wirelessly (addressed in a future blog), I was able to hit enough bandwidth for the email to finally be sent.
Lastly, one item you might have noticed earlier in this review, which I've been using regularly in my blog is the 'screencapture' function.
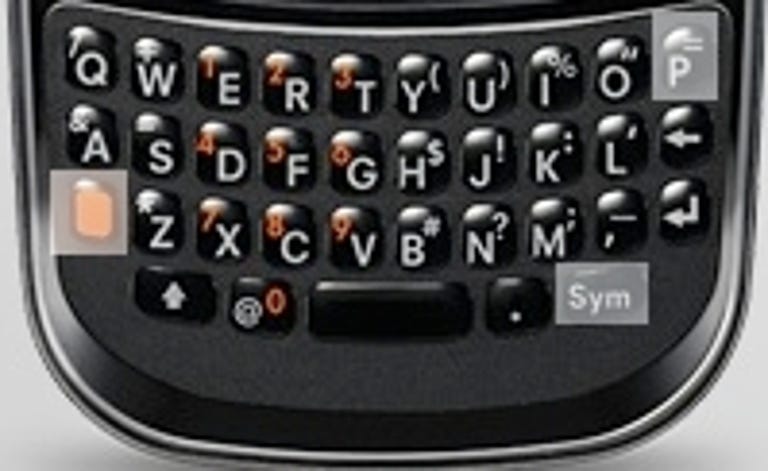
Pressing 'Orange Button'-'Sym'-'P' at the same time takes a screen capture By pressing the 'Orange Button', 'Sym'(symbol) and 'P' at the same time the phone takes a good screen capture, and saves it as a PNG and JPG into the Screencapture album. This is very handy for blogging, and if there were more apps to troubleshoot, would be handy for that as well (could certainly have used that on my G1). Outside of this however, I don't see a whole lot of use for it. It's a great marketing tool however.
Finally, I leave you with a larger version of a picture I took out of my office to see how the camera works. The blog probably won't be able to display the full resolution, but you can get an idea at least.