How to take great photos with an HTC One X
Want to snap some super pics on your smart phone? We take one of this year's top Android handsets, the HTC One X, and show you how.
During the Olympics we reported on how Guardian photographer Dan Chung chose to take his sporty snaps on a humble iPhone 4S rather than his trusty dSLR. His photoblog added momentum to a smart phone photography movement known as iPhoneography.
We at CNET see no reason why iPhone fans should have all the fun, particularly given the top-spec cameras now crammed into Android mobiles from the likes of Samsung, Sony and HTC.
So, in this hands-on guide to Androidography we take the HTC One X, one of this year's top-performing Android phones, and share with you the apps, accessories and shooting tips you'll need to get podium-topping pics of your very own.
Introduction
Even for professional photographers, the camera itself is only one part of a much larger picture.
As well as a keen eye for a smart shot and a sound understanding of good composition, camera accessories and image processing workflow can be key to developing a successful final picture.
So in this tutorial we'll break down the photography process into three steps:
- Capture -- get to know the phone camera itself, plus some helpful accessories.
- Develop -- use the right apps to process and prepare the image for its final usage.
- Share -- where and how to share your pictures.
A note for photographers
At this point it's worth mentioning that smart phone photography, be it on Android, iPhone or any other platform, has its advocates and its detractors. Yes, the shots you'll get from a mobile won't necessarily trouble the shallow depth of field and pin-sharp focus pro photographers can achieve with full-frame dSLRs and lenses that cost as much as a small car.
But if you believe the best camera is the one you have with you, and acknowledge that a smart phone benefits enormously from being pocketable, discrete and well-connected, you may be surprised at the quality of pictures you can capture, whatever their ultimate usage.
Step 1. Capture
Get to know your kit
Let's start by understanding the equipment -- in this case, the HTC One X with its integrated ImageSense camera suite. Getting to know your kit's specs, strengths and peculiarities will be vital when shooting.
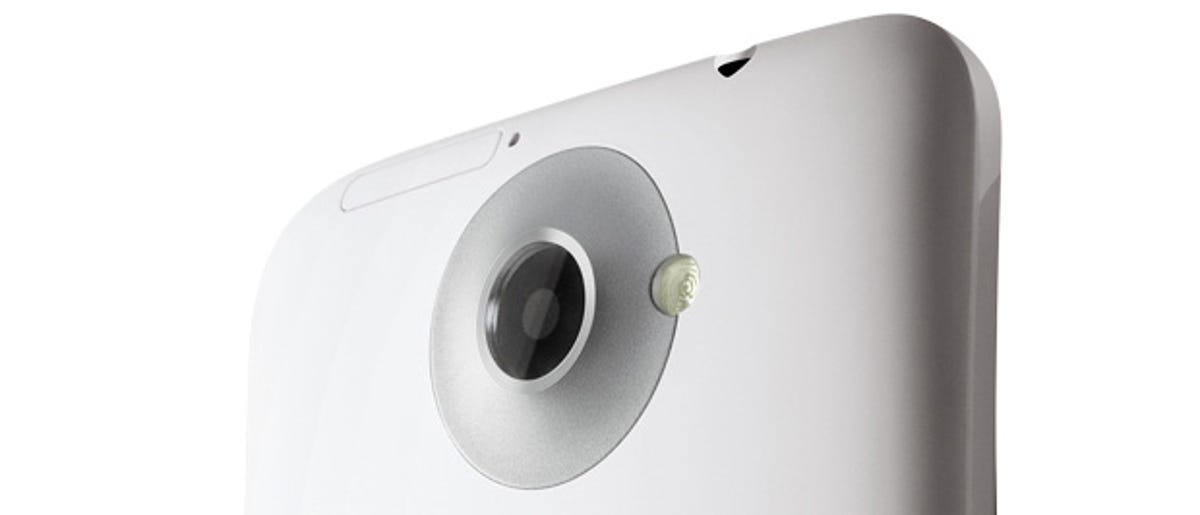
The camera unit's integrated lens features a lightning-fast f/2.0 aperture, which lets a whole lot of light onto the 8-megapixel backside-illuminated sensor. The 28mm equivalent focal length of the integrated lens means the HTC One X also boasts one of the widest-angled shots of any smart phone.
In an attempt to make its handset's snaps stand out from the crowd, HTC has shoehorned its own image-signal processor into the One X, eschewing the circuitry integrated into the Nvidia or Qualcomm chipset. This HTC ImageChip promises super-fast focusing, continuous shooting and terrific low-light shots.
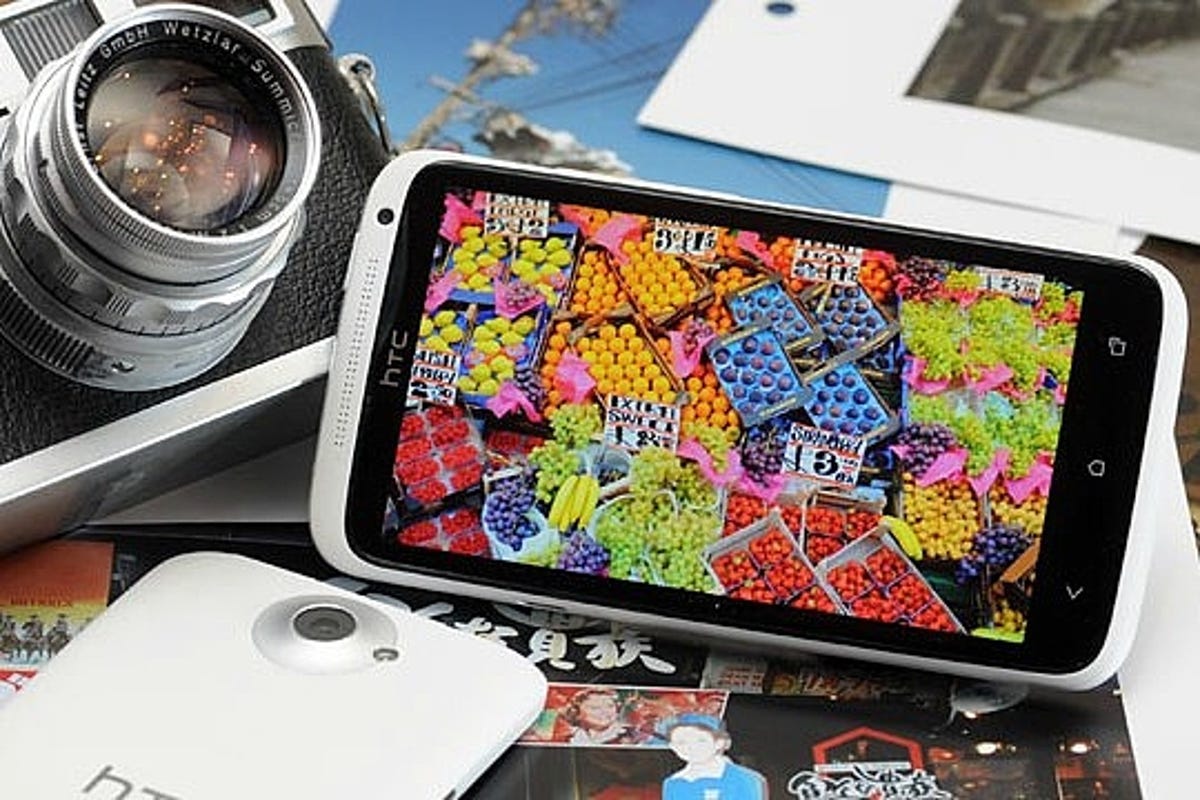
As for the viewfinder, the HTC One X packs a bold and bright Super-LCD 2 screen measuring in at 4.7 inches. Colour reproduction is good and its brightness, size and wide viewing angle are a bonus when shooting outdoors.
Shooting
Of particular appeal for me is the fast startup time -- no longer that frustrating lag between opening the app and being able to snap. I'll take a good look at the camera software later on, but worth a quick mention here is the One X's burst mode.
By default the camera app lets you take a burst of 20 shots at full 8-megapixel resolution before helping you to choose the best of the shots, but if you navigate to the stock camera app's Settings > Continuous Shooting option and uncheck Limit to 20 frames, this can be extended to a whopping 99 images.
HTC claims a shutter speed of up to 10 frames per second (fps), but in real-world testing, the camera output a less-impressive but still-useful 4fps -- click the image below to see it full size.

Pro Tip: Use burst mode sparingly, as all those images consume precious storage space. But it can be really useful for capturing children, animals, sports and anything where the subject is fast-moving and unpredictable.
Accessories
In common with many smart phones, the handset's dinky dimensions and wafer-thin weight mean hand-holding the camera for a shot can be a struggle without introducing the dreaded wobble.
Indoor, night-time and low-light shots are more likely to suffer from image blur as the exposure time lengthens to let enough light into the sensor.
Well-lit outdoor shots are less susceptible, but sharpness can still suffer from a shaky hand, no matter how steady you think you are.
While the HTC One X has some tricks up its sleeve to combat camera shake and low light, a tripod and tripod mount for your phone can be a big help.
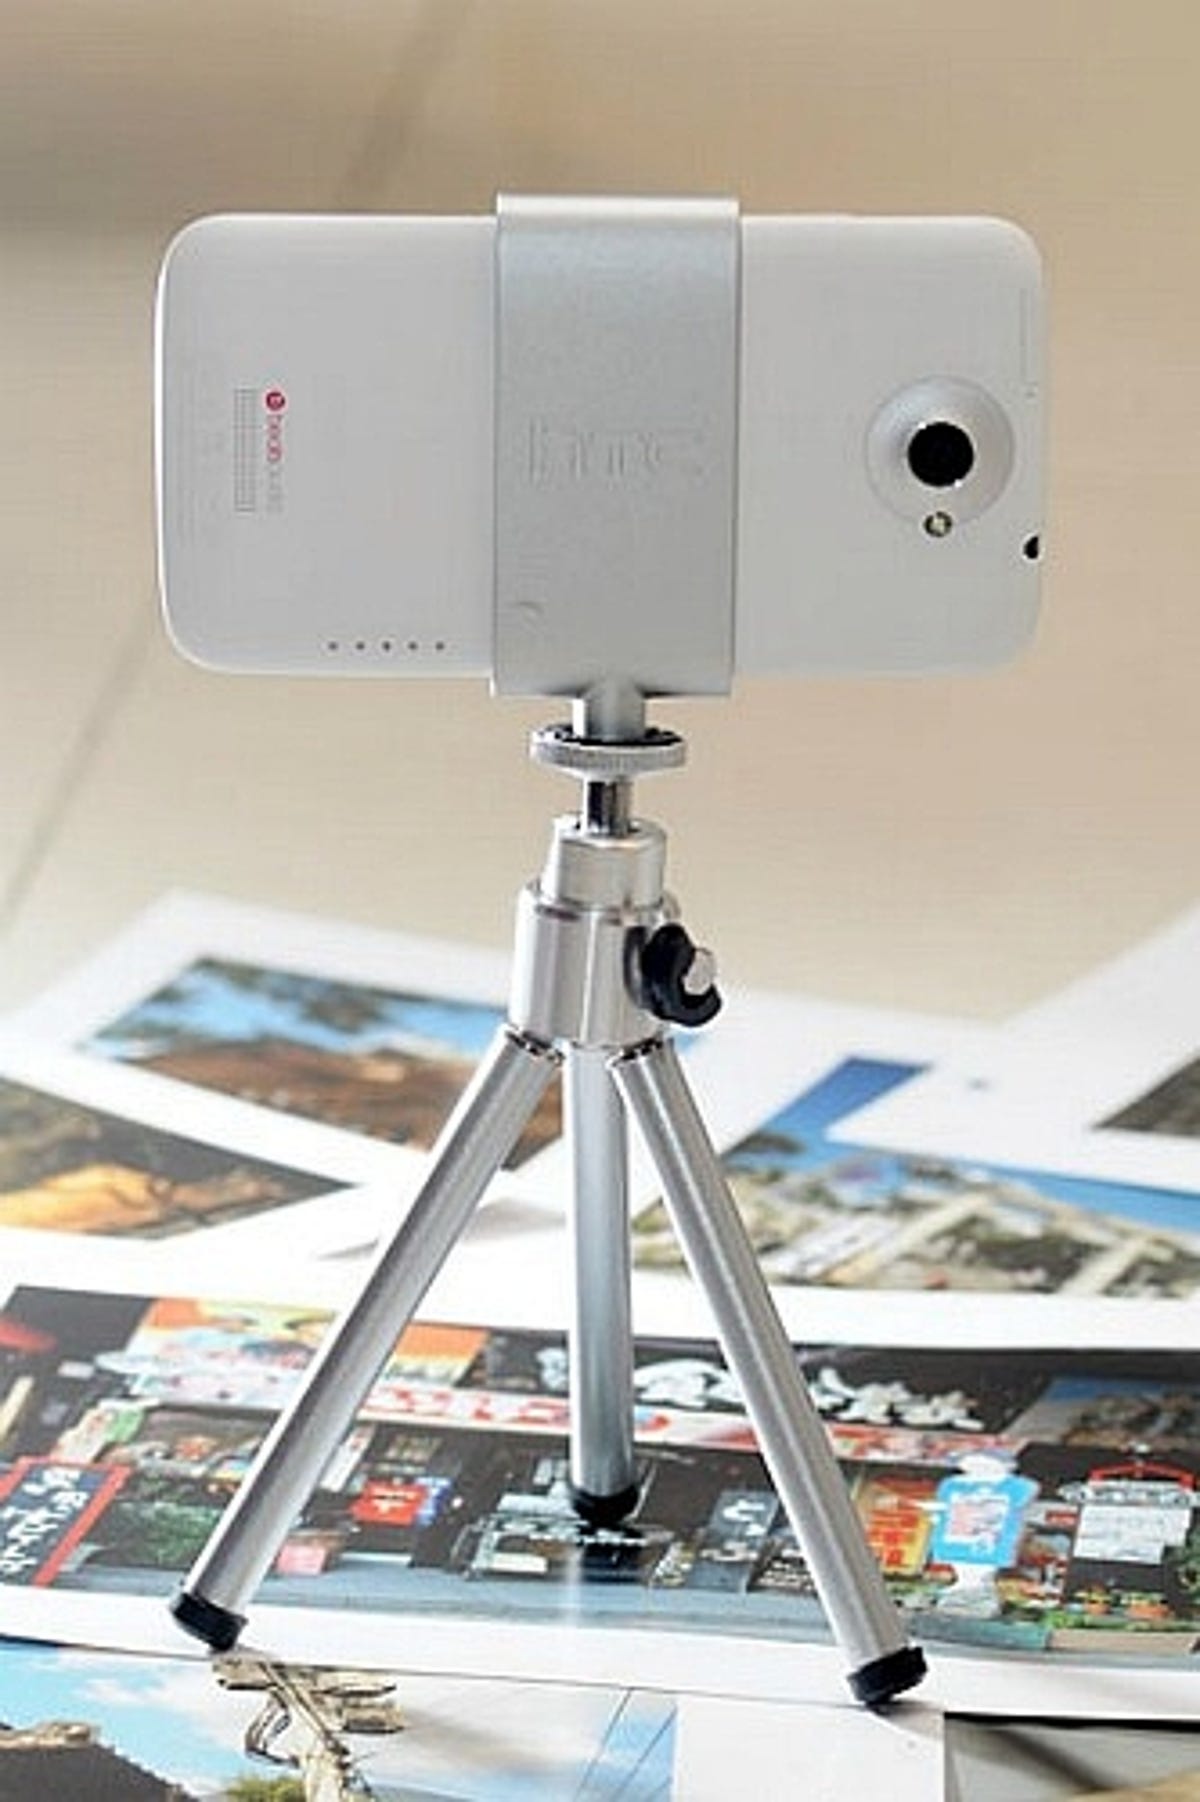
HTC produces its own HTC One X Tripod and Holder accessory for a smidge under £30.
I've mentioned the iStabilizer range before in my smart phone videography features, and its universal mobile mount is just as useful for the HTC One X as it is for the iPhone or Samsung Galaxy S3, providing a secure spring-loaded mount that can attach to any standard 1/4"-20 tripod mount.
1.2 Take your Shot
HTC has made some welcome tweaks to the One X's stock Android Ice Cream Sandwich camera app to make the most of the handset's hardware.
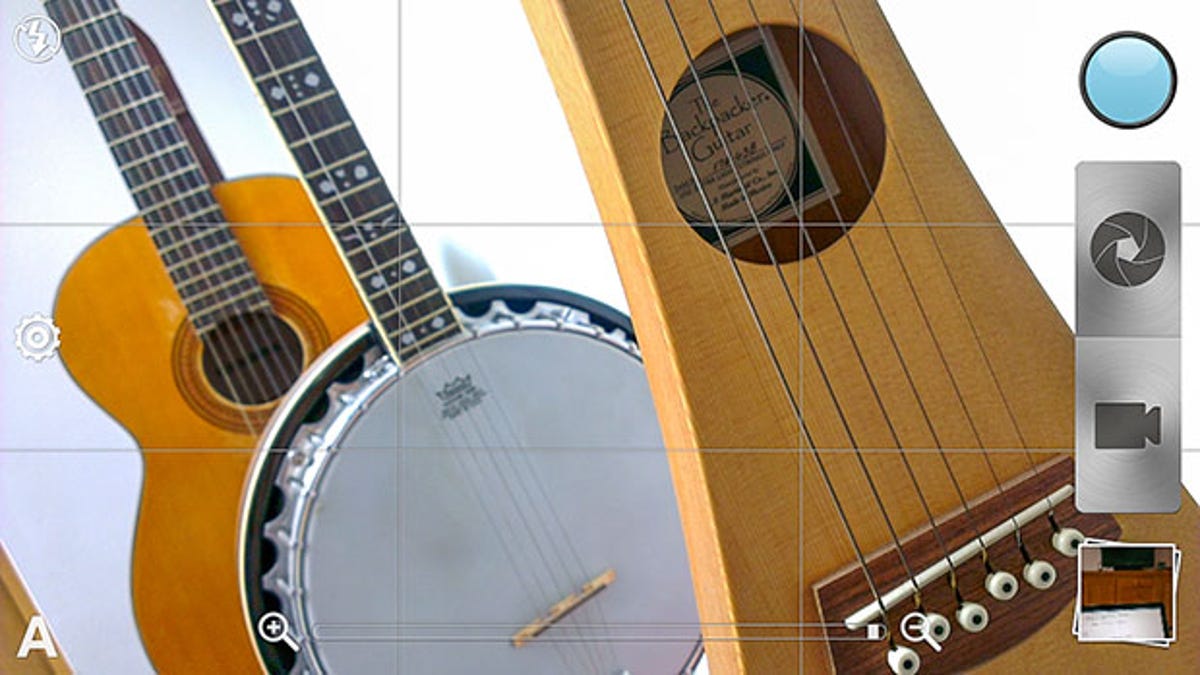
Introducing the camera app
Assuming you're holding the camera in portrait mode, on the left-hand side there are three icons -- the top icon is flash, which can be set to on, off or automatic. The automatic mode judges the light conditions for a given shot and scene mode and fires the flash if it deems it necessary.

Tap the middle icon for the camera app's settings -- from here you can explore a number of options including switching between the main and front camera and the image resolution. More advanced items here include the Image Adjustments submenu.
Image adjustments menu
Rather than applying saturation, sharpness, exposure and so on as filters in post-processing, setting these items here will apply them to images before they're developed into a JPG, which, in theory, results in a higher definition image. If there's a particular look or feel you're after from a shot that isn't satisfied by any of the preset scene modes, here's the place to make the adjustments.
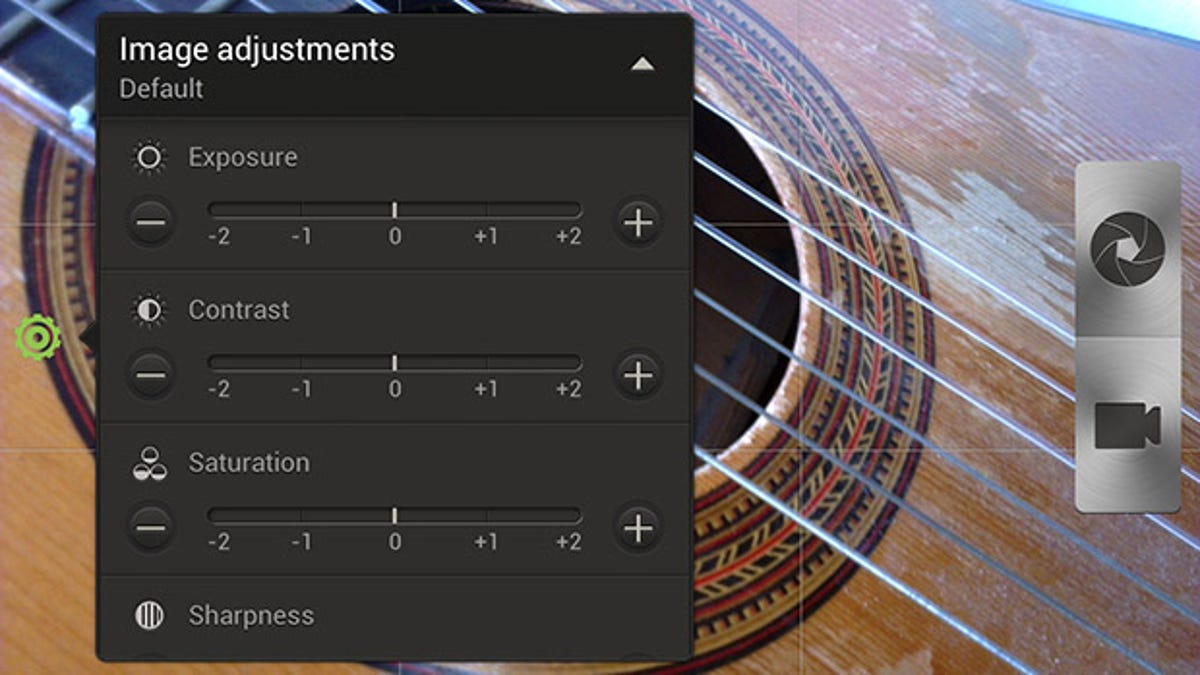
To create a moody feel you might choose to reduce the saturation, shoot up the sharpness and the contrast, for example.
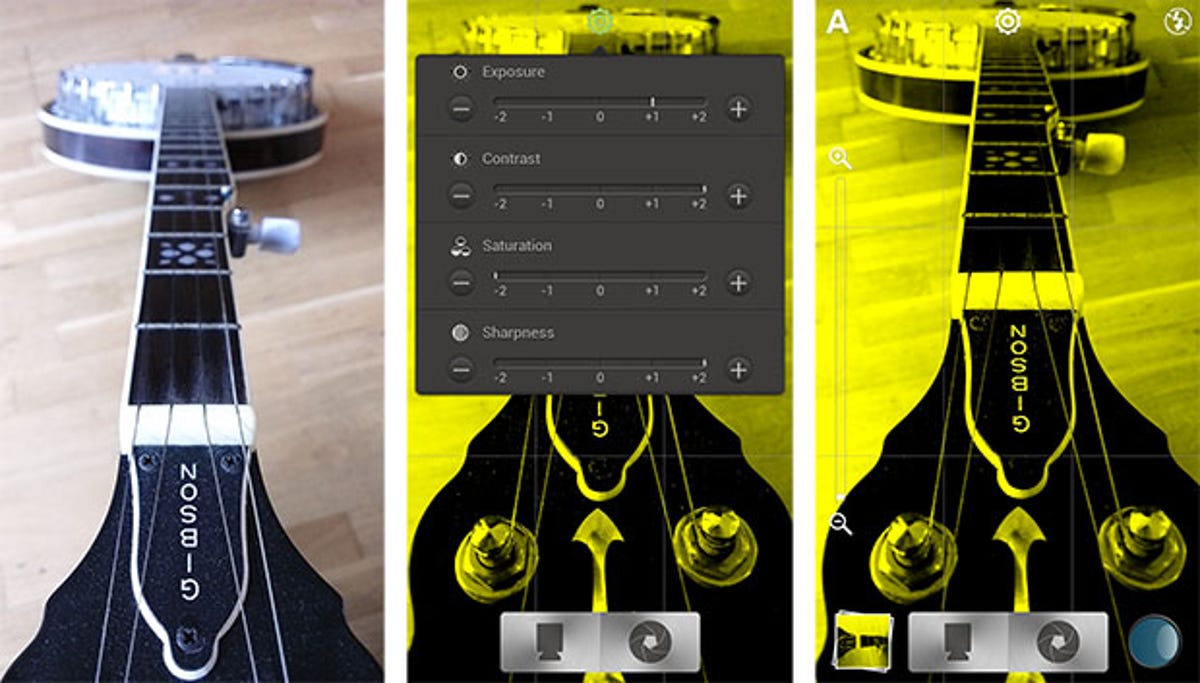
In my testing with the One X, I noticed some very interesting, if unexpected effects when reducing saturation to -2, whereby the image took a striking yellow or blue cast. As with any settings, it's worth experimenting to find a look you like.
Note that the Image Adjustments menu, along with the ISO, White Balance and Continuous shooting submenus, may be greyed-out if one of the preset scene modes is selected.
Scene modes
The One X provides a pack of scene modes to save you having to make these image adjustment settings every time you change shot. The scene modes include the standard portrait, landscape and macro, plus some handy presets for whiteboards and a great low-light setting for bringing out detail in, for example, a landscape when a flash wouldn't be powerful enough to provide illumination.
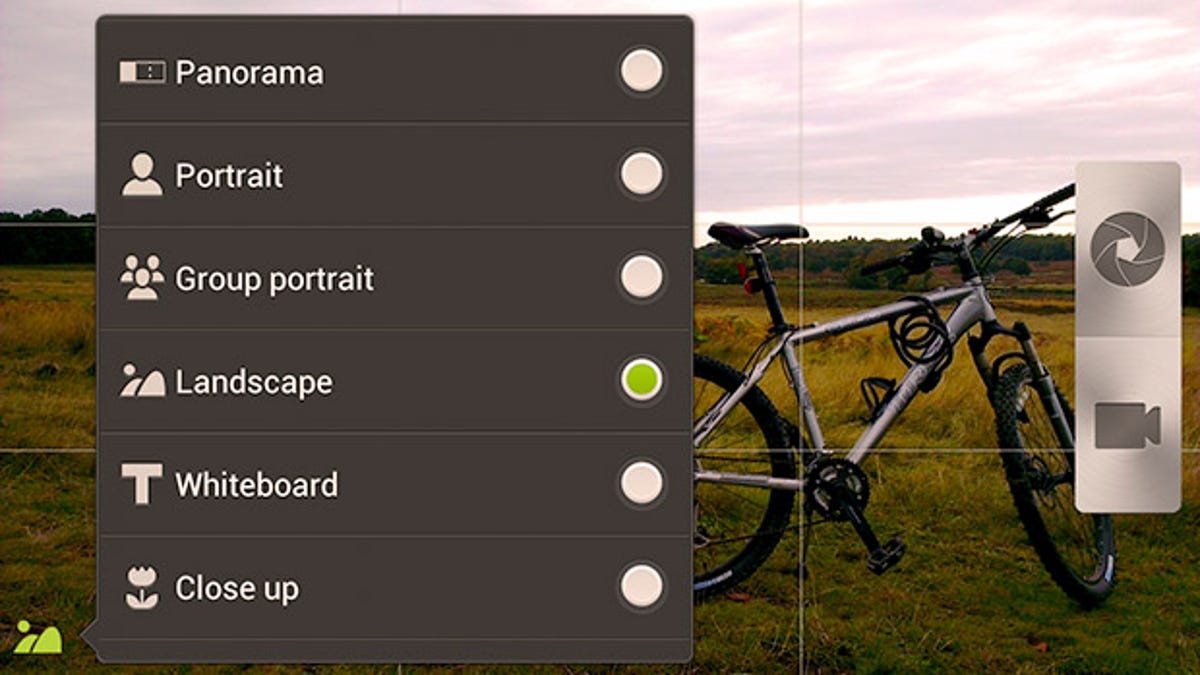
Other advanced modes in here include HDR, Group Portrait and Panorama.
High dynamic range
High dynamic range (HDR) photography has, in some circles, developed something of a bad name for itself, but in the right hands it sure can help to save a shot in an awkwardly lit environment.
HDR involves taking three separate pictures in quick succession, each with a different exposure to capture as much of the scene's highlight and shadow detail as possible. The camera's software then superimposes the three exposures to create a single picture containing more detail than would be possible with a single exposure.

In this example, the left image was taken without HDR and the right image with (click the photo to see it full-size). Notice how the brickwork in the church is far more detailed in the HDR image, while the sky remains a rich blue without being blown out.
Pro Tip: Using HDR in action scenes can result in 'ghosting' when the shots are combined, as the three images don't quite match up. Hand wobbles while holding the camera is another cause of this, so choosing scenes where there is less movement -- for example, a landscape -- is likely to result in more successful HDR shots.
Alternatively, an app such as HDR Camera+ from Almalence (£1.22, or a free trial) offers advanced HDR shooting capabilities, including a feature which compensates for handshakes and moving images.
Fill flash vs HDR
When the HTC One X's flash is enabled it attempts to estimate the distance of the subject from the camera and automatically select the best strength for the flash and, generally speaking, it works very well.
Typically flash is used in low-light and indoors, but it can also be used outdoors and on sunny days to provide 'fill flash', supplementing ambient lighting and helping foreground subjects pop out against brighter backgrounds.

In practice, I found the HTC One X's flash struggled with this technique (middle image), perhaps gauging the exposure incorrectly to produce a weak flash. Unfortunately, there's no manual control of the flash strength.
However, taking a shot with the HDR scene mode selected (right image above) produced the better exposure for the foreground subject, although as highlighted above, this may not be so effective for fast-moving subjects.
Group portrait
Another morsel of added value from HTC is the group portrait mode. Upon pressing the shutter icon, the camera once again takes several exposures and, using HTC ImageSense's smile detection, chooses either the best shot or -- here's the clever bit -- the best bits of each of the shots to create a single composite image with each of the subjects' eyes open and mouths a-smiling.
In-camera effects
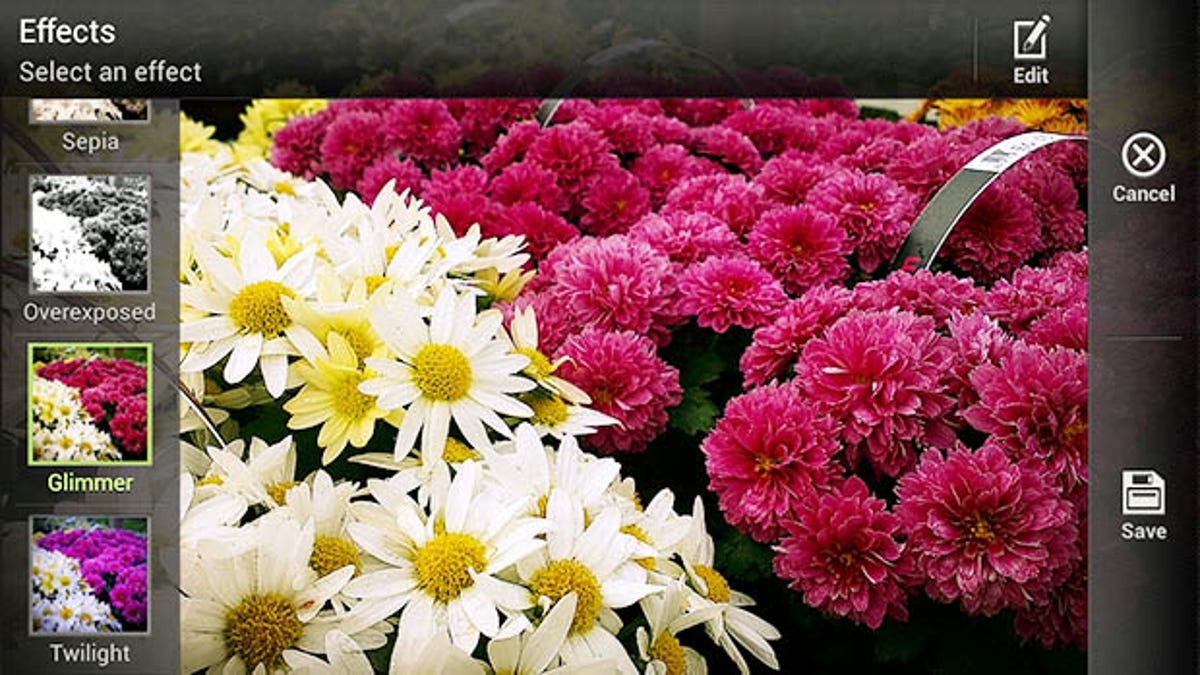
As well as the image adjustment settings from the camera's settings menu, various creative effects can be also applied and viewed in real-time from the effects menu. Tap the circular icon by the side of the shutter to reveal 16 looks, ranging from vignette and dots to greyscale and sepia. Many of the effects have an adjustment slider on the opposite side of the screen.
These effects are fun to play with, offering a limited degree of customisation, and may shave time off your post-processing.

Focus
HTC ImageSense boasts a super-fast focusing time and the ability to follow faces around the scene should they move while setting up the shot. You can also tap on the screen where you want the camera to find focus -- this technique allows you to experiment with depth of field in your shots, where some objects might appear out of focus while directing the viewer's eye to the in-focus subject.
Pro Tip: At times I found the focus on the One X to be a little fussy, particularly with closer objects and macro shots, having repeatedly to tap on the screen to force the focus I wanted. A good tip here is to tap on an area of your subject that is either textured or contains contrasting shades -- the autofocus mechanism used by the HTC One X (and indeed most smart phone cameras) relies upon contrast detection and struggles if it's asked to focus on something solid in colour or poorly lit.
Pro Tip: There is no physical shutter button on the One X, so tapping the on-screen shutter icon is the only way to capture a shot. The natural tendency when tapping the screen is to apply force which, unfortunately, can introduce unwanted camera shake at precisely the wrong moment. This significantly reduces a shot's sharpness, especially when shooting handheld.
Instead of tapping, perfect the technique of very softly brushing the shutter icon -- not as easy as it sounds when in the heat of a shoot. Alternatively, in the camera app go to Settings > Self-Timer and select the 2 seconds option -- this will introduce some lag, but it will also reduce the shutter-press camera shake and make for a sharper shot.
Part 2: Develop
For the apps section I focus on processing your images within the camera using the native camera app and other apps available from the Google Play store.
Image processing outside of the smart phone is a perfectly good idea, but one not covered here. There are many well-documented photo-editing applications available, both at cost (eg Adobe Lightroom, Adobe Photoshop/Photoshop Elements, Apple Aperture and iPhoto) and totally free (eg Google Picasa, GNU Gimp).
In-camera editing with the camera app
The HTC One X camera app provides its own picture editor. At first glance it looks rather rudimentary, but under closer inspection it adds a useful selection of quick fixes and creative filters.
When reviewing pictures tap the screen to bring up the menu and select 'Edit', from here you can crop and rotate your image or apply one of 13 preset effects.
Things get more exciting, however, when you tap the Edit button -- from here you can take back some manual control over your image by tapping Add Filter to change settings such as the white balance, brightness, exposure, sharpness, grain and even add a vignette effect.
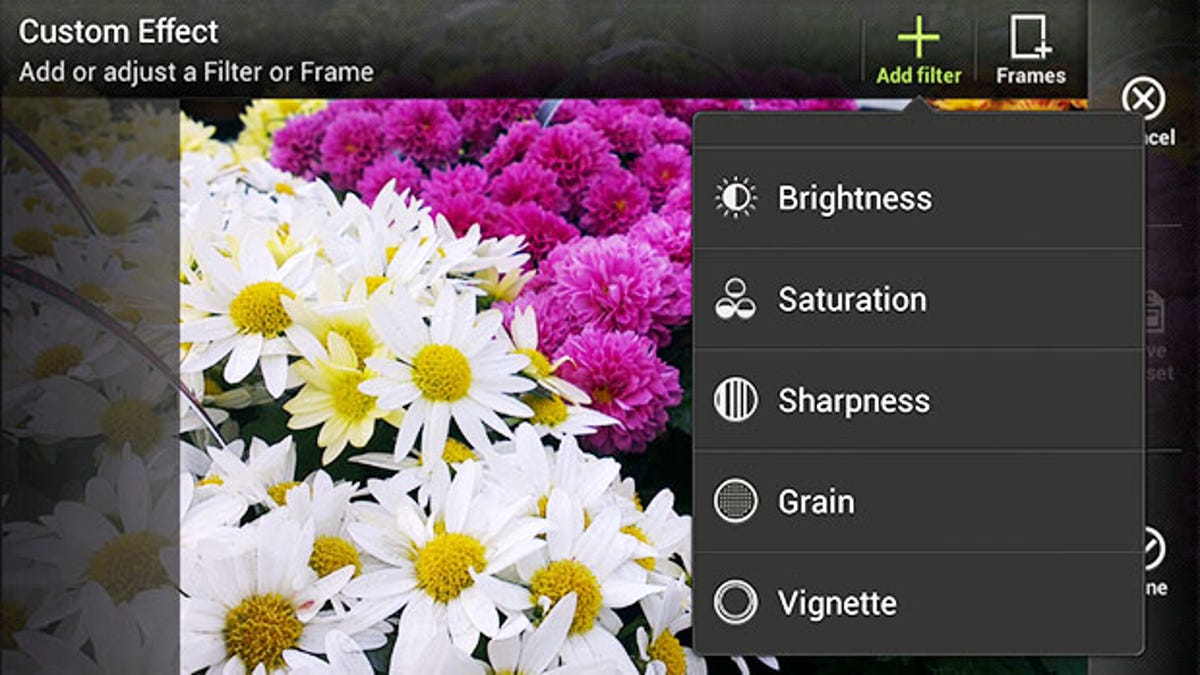
Effects can be stacked to create a specific look, and by tapping Frames you can even add a border of your choice to the shot.
Remember you're actually creating a Custom Effect rather than editing a specific image. Tap on Save Preset to give your effect a name, and then tap on Save to preserve your image. You can now apply this effect to any of your other images with a single tap.
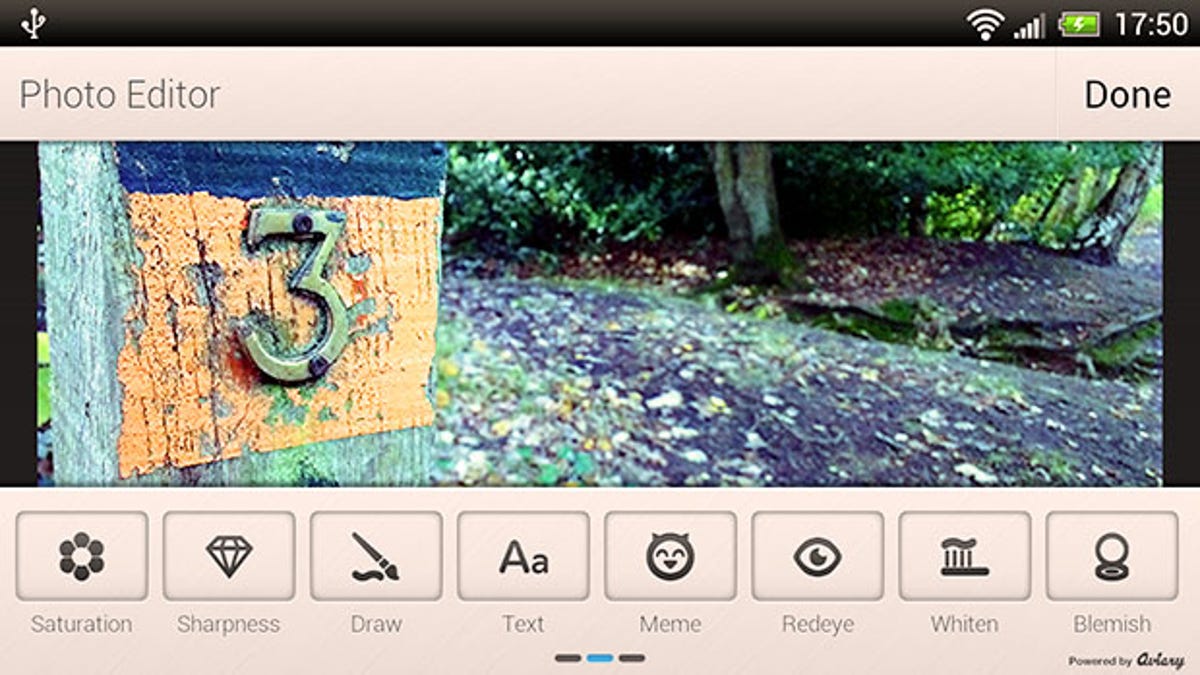
Photo Editor by Aviary

Aviary (free from Google Play) was originally available only as a plugin, but earlier in 2012 it flew the coup to become a fully-fledged app in its own right.
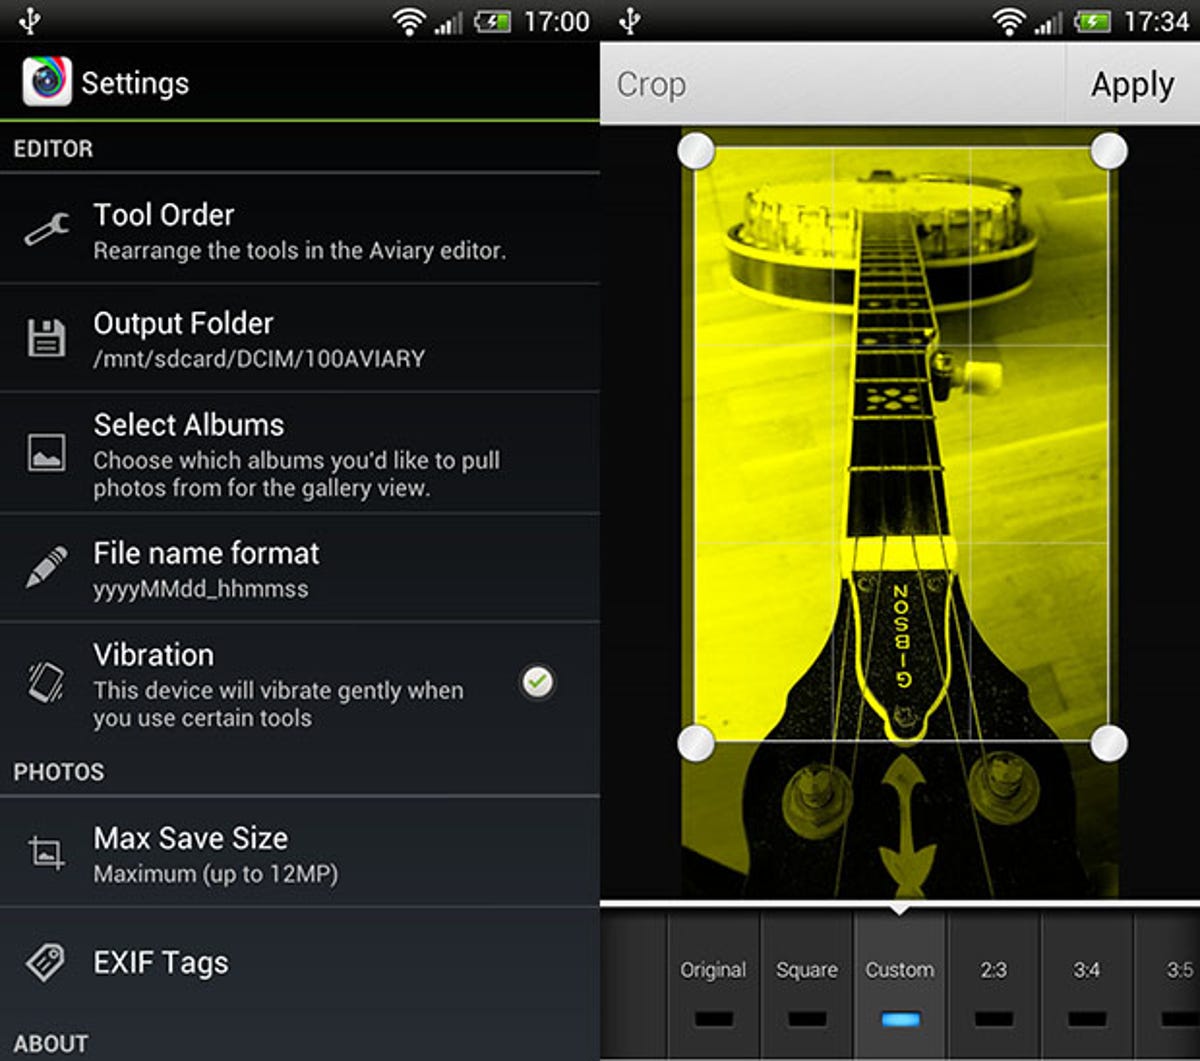
The core photo editing tools -- brightness, saturation, contrast, crop and so on -- are all present and easy to use in Aviary's simple, uncluttered interface. The app's settings menu even lets you change some of the images' EXIF metadata should you wish. Importantly, and unlike some other free editing apps available from Android's app store, Aviary lets you process and output images in their full resolution.
As well as some useful touch-ups such as blemish removal, red-eye reduction and teeth whitening the app also includes one or two less serious offerings. Pro photographers may scoff, but some of these can be loads of fun -- I found the instant Meme feature rather amusing.
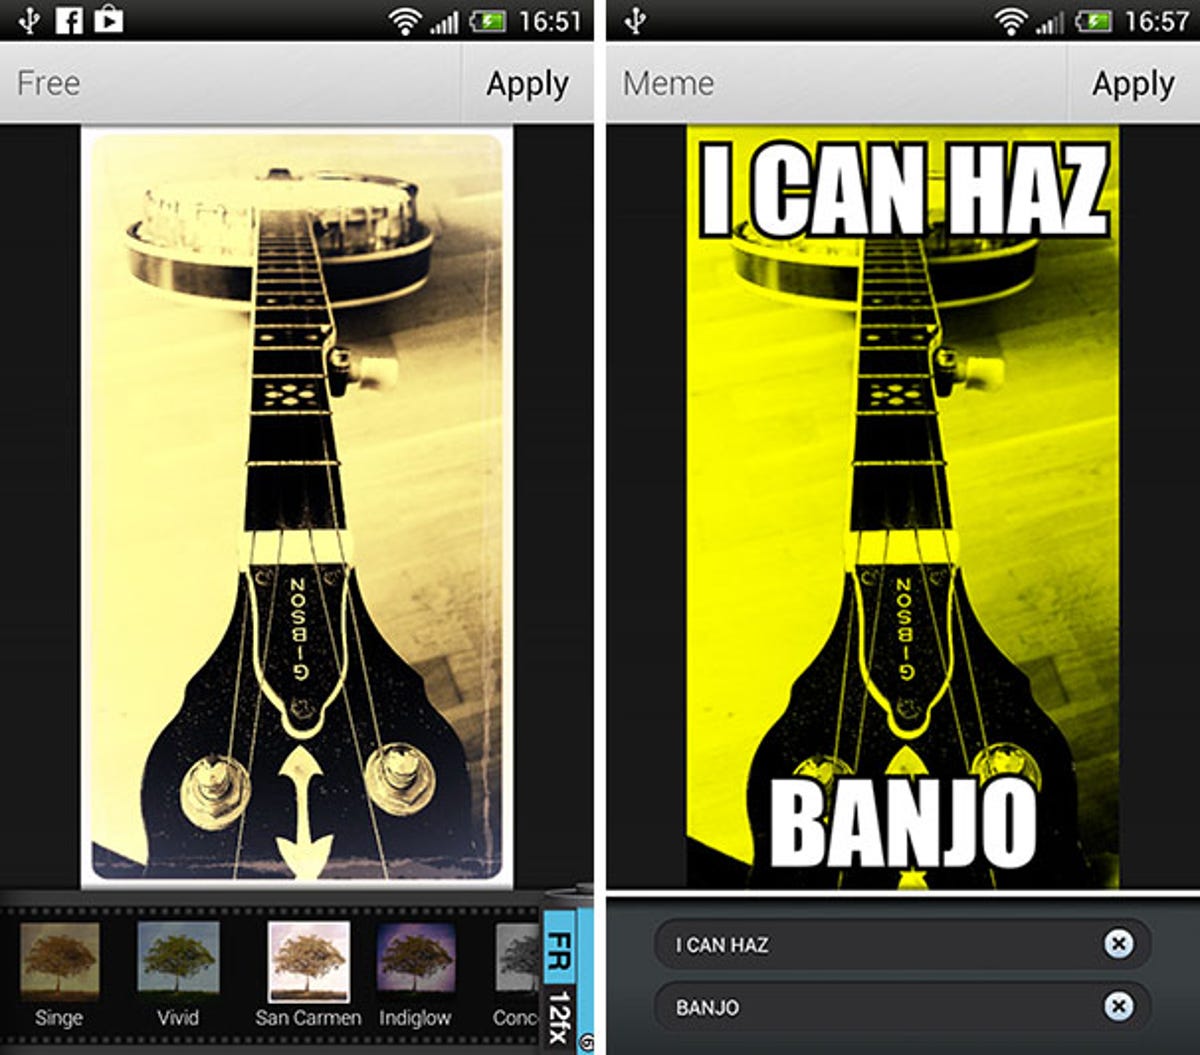
Also included are a bundle of free effect filters, some of which are surprisingly good. Aviary effects packs are also available to download and, at 62p, are actually very good value for money and offer a broad array of beautifully creative effects.
Pro Tip: There is hesitancy among some to experiment with filters in smart phone photography. Apps such as Instagram and Hipstamatic (more on which later) have given digital filters a bad name in some snooty circles. My tip is to give them a try. Many professional photographers and videographers use filters of varying types all the time -- far more than we often realise -- and you may be surprised at some of the creative looks you can achieve.
TouchRetouch

Adva Soft's TouchRetouch (Google Play, 62p) is an award-winning photo retouching tool, letting you remove unwanted objects from your photos.
Using a lasso or paint brush, simply the mark the area you wish to remove from the image -- a handy zoom window shows you what's going on under your finger for precise selection. When the object you want to delete from history is highlighted in red simply tap the play button and watch TouchRetouch work its magic.
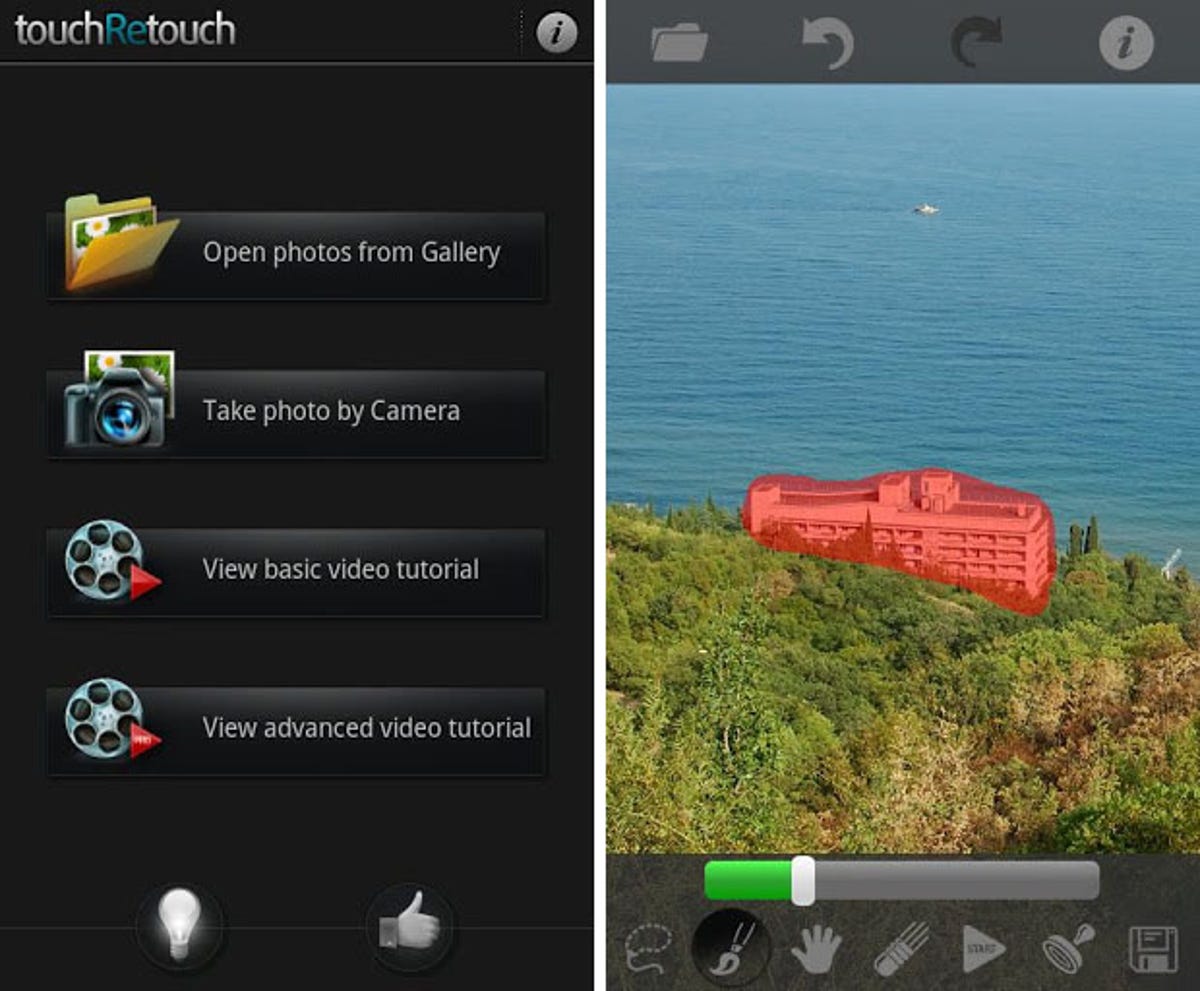
The result is generally very good and manages simple selections very well, although it does struggle with complex textures. For more challenging removals there is also a manual clone tool, familiar to many users of desktop photo editing software, which lets you overwrite using a copy of another area of the image.
Pro Tip: In TouchRetouch settings, make sure Always Max Resolution is checked before you begin work -- by default it isn't.
Part 3: Share
What's the point in taking photos if nobody ever sees them? The fact is the majority of us are more than keen to share our works of art with the wider world, and fortunately our smart phones now make it easier than ever before to do so.
Facebook and Twitter need little introduction -- they long ago become the major hubs for sharing your cutesy cat pics or showing what you're nomming for lunch.
For the more discerning Androidographers out there, however, we've picked out some dedicated photo-sharing apps and social networks you might like to try for size.

Instagram (free from Google Play) is a social network oriented around smart phone photography, which has been available on Android for several months now. Famed for its filters, you are also able to upload photos totally 'clean', although one peculiarity is that all pics must be cropped to a square format.
Some see Instagram as an extension to their Facebook or Twitter feed, but well worth researching is the #Androidography hashtag for examples of others' handy work.
Flickr
The Yahoo-owned service has allowed photographers to upload, share and store their snaps since 2004. Flickr has now amassed over 7 billion images, with over 3 million new ones being added every day.
As well as uploading, its Android app (free from Google Play) lets you apply some basic filters.
Flickr is a terrific source of inspiration for all photographers and also offers the opportunity for you to license your work (ie make money!) through its partnership with Getty Images.
500px
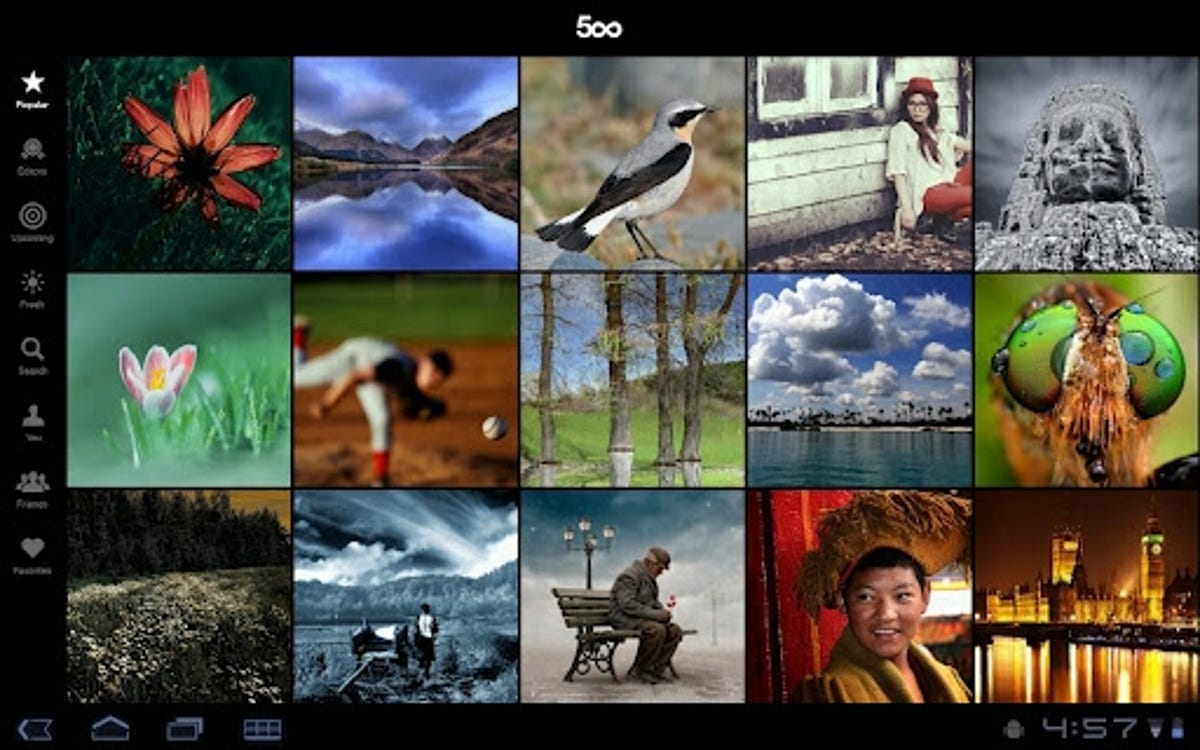
Coming up on the outside is Toronto-based 500px (free from Google Play), a high-quality photo-sharing service preferred by some photographers above and beyond Flickr.
Although a far smaller community than Yahoo's, it's fair to say the overall quality of pictures on 500px is higher and serves as a showcase for many the serious amateur and professional photographers who use it. Even if you don't want to contribute, taking a look around is a constant source of high quality inspiration.
Editor's note: This how-to was prepared using an HTC One X running Android 4.0 and Sense 4.1. These may be updated in the near future, but we would expect many if not all of the tips to remain applicable.
The brand new One X+, recently announced, features a beefed-up processor, storage and battery, but there's no change to the camera hardware, and a minor update in the software to Android 4.1 Jelly Bean. If any further changes become apparent we'll be sure to let you know.