How to back up your iPhone or Android phone
Make sure you never lose your precious photos and videos.


When my phone acts buggy, I spend a few horrifying moments trying to remember the last time I backed it up. These things always seem to happen at the worst time (like after a vacation), and the only way to avoid losing precious data is with preventative measures.
Backing up my phone has saved me a lot of heartache, but it's so easy to keep putting it off. Where do you even start when you've hoarded so much over the years? Well, procrastinate no longer -- here are the best options for saving your phone's soul.
How to back up your iPhone
Option 1: iCloud backup (duh)
iCloud is so simple and easy to use. When you sign in, you get 5GB of iCloud storage for free. But that probably won't be enough to back up your entire 16, 32 or 64GB iPhone -- if you're willing to pay $1 a month, you could upgrade to 50GB of storage. This saves everything on your iPhone: the layout, settings, apps and, most importantly, photos and videos.

The storage plan options for iCloud.
How to set up iCloud:
- Connect your device to a Wi-Fi network.
- Go to Settings > [your name], and tap iCloud. If you're using iOS 10.2 or earlier, go to Settings, then scroll down and tap iCloud.
- Tap iCloud Backup. If you're using iOS 10.2 or earlier, tap Backup. Make sure that iCloud Backup is turned on.
- Tap Back Up Now. Stay connected to your Wi-Fi network until the process completes.
To check progress and confirm that the backup is complete: Go to Settings > [your name] > iCloud > iCloud Backup. Under Back Up Now, you'll see the date and time of your last backup. Repeat this process on other devices to keep your content up-to-date everywhere.
If you want iCloud to automatically back up your device every day:
- Turn on iCloud Backup in Settings > [your name] > iCloud > iCloud Backup. If you're using iOS 10.2 or earlier, go to Settings > iCloud > Backup.
- Connect your device to a power source and a Wi-Fi network.
- Lock your iPhone screen.
- Check that you have enough available space in iCloud for the backup. If you need more iCloud storage, you can buy more from your iPhone, iPad, iPod Touch or Mac. Plans start at 50GB for $0.99 (USD) a month. Learn more about prices in your region.

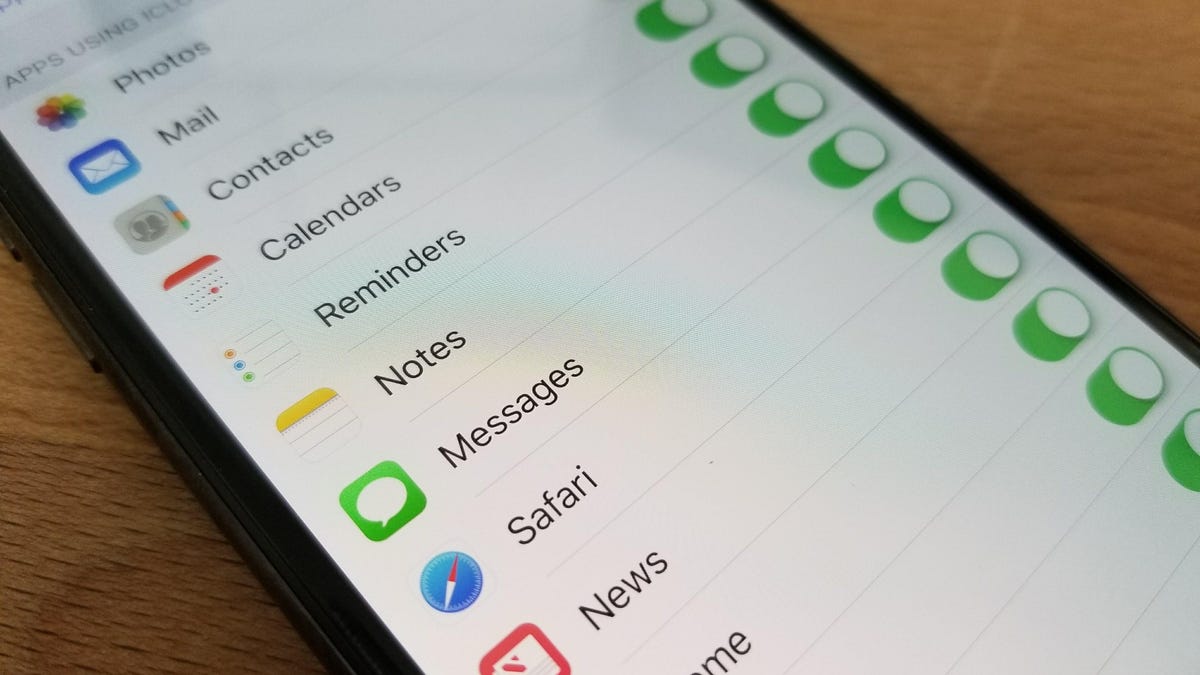
Toggle on or off of apps in Settings to save iCloud storage data.
Running out of iCloud storage? Do this:
With only 5GB of free storage, iCloud fills up fast. If you don't want to pay for an upgrade, you might want to toggle off some apps that you don't need to be backed up.
To do this, go to Settings >Tap [your name] >Select iCloud. Here you can toggle on or off which apps you want iCloud to back up.
iCloud highlights
- $1/month for 50GB, $2/month for 200GB, and $10/month for 2TB
- 200GB and 2TB plans can be shared with family
- 5GB of storage is free
- Automatic backup every time you're charging and connected to Wi-Fi
- First month is free for all payment plans
- Syncs photos and videos across all devices
- Saves everything on your iPhone
Option 2: iTunes backup
iTunes lets you store as much data as you want for free, and it's only for iPhones. The biggest downside, you have to do it all manually:
- Open iTunes and connect your iPhone to your computer.
- A message will pop up, asking if you want to Trust This Computer, tap "trust" or "allow."
- Select your iPhone when it appears in the sidebar of iTunes. If your device doesn't appear in iTunes, here's what to do.
- Click Back Up Now.

After connecting your iPhone to your Mac, click on your phone's icon on the left sidebar and then click "Back Up Now" (highlighted in red).
iTunes highlights
- Free unlimited storage
- Saves everything on your phone
How to back up your Android phone
Option 1: Use your Google Account

Toggle on "Back up my data" and "Automatic restore."
The great part about Android phones is that they do most of the backing up for you. But, this completely relies on you signing into your Google account on your Android phone.
You probably already did this when you first turned on your phone. If you didn't, or don't want to sign into your account, refer to option 2 below this section.
Through this account, Google automatically backs up most of your data -- including the details of your Android settings, display preferences, wifi networks, passwords, etc. Your account also uses Google Photos to back up photos and videos.
If you ever want to confirm that Google is backing up your phone, double-check all these things:
- Go to Settings.
- Tap the search engine bar at the top and search for "Back up" (two words).
- Choose the first option that shows up -- it varies depending on what type of Android phone you have.
- If your phone shows "Back up to Google Drive" at the top of the screen, make sure it's toggled on, OR
- If your phone shows "Back up my data" and "Automatic restore," make sure both are toggled on.
And in case you forgot which email you used, below that toggle is the Google account associated with your system backups. To change this account, press on the line showing your current Google account, and choose from a list of accounts connected to your phone.
If you really don't trust what you can't see, you can transfer all your Android phone data to your computer instead using the guide in the next section.
Google account highlights
- Free unlimited storage
- Syncs across all Android devices
- Saves everything on your iPhone
- Automatic backup
Option 2: Back up via USB
This means plugging your Android phone into your laptop or desktop, but the process differs slightly depending on if you've got a Windows PC or a Mac.
Android phone backup to a Windows PC:
Connect the Android phone to your computer using a USB cord. Swipe down from the top of the screen, and you'll see a notification about the USB connection. Tap the notification and choose "Transfer files" in the menu that appears. Aaand… that's it. Your phone's backed up!
If you want to manipulate the files or open them: Open up a File Explorer window on your desktop, find the phone icon near other portable devices and double-click. Here, you'll find all your Android's internal storage and you can click around all you want, browsing and moving folders or files.
Android phone backup to a Mac:
For Macs, you'll have to install a Google program called Android File Transfer. Your Mac has to be updated to iOS X 10.5 or later, and your Android device should run on Android 3.0 or later -- it probably already does if it's a relatively recent device. Once that's set up:
- Connect your phone to your Mac and unlock it.
- The USB status notification will pop up -- tap on it and choose "Transfer files."
- The program will automatically open on your Mac, with all your phone's files in front of you.
- You can play in there for as long as you'd like, transferring or backing up files.
Android file transfer highlights
- Free unlimited storage
- Allows you to manipulate phone files on various devices
- Saves everything on your iPhone
How to back up your Samsung phone
You can back up a Samsung phone just like you do any Android phone, but there are some additional tools built into the phone.
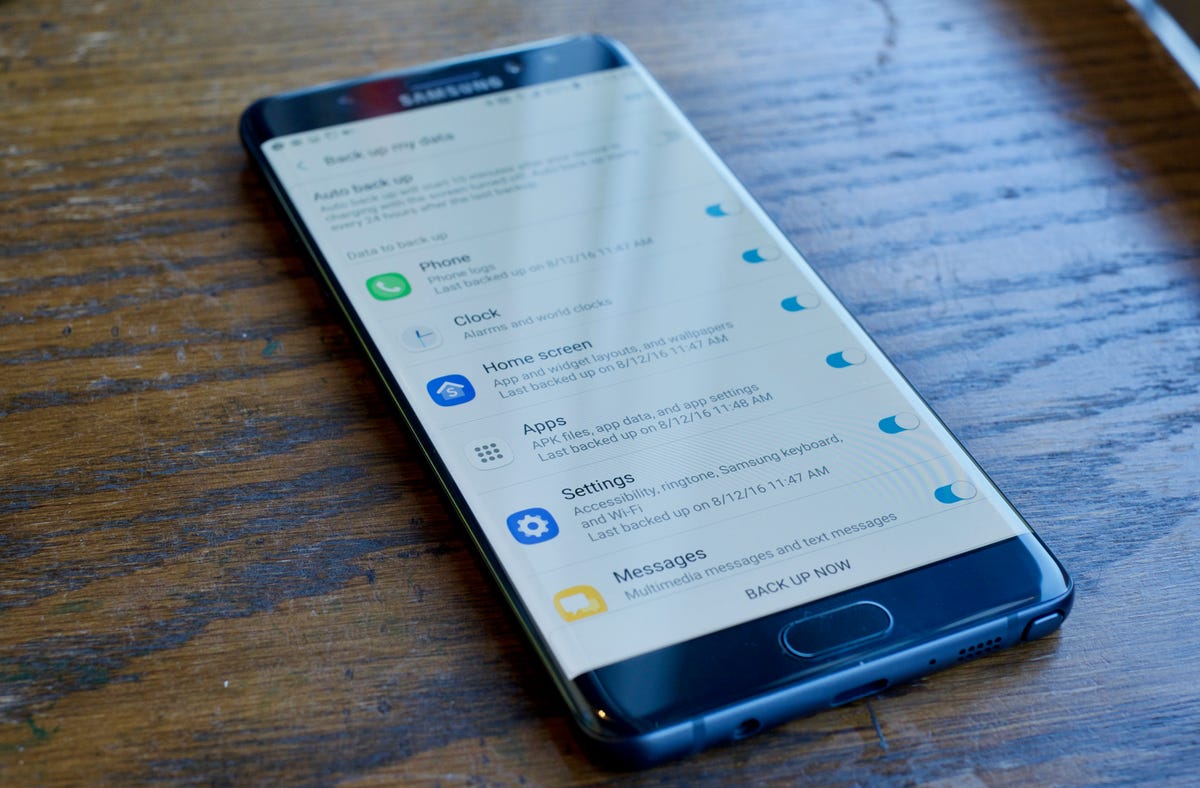
You can customize which apps you want backed up within Samsung Cloud.
Samsung Cloud
Samsung Cloud is to Samsung phones what iCloud is to iPhones. It stores all of the content you select from your phone (messages, phone logs, app layout, photos, videos, etc.) -- you can toggle on or off what you want to be backed up in settings. In order to use Samsung Cloud, you have to have a Samsung account and it's not available on Verizon devices. If you have a Samsung phone, but use Verizon, you can back up your phone with your Google Account (above). Here are all the models that can use Samsung Cloud:
- Galaxy S9 / S9+
- Galaxy S8 / S8+ / Active
- Galaxy S7 / S7 Edge / Active
- Galaxy S6 / S6+ / S6 Edge / Active
- Galaxy Note 8
- Galaxy Note 5
- Galaxy Note 4 / Note Edge
- Galaxy J3 (2016, 2017)
- Galaxy J7 (2016, 2017)
The cloud can back up your phone content automatically, or you can choose to trigger it manually by selecting "Back Up Now" in Settings. With auto-backup, your apps will be backed up once every 24 hours if your phone is charging, connected to Wi-Fi, and the screen has been off for an hour. So it'll most likely happen while you're asleep or inactive on your phone.
Find these options by opening:
- Settings > Cloud and accounts > Samsung Cloud > Back up my data OR
- Settings > Cloud and accounts or Account > Backup and reset > Back up my data
Then, turn on each item you want to back up in the Settings menu and tap "Back up now."
To upgrade your Samsung device storage:
- Settings > Cloud and accounts > Samsung Cloud > Manage cloud storage > Change storage plan.
Samsung Cloud Highlights
- $1/month for 50GB, $3/month for 200GB (payments will vary between phones and carriers)
- 15GB of storage is free
- Auto-backup
- Syncs photos and videos across all devices
How to back up only photos and videos on iPhone and Android
Option 1: Google Photos (iPhone and Android phones)
Google Photos can be used to back up both iPhones and Android phones, but it's only for photos and videos, nothing else. It is more tangible and hands-on than iCloud, since it allows you to upload, edit, store and share photos and videos through its mobile app.
If your photo album is taking up most of your iCloud or Samsung Cloud storage, then use Google Photos to back those up and maximize cloud space. This way, you can avoid having to pay for extra storage, and your cloud is kept light and fluffy.

Google Photos allows you to organize your pictures into albums and shared folders on your desktop and mobile.
With Google Photos, you don't even need to be plugged in or connected to Wi-Fi to back up your stuff. The app lets you sync photos automatically when you open it. You can even specify which folders you want backed up.
To back up photos and videos using Google Photos:
- Download the Google Photos app.
- Sign in to your Google account -- if you're an Android user, sign in to the account that you're logged in to on your phone.
- Allow Google photos to access, download and store your photos.
Google Photos gives free unlimited storage for photos up to 16 megapixels and videos in 1080 HD quality. You'll need to store larger photo files on Google Drive, which charges a monthly fee after the first 15 gigabytes -- $1.99 a month for 100GB and $9.99 a month for 1TB.
Google Photos highlights
- Free unlimited storage for photos up to 16 megapixels and videos up to 1080 HD
- Offers options for sharing and collaborating
- Customizable settings in the mobile app
- Photos automatically back up every time app is opened
- Photos in app sync across all mobile devices
Option 2: Dropbox (iPhones and Android phones)

The Dropbox login page.
Like Google Photos, Dropbox can be used to back up photos and videos on iPhones and Android phones. I've always used Dropbox to transfer photos from my computer to my phone, but it works both ways.
Your photos and videos are backed up in the app, viewable and customizable at all times. Turning on camera uploads in the Dropbox app stores your photos automatically into Dropbox (with or without Wi-Fi).
How to set up and use Dropbox:
- Download the Dropbox app on your phone and computer (recommended) or go to Dropbox.com.
- Create an account and fill in your information.
- If you downloaded the app, Dropbox will create a folder on your hard drive.
- Drag and drop any photos or files you want into the folder.
- Dropbox will automatically sync these files online and to any other computers or mobile devices linked to your account.

Upload files onto your Dropbox mobile app, and they'll sync across all devices connected to your account.
Dropbox already comes with 2GB of free space, but if you're backing up all the photos and videos on your phone, you'll probably need more than that. There are options for more storage than that, but you'll have to pay.
Dropbox Plus highlights
- $10 a month for 1TB of storage
- Offline folders on mobile
- Remote device wipe
- Priority email support
Dropbox Professional highlights
- Everything in Plus
- Smart Sync: Save hard disk space
- Showcase: Present and track your work
- Advanced sharing controls
- Full text search
- 120-day version history
- Priority chat support
My two cents
As an iPhone user, I love iCloud. The dollar deal intrigued me, and 50GB of stored data was more than enough for everything on my phone. Some people don't have the time (or the discipline) for manual backups, especially me, so having automatic backups with iCloud is essential.
Samsung Cloud offers all these things for the same price, so I would recommend that to Samsung users. For all other phones, guess you're stuck with the manual options.
Using these services, you can avoid panic attacks when your phone malfunctions.
Read now: How to create custom ringtones on your iPhone
Read next: How to download Netflix shows and movies on Android or iOS